


Scrap Wood Desk

Since this quarantine is preventing me from freely roaming the hardware stores, I decided to take a bunch of scarp wood that I found and create a desk! Keep scrolling to see how I transformed these scrap chevron wood pieces into my new work station!
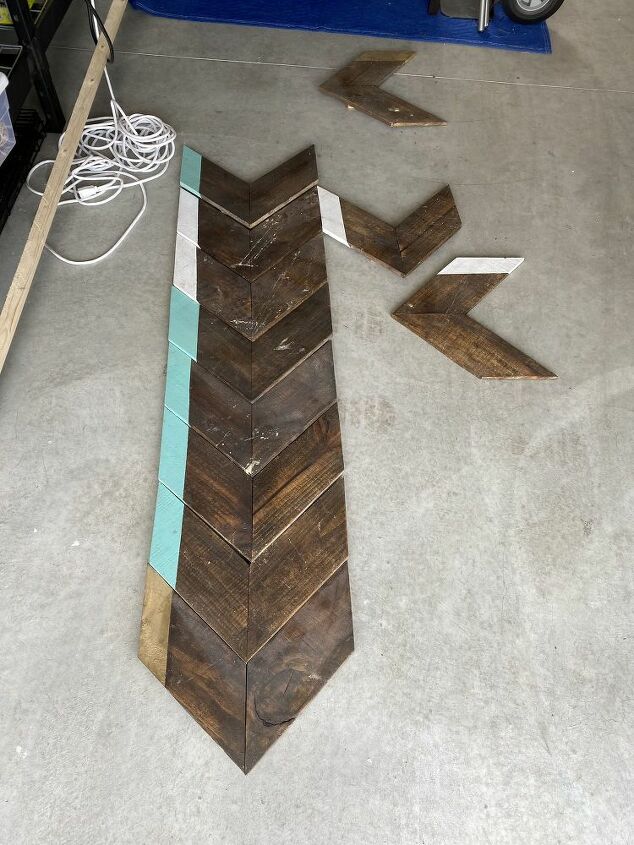
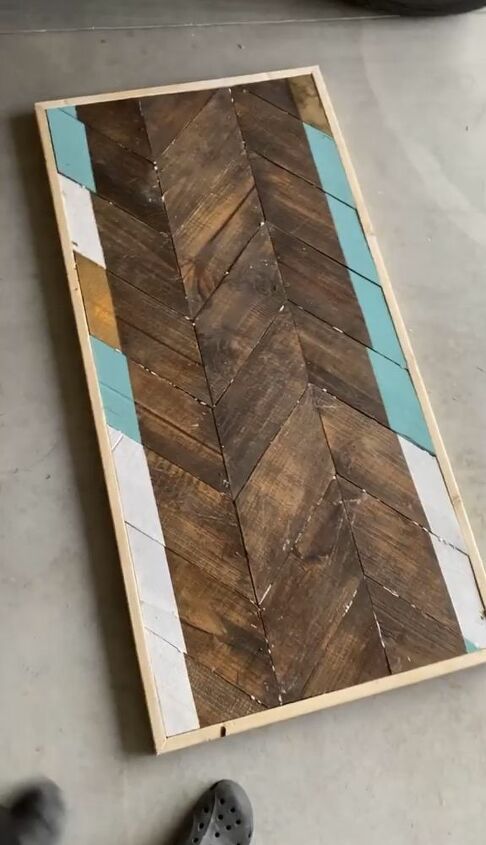
These are the chevron scrap wood pieces that I started with. They are each separate but I lined them up to start to form the desk.
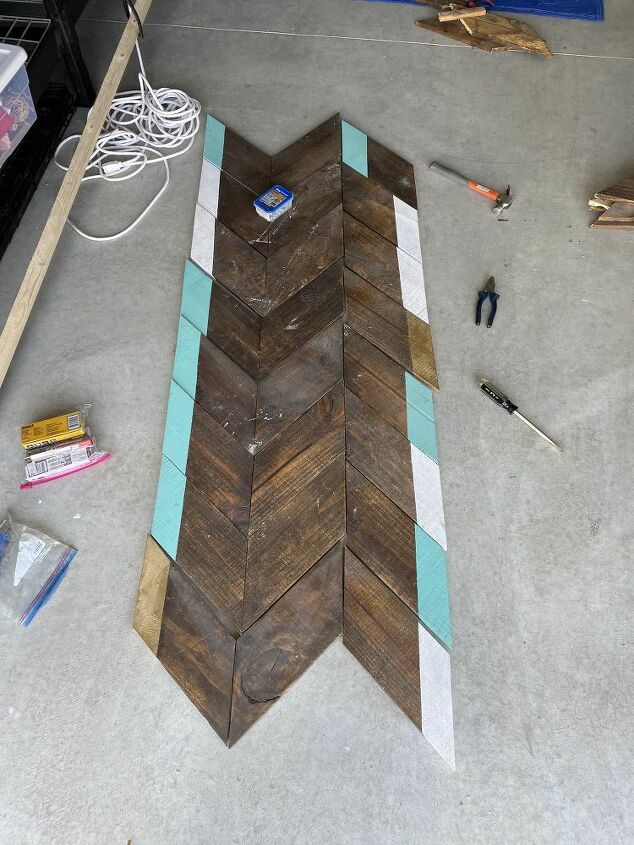
I separated the leftover chevron pieces and put them next to the line of chevron pieces to make the top of the desk wider.
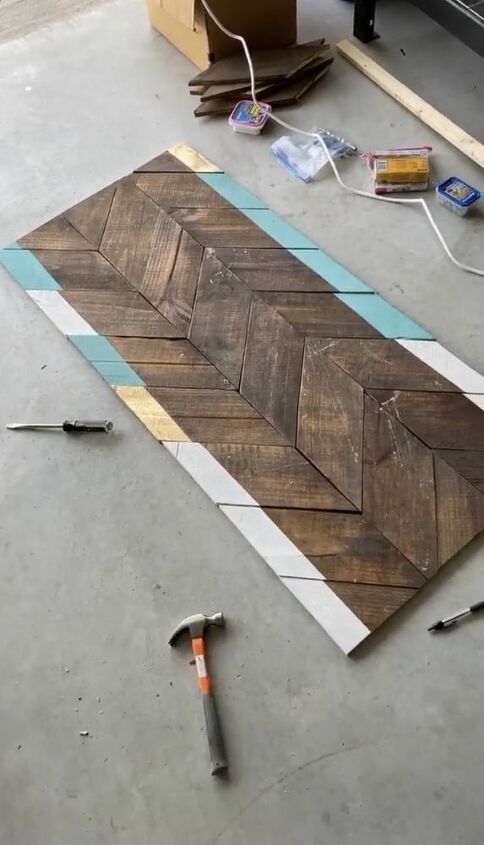
I took a miter saw to cut the ends to make them flush.
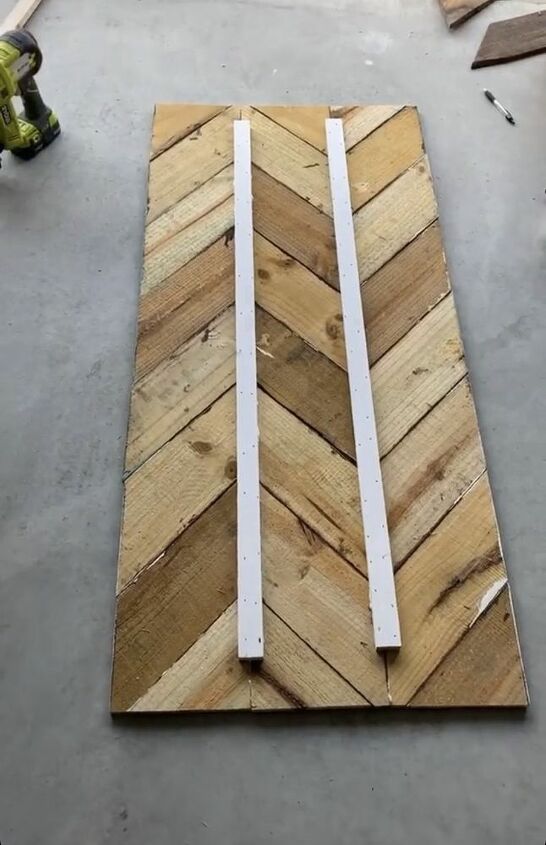
I secured all the chevron pieces together by taking 1x2s to create a brace on the underneath. I secured them with a nail gun and wood glue.
I framed out the desk top in 1x2s.
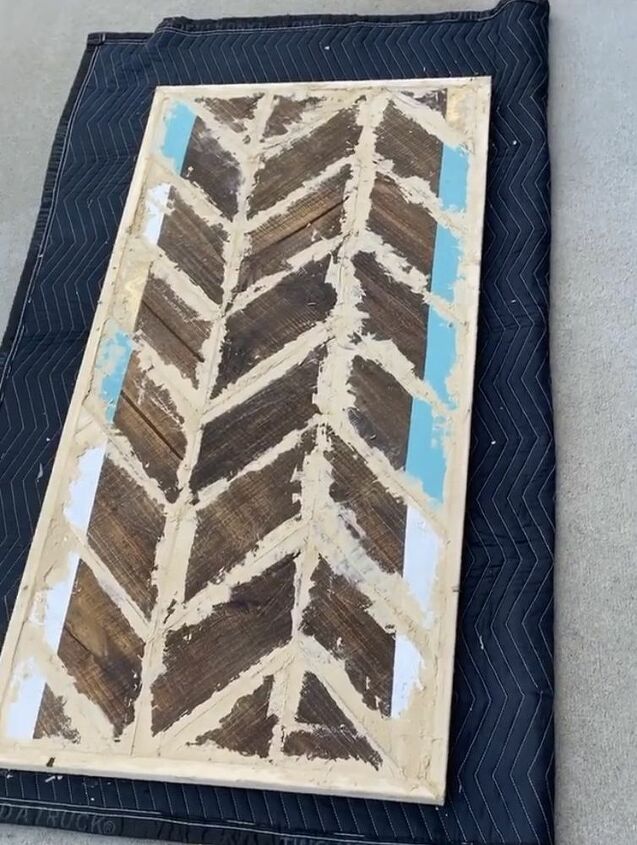
I took plastic wood filler and filled in all the cracks, gaps, and nail holes. This plastic wood filler is so easy to use, sand, and stain. It looks like a mess but the sander will sand off all of the excess.
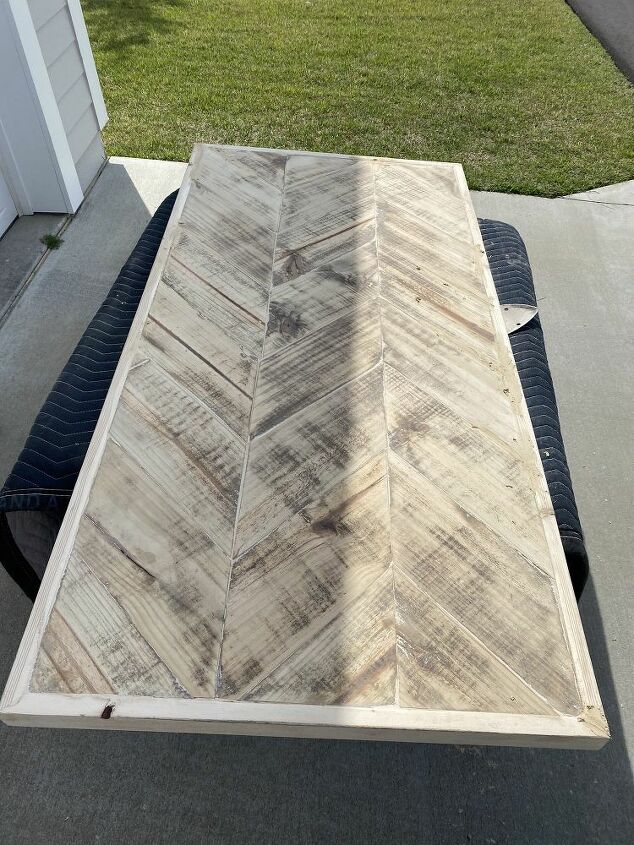
This part took the longest but so worth it! I used an electric sander and slowly progressed my sand paper from heavy to fine grit sandpaper.
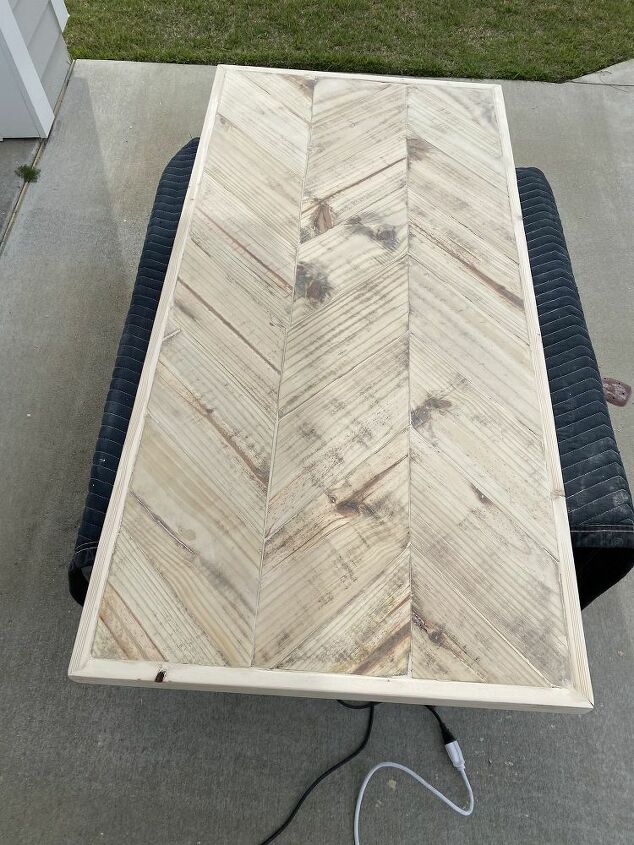
Finished sanding.
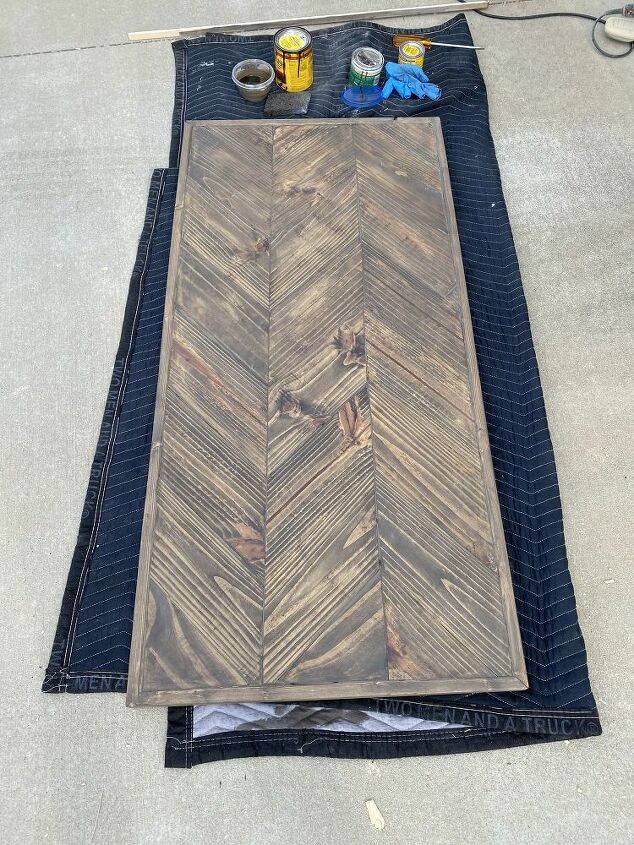
I mixed a gray stain and a dark walnut stain together to create this color.
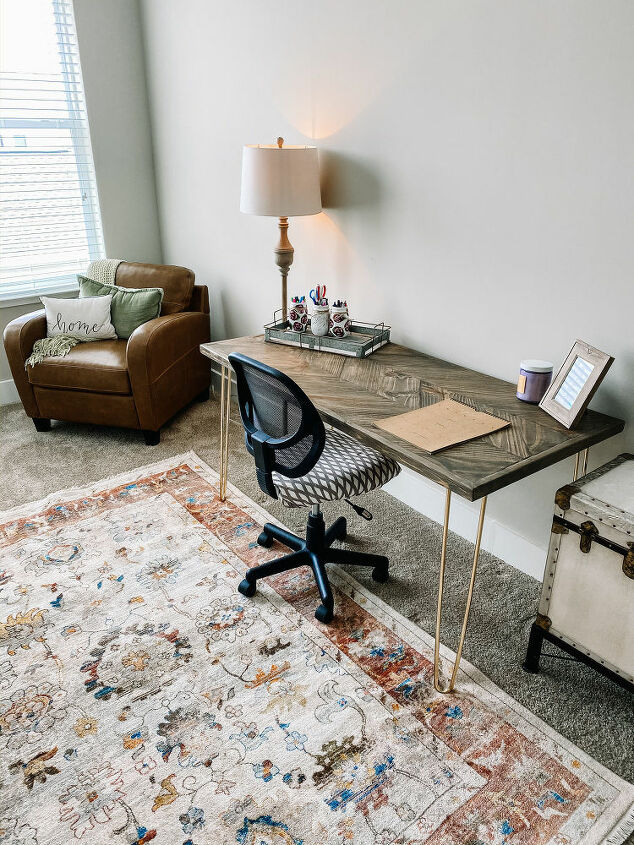
I bought legs off of amazon and attached them to create my new desk!

Resources for this project:
See all materials


Comments
Join the conversation
-
My goodness! Well done
-
How pretty! Well done


Frequently asked questions
Have a question about this project?
What a beautiful result from scraps of wood! I'd like to know if you put anything on the top like polycrylic for protection? Sorry about the spelling!
Love, love. Easily a CB2 piece.
Where did you get your particular style of hairpin legs you used on this desk? The link you gave on Amazon has similar but not as clean and graceful as yours. Black can be painted gold but the style is huge.
What happened to the ceramic (turquoise) tile that was along the edges?