


How To Make A Quick Wood Riser

I love decorating and staging vignette and something that makes decor look so good is having display items at different heights. When putting items together you need variations of heights to make it aesthetic to the eye. There’s many things you can use to do this, from books to risers to jars to boxes so today I’m going to make a riser.
You’ll need:
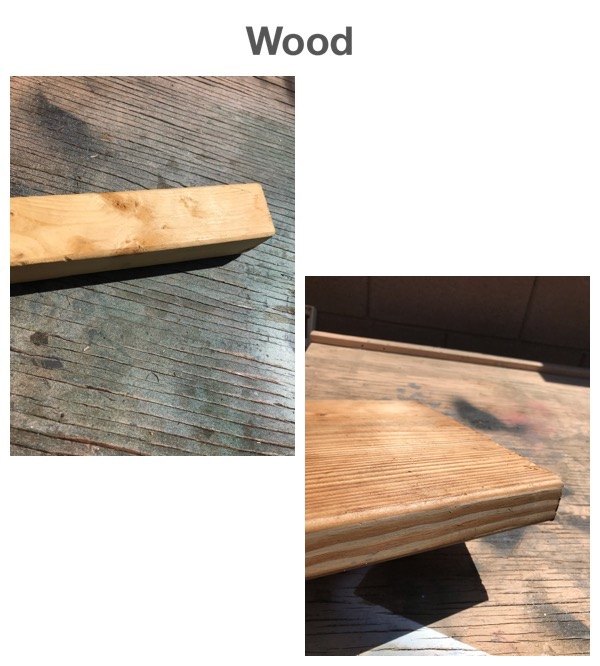
2x2 wood (you will need 4 - 2.5” pieces)
10x10” 2” thick (you can make any size you want I just used what I had)
4 3” screws
drill bit for pilot hole
screwdriver
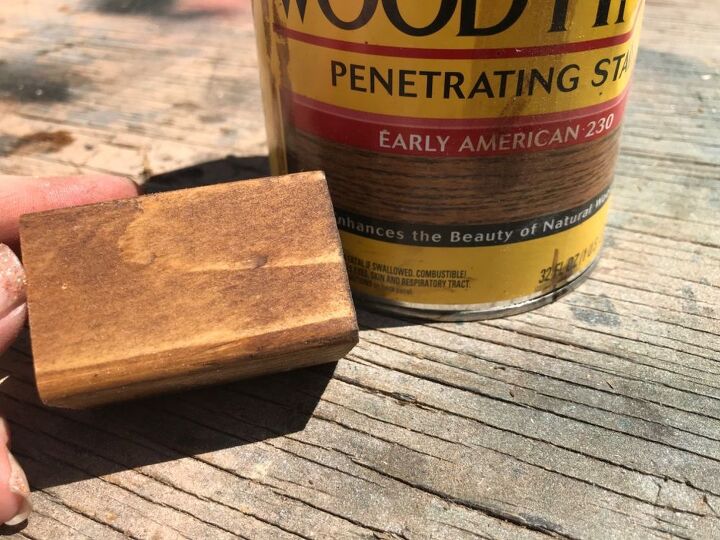
Begin by staining all of your wood pieces. I used Minwax Early American.
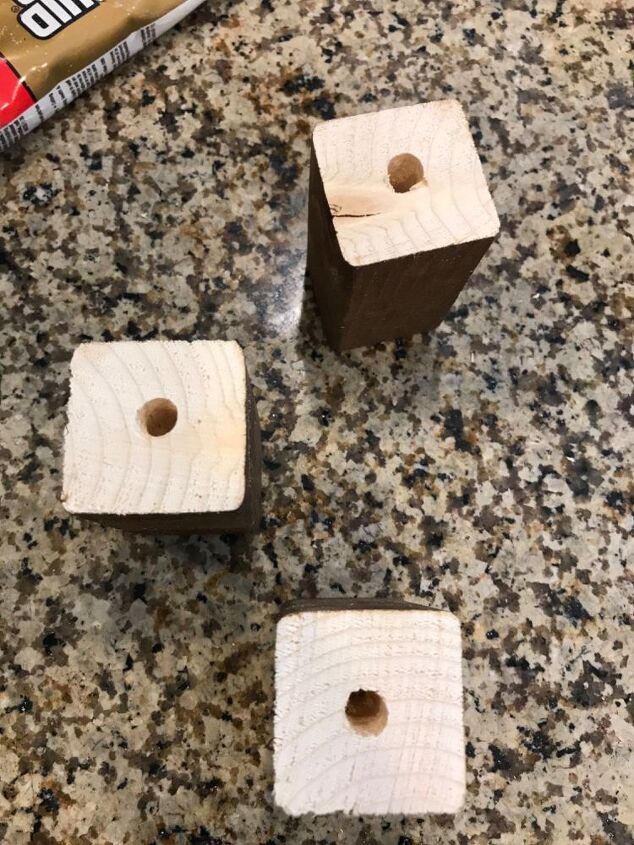
Next, I drilled a one inch hole in the 4 2x2x2.5” legs. I did this so my screw will go though the legs into my base of my board. My screws were 3" and I wanted to make sure the riser was steady and that the screws wouldn't go through the 2" top board.
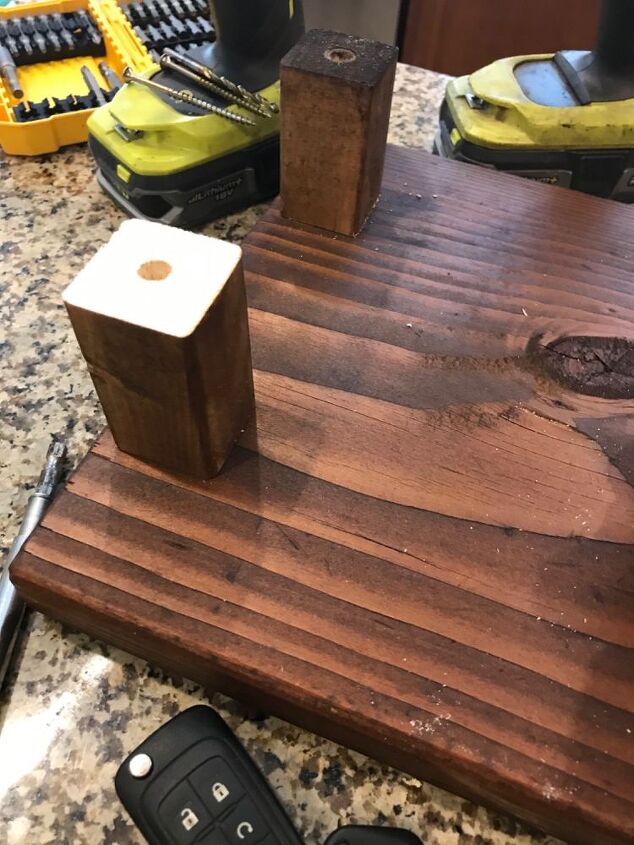
Then I lined the legs up where I wanted them and screwed them in to the base.
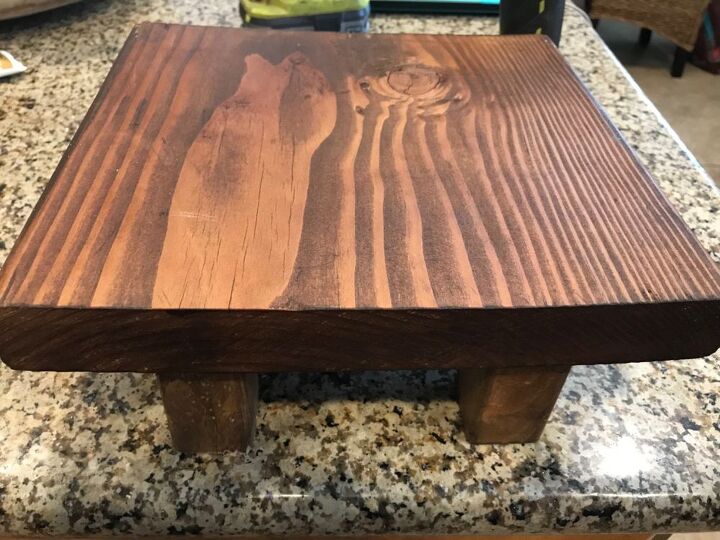
Flip it over and you have a sturdy riser!
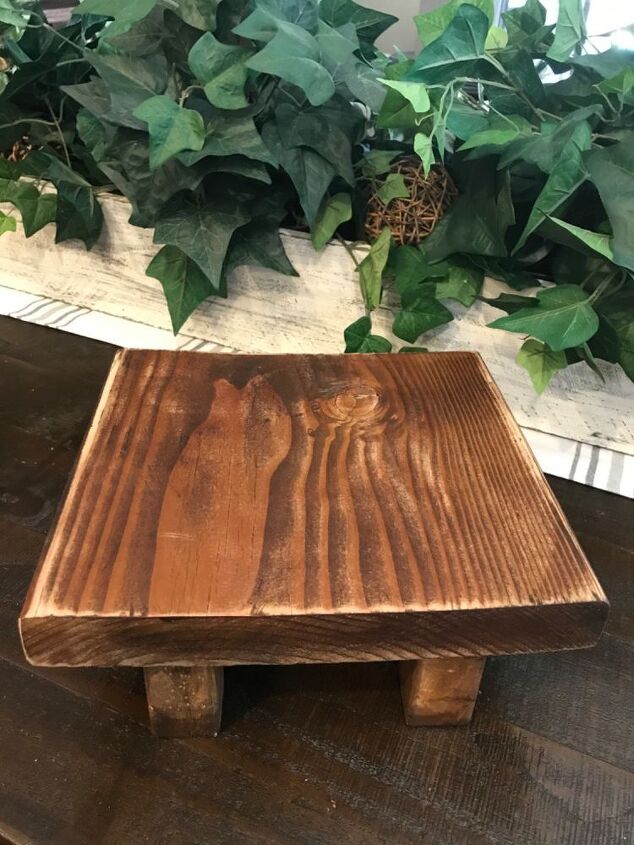
Sand the edges down a bit for a distressed look if you like.
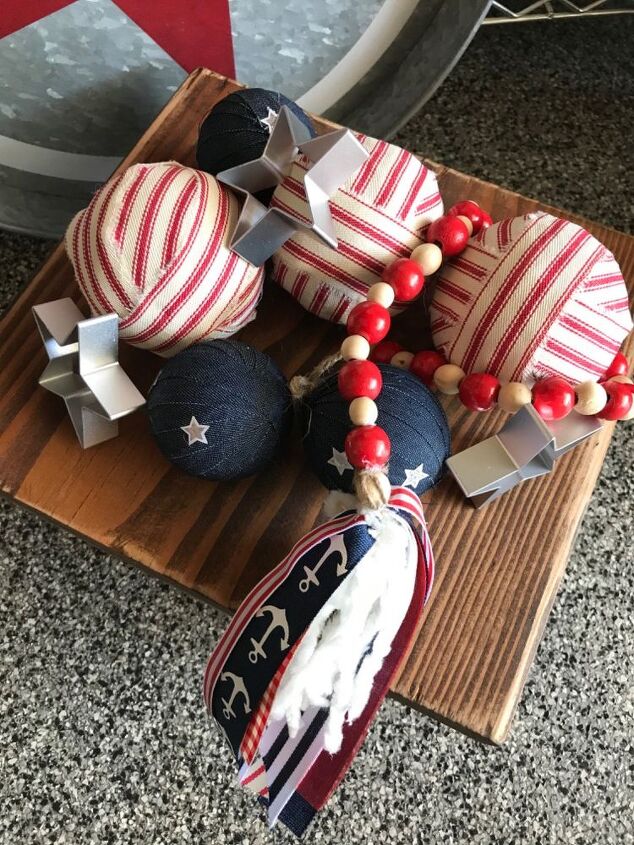
Now you're ready to decorate it!

This is a great way to add height to any look. See more great crafts on my YouTube channel Gilbert Marketplace.


Comments
Join the conversation
-
These are perfect for elevating house plants on shelves. Varying heights and textures make houseplant displays more interesting. Thanks for the idea!


Frequently asked questions
Have a question about this project?
Can you chalk paint old panels