


Cabinet Makeover- When Everything's Closed

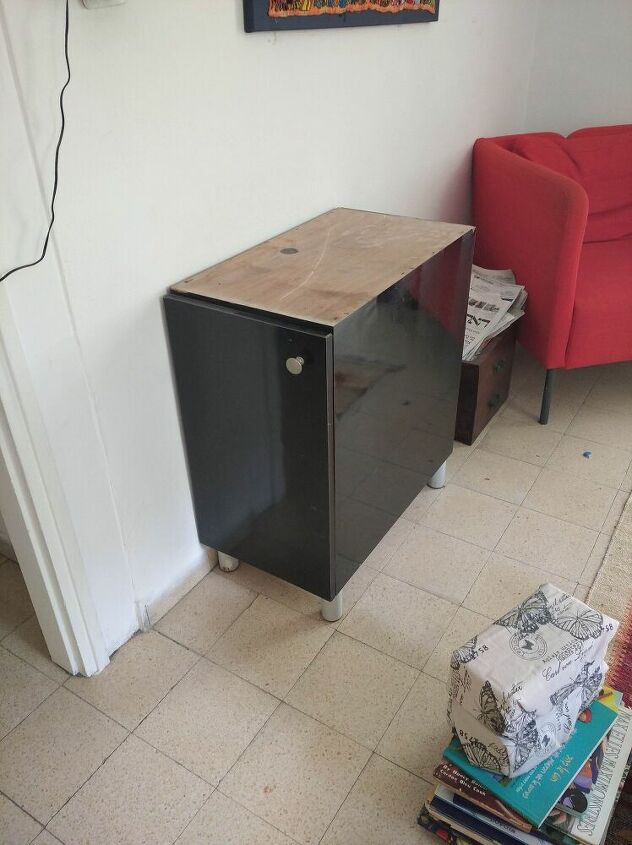
Hi friends! I'm not sure about the regulations where you are located, but currently in my area all shops besides for groceries and pharmacies are closed. This project is a product of not having the right materials, but going for it anyway! I've had this little cabinet for about a few months now, and to say the least it is yuck. I got it for free second hand, and I really wanted to do something about the icky black (is that laminate?) and those tacky silver legs.
I'm not gonna lie, I was not too sure about this project from the start, because I really didn't have many materials on hand. I figured I may as well give it a shot (hey, I've got the time!) and worse comes to worse, I'll fix it once the hardware stores reopen.
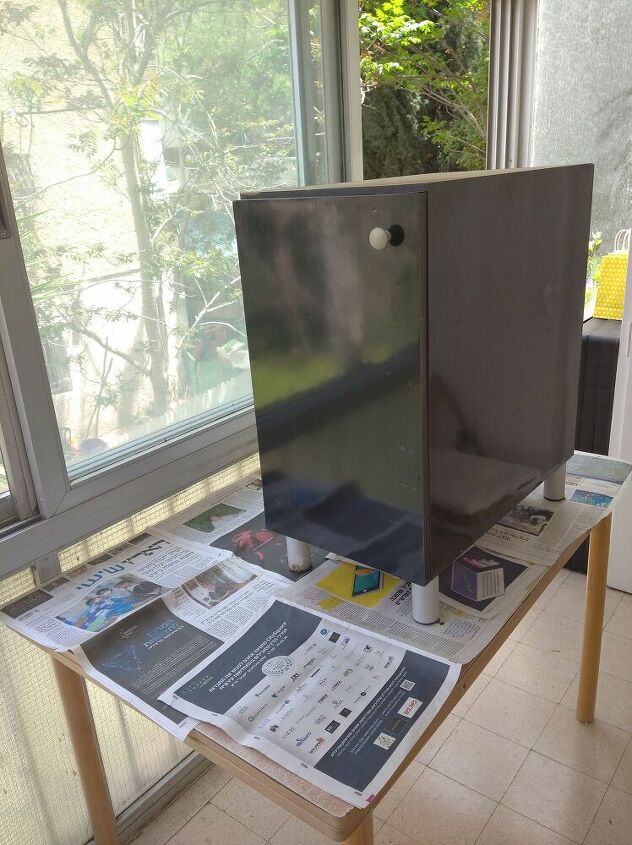
I set up my workspace by covering the surface with newspaper, and opening the windows. I wanted to first cover up all that terrible black with a coat of white to at least have a blank canvas to work with. (I was thinking of painting it yellow, and to cover up all the black with yellow would take MANY coats. A coat of white helped to cover the black).
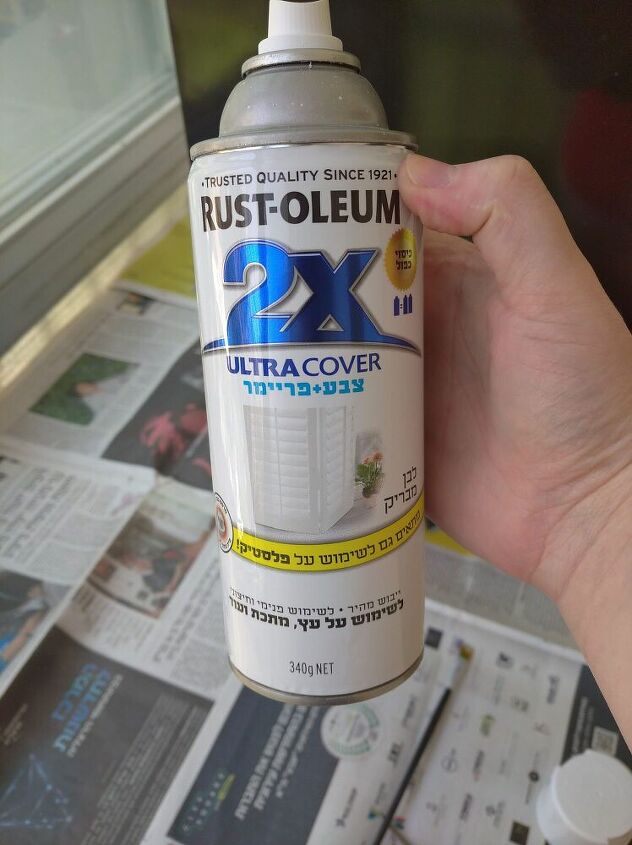
Spray paint! I had this white spray paint on hand, and figured it would be the easiest way to cover up the yuck yuck black.
Side note: if this was a piece of furniture that was of value I would NOT spray paint it!
I sprayed one coat of white over the entire piece except for the top.

Once the whole cabinet was painted white, I let it dry with the windows open for about an hour.
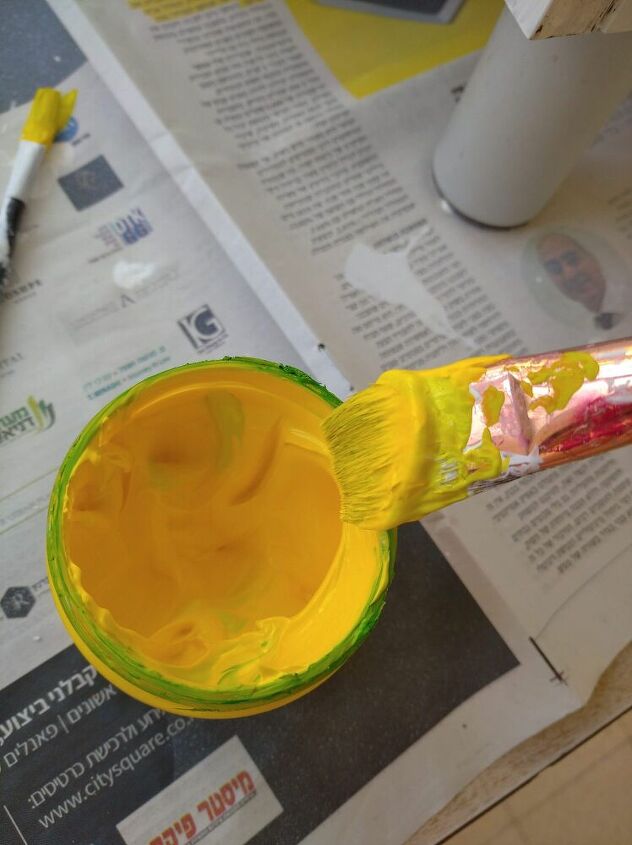
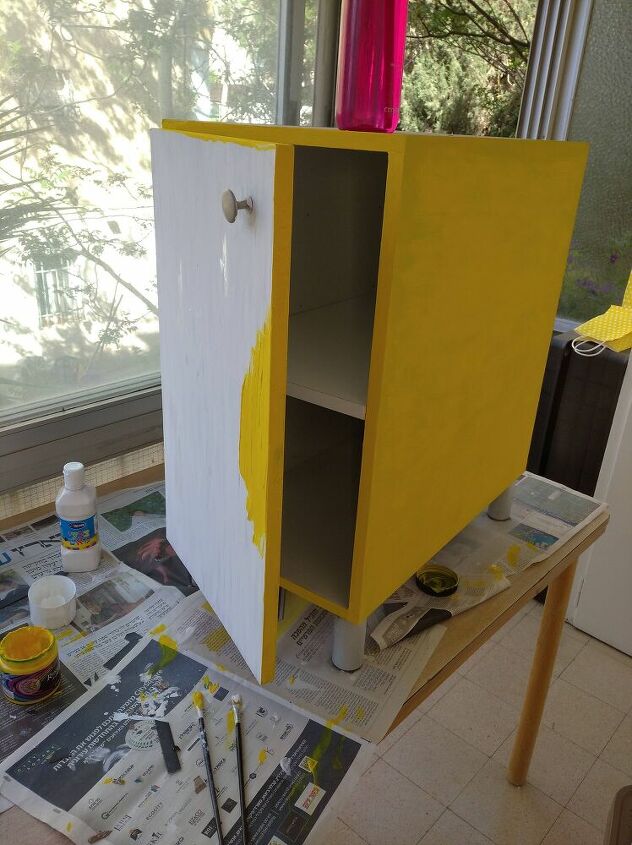
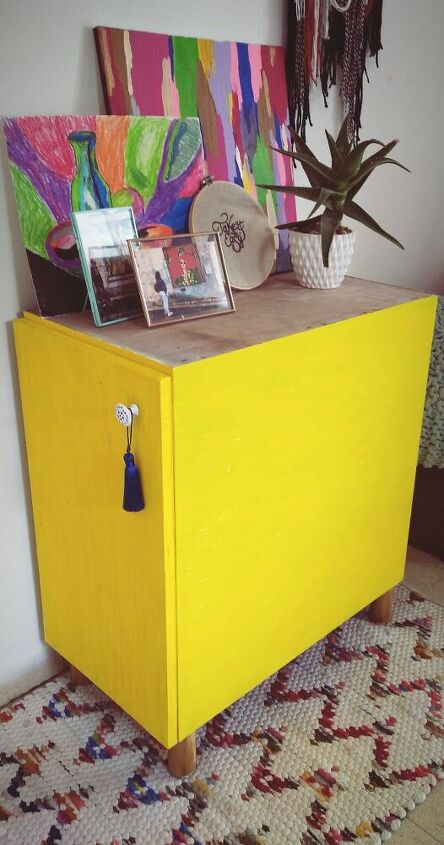
After the white coat was fully dry, I pulled out my most yellowy yellow and decided to go for it! It's bright, it's bold, it's the real deal yellow.
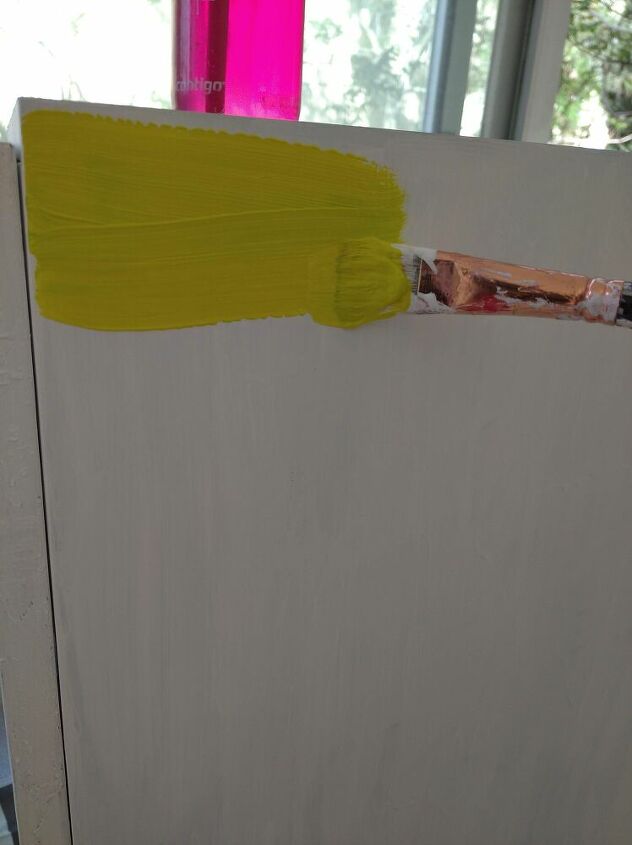
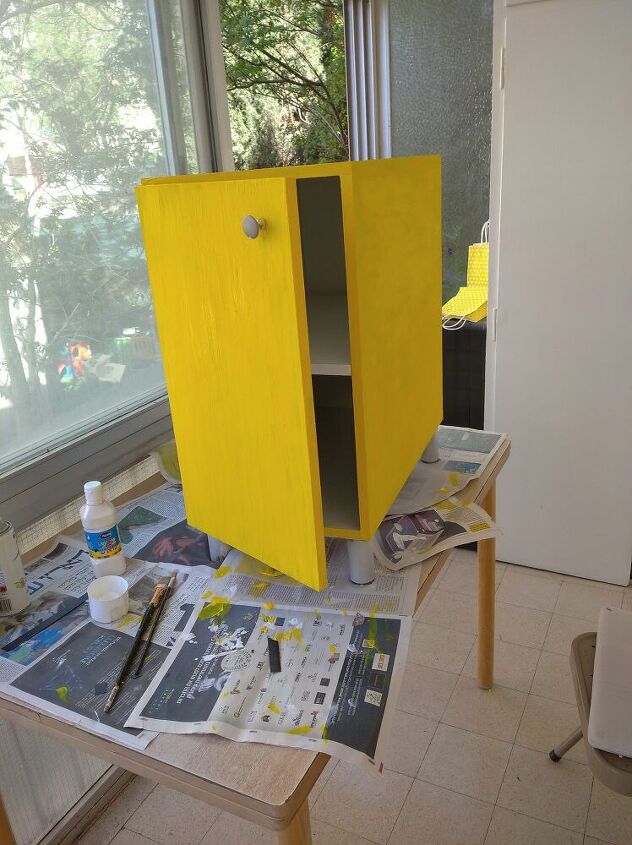
I painted the whole cabinet (2 coats) using this primary yellow. Again, being super honest here, I had many moments of doubt. Like this is really really YELLOW.
But you know what, I went for it, and it kind of turned out awesome in its own quirky way.
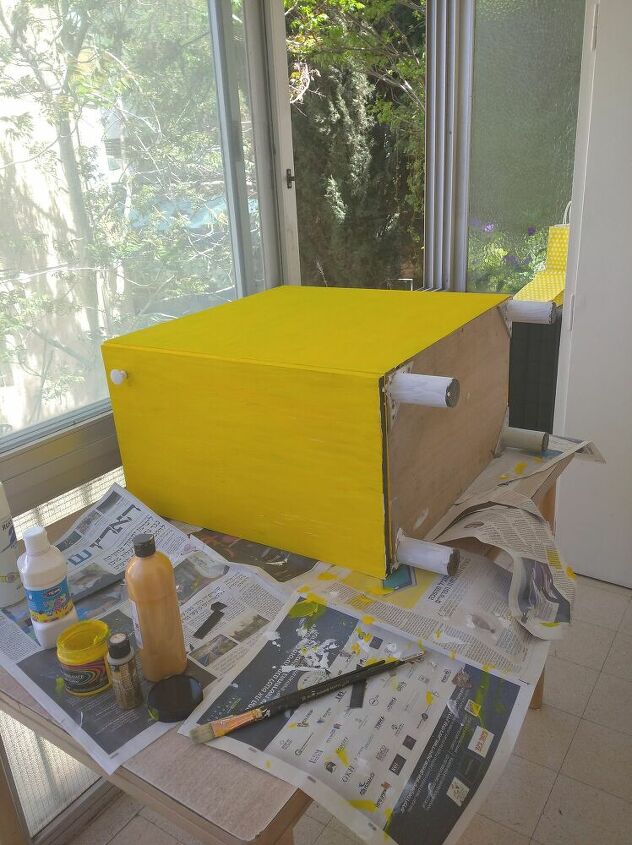
I painted the whole cabinet and let it dry over night.
I woke up to this mass of sunshine! I had been looking on Pinterest for some inspiration, because I NEEDED to get rid of the tacky silver legs.
I flipped the cabinet on its side, and just as I did with the cabinet, I covered the legs with a coat of white paint. This way the color that I choose to paint them will not be transparent.
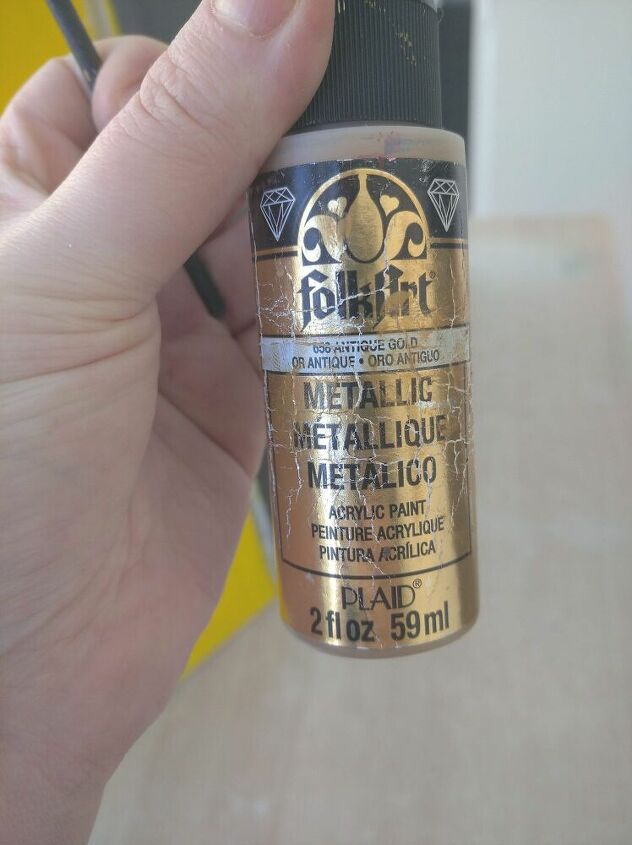
I went for gold! I really like how the yellow looks with it.
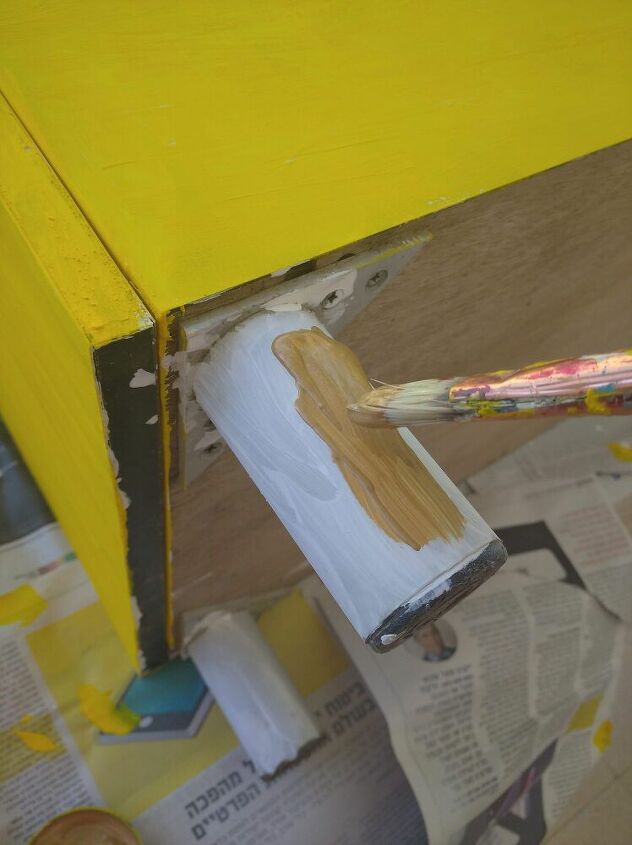
I covered the legs with a coat of gold paint. This project certainly felt more like arts and crafts than it did furniture painting and I had fun!
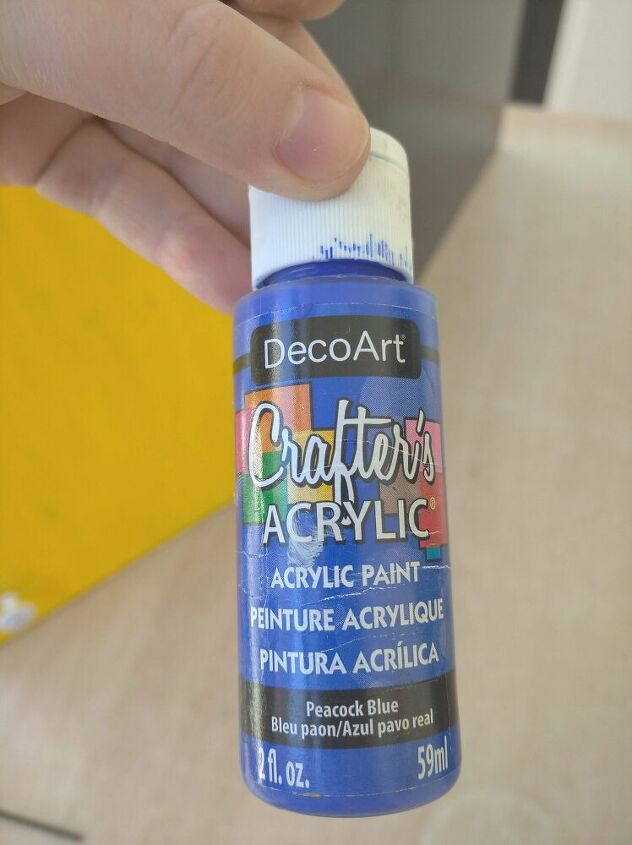
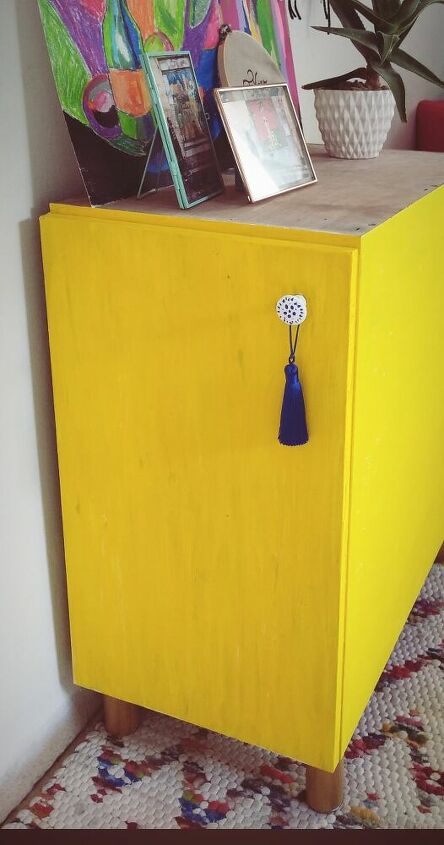
I wanted to give the knob on the door some character as well. I grabbed some blue paint and went for a Delftware inspired look.
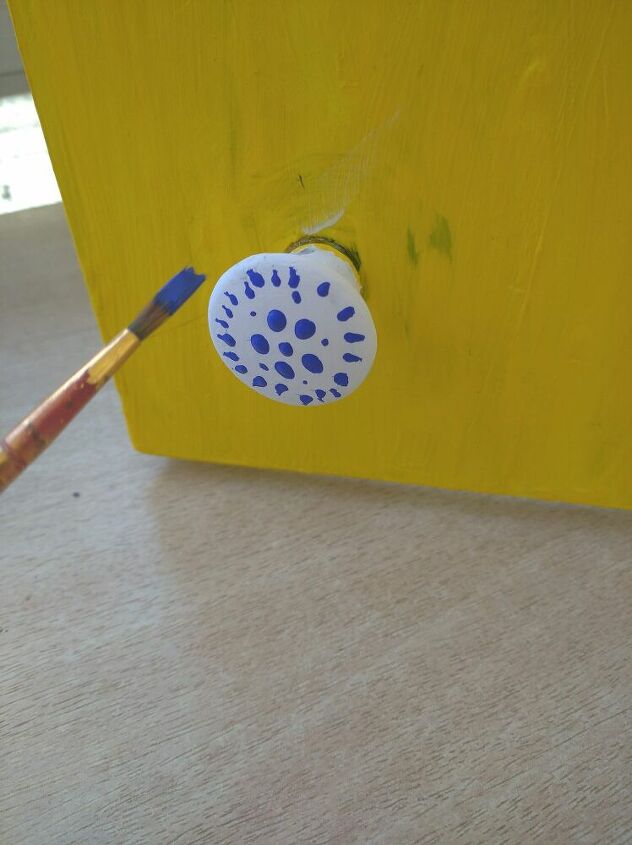
It's a simple design, but I like the look of it!
I flipped the cabinet back over once it was all dry, and hey, not too bad!
A few months later...
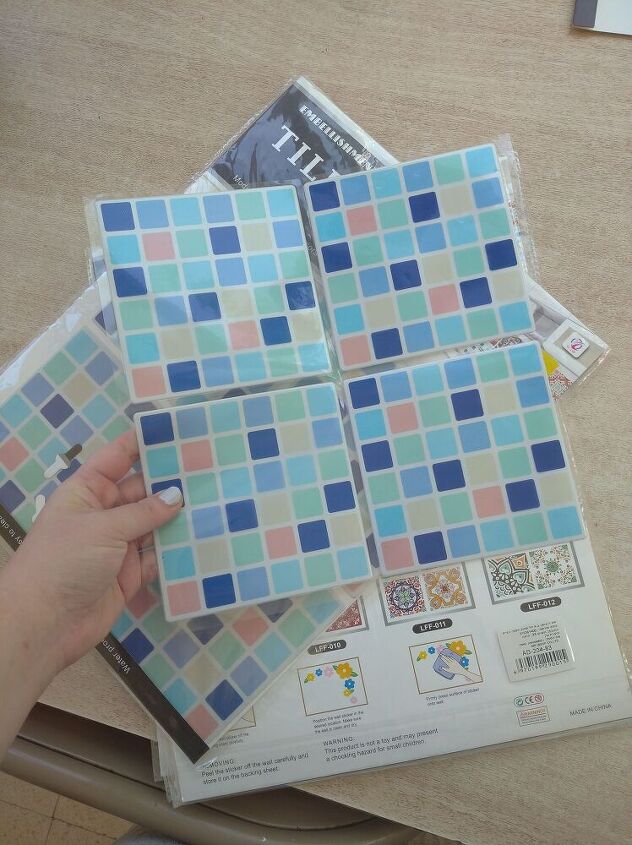
I really wanted to go for a mosaic tile look for the top, so I was (finally) able to make it to the Dollar Store and pick up these really well priced peel and stick tiles. $3 a pack!
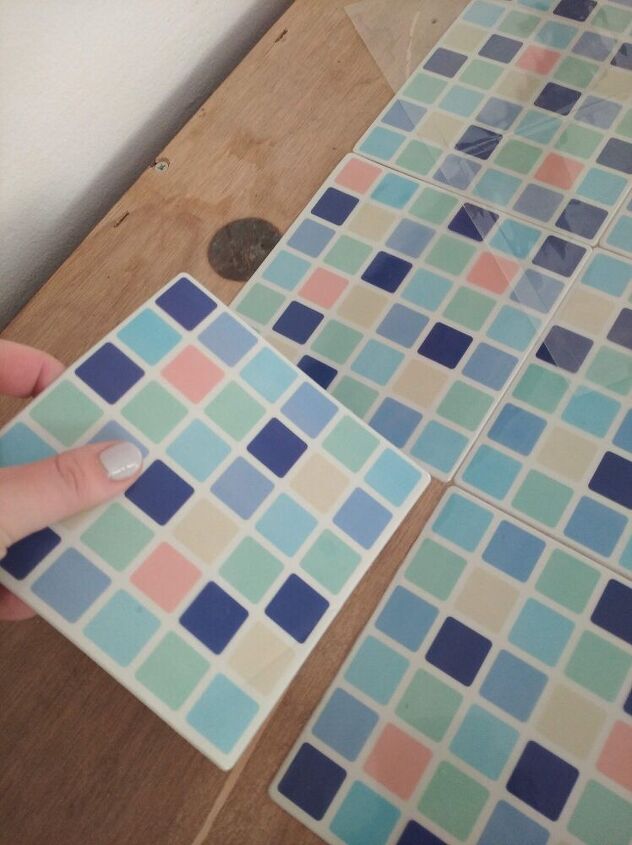
This was my first time using tiles like this, and I must say- they are SO easy to use! They literally act as stickers, so you just peel them and put them in place.
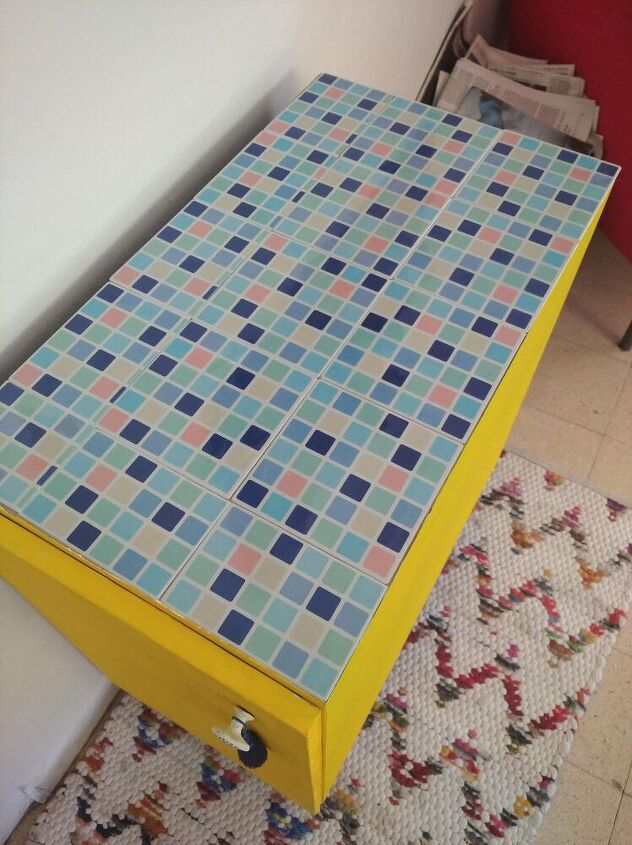
As you can see, I had to trim a few to fit the top, but for a non pro like me, I think it turned out pretty nice!
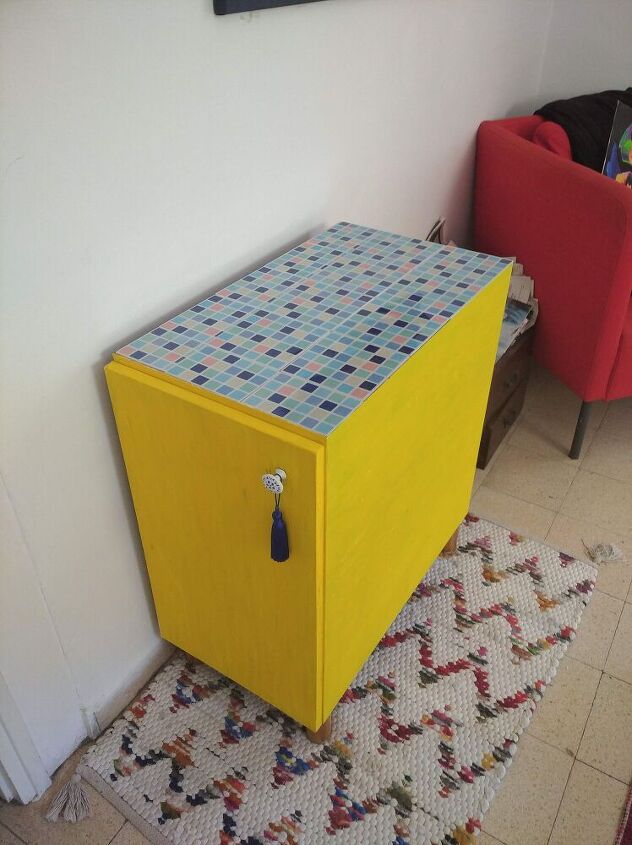
All in all, I think this piece was a success! From tacky and blah, to sunny and quirky! It certainly brings some sunshine into our home!
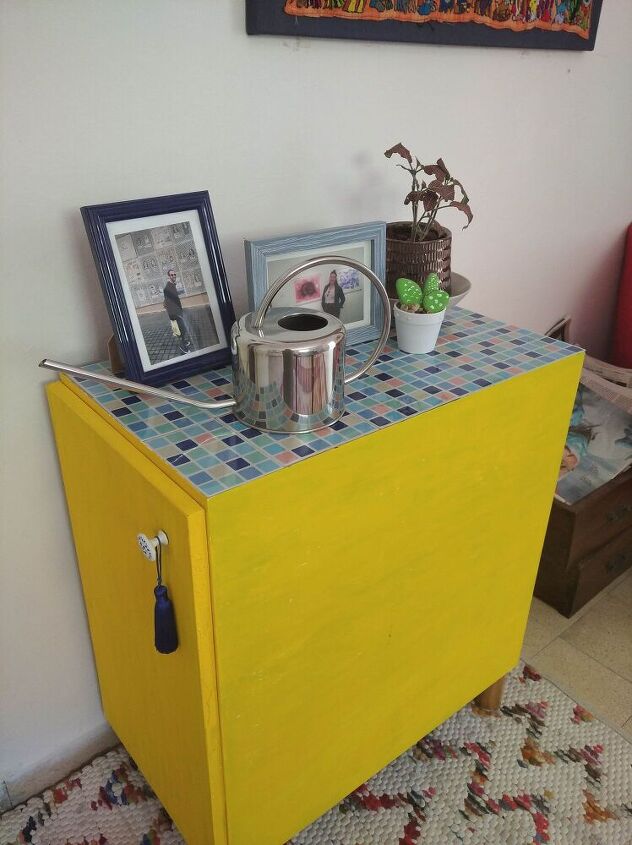
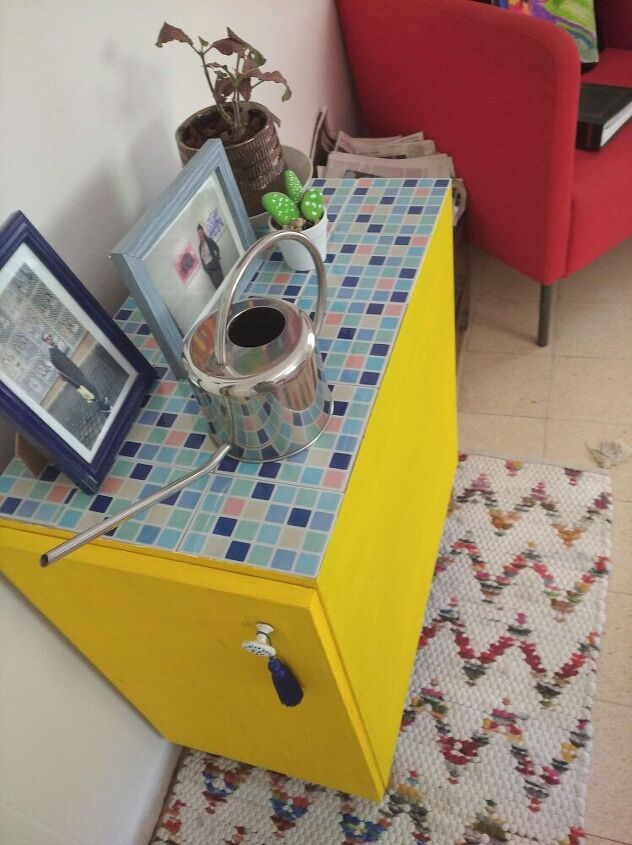
I hope you like this project!


Comments
Join the conversation
-
Love the pop of color. Now if it was me it would be bright orange!
-
The tiles really made the piece!


Frequently asked questions
Have a question about this project?
Exactly what color yellow did you use? I thought Canary yellow was eye popping but yours is extremely so. I love it.
can I ask where the tiles came from
How many coats of yellow did you do? From the pictures it looks like it needs another coat or 2.