


Painting The Patio Umbrella

Do you have a really ugly patio umbrella kicking around? Is it still fully functional, just covered in some old, mystery stains and is severely sun faded? Don’t worry about buying a new one. Read on to get the skinny on painting the patio umbrella!
- Primer – I used the Zinser 1-2-3 which I had left-over from my IKEA nightstand remodel this spring.
- Small paint roller
- Large (standard) paint roller
- 1″ paint brush
- Paint tray
- 1 L of paint in whatever colour you’d like + enough to do the cap
- 8 M Fringe/trim/tassel/bead work of whatever persuasion you’d like
- Hot glue gun and 4 sticks
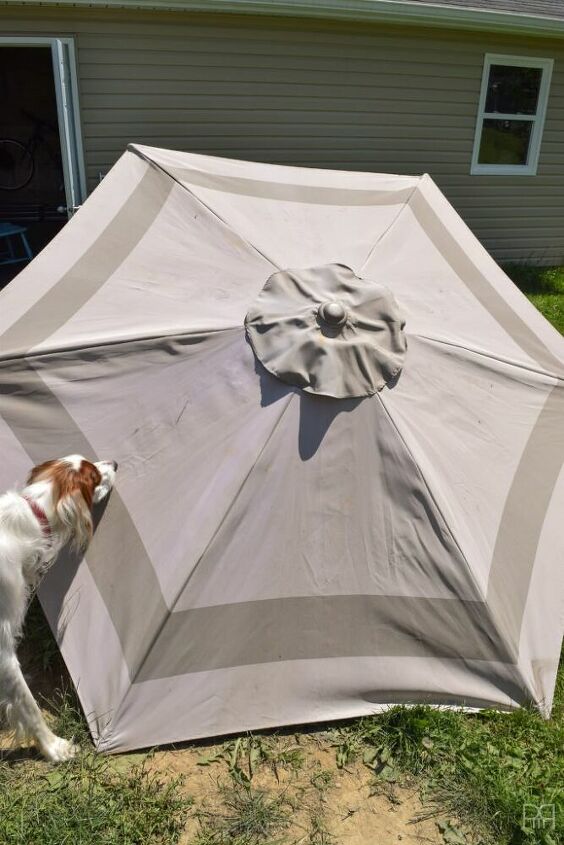
Make sure your umbrella is dry, clear of any debris or other icky things that stick and hide in umbrellas. I laid mine out in the shade of the garage so that I could paint without frying in the sun.
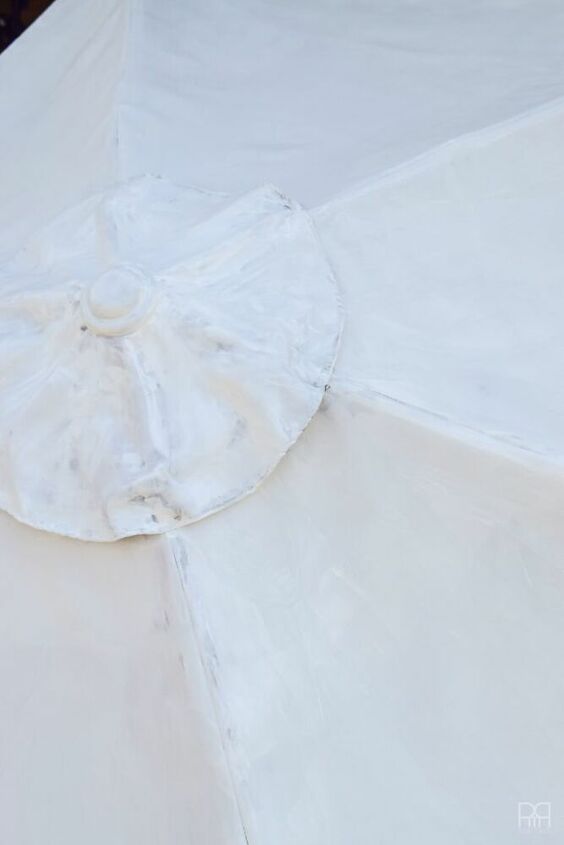
Start painting with the primer! You need fair bit of pressure to ensure even coverage of the toile, some of it will bleed through the toile to the other side, and getting all those nooks and crannies caused by the mechanisms underneath.
Take your time and try and get as much on there as possible. It’ll look absolutely hideous while you do it, but that doesn’t matter since you’ll be painting over it. I really can’t recommend the Zinser 1-2-3 primer enough – it helps prevent against told, rust, discolouration etc.

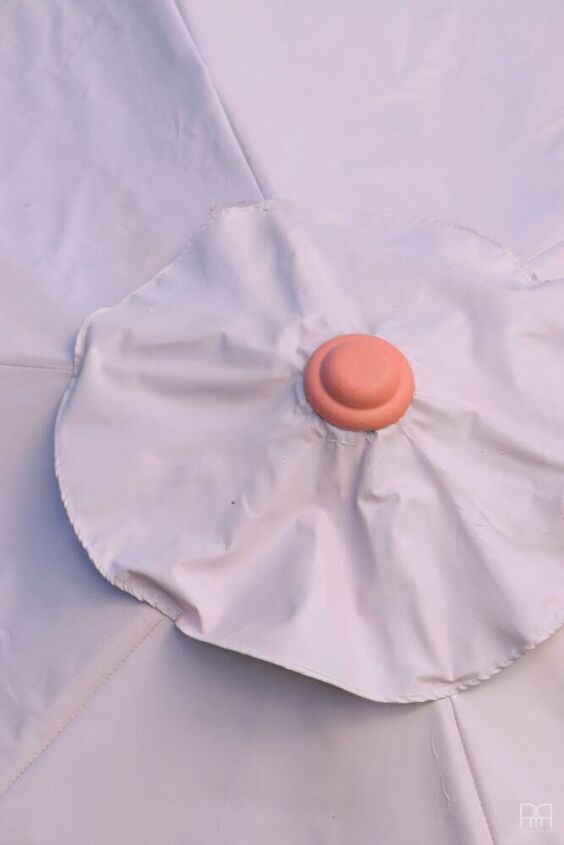
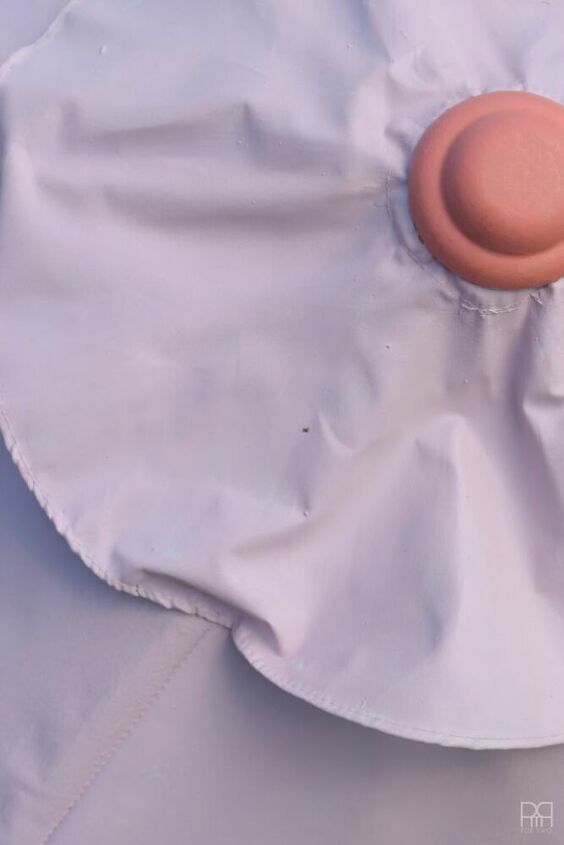
If not, paint away! It took me two coats like with the primer, but in the end everything was covered. I used some left-over house paint (that’s right – this colour is also somewhere in the PMQ!) so this project has cost me nothing so far. Put the little cap back on, which you can't leave as is or paint.
Let it dry overnight! Thankfully we had a rain-free evening so I was able to leave it out in the backyard to dry.
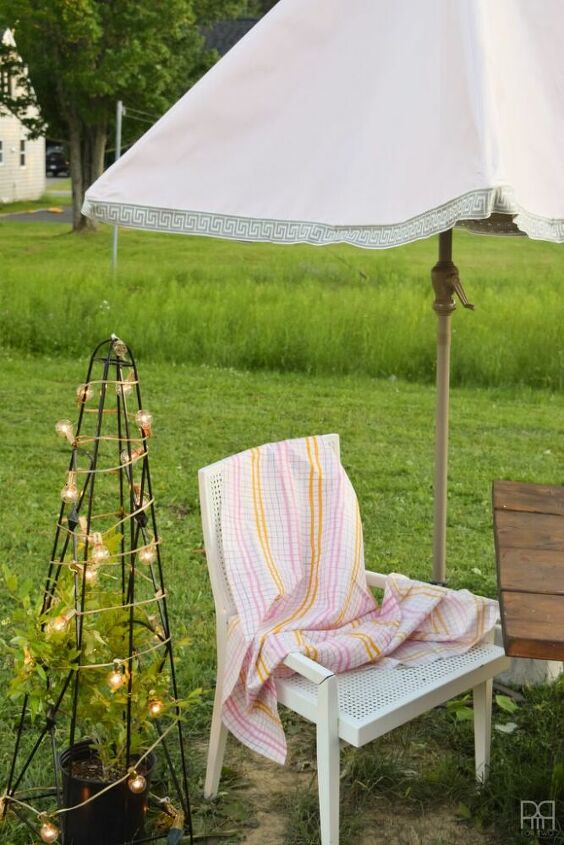
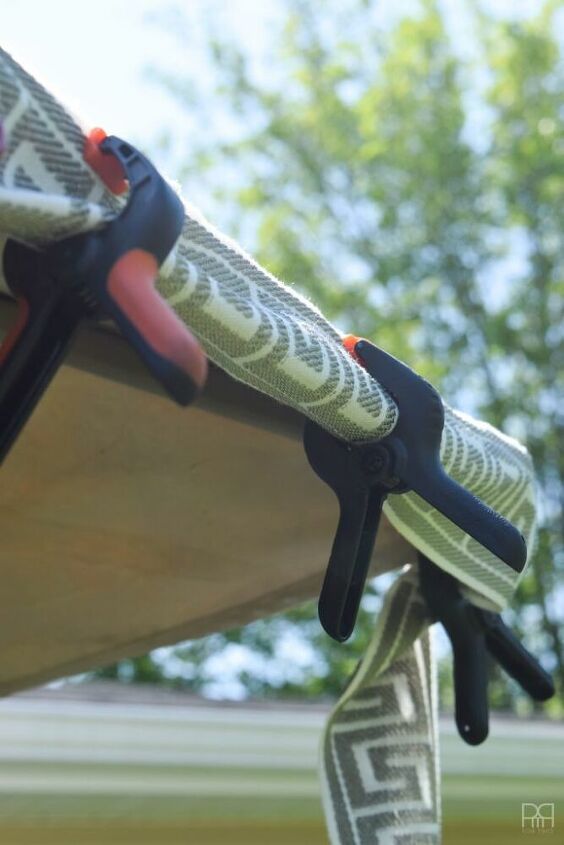
Hot glue your fringe/trim/detail into place. I found this beautiful trim at Fabricville and it was 50% off. I used clamps to hold it into place while it dried.
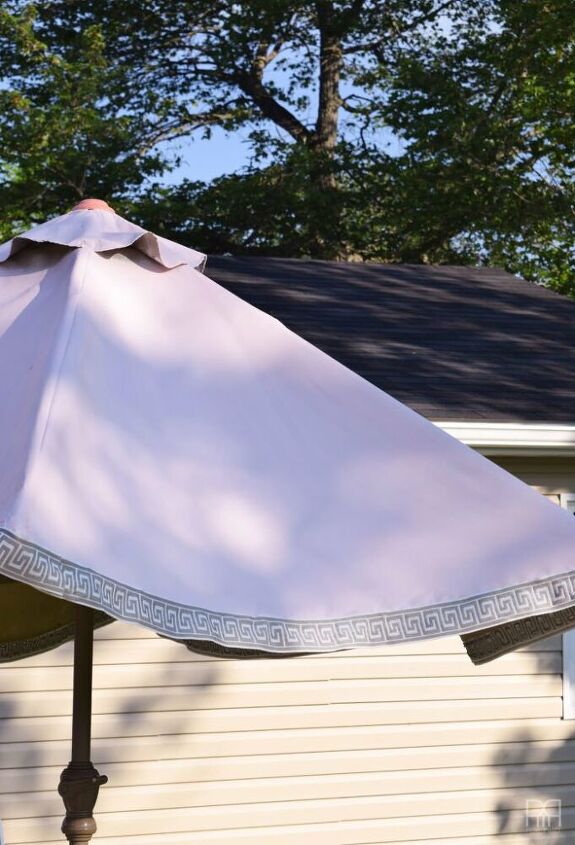
Remove the clamps and enjoy your afternoon underneath a beautiful new umbrella! For more DIY projects visit me at https://www.pmqfortwo.com/
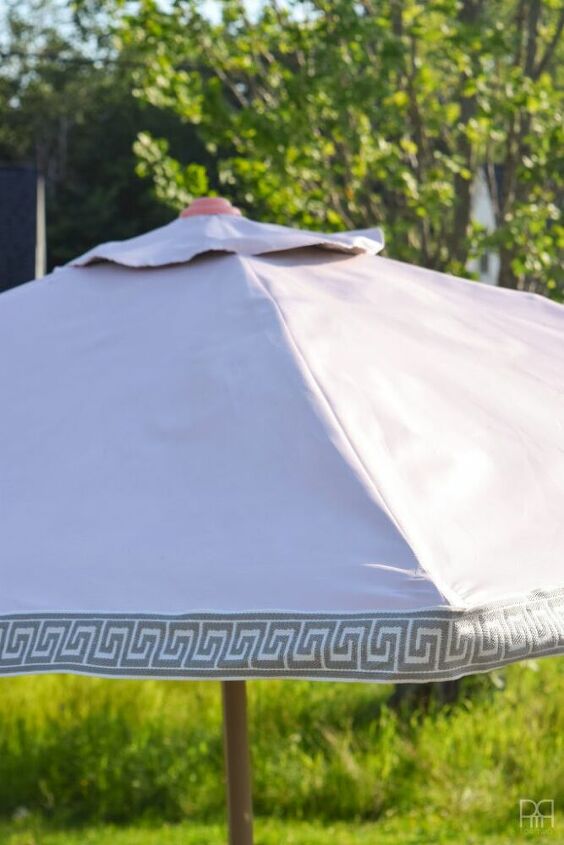
Look at this beauty now!


Comments
Join the conversation
-
I did this several with a huge umbrella, it lasted a couple of years and then rotted the fabric. I wish I would have mixed paint with fabric softener, may have lasted longer.
-
The User above is correct... the hot glue will let go once temperatures get up there.
You CAN use the hot glue to hold the fabric trim in place while a regular fabric glue dries.... I like Aleene's OK to Wash It glue or Aleene's Flexible Stretchable glue
Also... there are additives that will make a craft paint into a fabric paint (adds a flexibility component to the paint)


Frequently asked questions
Have a question about this project?
I used fabric spray paint and it was easy.
I am afraid you might find that your hot glue doesn’t hold up to the heat in the sun.
Does it bleed through to the underside of the umbrella. The paint might not because the primer acts as a sealer but, what about the primer? Can you show the underside.
My umbrella is a dark brown. Will the white primer soak through and be blotchy on the inside? Do I have to put primer on the inside of the umbrella?