


Old Windows Greenhouse

I’ve dreamt of having a huge greenhouse made of old window panes but the hubby didn’t think it was a good idea being that we don’t have a large backyard. So, one day I decided to build myself a mini one that I could use for my tomatoes. I love love how it turned out! 🍅🌿🍅🌿
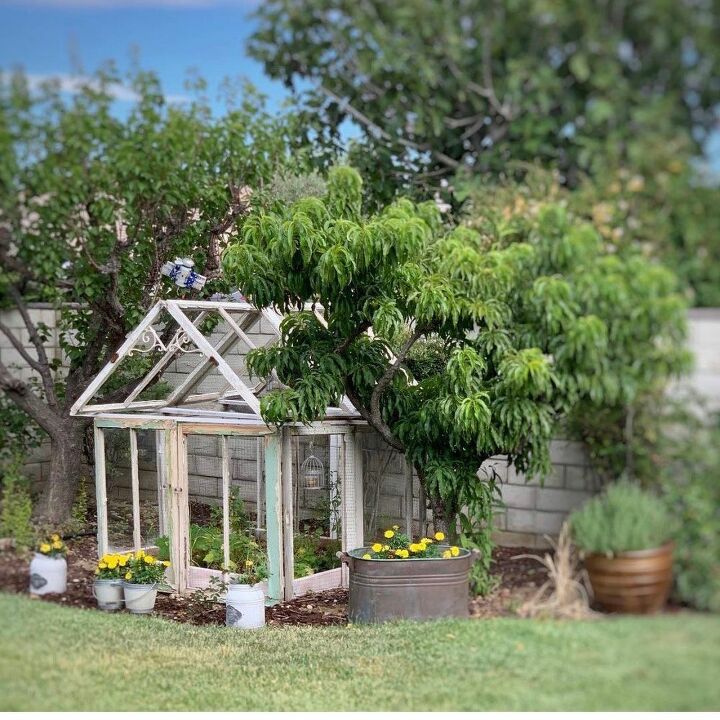
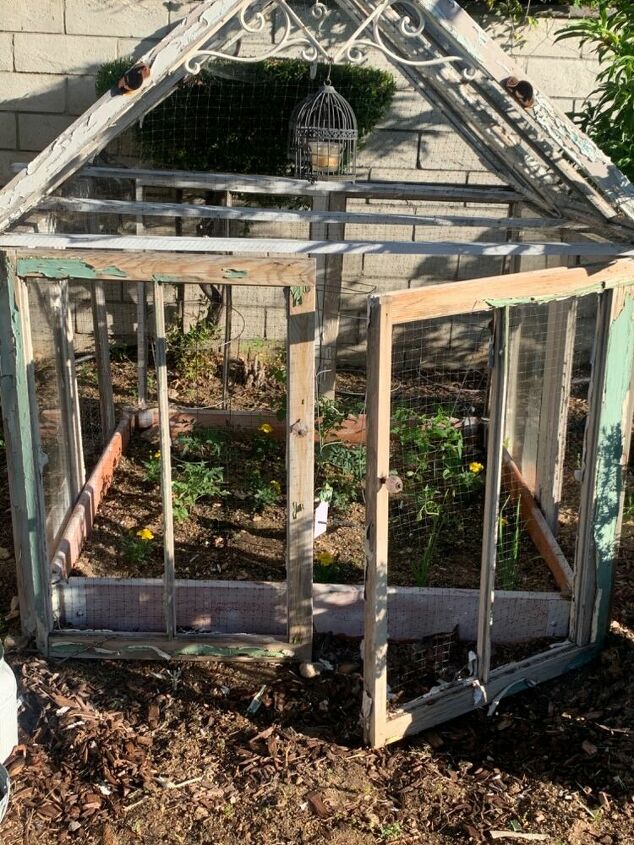
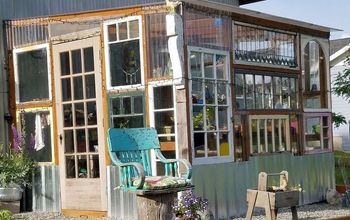
A photo of my completed greenhouse.
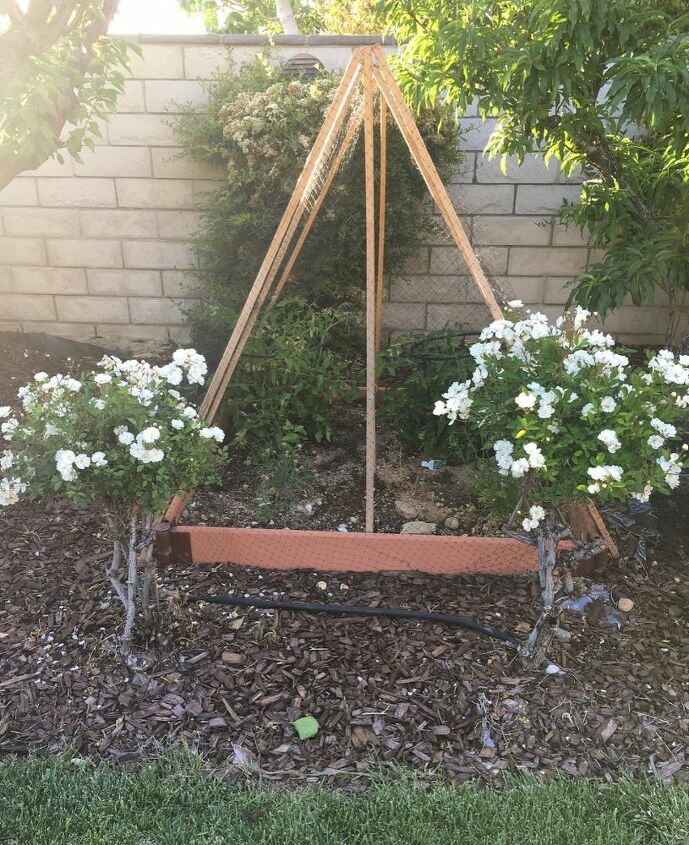
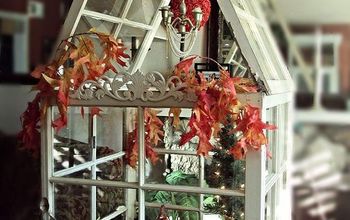
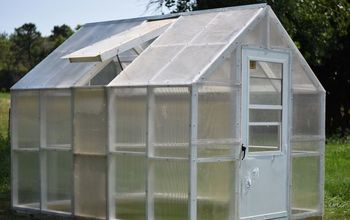
So, this is what I started out with, not bad but not too good either. I had no plans just a vision of what I wanted to do. I wanted a better home for my Tomato 🍅 plants. It was a little challenging but I’m happy with the results. I will explain the steps further but before you begin, look at photos that can inspire your vision.
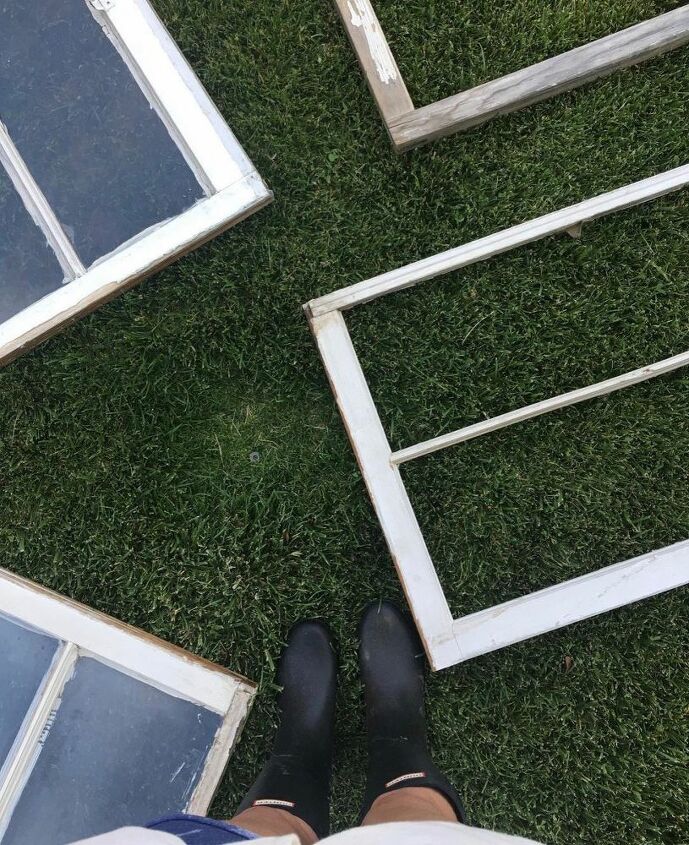
I was lucky, I found someone that sold old windows for $5 a piece. I used 12 windows for this greenhouse and picked similar sizes to keep it less complicated for myself.
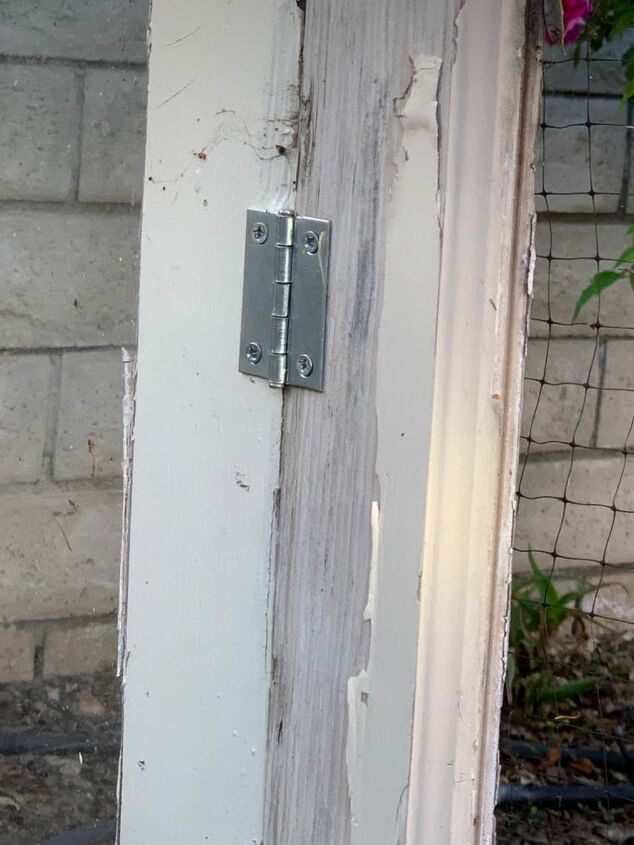
I used hinges to attach the windows to each other. I used 2 hinges per every 2 windows; one for the upper part and a second for the lower part of the windows. I felt this would provide more stability. It was very easy and just a matter of screwing them in place.
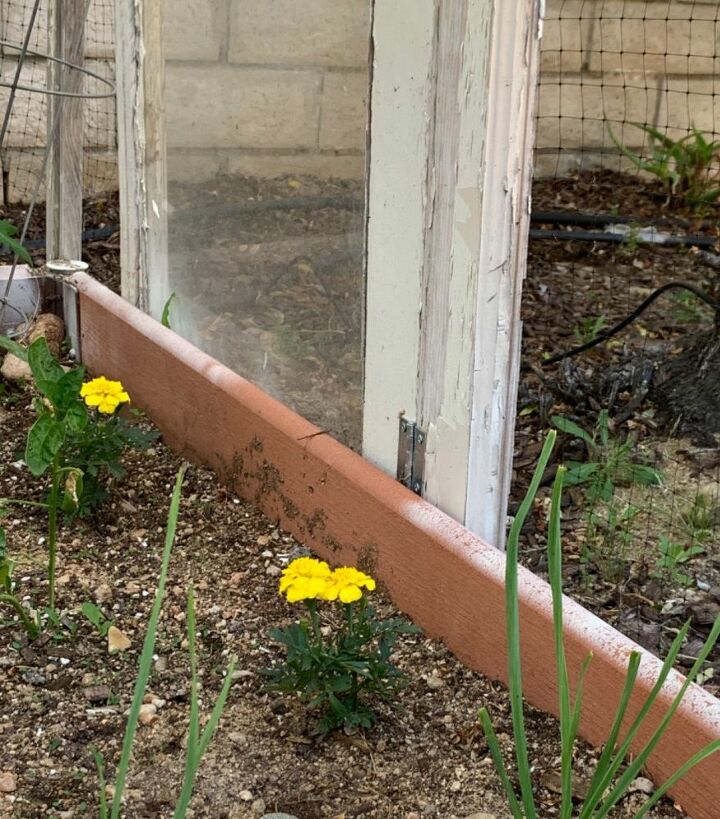
In my before photo above, I showed a photo that included the base for my previous tomato cover. I won’t call it a greenhouse lol Anway, it was one of those pre-fab garden beds. You can either choose to purchase that or simply get wood and build a base for your greenhouse. I think I’d do that if I hadn’t already had a base. All I did after I attached the windows to the hinges, was screw them into the base at the bottom. I did this all around the base except at the front, where I planned to build mini doors using windows. You will see what I mean later but just picture 2 windows attached by hinges and those windows then screwed into place at the base to secure them in place, did that make sense 🙆🏻♀️ You would do this to both sides of the house and also to the back, leaving the front open to attach the doors.
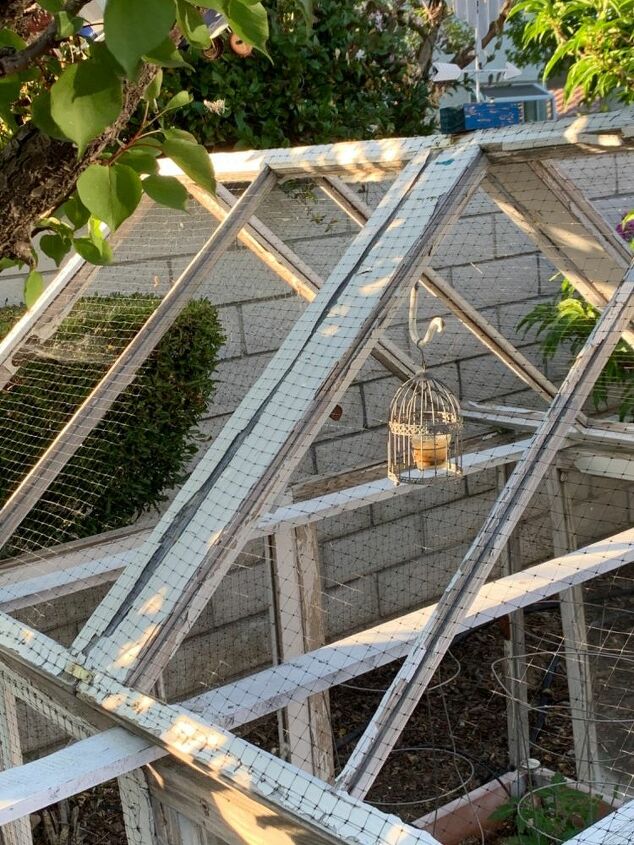
Originally I thought I could just attach the windows/roof on top to the sides of the windows BUT that didn’t work lol so, I decided to drill three 1x4s on top of the windows from one end to the other. I drilled one towards the back of the house, in the center and towards the front. They’re each 6ft long, I wanted them to extend over the sides of the house for decor. I then placed the windows on top of them and leaned the tops towards each other like a roof, triangle shape. I hope that makes sense too 🤦🏻♀️
Here’s another view of the roof and the 1x4s extending over the sides of the house.
I also used windows for the doors and attached them also using hinges. Each window was attached at one only side and onto the windows that I used for the sides of the house, leaving the front of the windows open so I can access my tomatoes. I purchased little glass door knobs from Hobby Lobby and attached them to the windows to make them look more like doors.
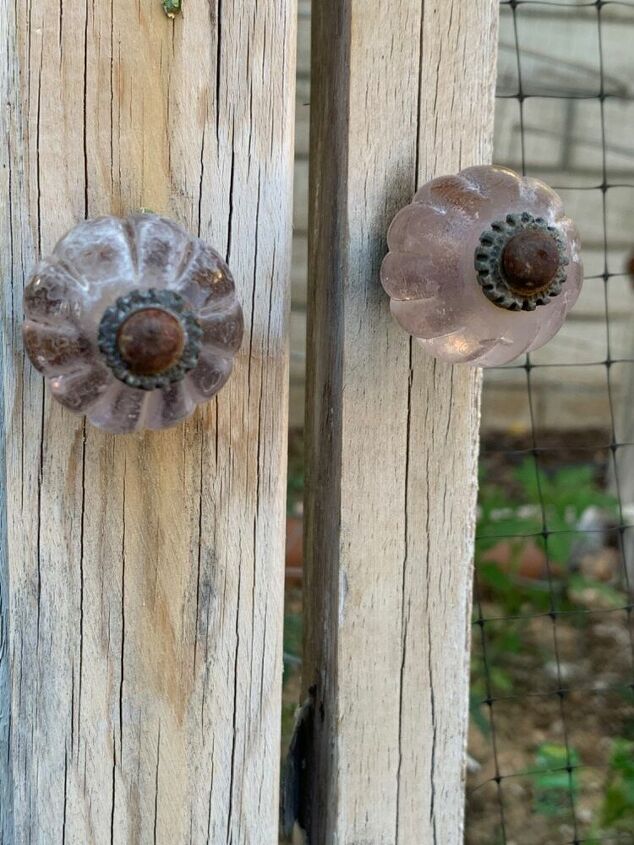
A close up photo of the knobs, I really think they look like those old glass door knobs 😍
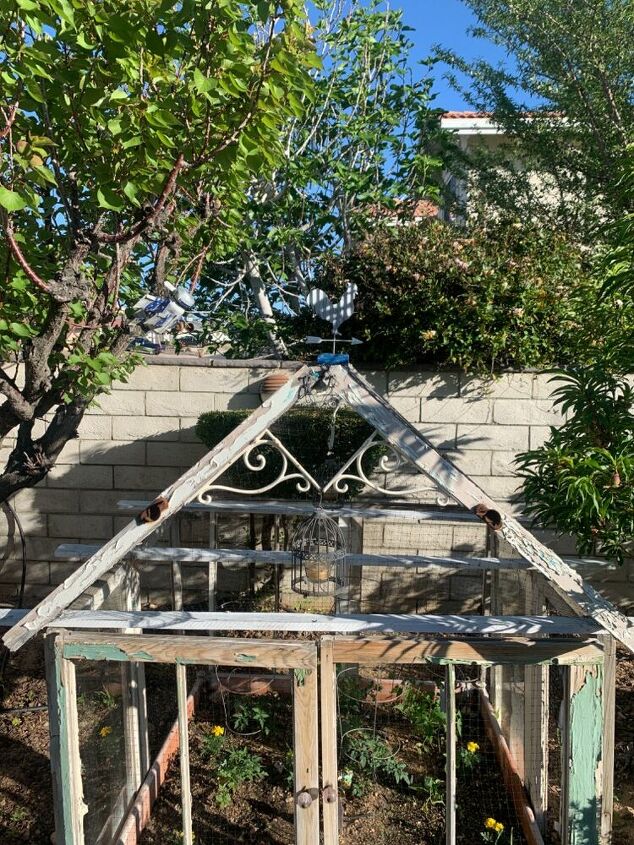
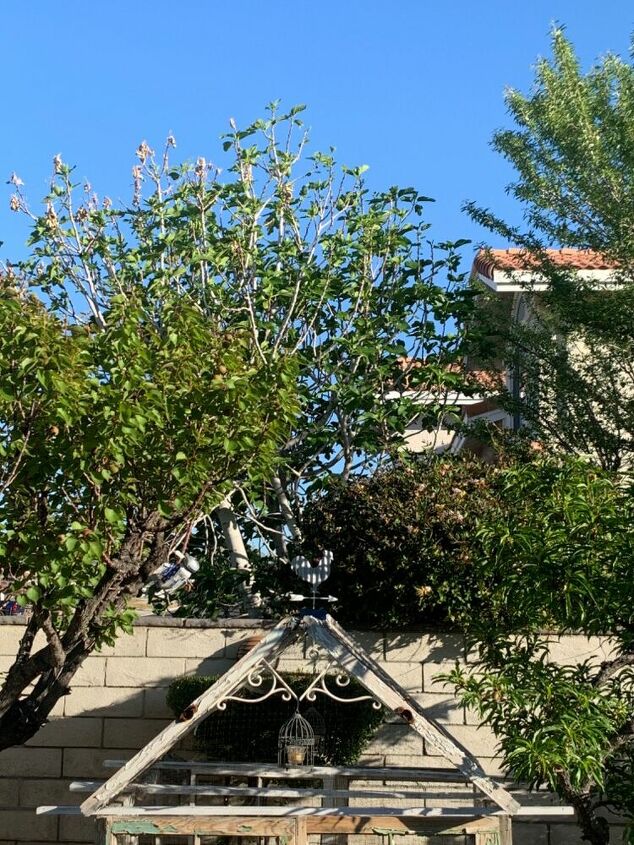
I added some decorative pieces like the wrought iron you see in the top front of the roof, chandeliers and the rooster on top of the roof. I also decided to staple chicken wire to the windows that didn’t have glass to prevent critters from getting to my tomatoes.
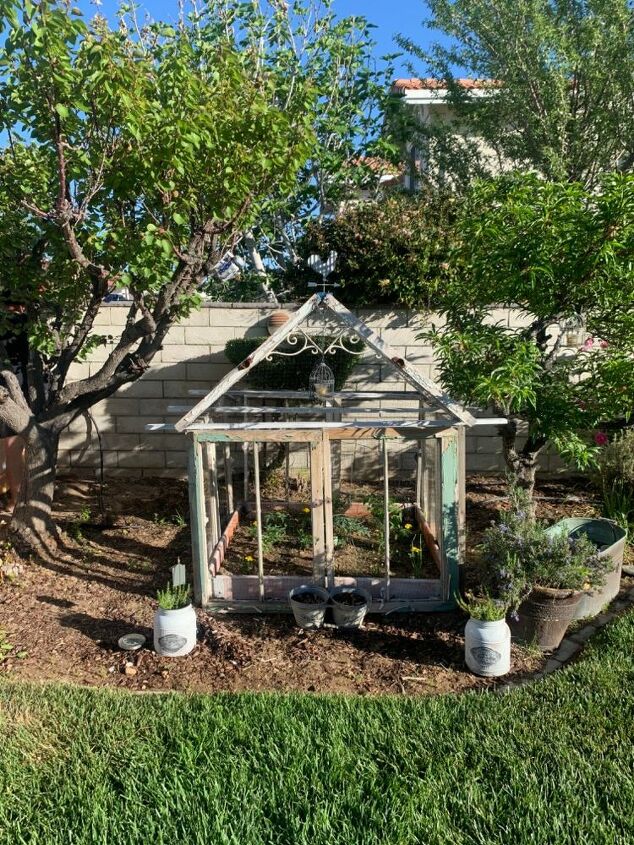
Here’s a front view of the greenhouse. I think it was a fairly easy project and we love it. Now, if I can convince my husband to let me build a huge one 😉 I hope I was able to explain the process with clarity and I hope you like it! 🍅🌿🍅🌿Happy DIYing and if you want to see more of what I do, please come visit me on Instagram at https://www.instagram.com/mycreativekneads/


Comments
Join the conversation
-
I love it!!!
-
My dream is to construct one like a 8x10. Dreams do come true.


Frequently asked questions
Have a question about this project?
When you leaned your roof windows in to each other did you hinge them together or how did you get them to stay in place?
If it’s only the height of a window, can you stand up inside?