


Custom Wood Art Turned Headboard

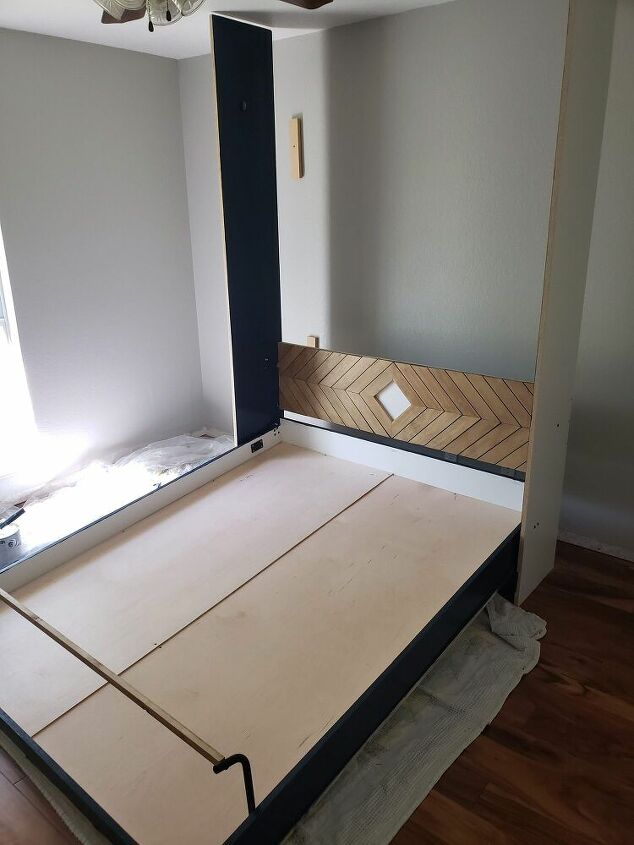
So, if any of you are following me over on Instagram... I am currently involved in the most intense build I have ever attempted. As part of the Better Homes and Gardens One Room Challenge, I am attempting to create a space that both functions as a home office and a guest bedroom. The goal is to build a set of built-in bookshelves that also contains a sneaky concealed Murphy bed!
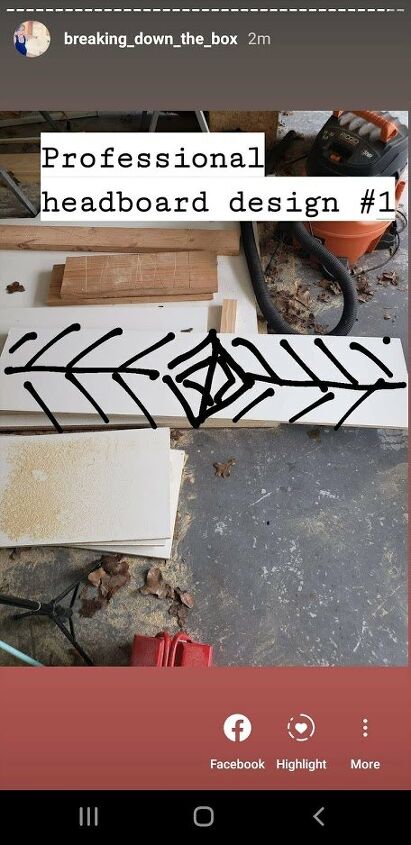
I am taking my time on this build and really considering all options as I go. I am messing up, fixing things and adjusting my build on the fly. The one thing I knew FOR SURE when I started this, was that I wanted to install a really cool headboard. This particular headboard design was actually voted on by some of my friends over on IG - it was pretty fun to get their thoughts on how it should look. While the premise of the design was based off of the modern barn door I made in the fall, the final decision came down to a very close vote!
The other fun thing? It doesn't really have to be a headboard. You could hang this on your wall and it could double as some great wood wall art! Plus, it won't cost you much to make.
Let's see what we need to get started!
For this project, I used a single sheet of 3/4" MDF (or plywood) and about 5-6 1x3 select pine boards. I went with select pine because they seemed to be a little bit nicer quality than your normal pine boards. You will also need:
- Tape measure
- Miter saw
- Spacers (I used paint stir sticks)
- Nail gun
- 1 1/4" nails for that nail gun
- Wood glue
- Wood filler
- Stain
- Polyeurethane
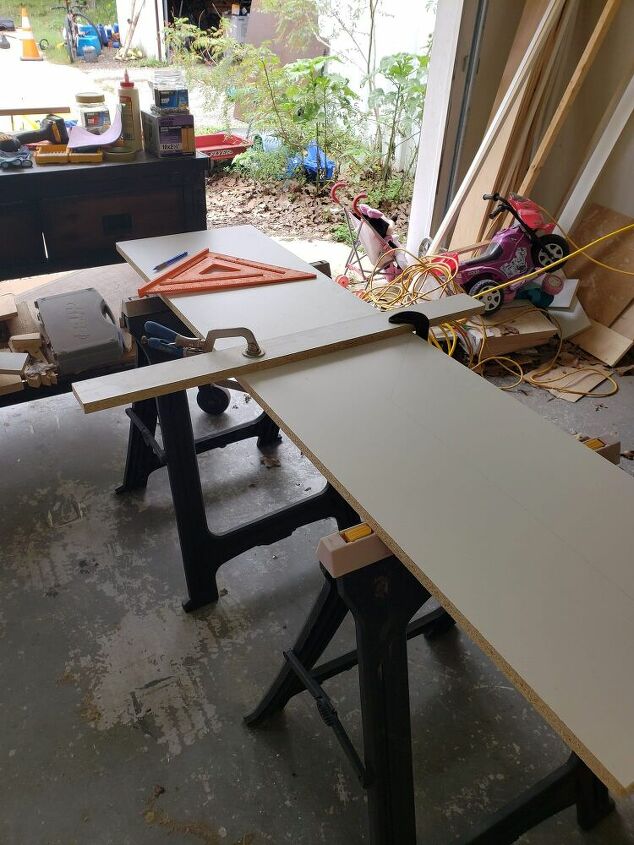
Your main backer board will be the 3/4" MDF or plywood. I used a Kreg Rip-Cut to cut this to 15 7/8" x 64 3/8".
The individual 1x3 boards, I scribed and cut as I went.

Divide the width and height by two and, using your tape measure, mark a point at that measurement. I used my speed square to help me drag the pencil along in a straight line to divide the MDF in half both lengthwise and width-wise (is that even a word?). You could also mark the distance at several points along the length and "connect the dots" using a straight board.
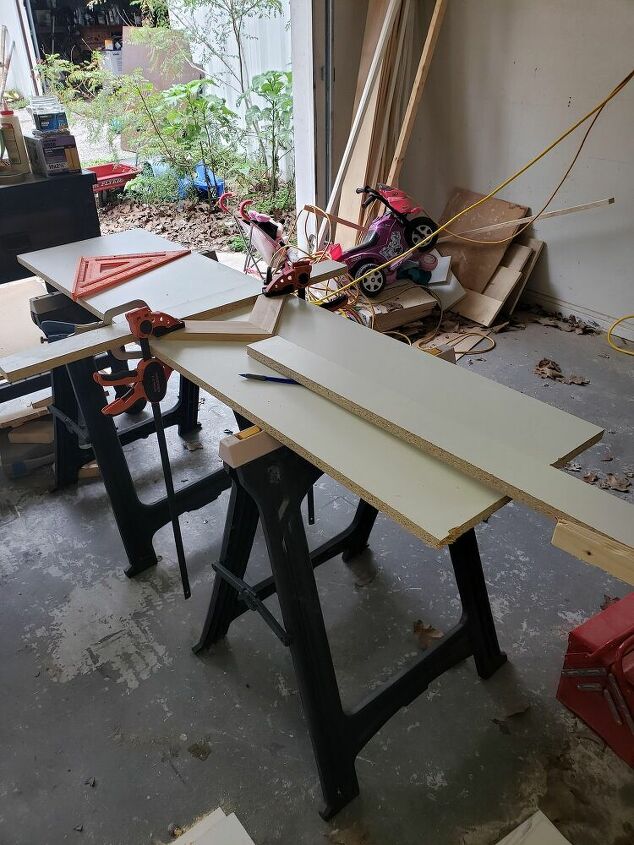
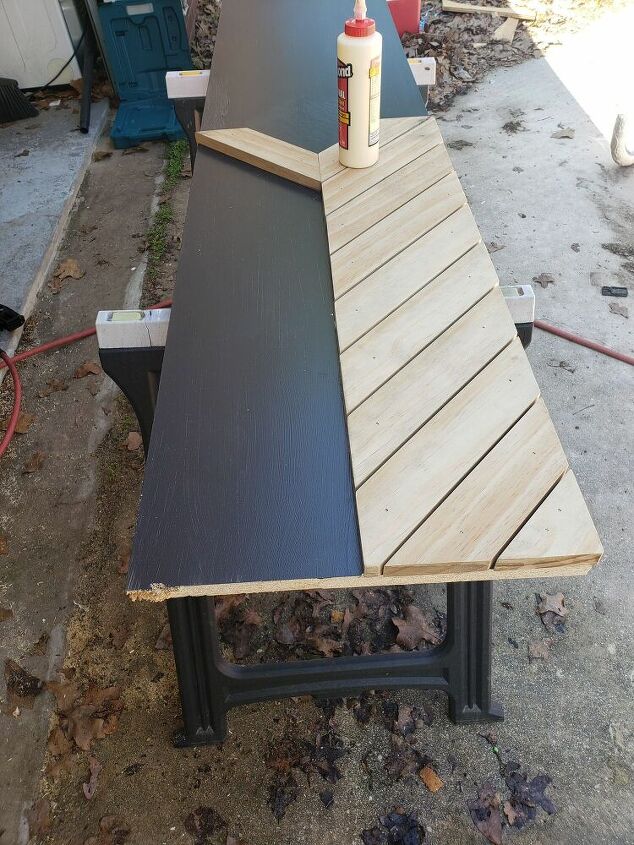
Now you have your halfway guidelines drawn. I used a scrap piece of MDF as a guide-board. I clamped it down at the halfway point and used it to help set up my first 1x3 cuts - the right two pieces of the diamond.
Now, I wanted to keep this simple, so I stuck with 45 degree cuts on everything. First, I cut an edge at 45 degrees. Then, I placed it against the guide board and used my pencil to mark where the board crossed the halfway line. I cut it a little bit long so that I could shave off blade-widths at a time if I needed to.
When the first part of the diamond was in place, I followed pretty similar steps to cut the bottom half of the right side. I kept those two pieces clamped in place as I started on the rest of the design.

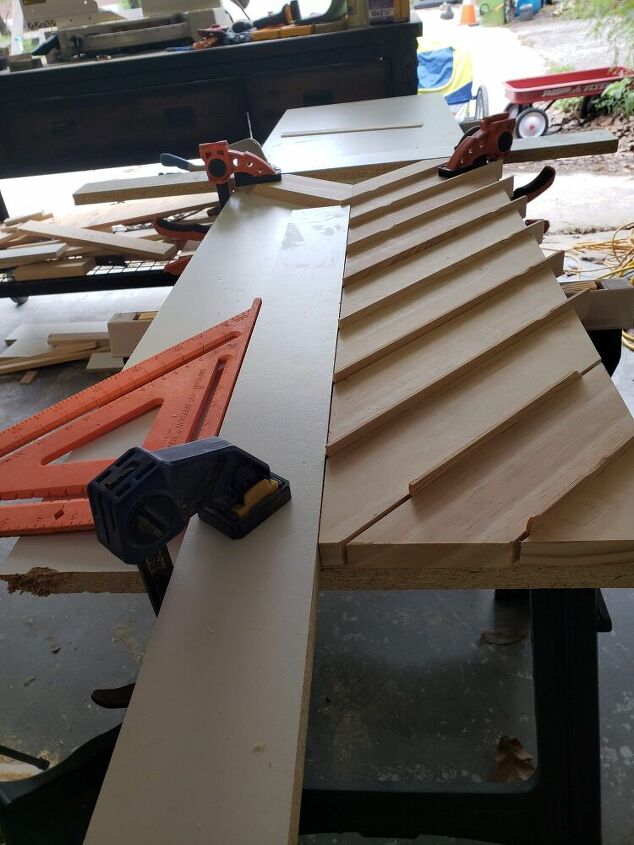
I used the paint stir sticks as spacers between each 1x3 board (which help to form the chevron pattern). With a 45 degree angle pre-cut, I could line it up with the halfway line and scribe the cut at the point where it hung off the top.
Eventually, I added another guide board spanning the length of the MDF to help me line up the rest of the 1x3s.
I ended up painting the MDF black on the first night of this project. While that was drying, I stained the first row of pieces in Weathered Oak. Be sure to number your chevron 1x3 boards as you take them off! You marked each one for its very specific home on that MDF.
With your backdrop painted (or not!) and your 1x3s stained (or painted), you are ready to nail them in place! Follow the same pattern you did for cutting them - first place and secure your top right diamond piece. Then, follow that with a paint stir stick, next 1x3, paint stir stick, next 1x3 - you get the picture!
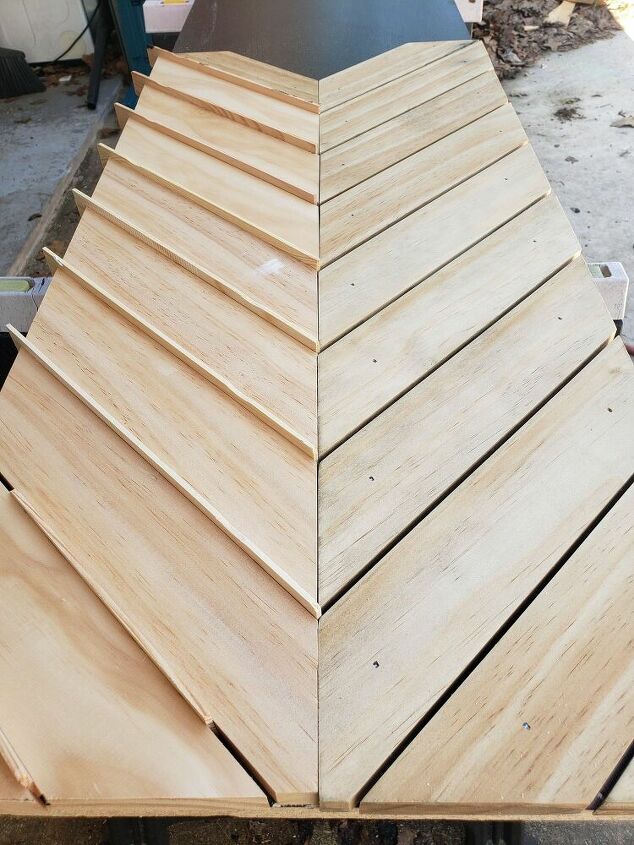
Once your first side is secure, you should be able to tackle the bottom portion pretty quickly, using the scribe to cut method. If your angles have somehow gotten slightly off, bring them back to a 45 degree gradually, over the course of a few 1x3 boards, allowing for a tiny bit of spacing in the center where the 1x3 boards meet each other. Not sure how this happened while I was building, but it did.
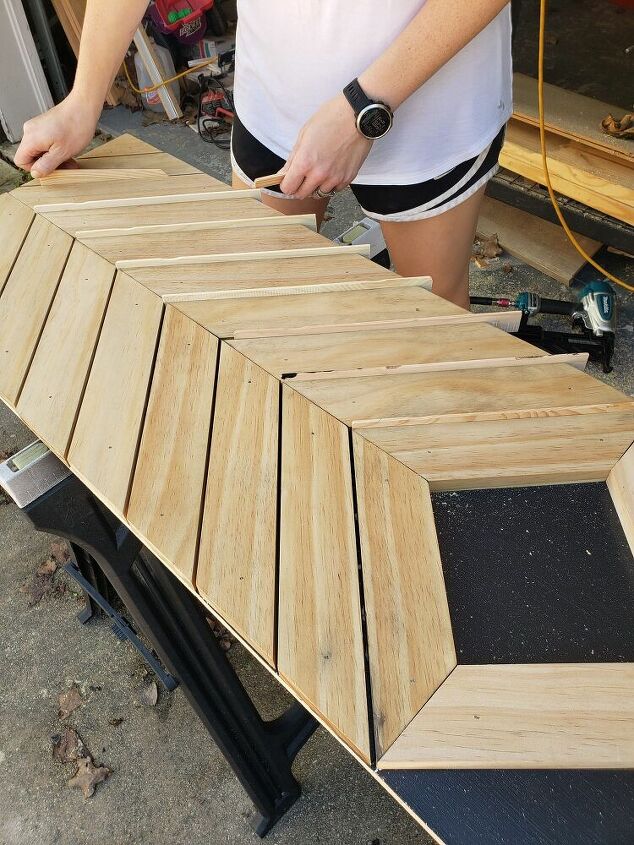
So, I stained each piece prior to putting it on the MDF because I wanted to get in between each 1x3. Once they are nailed in place, however, you might want to fill in the holes... which leads you to sanding away the wood filler, which leads you to re-staining the top. However, it really wasn't too time consuming. I finished it off with matte polyurethane!
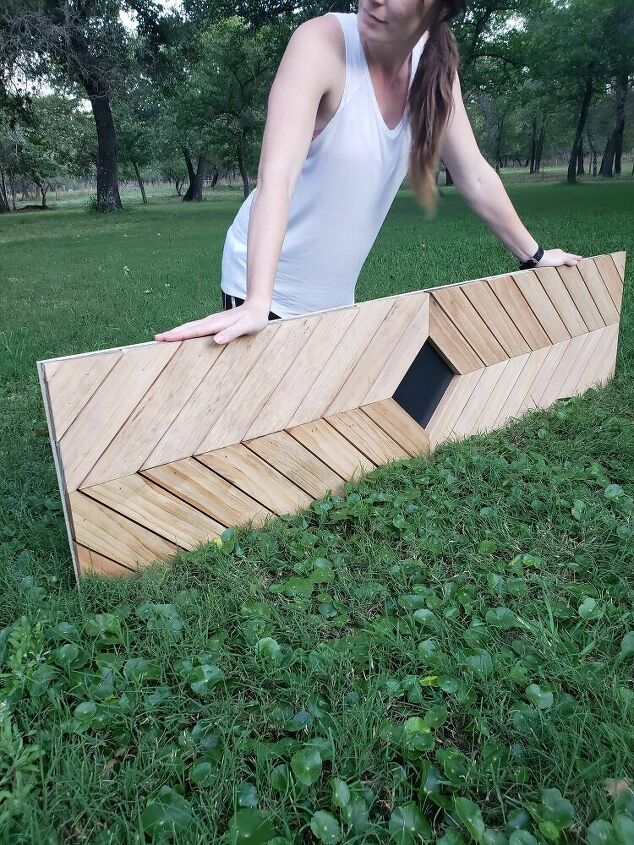
Once it was all built, we had a fun little family shoot - pretending it was already part of a bed! I know it came out blurry, but it was really fun to take!

Obviously this is a sneak peek into my murphy bed project - but I wanted to share how this looks in an actual bed environment. Also - did you notice that diamond color isn't black? 
I scrounged in my garage for whatever paint colors I had hanging around and the only thing I could find was black, exterior paint. This paint peeled right off in that section!
So, I will either leave it as is, or prime it and paint it with the color I am going with for the built-ins.
If you do want to turn it into a headboard, you can do that in a variety of ways.
Option 1: Secure it directly to the wall behind your bed. If you attach it directly to the wall, use a cleat to help distribute the weight.
Option 2: Modify the length of the MDF to accommodate two legs. You could use 4x4s or 2x4s as the legs, securing your bed frame to that. There are headboard attachment brackets available to help with this step as well as plenty of videos on how to mount DIY headboards!
Also, as usual - reach out and I will always try to answer your questions to the best of my ability!
Comments
Join the conversation
-
It looks so good!!
-
Yes I will thanks you make it look so easy ❤️


Frequently asked questions
Have a question about this project?