


How to Hang a Gallery Wall Without a Mistake!
THE BIGGEST FEAR WHEN ATTEMPTING TO HANG A GALLERY WALL IS THE DAMAGE TO THE WALL. BECAUSE I HAVE THAT SAME FEAR, HERE IS HOW I WAS ABLE TO HANG MY ENTIRE GALLERY WALL WITHOUT ONE SINGLE MISTAKE. BY FOLLOWING THESE TECHNIQUES, YOU CAN DO THE SAME.
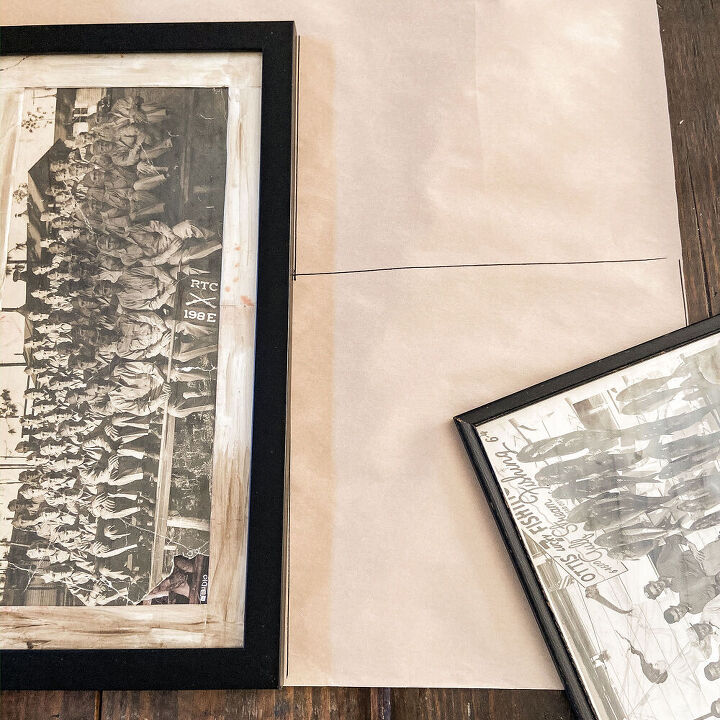
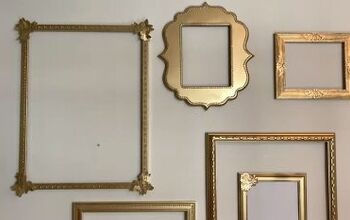
In my personal opinion, a gallery wall should have a theme. So, you could use children's photos, vacation photo's or memorabilia , botanical prints, or vintage family photo's. Since I had recently inherited a lot of old family photos, that's what I used to create my gallery wall. Here is the information about framing my vintage photo's.
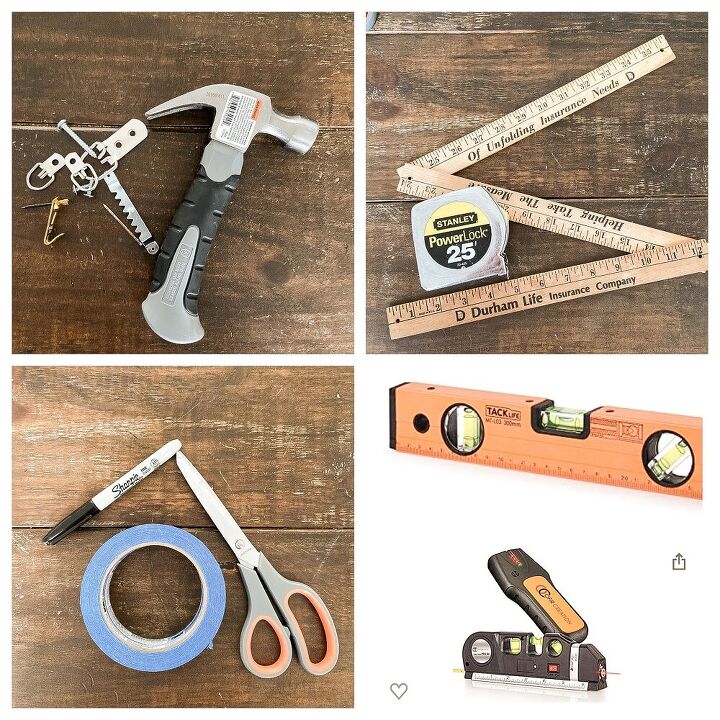
- Craft Paper
- Hammer and Art Hanging Kit
- Tape Measure and/or yard stick
- Sharpie, Painter's Tape & Scissors
- Level or Laser Level
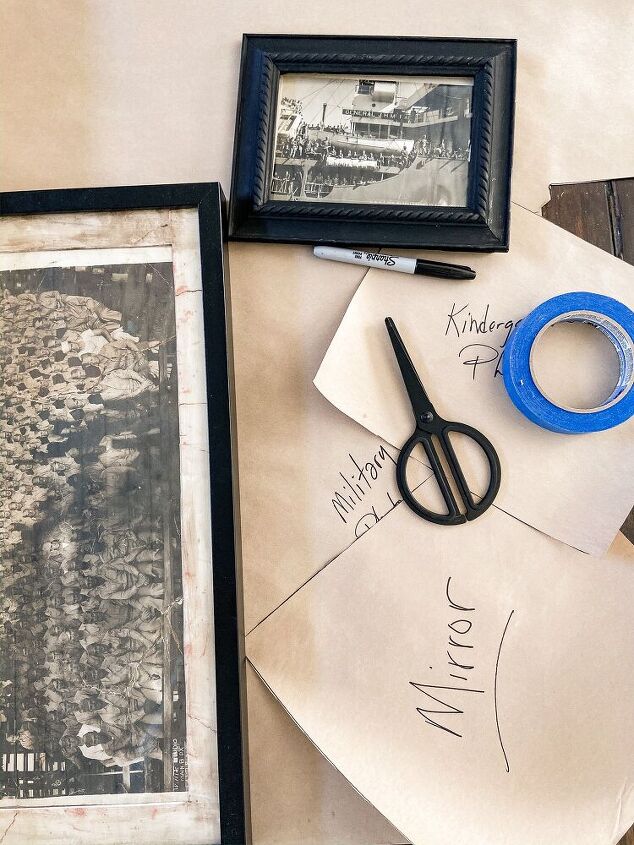
Trace each of your frames onto the craft paper to create a template. Be sure to document which frame you traced. I promise you will not be able to distinguish them once they are all cut out.
If you are using identical frames of a consistent size, this isn't as difficult. Because I was using multiple size frames and shapes this step is crucial. Keep in mind that you want approx. 2 inches between each frame.
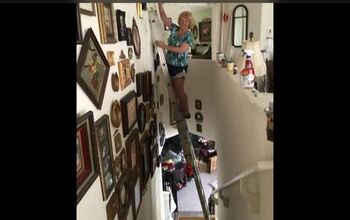
Laying the frames out on the floor to find the arrangement didn't work for me. So instead, I began adding the template photo's to the wall.
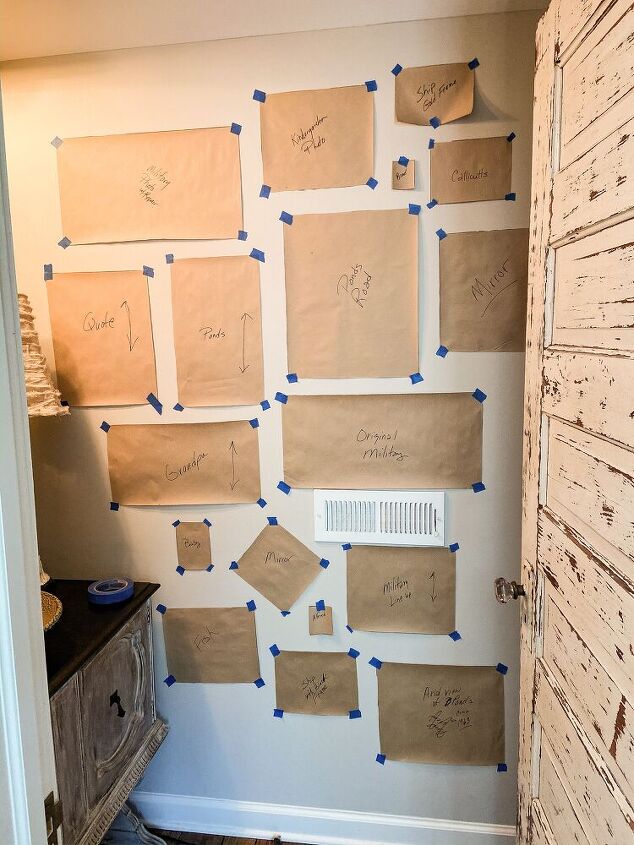
Using painters tape to hold the templates in place, allowed me to easily shift the placement without any wall damage. Since I didn't want my photos to hang on an angle, I used a level to be sure each template was level in both directions.
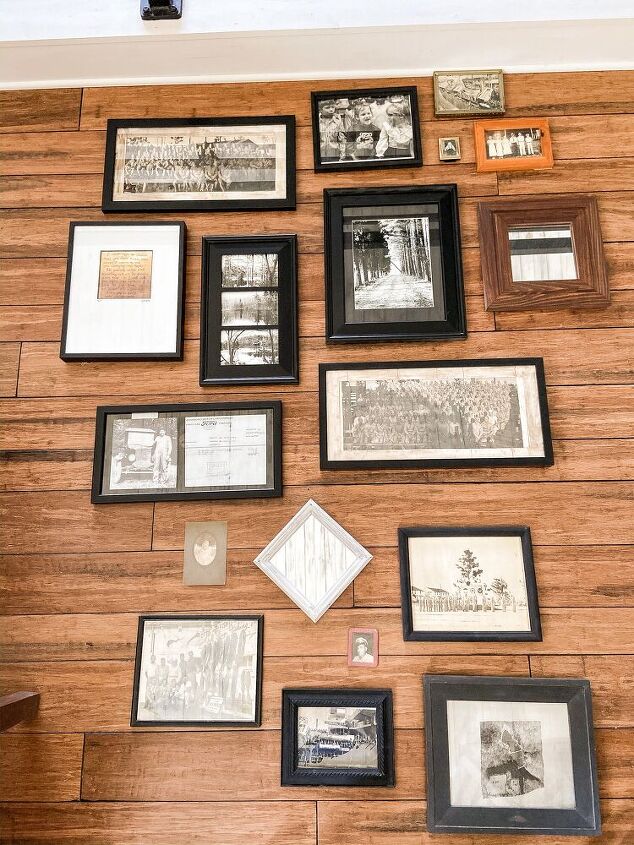
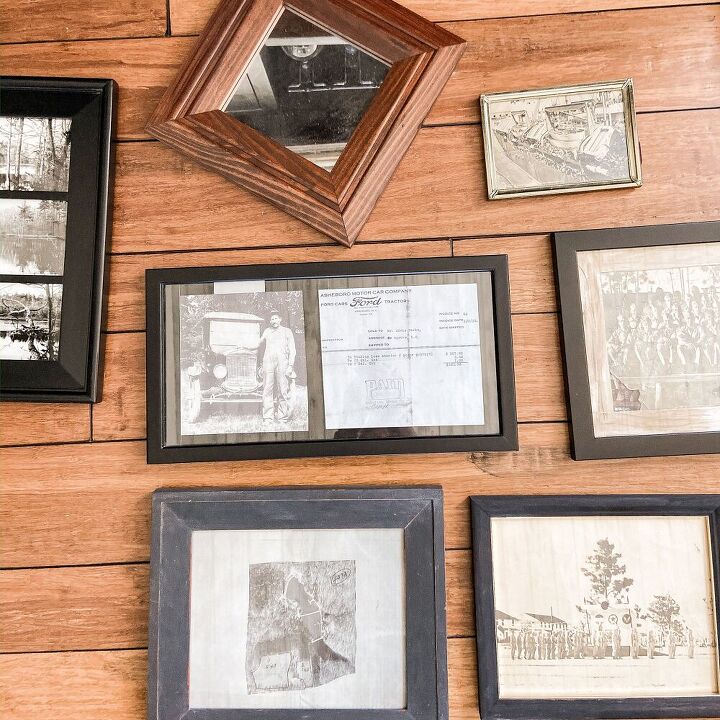
Once the templates are placed in a pleasing arrangement, I decided to lay the photo's out on the floor in an approximate arrangement to the wall.
This step was to insure that the arrangement was eye appealing and nothing looked out of place. By switching a couple of the smaller pieces, the arrangement was acceptable at this point.
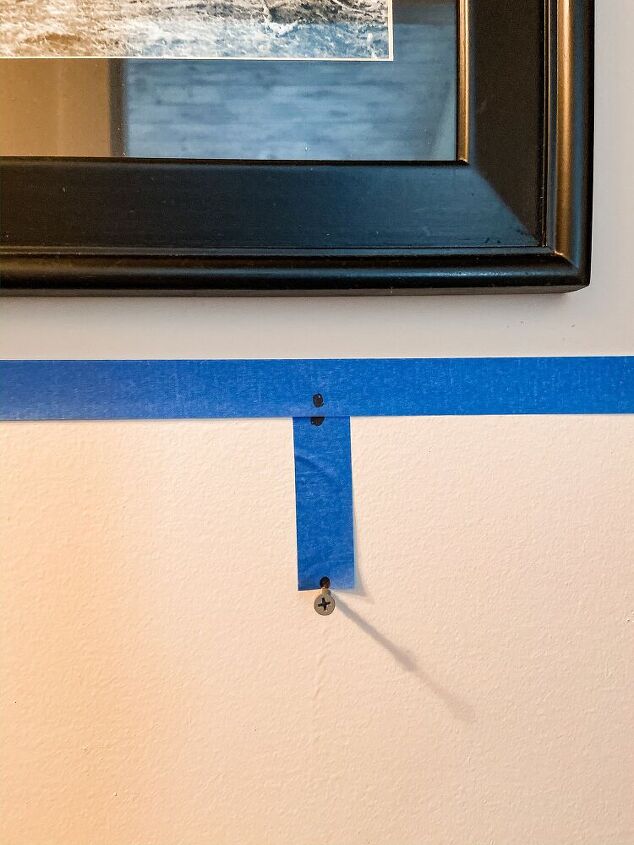
Next, you want to place your nails! This is the scariest part of hanging in art. First, I'll refer back to a previous post. Here is a tutorial with step by step instructions for hanging art. If you use your painter's tape to mark the hanger placement and then use your wall template, you will place the nail perfectly every time. All the details are included in this easy tutorial, linked above. I don't remove the template until my nail is in place.
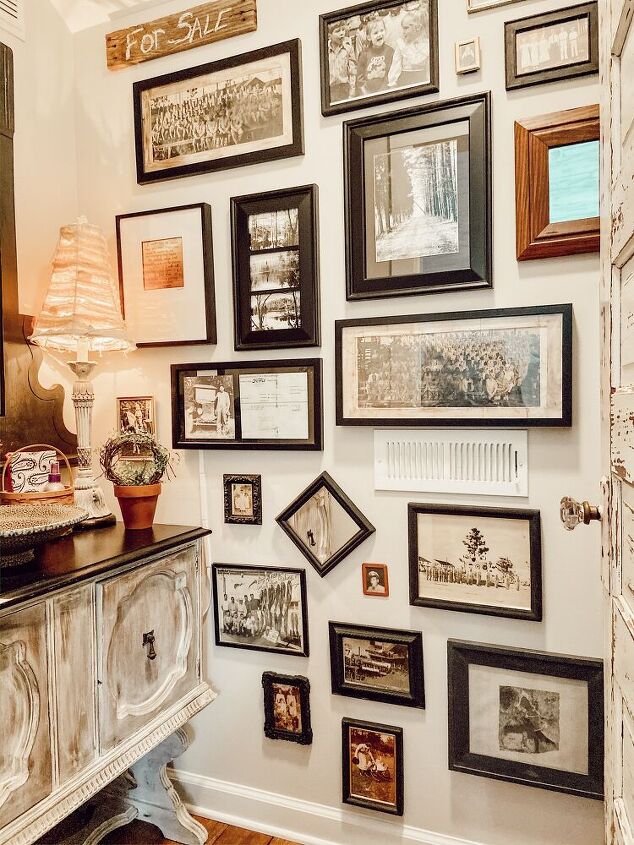
Thank you so much for stopping by. I hope you'll be inspired to create a Gallery Wall of your own. I'm loving mine. Please feel free to ask any questions and as always, you comments are greatly appreciated.
Resources for this project:
See all materials


Comments
Join the conversation
-
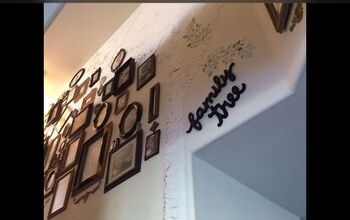
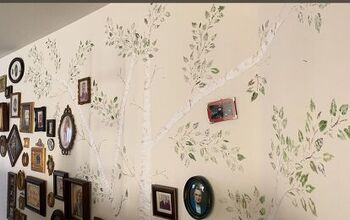
I did my gallery wall on my staircase and added a plaster tree and wooden words “Family Tree”. The plaster tree was done with a plaster stencil and drywall compound, then painted with craft paints.
-
This is a lovely post. You put so much into it! My favorite picture is your grandfather and the receipt for his car- wonderful choice!


Frequently asked questions
Have a question about this project?
Everything you do is wonderful.
What career did you have prior to moving to the country? Interior designer?????
Please find for me a clone of your husband who is single and a Christian.
I have always wanted a small home on a lake and if you can find the clone, I'm in for it.
You and your husband are so blessed and I look forward to every post you do.
Beautifully executed but I'm swooning over your door, did you create that finish? If so how? Thanks.
I really enjoyed your wall of photos. It gives off good vibes and the arrangement is just so lovely.
Did you have to paint any of the frames black? Also, I don't know who mentioned it, but that chippy door is so impressive. I want one. ;)
Thank you for sharing your project with us.
🖼️