


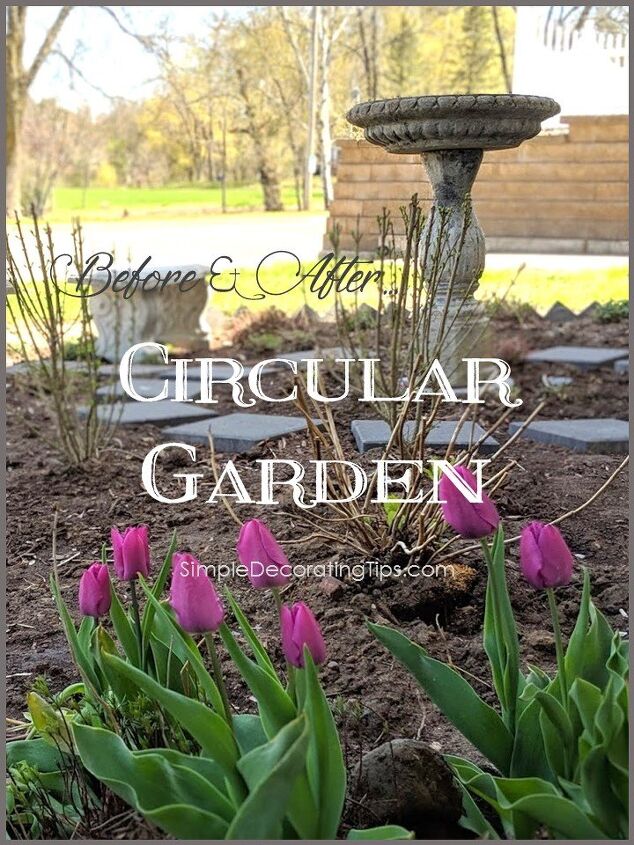
Before & After Circular Garden
Hi, I'm Liz from SimpleDecoratingTips.com a DIY and decorating blog.
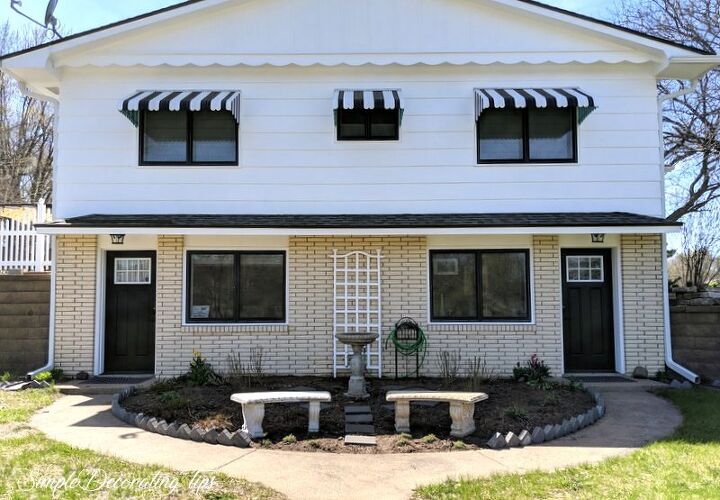
We bought this late mid-century house about a 1 1/2 years ago and have been crazy busy renovating it top to bottom…
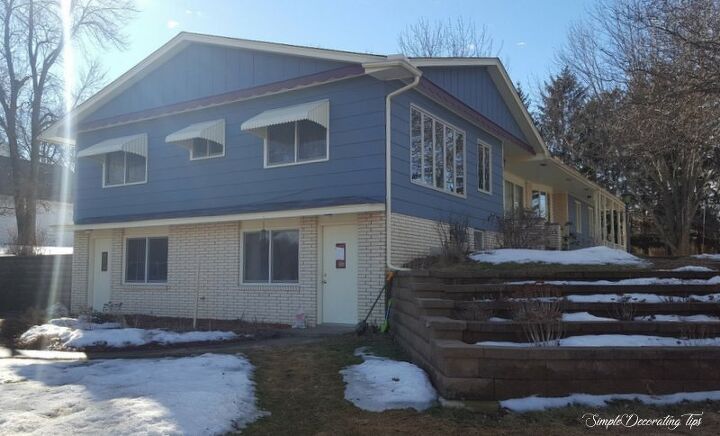
‘A little awkward and not very charming’ is how I would have described it. Anything that was close to symmetrical wasn’t quite, yet nothing was asymmetrical in a pleasing way… it was just plain awkward!
Last summer, after the addition was completed, after the porch was done, and after the roof and gutters were done, we painted it. Getting rid of that blue and maroon was such a relief to my eyes! Carrying the same goal I’ve had on the inside, adding charming character, and bringing that concept out to the exterior in a ‘Colonial Revival Cottage-y’ sort of way.
To not overwhelm myself with the landscape, both on the amount of labor involved and the designing, I mentally split each area up into sections. The first section is on the East side of the house… the circular garden.
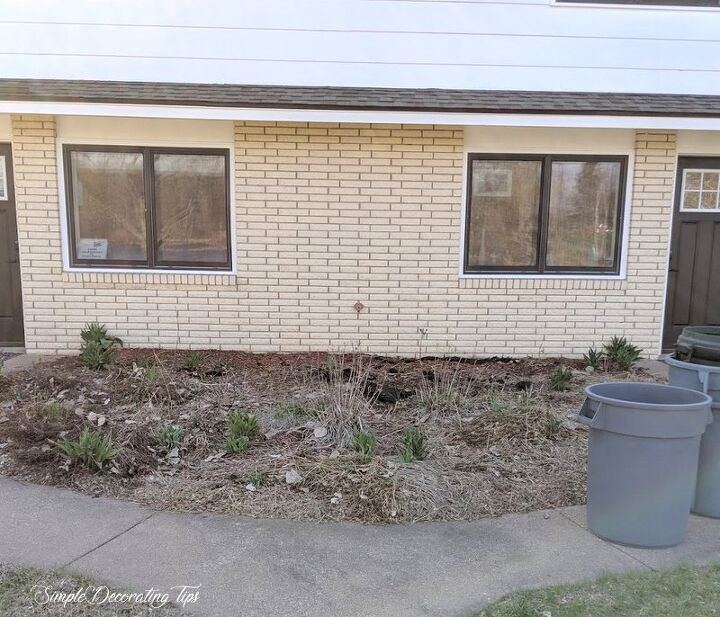
The best thing about this space is that when the house was built, they had wonderful insight to add this charming circular sidewalk around to the two doors, (back in the day, they each led into a separate basement apartment… now we have a mother-in-law apartment on one side and have incorporated the other side into more living space)
Other than that sidewalk, the garden itself was just a mess. There were some perennials worth saving, none were planted in any rhyme or reason, so all had to be moved.
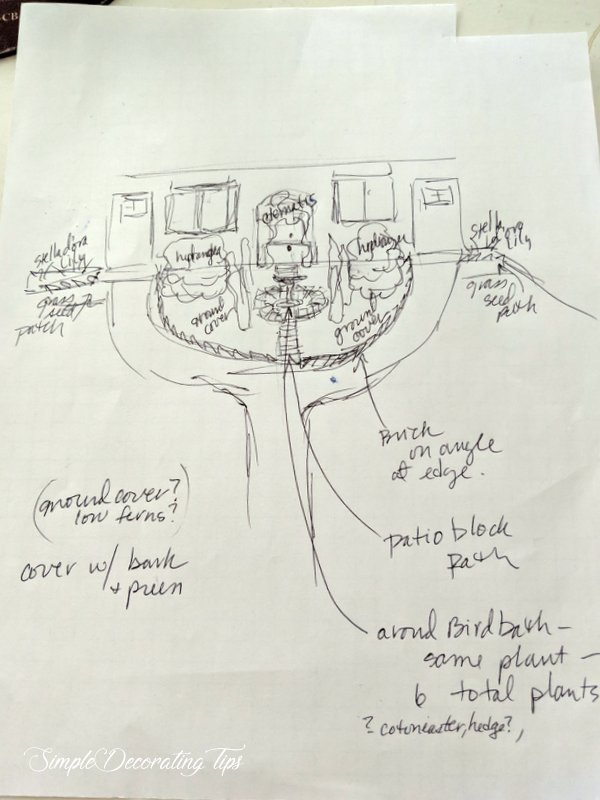
Having a planned design on paper really helps me to stay on task. Though I may change my mind, or refine the plan, as I’m doing the actual plant shopping, this gives me the basic idea of what I’m going for.
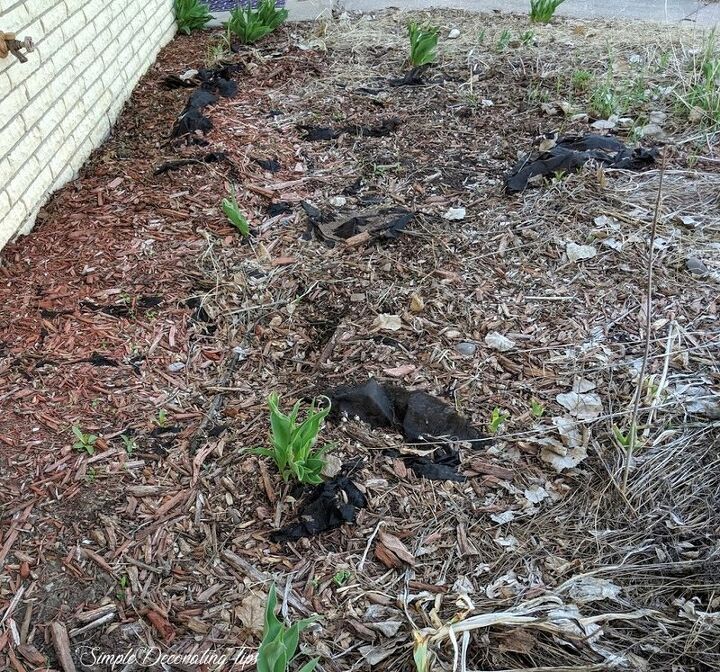
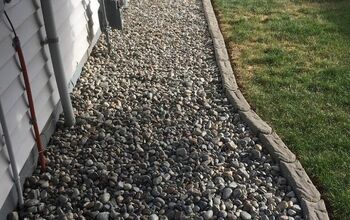
Can I just say I am NOT a fan of landscape fabric under bark mulch?!! As the bark mulch deteriorates and becomes soil, on TOP of the fabric, it buries the fabric into the dirt. Eventually seed and plants sprout and grow in that dirt on top of the fabric and their roots work their way through the fabric firmly adhering it to the earth.
Okay, maybe ‘not a fan’ is too light… I detest it! It was soooo hard getting it out of here! I’d try to pull it up where it was exposed and it’d just rip off. I’d try to rake it out, but the dirt was too compacted on it. I’d try to dig it out, but the shovel had a hard time going through it.
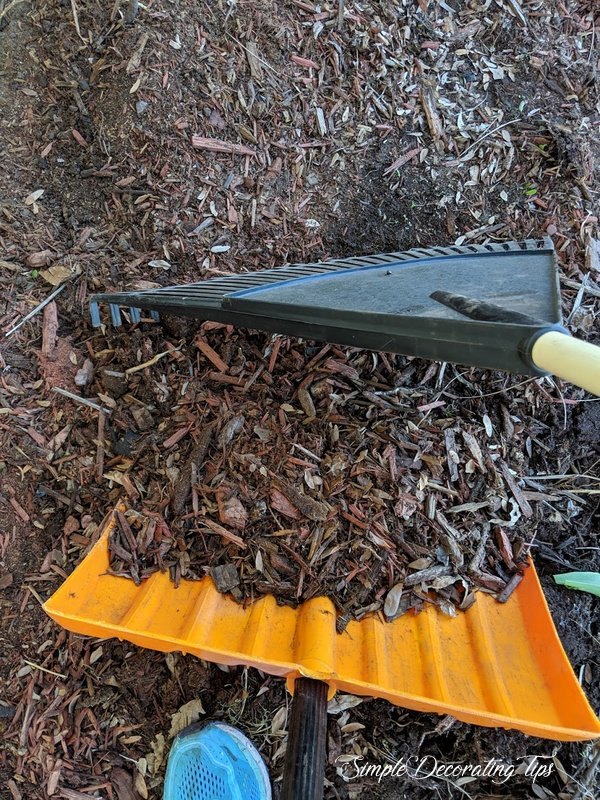
I was able to rake up as much red mulch as I could to start with. I found the snow shovel, (which wasn’t put away due to a snow storm we had just a week or two prior) worked great to rake it into and dump. (I’m not a fan of red mulch either… I like the dark brown or black color, looks more like dirt… I’m not sure what the red dyed color is going for? The red clay soil out west? I don’t know, but I don’t really care for the look of the red mulch. I actually think it detracts from what should be the star, the plants.)
Clearing out the mulch and landscape fabric and old plants turned out to be days of work, (seems like when I was young, it would have been an afternoon). By a passing eye, the circular garden didn’t seem to show much, if any improvement yet, but I knew I was making headway in a sea of mess.
As I was going along, I was transplanting…
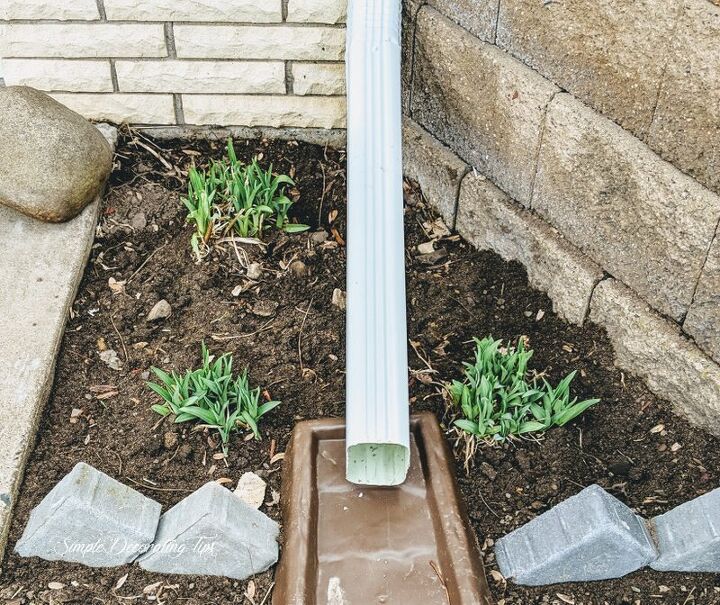
All the Stella d’Oro Daylilies I found as I was digging up the circular garden, got new homes in the small beds flanking the doors. ( you can read my tips on how to transplant them here)
The tulips all got moved to each side of the little stoops… Not an ideal time to move them, but it was now or never, so I went for it. What survives, survives, what doesn’t well so be it…
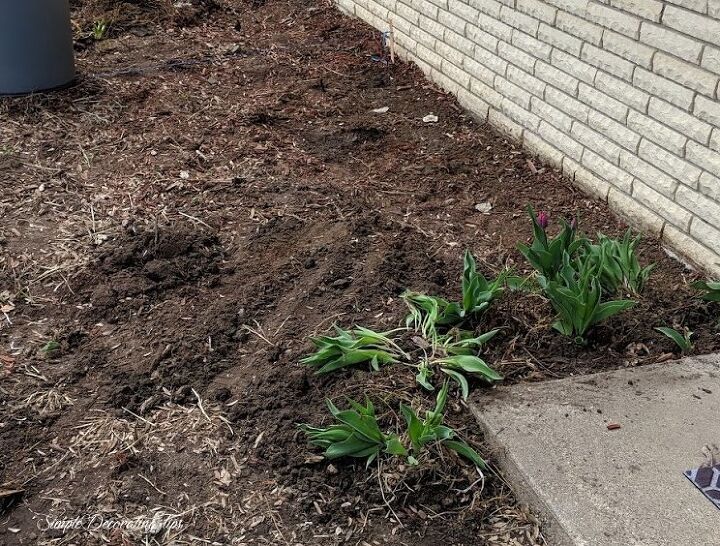
The other perennials got dug up, divided evenly and replanted in a symmetrical design following the outside curves. I know that there was Moonbeam Coreopsis, but I’m not sure what the other plants are called. I watched them both thrive last year in among the weeds, so I’m thinking they’ll do great in a more weed-free environment.
Finally, the mess was out, and the transplanting was done.
Now it was hardscape time…
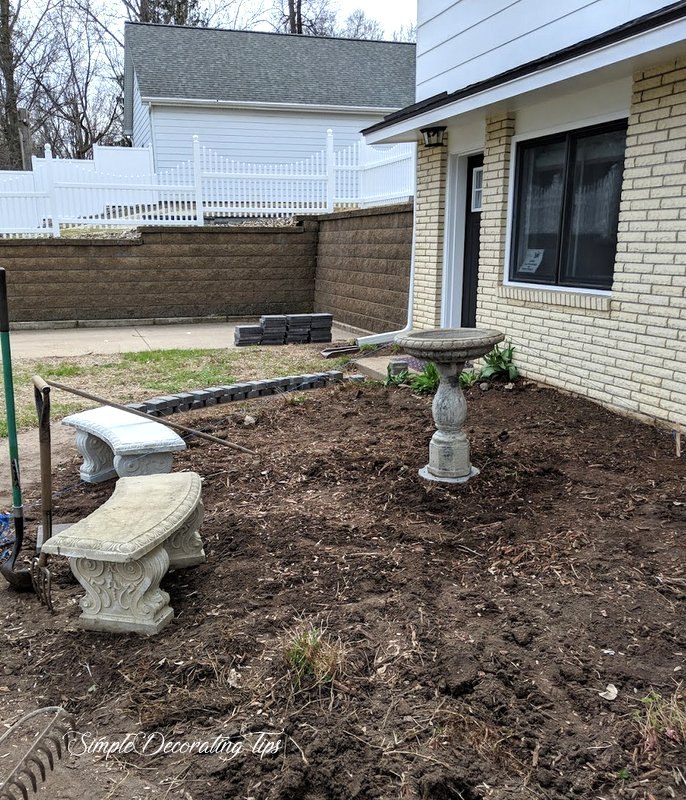
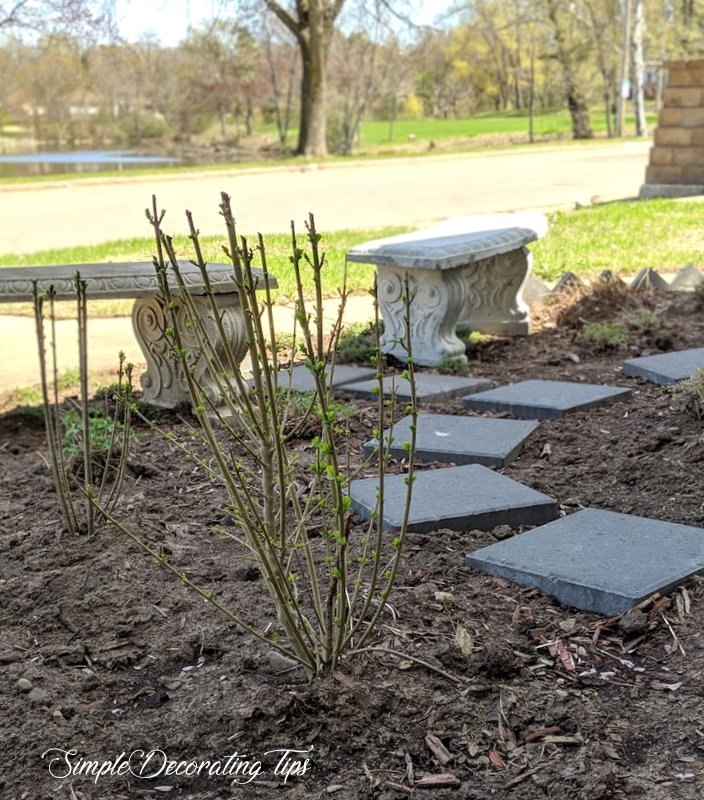
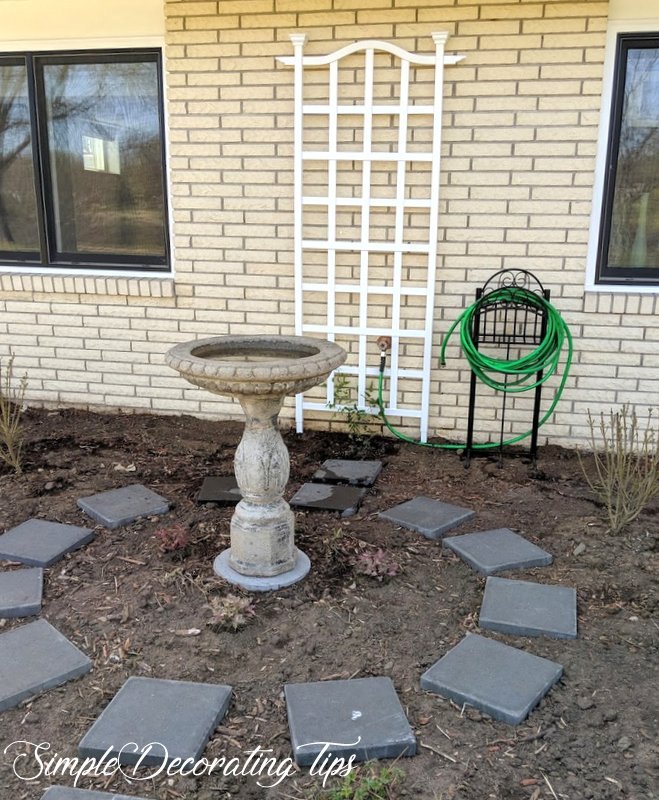
The birdbath and one of the benches we had, (moved from our other house) I found a (mostly) matching bench to complete the look for the front. We arranged them in a very strong symmetrical pattern, emphasizing the circular shape. The inspiration for the circular shape is of course the overall shaped of the garden, but also on our house there is a cute rounded scallop trim that I’ve played off with some of the exterior accents repeating a circular pattern here and there.
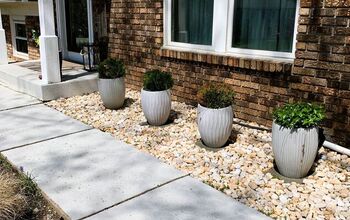
We had a pallet of leftover brick pavers that I used to edge the garden with and also square pavers for the path that goes right up the center of the garden, around the birdbath to the wall of the house.
I ordered an arched top trellis, ( HERE is the shopping link for it) to add some vertical height on that wall. It was a cinch to put together, and a welcome break from the back-breaking work clearing that garden out!
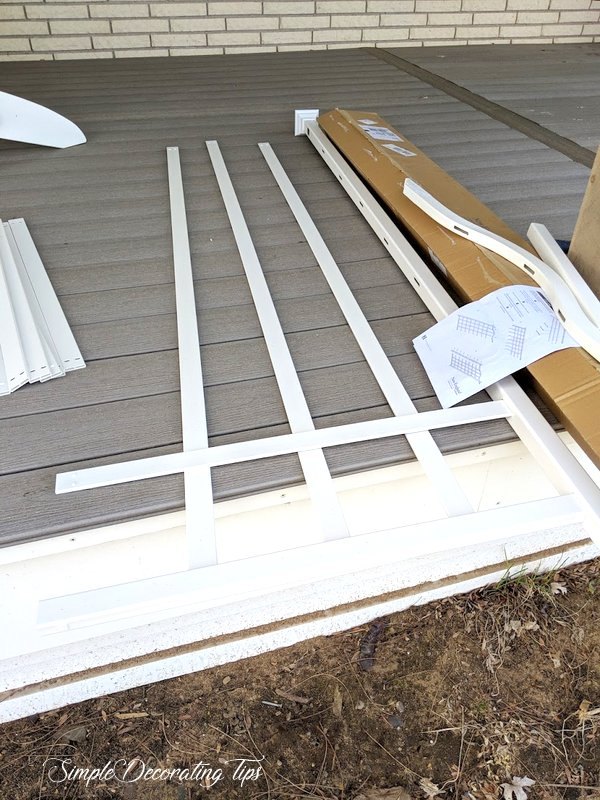
The trellis I chose is one that is a vinyl/resin type material and won’t need to be painted or stained later on… And with that curved arch on the top, it is the finish of the circular shape on that side of the garden. (I have a weird pattern thing constantly buzzing in my head! LOL)
Next it was time to plant the shrubs and perennials that I purchased. We live in a zone 3 or 4 depending… In the country I had to plan on a zone 3, in town now we can plan on a zone 4, with some very protected micro-climate areas in the south side of the yard being a zone 5. But that is rare, I typically shop for zone 3 or 4 to be safe.
When selecting the plants for the garden, I considered the blooms, the leaf shapes, the expected plant sizes, as well as the overall plant shape, plus the growing zone and sun light needs. It’s a lot to consider, but fun, like treasure hunting to find the right specimens for each space.
For under each window, I chose ‘Twist ‘n Shout’ hydrangea that blooms throughout the summer.

To eventually create a mini room within the center of the circular garden, I selected ‘Straight Talk’ Privet to circle around the path of the birdbath.
On the arched top trellis is a ‘Candy Stripe’ Clematis vine.
I have some ‘Jacob’s Ladder’ plants between the path and birdbath that should fill in that center circle nicely, hopefully without over growing that space too much.
Here is what it looks like now.
Under and around the benches I planted a creeping Thyme variety. It doesn’t look like much yet, because everything is just a baby plant or just starting to grow from the winter.
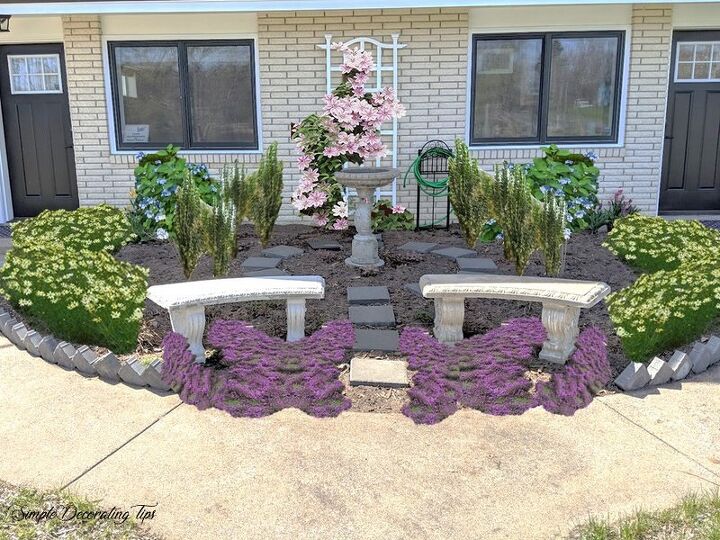
Therefore, I made a computer enhanced image for you to visualize what it should look like in a couple of years… if all goes well!
I offer online decorating and design, you can find more info on that at SimpleDecoratingTips.com.


Comments
Join the conversation
-
It's beautiful. Amazing transformation. You have given me a few ideas
-
I commend all your hard work! I do agree with Judy and Janice though. I think the benches should be turned around to face the fountain to follow that curve of the sidewalk, or turned to face each other before you get to the fountain, on either side of the inner round path . It would give it a cozy feel like an English garden. Good luck.


Frequently asked questions
Have a question about this project?
I think the trellis should be painted black, the houwe brick painted grey and I think the colours of the bird bath and benches should maybe match? What do you reckon?🤔
I just have a question (but no “vision”), why, since the benches are curved, didn’t you turn them around so that their curve would more closely follow the outline formed by the walkway? Thanks.
Why all the plants where your feet would be when sitting on benches?