


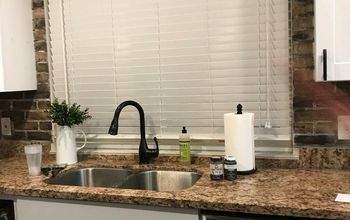
Faux Brick Backsplash!

I am back with projects in our new home!!
My husband and I sold both our home of 30+ years and our cottage of 20 years and combined two homes into ONE up on the lake. Needless to say, combining two homes into one and making our new home ours, has been a challenge!
I want to share my early quarantine project with you all, I hope you like it.
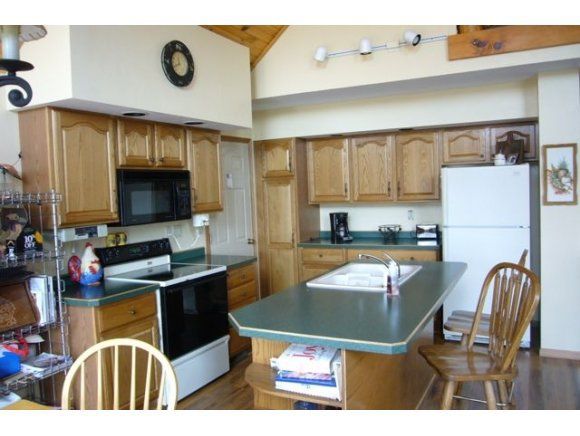
This was our kitchen a year and a half ago when we first moved into this house. The house was a seasonal home for the previous owners and worked fine for them, yet for us to live in year round, this girl needs room if I am going to cook!

We remodeled the kitchen late last summer and I waited seven months before I decided what I wanted to do for a backslash.
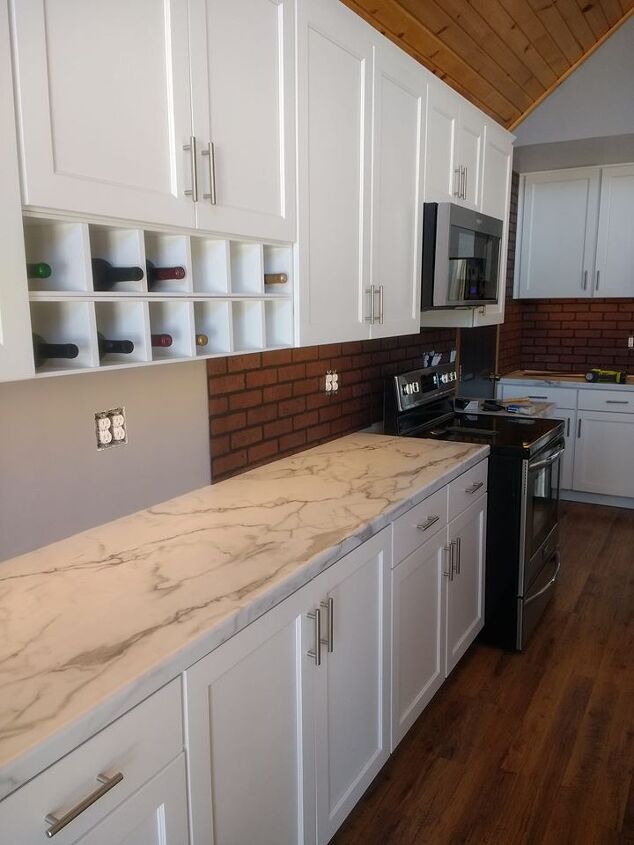
Initially I was going to do subway tile but never felt like that was what I wanted. After much thought, and A LOT of time on my hands, I decided to tackle the project and do the faux brick.
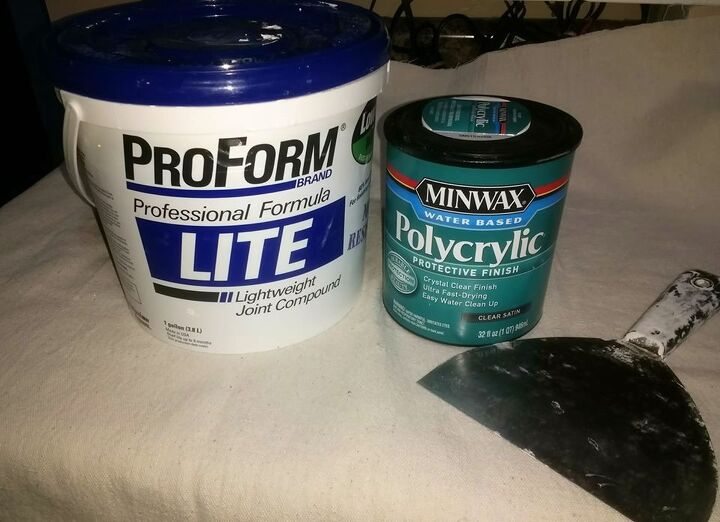
Items used for project:
- 4 x 8 brick panels (purchased)
- White Caulk (purchased)
- Light Weight Joint Compound (purchased)
- Polycrylic (purchased)
- Wide Putty Knife (had on hand)
- Table Saw for cutting paneling (had on hand)
- Jig Saw (for cutting out the outlets) (had on hand)
- Nailer (had on hand)
- Level (had on hand)
I used our table saw to cut the panels and the jig saw for cutting out the outlets. This part was messy! I would recommend doing all your cutting outside if possible. These panels create a lot of dust when cutting and...wear a MASK, you should have one of these on hands.
Before measuring and cutting your panels, be sure to take note of matching up the brick on the new piece. This is important because if you cut a piece of paneling and you go to install it and the brick doesn't match the one on the wall, trust me, you will not be happy.
Also, have a level handy, I would level each panel before securing it to the wall.
I used my Ryobi 18-Volt ONE Cordless Airstrike 18 Gauge Brad Nailer to attach the panels to the wall. Cue Tim Allen from The Tool Man doing his grunting noices!! This is by far my favorite tool!
Some people, in addition to nailing, will use Liquid Nails (constrution adhesive) to attach the panels to the walls. However, the way I change my mind with decor, I didn't want to risk removing the panels and damaging the walls.
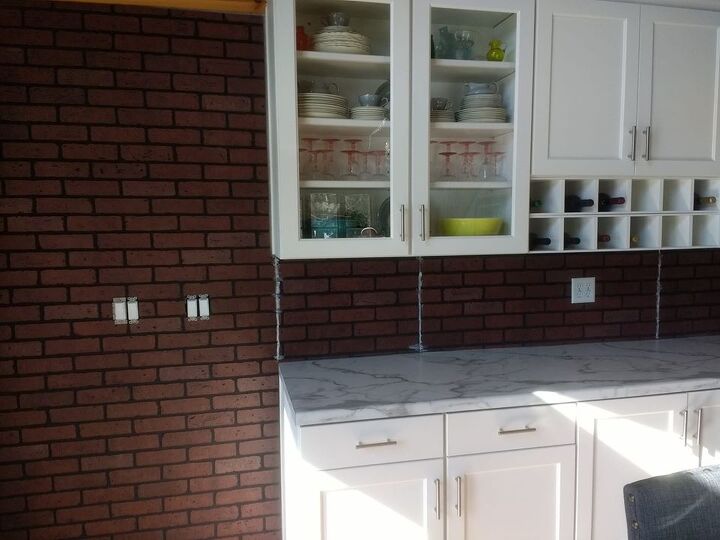
Once you get all your panels up, you will caulk your seams. When the caulk is dry (I waited overnight), start getting excited, because the fun part is about to begin!
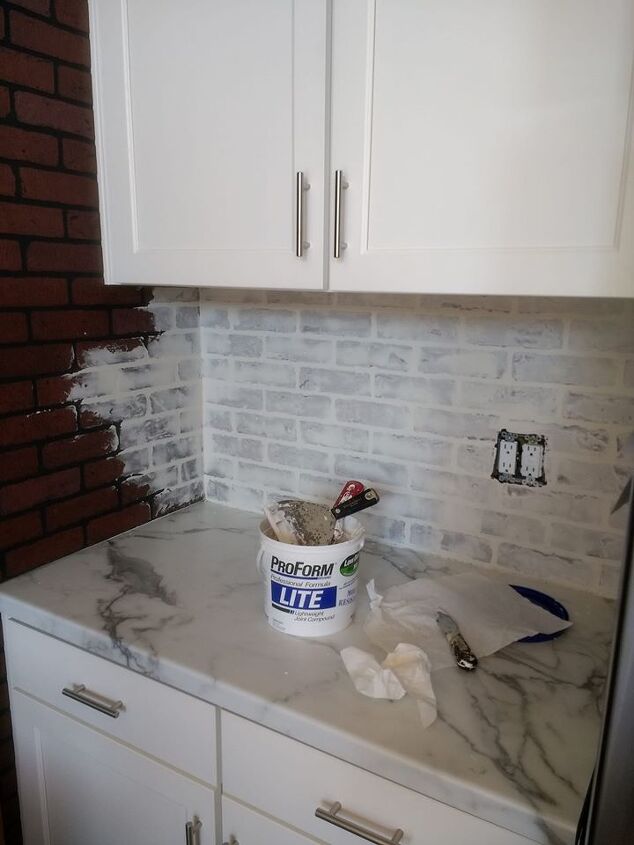
This seriously is an easy process. Have an extra putty knife in the bucket to scoop out the Joint Compound onto the putty knife that you are going to be smearing with. There is no right way or wrong way to do this, just have fun playing and getting the look you are trying to achieve.
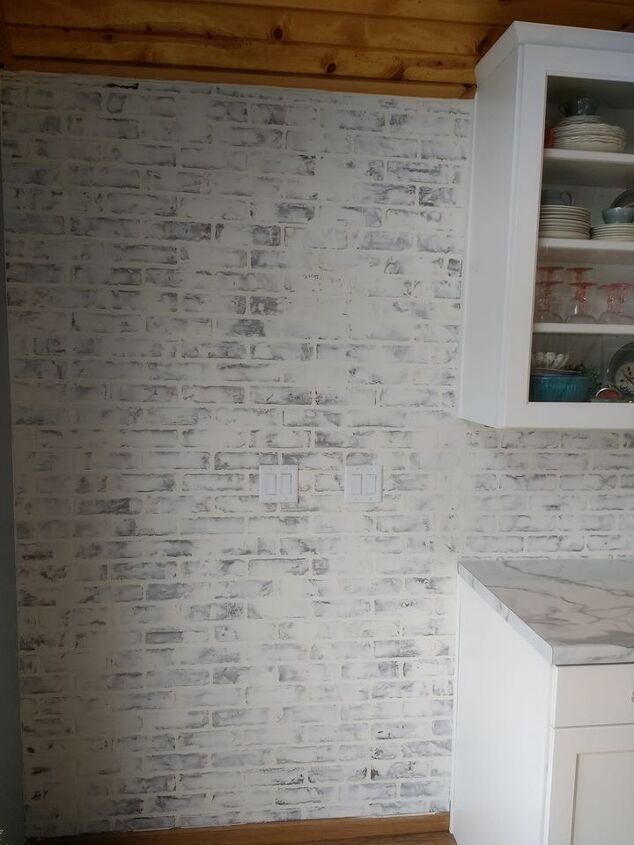
Wait until the next day to apply the Polycrylic to seal and protect your project. You can roll or brush the Polycrylic on your walls, I applied two coats on my walls.
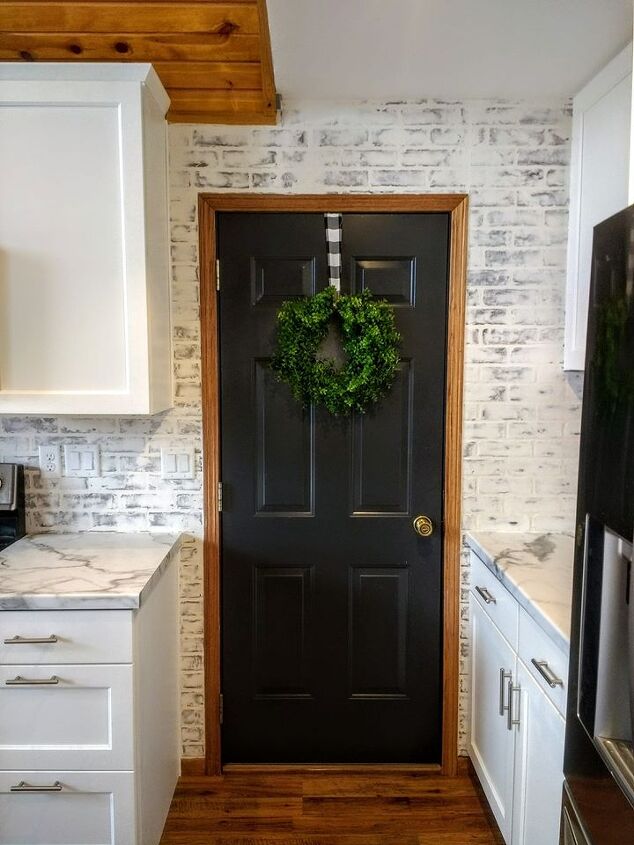
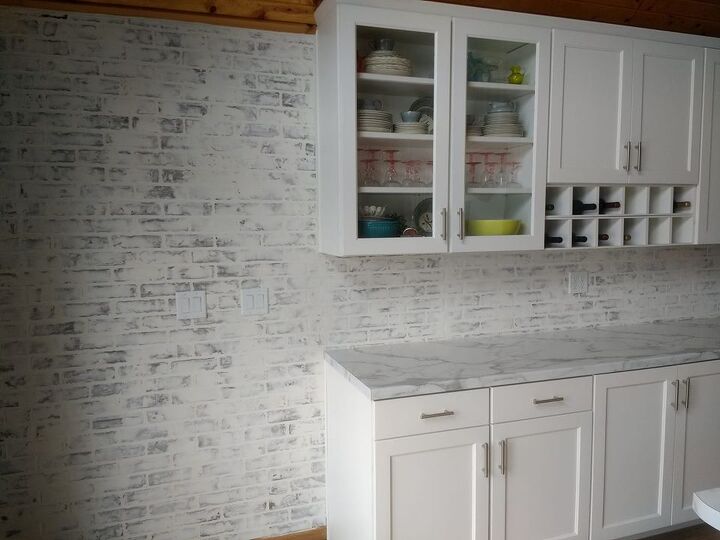
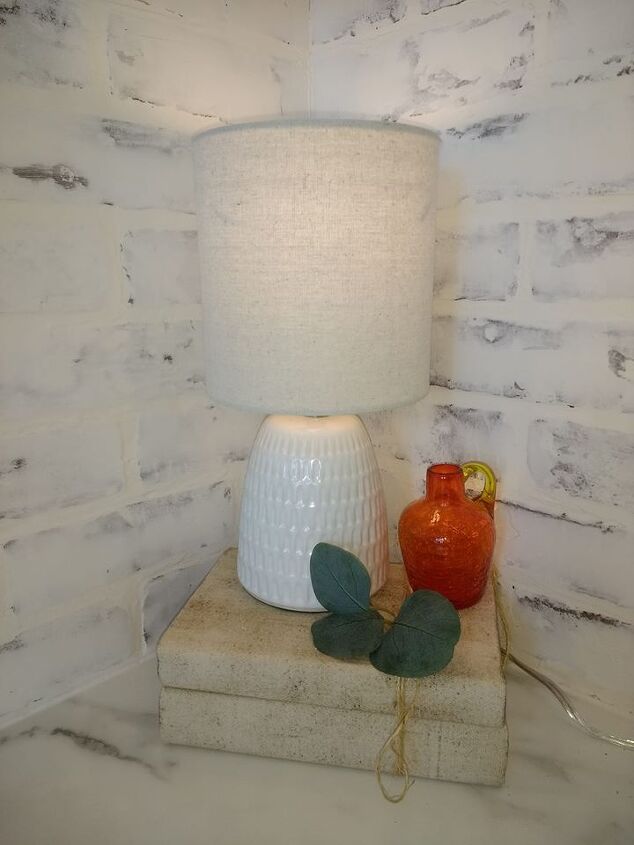
Start decorating!!
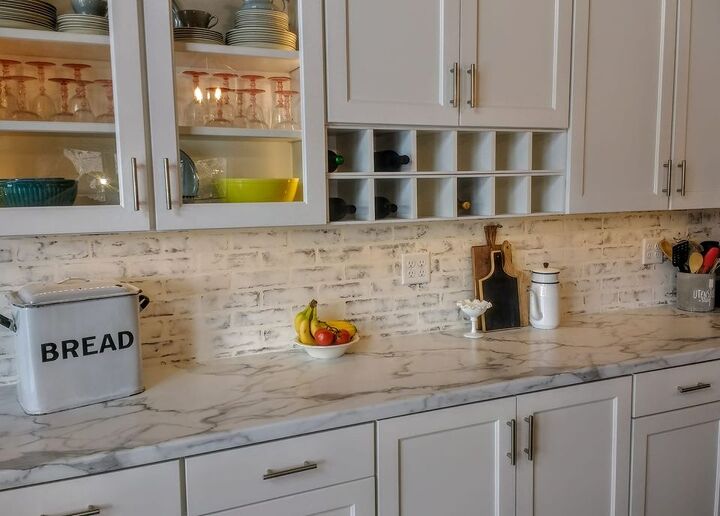
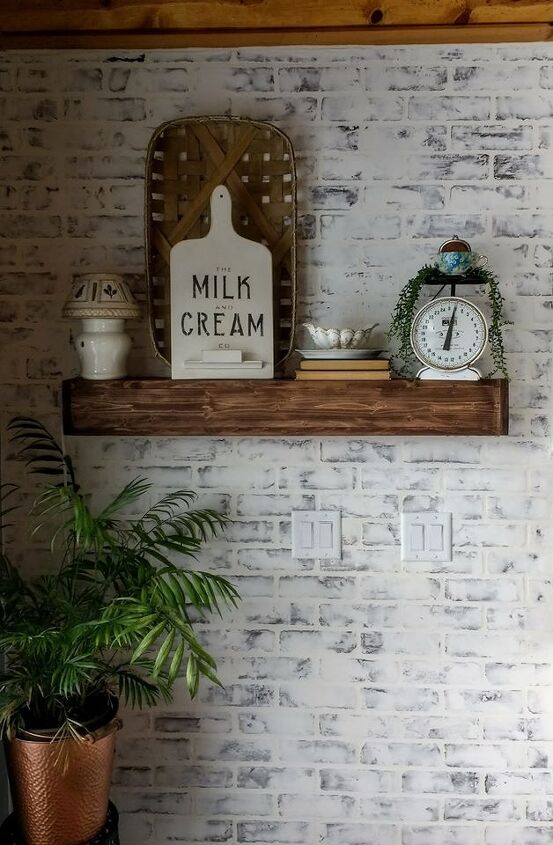
Now...sit back and have a much needed glass of wine and enjoy your new backsplash. Oh, and relish the fact that you saved hundreds of dollars by doing this yourself!!
Thank you for reading and have a great day!!
Resources for this project:


Comments
Join the conversation
-
Elizabeth, this looks amazing! I decided to try this in my kitchen as backsplash.
I was wondering if you sanded the drywall mud after applying your first coat of polycrylic per the instructions on the can?
Also, has your backsplash yellowed any over time?
Thank you!
Bonnie
-
Thank you! No to both of your questions. I did not sand the drywall before applying polcrylic. Also, there is no yellowing at this point.


Frequently asked questions
Have a question about this project?
Looks amazing!! I have been thinking about doing this but white washing the panels instead- Now I might reconsider.😁. I also love your floors! What color and material are they?
I have no experience with this kind of project but I have 2 questions.
Do you think applying the joint compound could be done before actually putting it on the wall?