


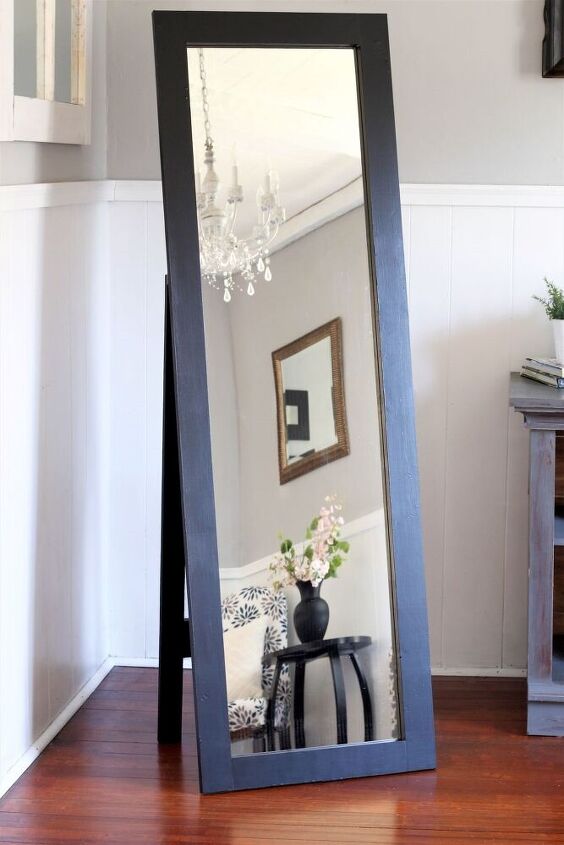
DIY Pottery Barn Inspired Floor Mirror
How I created a high-end floor mirror using a cheap back-of-the-door mirror!
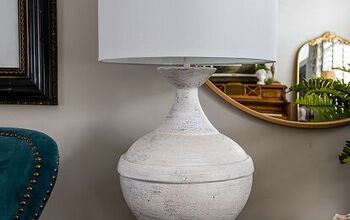
Inspiration piece
One of my favorite stores for decor is definitely Pottery Barn. So when they send me an email showcasing their clearance items, I'm all over it. Recently one of the items they sent caught my eye.
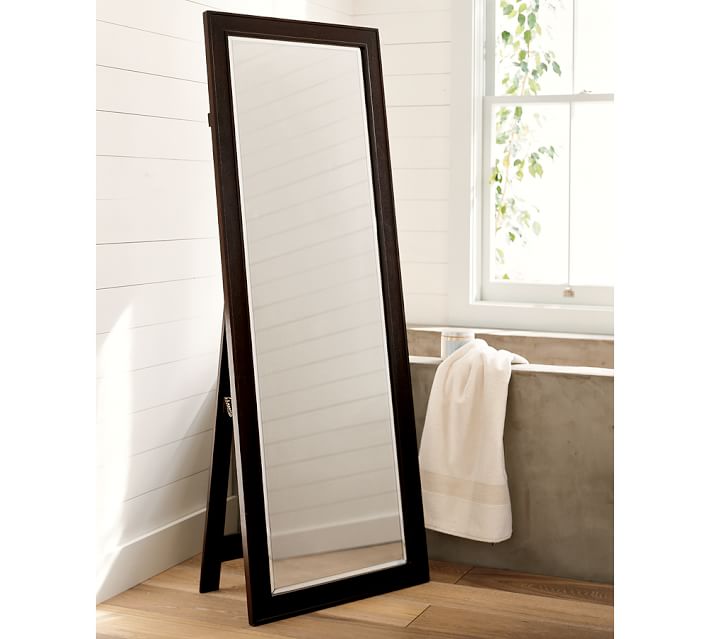
I've been wanting a floor mirror for some time now, but they are usually priced out of my budget. This one even on clearance was over $300! I loved the look of it but just couldn't click the buy button for that price.
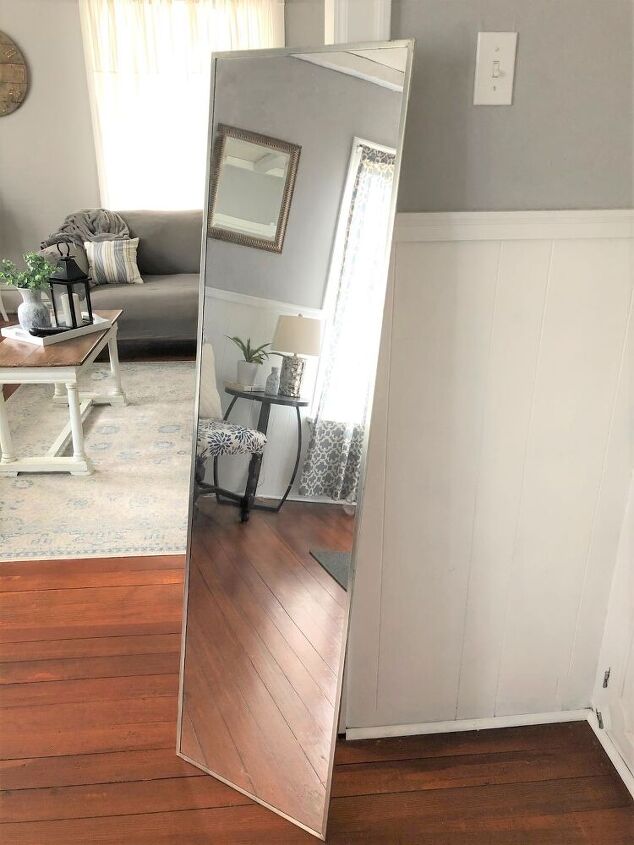
Then I remembered this inexpensive door mirror we just recently removed from the back of my home office door. I was going to just throw it away once things started opening up, but now I had an idea. It would take some work, but I could definitely use this to create my own floor mirror.

Measure the mirror for the frame and cut 1x4 pieces of pine to size.
You can find the exact measurements we used over on the blog. But basically we cut the pieces for the frame and the easel support for the back.
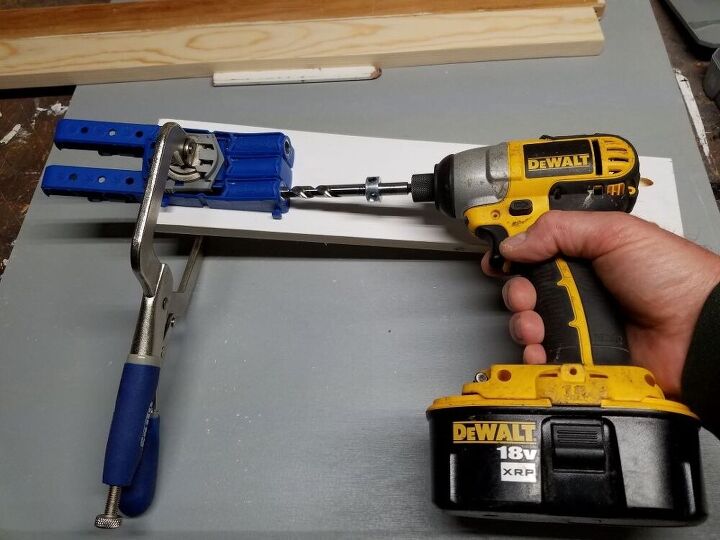
Join the frame pieces together with a Kreg jig tool and screws. (Same for the easel)
You don't have to have a Kreg jig tool to put the frame or back support together but it did make it so much easier.
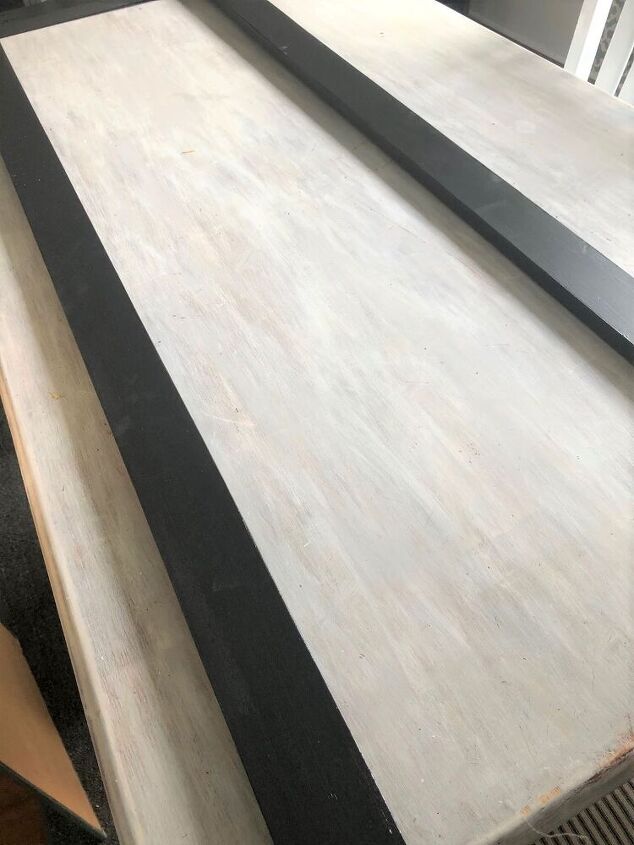
Sand and Paint the frame and back support
We only had 60 and 120 grit sandpaper on hand so we used both to smooth out the pine. Then I wiped it down with a cloth and gave both pieces a coat of black paint. An hour later I gave them another coat and then allowed it to dry overnight. The next day I gave each piece a coat of poly to protect the paint from chipping.
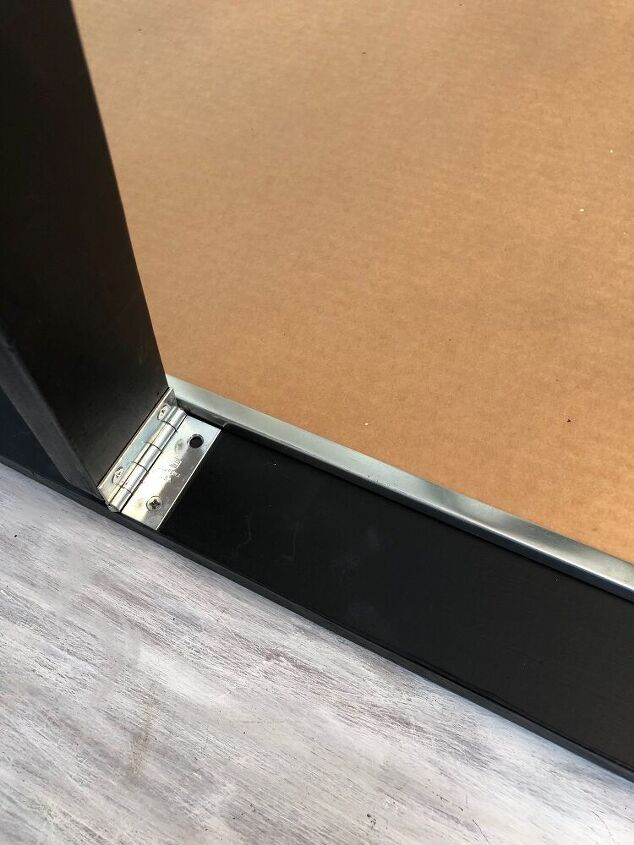
Attach the Hinges to the easel back support
First we drilled pilot holes to prevent the wood from cracking. Then we used 1/2" wood screws to attach the hinges to the easel and the easel to the frame.
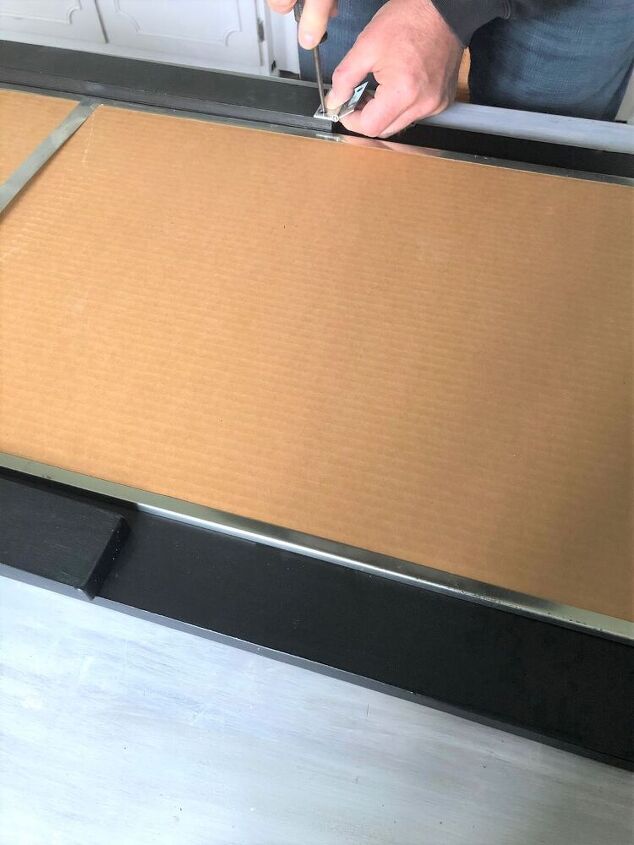
Once the easel and frame were connected we centered the mirror on the frame. Basically you just want to make sure that the metal framing on the original mirror is covered on both sides and top and bottom by the frame.
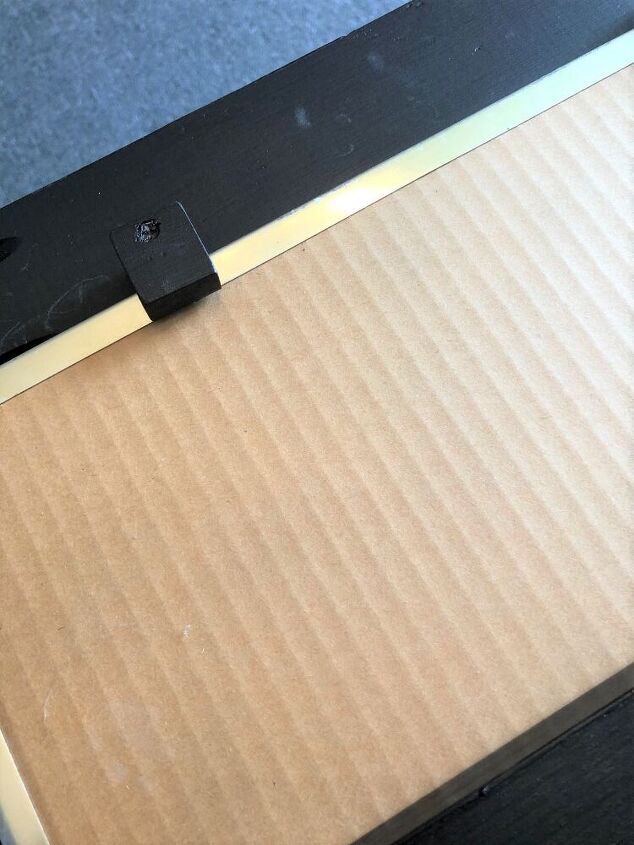
Attach the mirror to the frame
We made our own mirror clips with wood, a router and screws. But you can buy these pretty inexpensively at a hardware store on online.
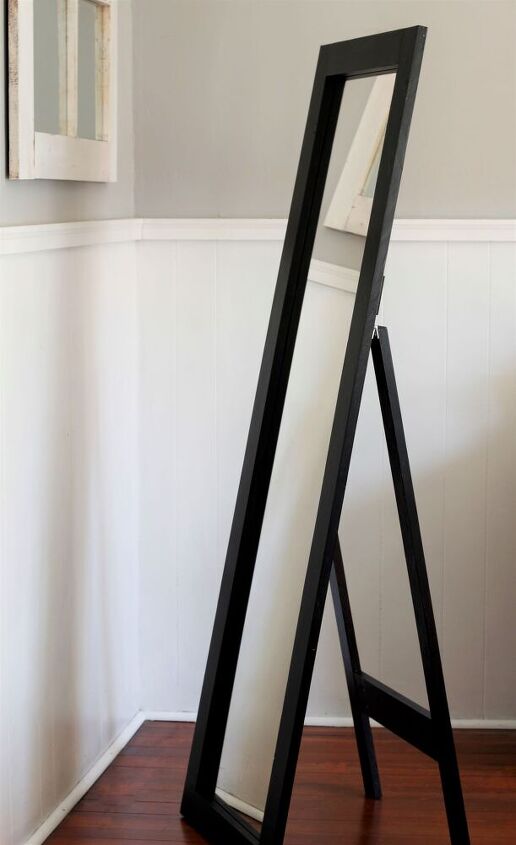
The hinges adjusts so you can set the mirror at many different angles. Or, you can just fold it up and lean the mirror against a wall.

The hardest part of this project was taking photo's. It's impossible not to get a reflection in the mirror!! 
You can find the complete tutorial and material list over on my blog. The total cost for me to make this was $0 because I had all of the materials and tools including the mirror. But you can buy one of these mirrors at Target or Walmart for under $10 and use scrap wood for the frame and easel.
Resources for this project:
See all materials


Frequently asked questions
Have a question about this project?