


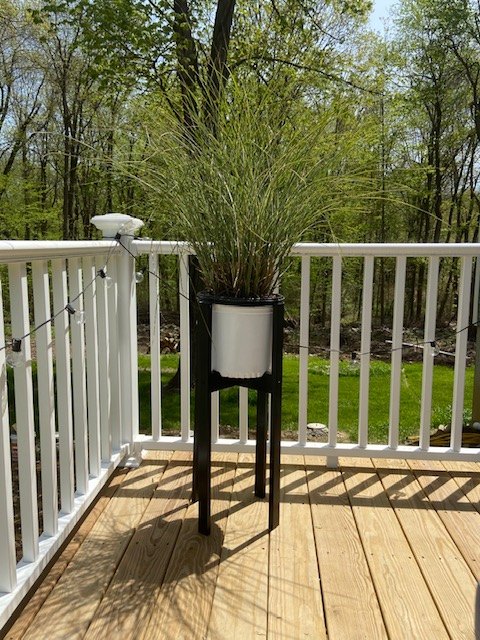
Plant Stand

I’ve been wanting a plant stand for a while but every one I've found was more money than I was willing to pay. I had some leftover primed pine from our board and batten projects, so I decided to make one myself! Even if you had to buy the materials, if you copied my measurements, it only would take one 8ft 1x2 and one 1x3.
I didn’t really have all of the proper tools for this one, but I made it work with what I had and ultimately this project cost me $0. If I were to re-do this project, there are a few changes I'd make, which I've outlined in the steps below.
What you’ll need:
1 x 2 primed pine
1 x 3 primed pine
Miter saw
Drill and screws
Level
Paint
Wood glue (optional)
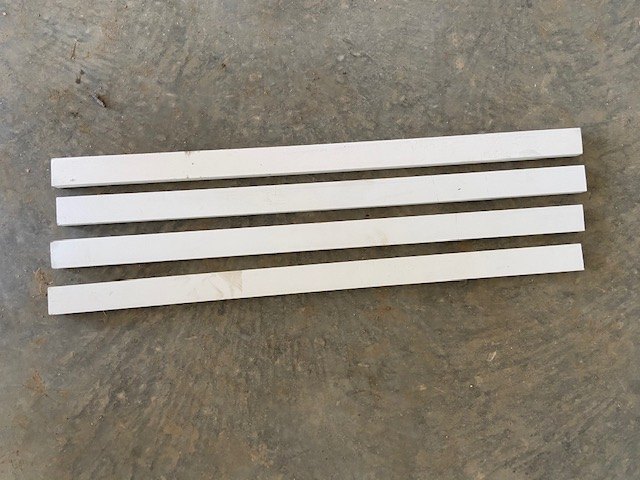
Step 1: Cut the legs
First I cut my 1 x 2 into four equal pieces for the legs. The length will depend on how tall you want you want the stand to be. I went with just over 2 ft each.
Step 2: Cut the center supports
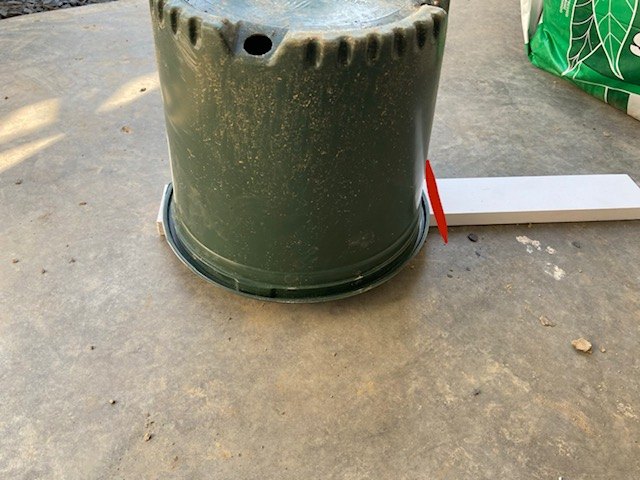
Next I cut the 1 x 3 into two equal pieces to make the center support. The size will depend on the size of your pot. Measure the widest part of your pot and extend it a bit beyond that.
I used a cheap plastic pot that one of our ornamental grasses came in - you know, the kind that most people throw away  .
.
I was being cheap and didn't want to spend any money on this project (mostly because I wasn't sure if it was going to come out the way I was envisioning it), but if I were to re-do it, I would definitely get a nicer pot.
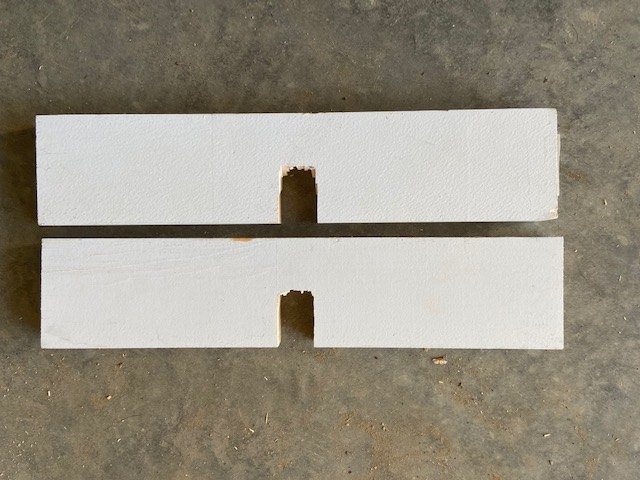
Step 3: Groove the center supports
Next cut a groove on each 1x3 so they can connect easily. I only had a miter saw available so I made it work, but I think a jigsaw would have been easier. I measured out where I wanted the groove to be and made small cuts with the miter saw (seen below) until I was able to clear out the area.
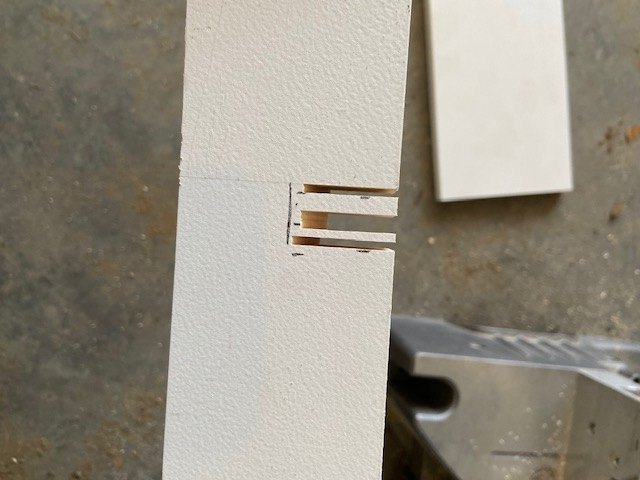
These were NOT perfect cuts, but all I was really concerned with was that they would lay flat against each other.
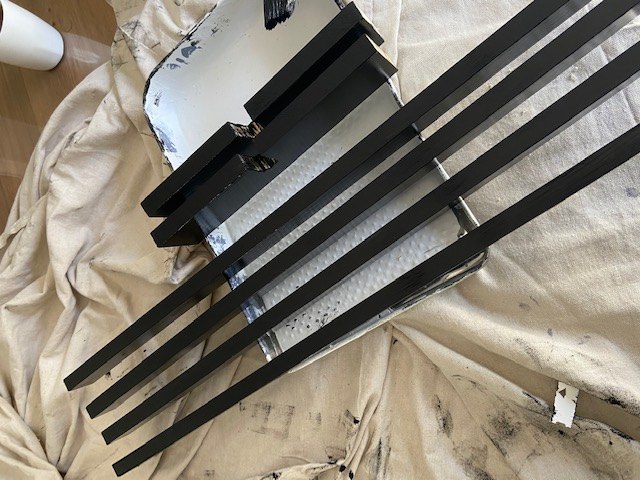
Step 4: Paint
I painted all of the pieces before connecting them. I gave each piece two coats to ensure they were well covered. While these were drying, I also painted my cheap plastic pot white, to try and camoflague the fact that it was basically garbage.
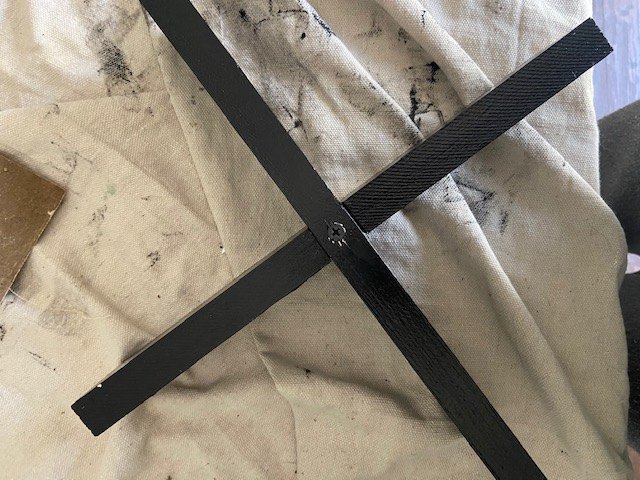
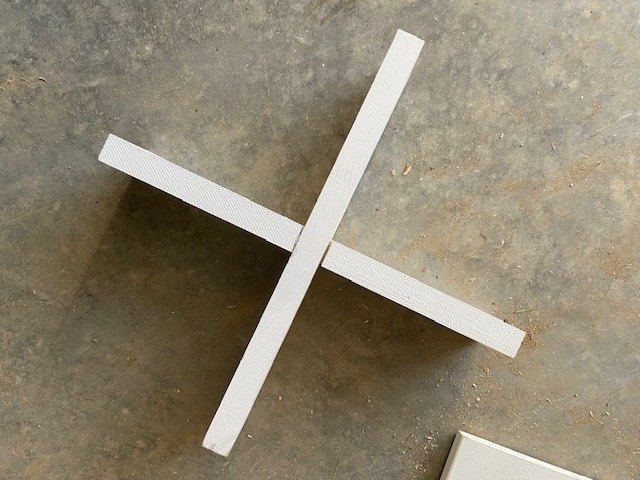
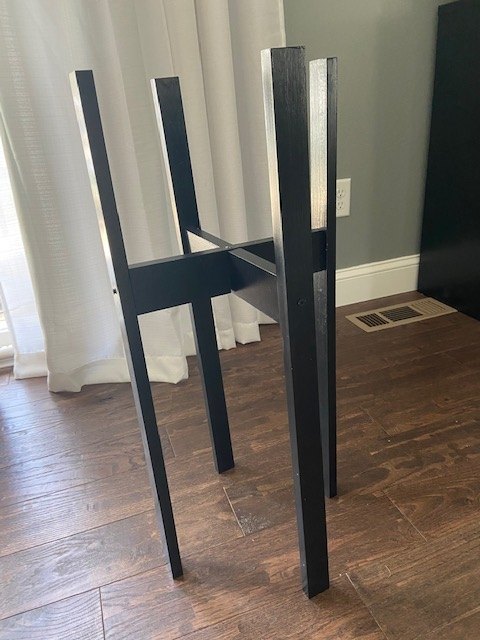
Step 5: Connect the center supports
After drilling a pilot hole, I used a screw to connect the two center support pieces making sure they laid flat. If you want to be really careful, you can also add some wood glue for extra support, but I didn't do that and mine has been holding up just fine!
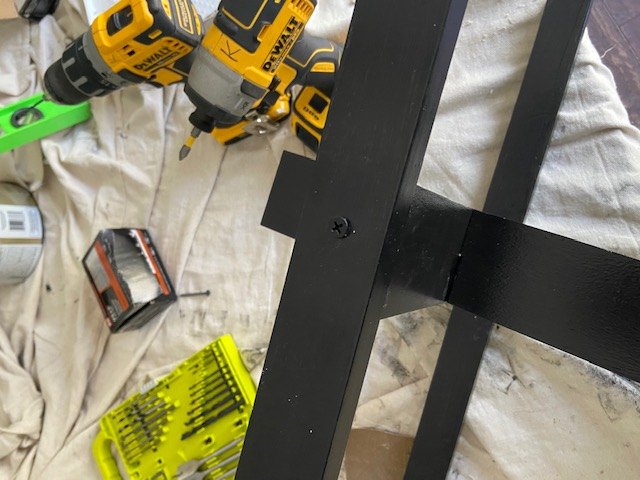
Step 6: Connect legs
Next, use screws to connect each leg to the center support. I drilled pilot holes for these too, to ensure I didn't split my wood. I also used a level along the way to ensure everything was straight.
Add your potted plant and you're done!
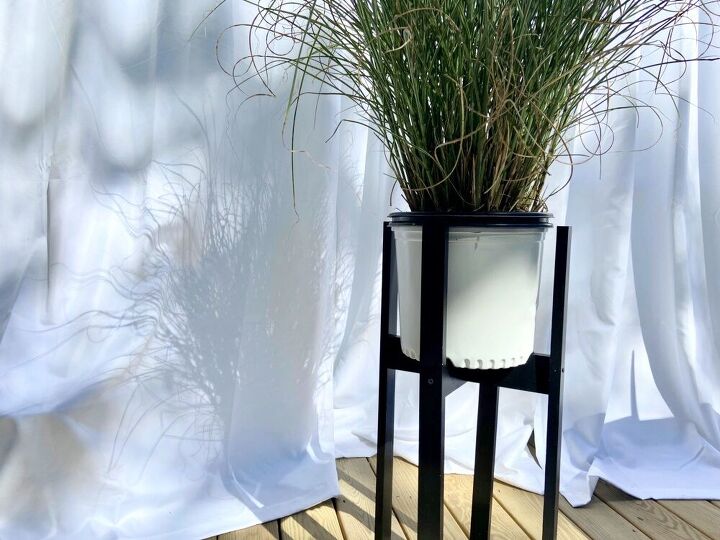
This wasn't a perfect project, but I used what I had and I think it came out pretty cute. Again, for me this was a $0 DIY so I can't complain, but once I'm willing to spend a little money, I will definitely have to upgrade that pot.


Comments
Join the conversation
-
Great job thank you for sharing. If I may suggest to use countersunk screws next time, then you can cover over the screw heads with either wooden plugs or wood putty, unless you wanted the aesthetic of the screw heads. :)
-
Grand!!! I luv it!! tfs


Frequently asked questions
Have a question about this project?