


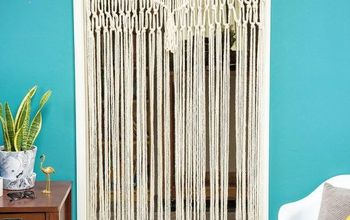
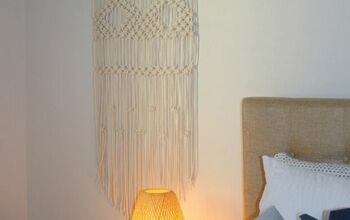
DIY Dried Flower Wall Hanging

Dried flowers are trendy and make beautiful home decor. I'm excited to show you how to make a simple distressed dried flower wall hanging for your home.
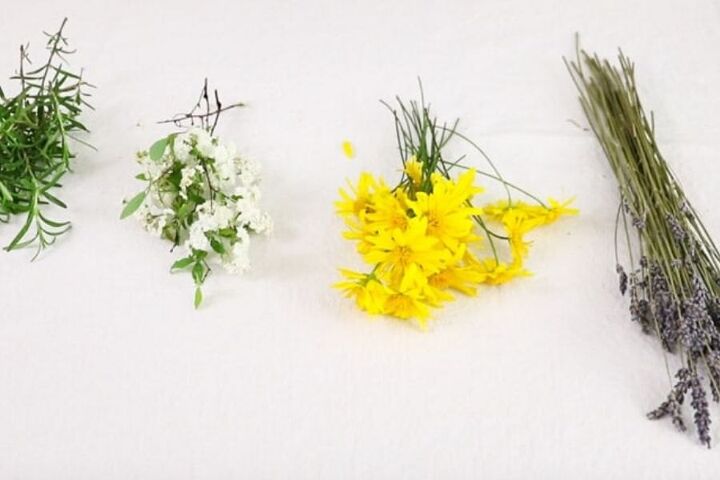
Begin by determining how many bouquets of flowers you will need to dry on your dried flower wall hanging. It is helpful to lay them out on the table side by side with a little space between them.
If you are doing small bouquets like in my dry flowers image above and you plan to do four bouquets then you can figure a 17 1/2″ board. But if you need something more specific then you will need to lay your flowers out on a table side by side with an inch or less between the widest point.
Next, take a ruler and measure from center to center of each bouquet at the point where it will hang. If that measurement is 3 1/2″ then add 3 1/2″ to each end. If it is a larger number then add that number to each end. Now measure the width of your flowers including the end numbers and cut your board to that size.
If you do not have a saw you can have Lowe's or Home Depot cut your piece of wood for you.
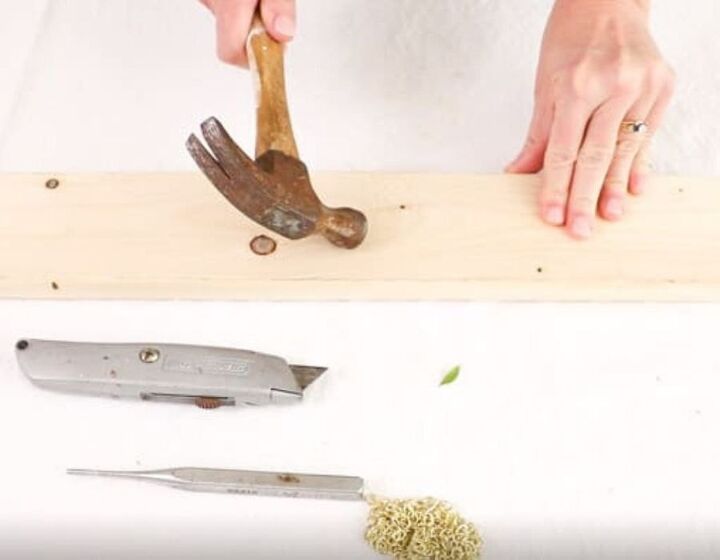
Now for the fun part and that is distressing wood. You can do these distressing techniques in any order you like and as much as you want. It all depends on how rustic you want your wood to look.
I wanted a little distressed look so I began by taking a hammer and beating the board. Then I took a chain and hammered it into the board. Next, I grabbed the utility knife and sliced along the edges.
You can be as creative as you want with all kinds of tools. You can even take it outside and drag your board across the sidewalk. Just keep in mind how much distress you want on your flower hanger board.
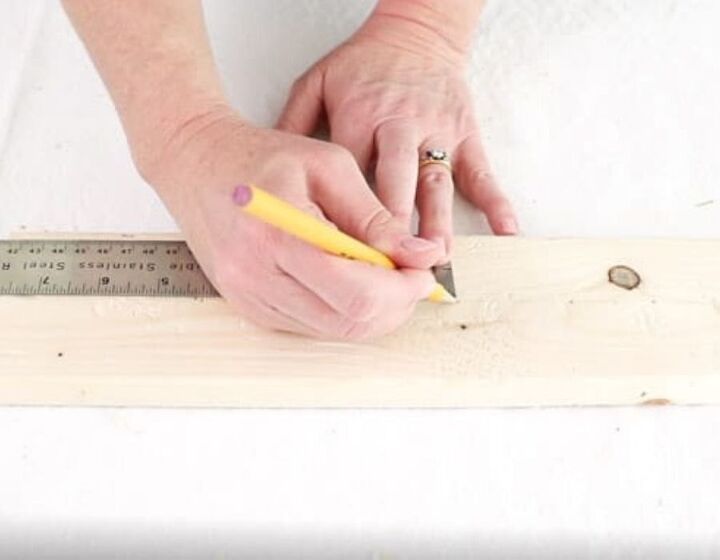
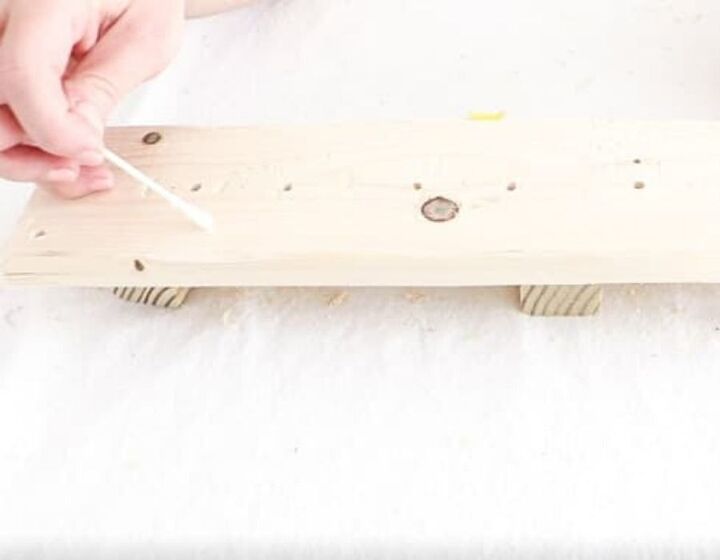
It is time to mark and drill your holes. First, let's find the center of your board from top to bottom. My board was 1 3/4″. Now draw a horizontal line across the center of your board.
Next, go back to your center to center measurement. My center to center measurement was 3 1/2″. Now measure from one end of the board over on the horizontal line to your center to center measurement and make a small up and down line. Keep measuring over and make your up and down marks until you come to the other end.
Then mark 3/4″ on each side of each mark and make a dot. These dots are where you will drill a hole. If your flower stems are much thicker you may need to make this number a little bigger. You be the judge.
Now we need to make mark the holes for where the dried wall hanging will hang. So make a dot at 1/2″ down and 1/2″ over from top corners.
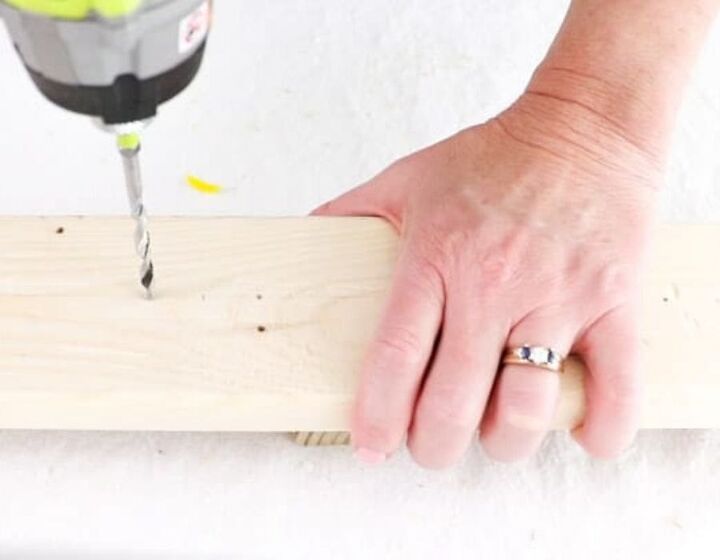
Okay, now we have everything marked so it is time to drill some holes. Grab your drill and 3/16″ drill bit and start drill holes on each dot. Once all the holes are drilled use tweezers, sandpaper, or anything that will smooth out the inside of the holes if needed. I actually used a countersink to clear out my holes.
Here is another fun part of the project. Before you begin painting let's add a little petroleum jelly or also known as vasoline to your board here and there. I like to add a little along the edge in a few places and on the top.
Again think about how rustic you want your board to be and add vasoline accordingly. Basically the vasoline will keep the paint from adhering so wherever you apply the petroleum jelly is where you will not have any paint.
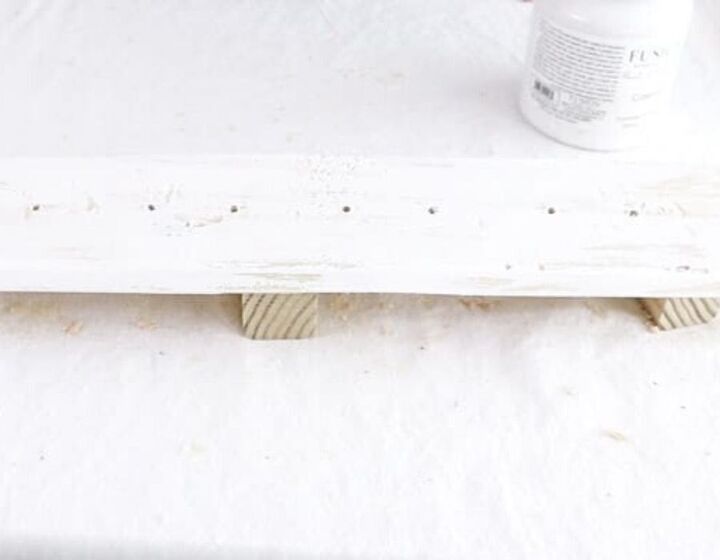
Next, grab your paintbrush and your paint and start painting the top and sides. As you paint you will notice where the petroleum jelly is located. Be gentle with paint on these areas and the paint will not adhere.
If you are using Fusion mineral paint it will dry quickly with a blow dryer. So to save time grab your blow dryer and dry your board.
This dried flower wall hanging is really coming along because we are approaching the finish line.
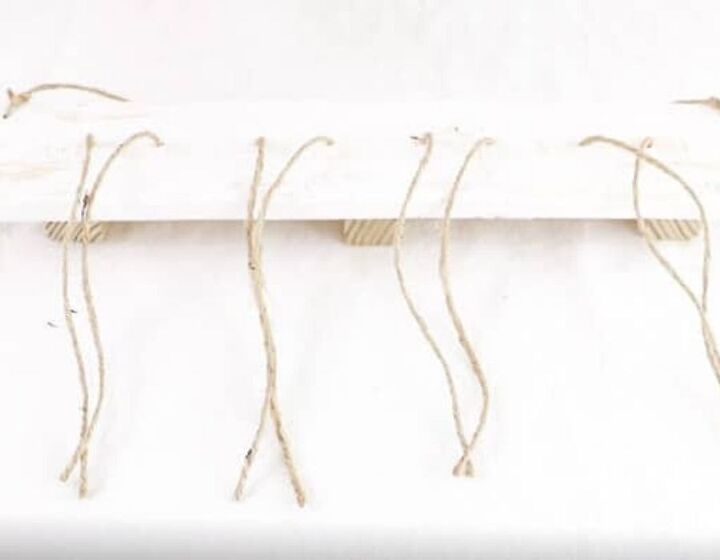
Now measure out 20″ of jute for each flower arrangement. I cut four pieces of jute because I have four hanging flowers planned for the wall hanger.
Then cut a 25″ piece of jute if you are doing the exact same size board as in this photo. If not I would eyeball how long you want your cord to be simply by laying if out of the table with the board sitting below it. Add about 3″ to tie your knot to each end.
Next start threading all the jute into the holes. Down through one side and up through the other. Lay the long jute pieces out straight down from the board. This is where each dried flower bouquet will be tied to the board.
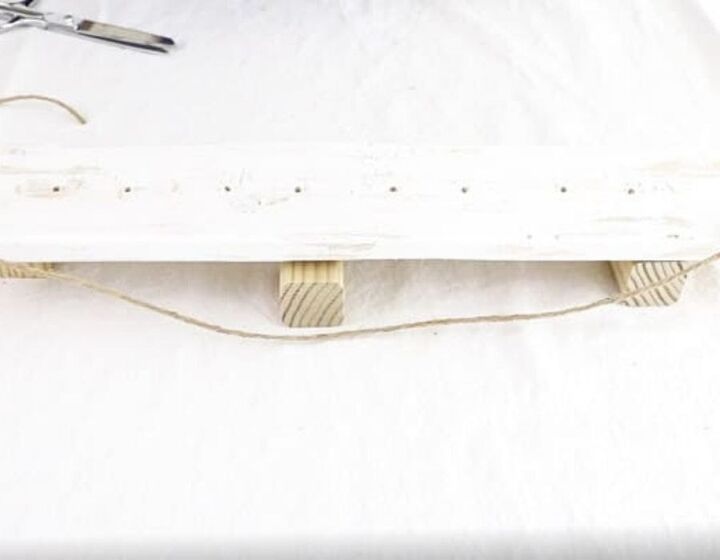
And don't forget about the hanger part of the board. Go ahead and thread the jut through the top corner holes and tie it into place.
Before we add the upside down dried flower arrangements let's take a minute to lay them on the table and arrange them the way you want them to hang on the board.
Simply lay them one on top of the other all in the same direction as a bouquet of flowers wrapped up as you find in the grocery store.
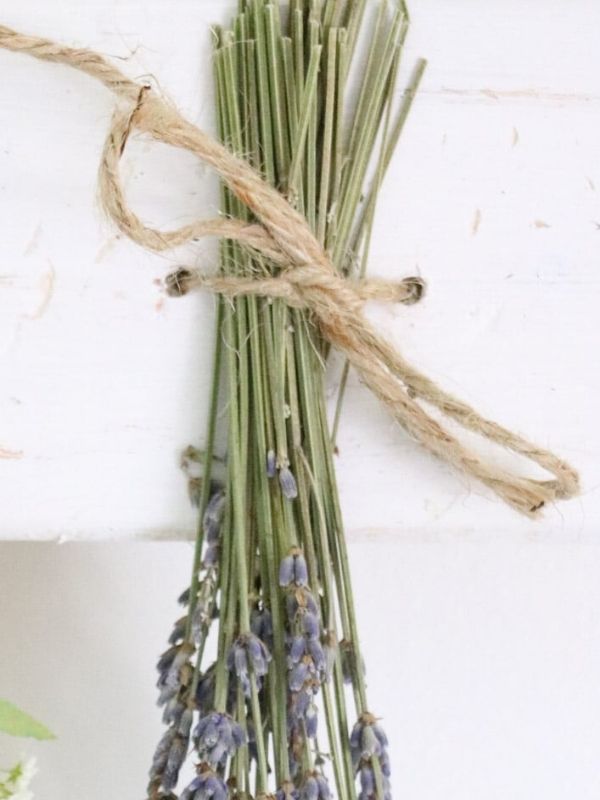
I am so excited about this part. Start on one side and take your dried flower bouquet and lay the stems between the jute with the top of the stems flush with the top of your board and tie the jute around the stems like a shoelace.
First, make a regular tie and then a bow. If you have too much of a jute tail feel free to cut it with the scissors but you be the judge and trim if needed. If your stems are having over the top of the board give them a trimming too.
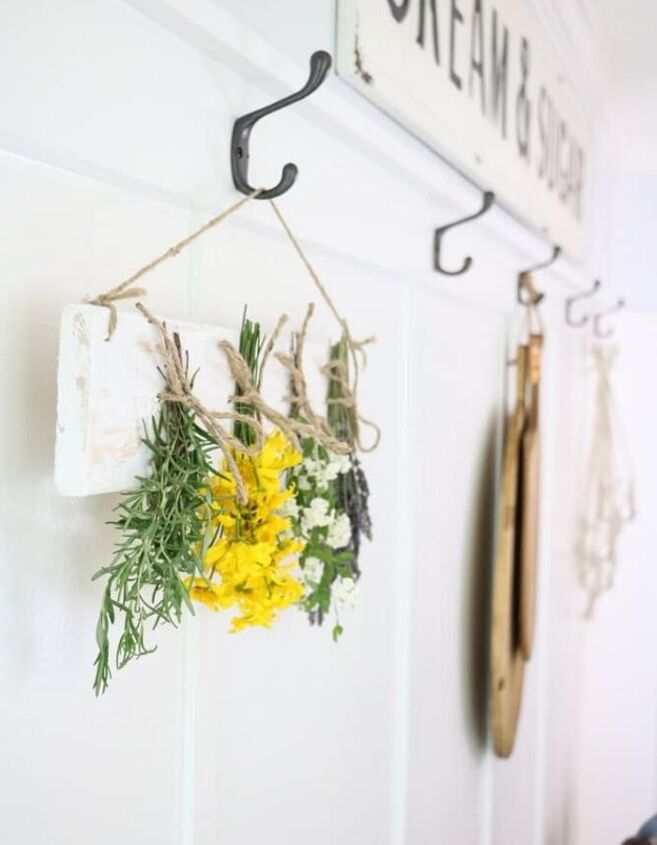
Once you have all your flowers on your board all you have to do is hang them.
Here's mine all complete. This was such a fun project!
If you'd like to see a chandelier I decorated with baby's breath, hop over to my blog I created on a friend's chandelier.


Frequently asked questions
Have a question about this project?
Are there small wood blocks underneath the white board or are they there for support while drilling. Thanks