


Barn Door Shutters

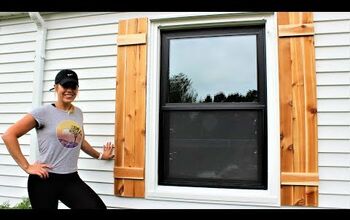
Sticking with the industrial farmhouse theme of the house we decided to eliminate the curtains in the family room and add a nice set of shutters for not only a nice decoration piece but also a functional window covering
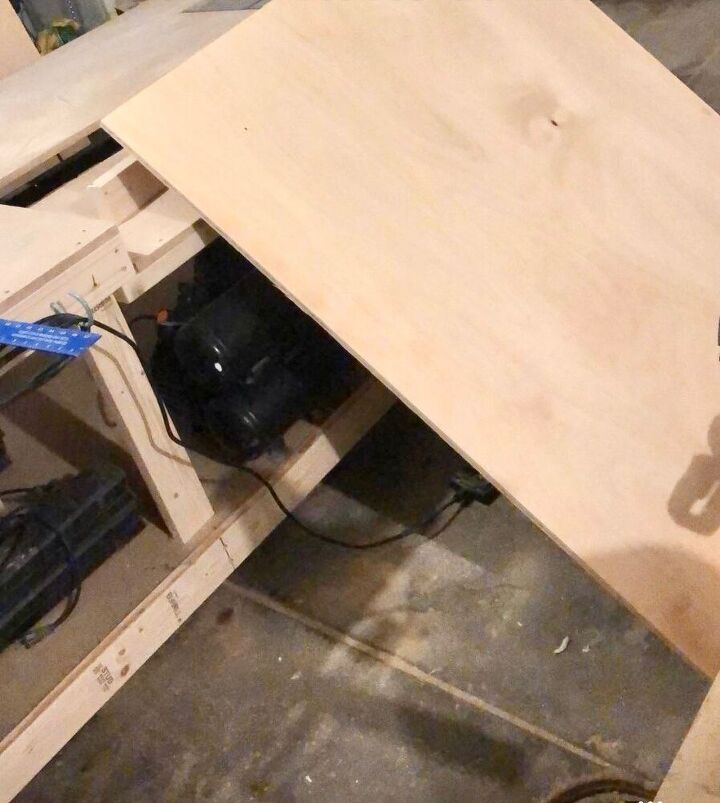
Projects starts off using a full 4x8 sheet of 3/4inch birch plywood. I measured the window where I would be installing these which happened to be 6ft in length. Knowing this I knew I needed to cut 2 pieces at 3ft. This gave me two sections now 3x4
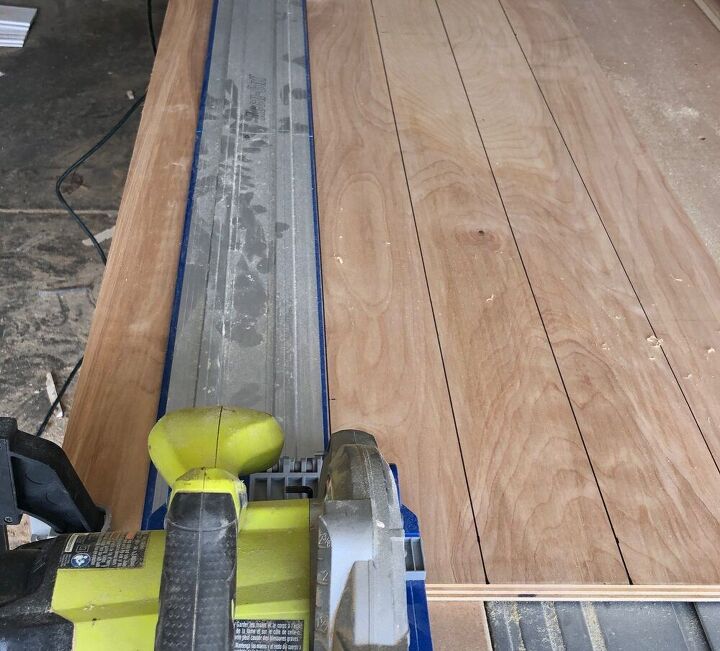
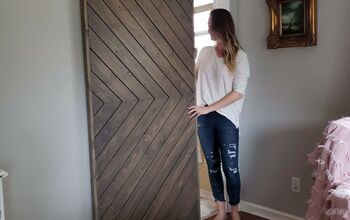
To add a little detail to the plain wood I set my circular saw blade depth to about a 1/4 of an inch. With doing this I then cut 6 evenly spaced lines in my plywood at 6 inches apart gives the plywood more of a plank look without effecting structure of the wood
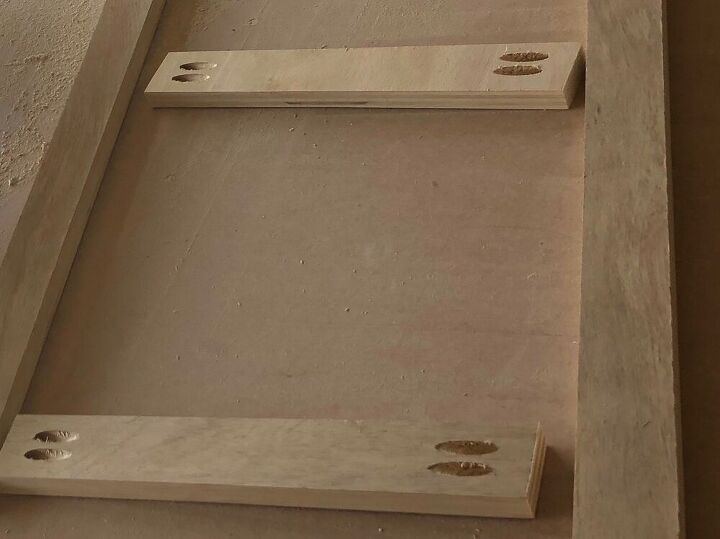
Using the additional 2x4 piece of plywood I had left I cut strips down to 4 inches wide and 2 inches wide. These were used to make the outer frame. Which was drilled out and assembled with a kreg pocket hole tool.
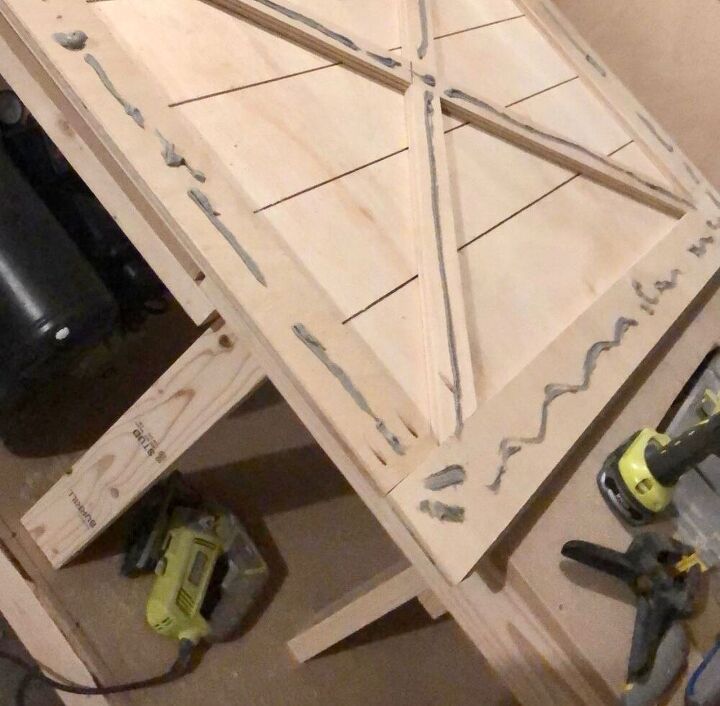
Here you see I added some construction adhesive to the backside of one of the panels. Doing this will create a strong bond between the two sections. I then flipped the frame over and aligned the two pieces and tightened them together using a few clamps. Also added a few brad nails to for a better hold.
After showing the detail on the first shutter I decided to make a time lapse of the second to show you the process all at once.
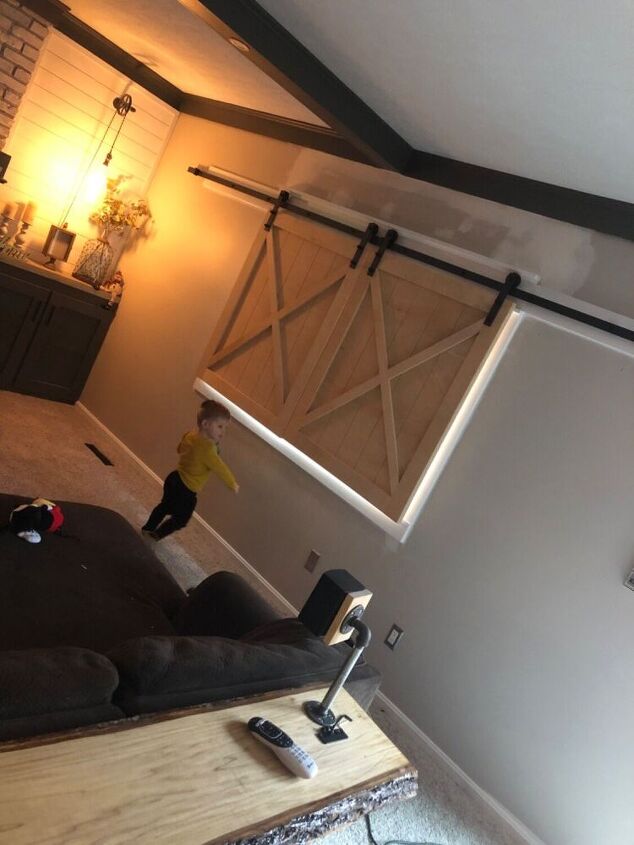
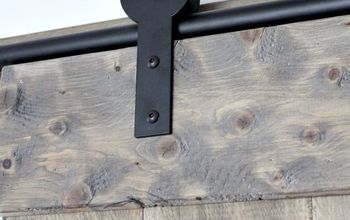
Using a 12ft barn door hardware kit Installed this into place as well as added the brackets onto the shutter. This step allowed me to test for Fitment and functionality.
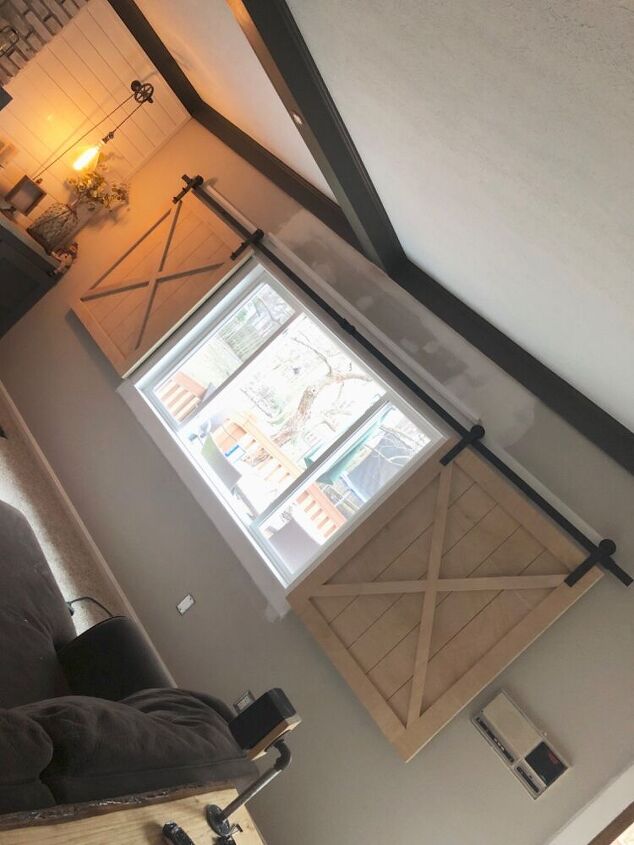
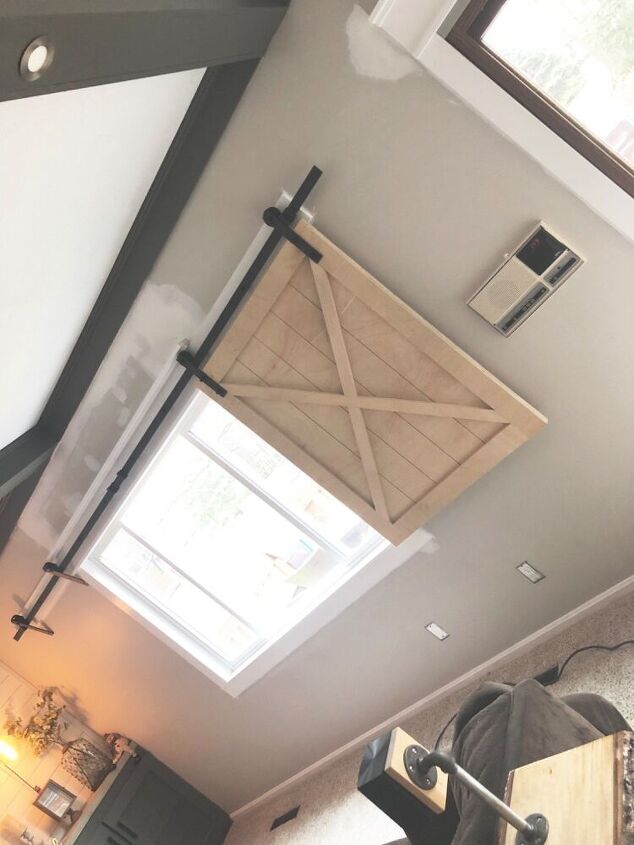
Both shutters were then hung onto the track i checked clearance to window trim and also made sure both shutters were aligned with one another as well as adding the stops on both sides to keep from sliding these off of the track.
View of the shutters in operation offers plenty of privacy and blocks the light out when needed
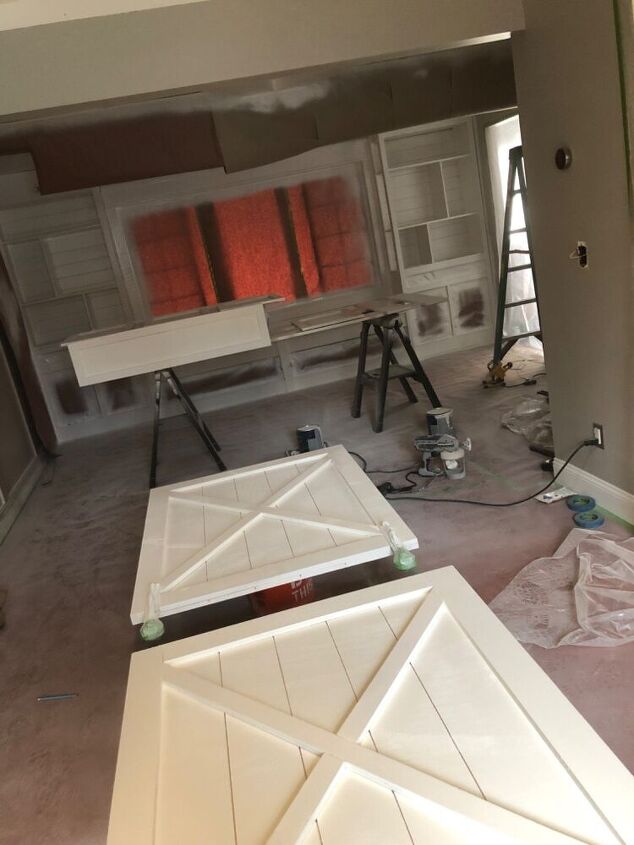
After everything checked out with test fit shutters were removed and sanded. After sanding with series of sandpaper 80 180 220 grit using an orbital sander we were ready to paint!
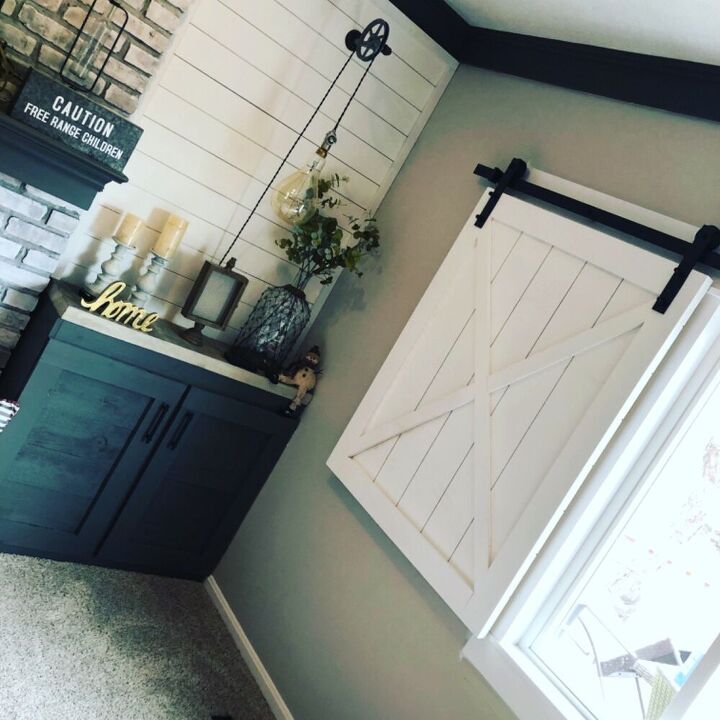
After allowing paint to dry I reinstalled the shutters and gave one more check for smooth operation then looked over to admire the creation!
Resources for this project:
See all materials


Comments
Join the conversation
-
You did a great job, I really love the look. Great for privacy
-
I had thought of doing this exact same thing to our living room and bedroom windows, inspired to get started yours look fantastic!


Frequently asked questions
Have a question about this project?
'Just wondering how much air flow do you still get coming into the room with the screens open, shutters closed, after dark? (if you wanted privacy and cooler air at the same time)
!!!You did a fantastic job!!! There nice!! Were did you get the supplies?