


Adding Color Gives A Hutch A Bright Future

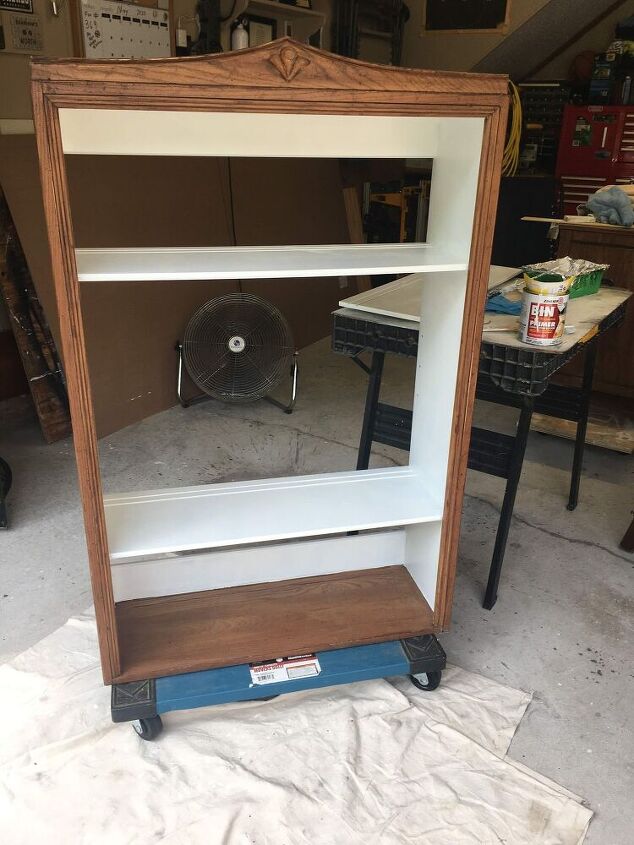
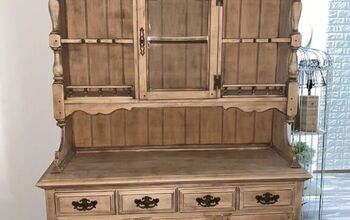
Sometimes I find great furniture online and this was the case for this great hutch. I couldn't believe they were only asking $40. When people are moving and just need old furniture out of their basement, it definitely works in your favor.
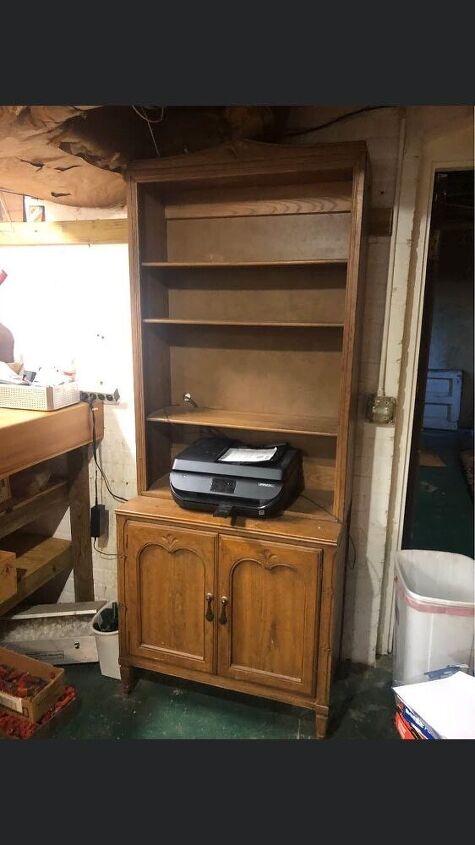
As you can see, the previous owner used this in an office once upon a time ago. I could see it had great potential so it had to come home with me. Luckily, it is two pieces which made it much easier to load and unload.
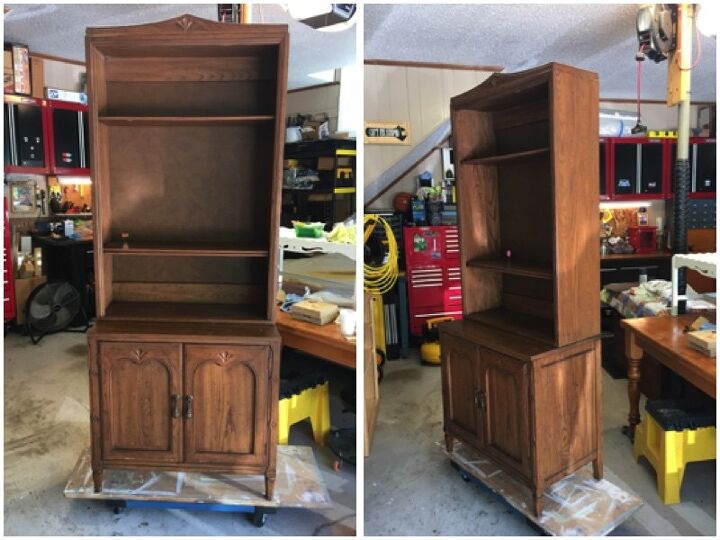
Once it was in my garage, I was able to see there were only minor repairs needed. I gave it a good cleaning with Simple Green and a Scotch Brite Sponge. It was pretty disgusting.
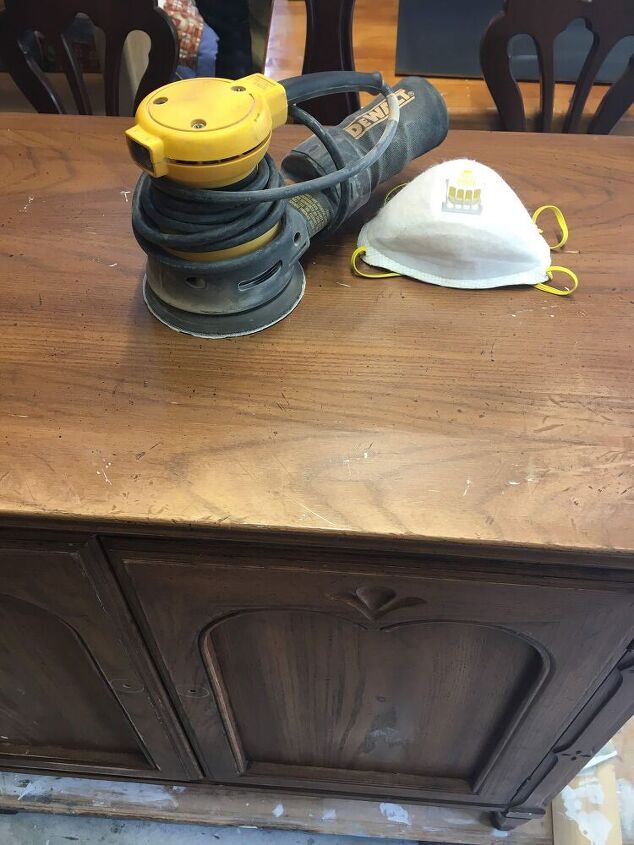
After cleaning, I used my orbital sander and a 120 grit sanding pad to give it a scuff sanding.
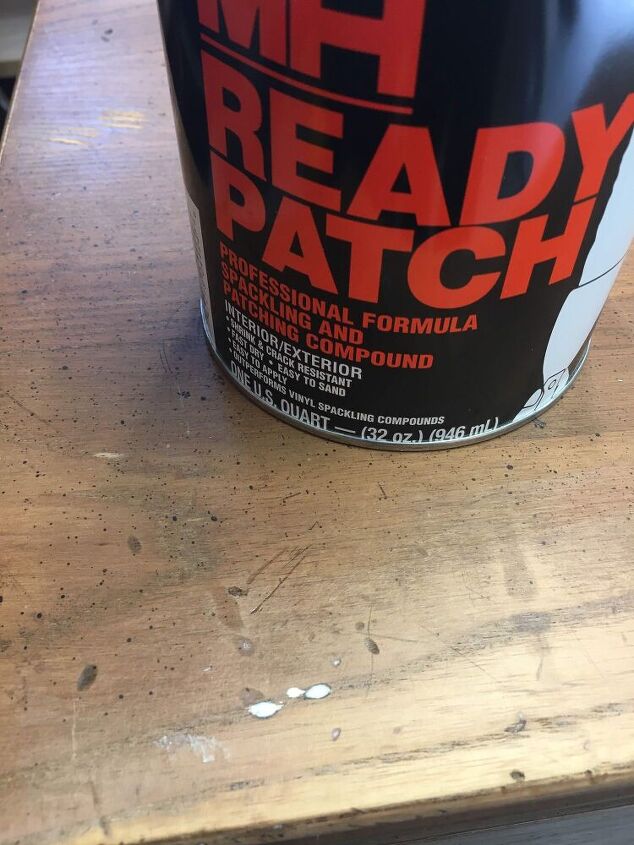
I then wiped it down and inspected it to see where I needed to add wood filler. After the filler dried, I sanding those areas to make them smooth and wiped it down again. I used a sponge brush and Dixie Belle Paint Clear Boss Primer over the areas where I used filler to help the paint cover.
My plan was to paint the shelves and backing white so I painted all of those sections with Zinseer BIN Primer first. This primer stops bleed through and is great to use under light colors so you don't have to use as much paint.
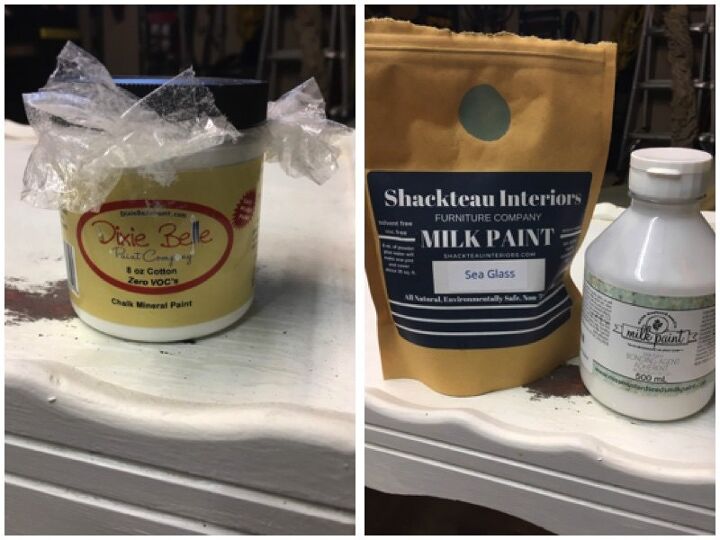
I then painted those areas with three coats of Dixie Belle Paint in the color Cotton.
For the rest of the hutch, I used Shackteau Interiors Milk Paint in the color Sea Glass. This is a great paint to use if you want a chippy look but that's not the direction I wanted to go with this piece. I mixed equal parts of water and milk paint. To stop chipping on this piece I added a Bonding Agent I had on hand. This mixture was 50/50 paint to bonding agent. When using milk paint, I try not to mix too much because it will spoil. I had to mix more paint for additional coats. For this piece, I applied 3 coats of paint.
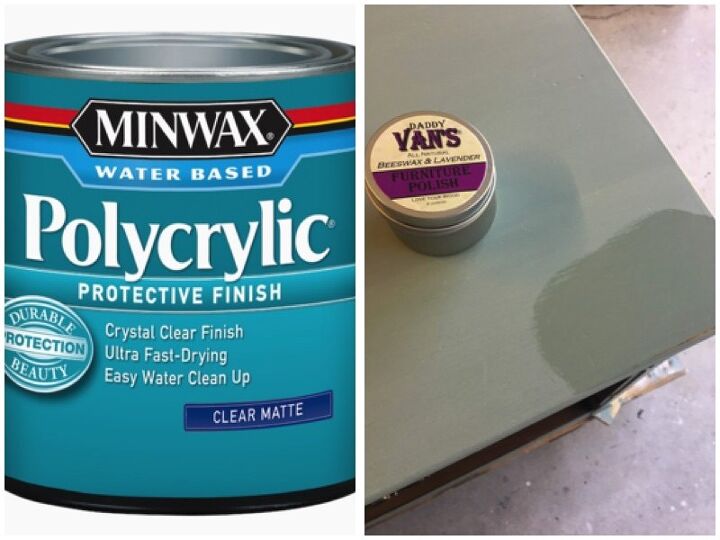
To seal the paint, I used Minwax Polycrylic in Clear Matte over the white chalk paint and Daddy Van's Bees Wax in Lavender scent over the milk paint.
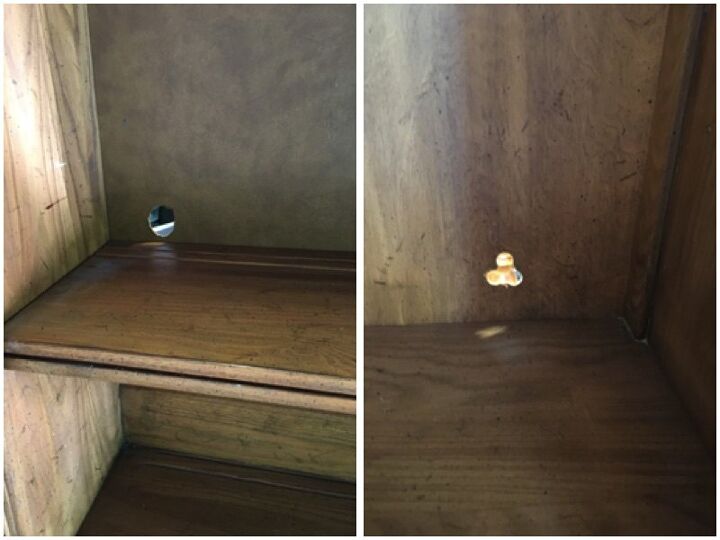
The previous owner drilled holes for electrical cords. I decided to remove the back on the top portion and replace it with white bead board which I painted in the same Dixie Belle paint I used for the shelves.
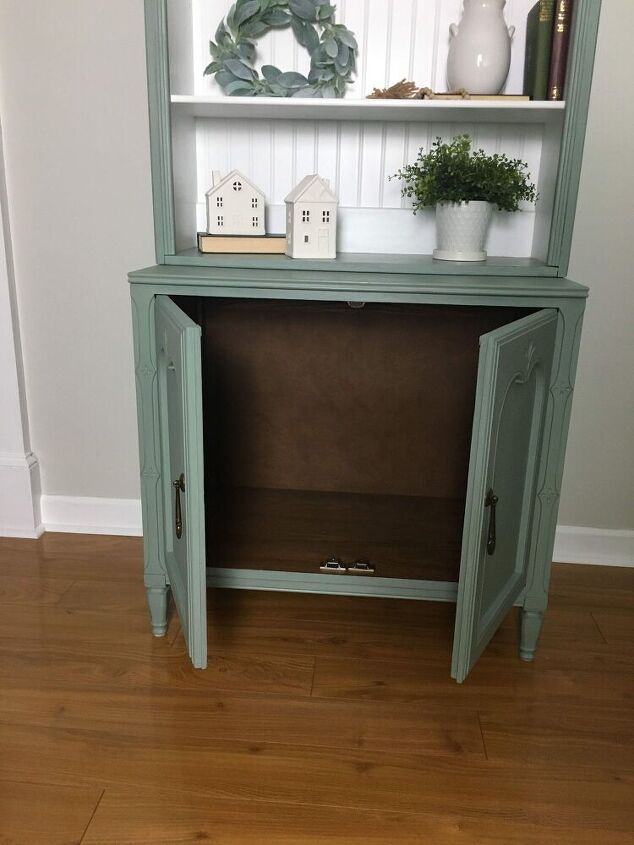
For the bottom part, I thought about making the hole circular and adding a plastic grommet. But while laying in bed that night, I came up with a better solution ... I could cut down the the old backer board from the top and attach it!
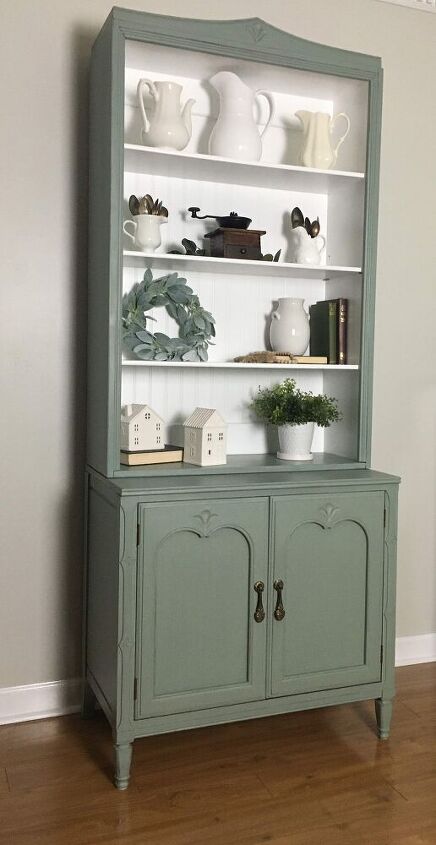
This hutch turned out better than expected! I love the color combo, the bead board, and the fact that I could use the original door handles.
Resources for this project:
See all materials


Comments
Join the conversation
-
Looks so elegant and refreshing. I love it. I could live with something like this for a long time.
-
GORGEOUS LOVE IT !!!


Frequently asked questions
Have a question about this project?
What colour paint did you use on the hutch..
lts gorgeous,l love it..
Beautiful redo---love the color! Just have to ask if the top hutch is connected to the cabinet base with mounting plates. So many people leave them off but it is dangerous for the two pieces not to be secured to each other. Be safe!