


Stenciling and Updating Guest Bedroom!

Hi Everyone -
I mentioned in my last post how my husband and I purchased our home almost two years ago up on the lake. The house is on the same lake we had our cottage on for 20 years. When we moved in, I was determined to make it "ours". I painted rooms...then I repainted them. Our guest bedroom was no exception, I painted it, lived with it for a year, and now I repainted this room...again!! I tend to change my mind, a lot!!
The color I initially painted the bedroom was Carolina Gull by Benjamin Moore. It truly complimented the knotty pine ceiling, however, the only natural light in the room is from the patio doors that face south east. Having a deck directly above the patio doors cancels out even more natural light. Natural light is key when picking out paint colors. Good thing I like to paint!
Spoiler Alert on this Post: I am pushing 60 years old and I am out of practice on my DIY posting. I did not take pictures while doing this project!! Oops!  Instead, I included the sites to go to with directions on how to do the stenciling and sconces. I noted after posting this, that Hometalk will not post the sites I want to include. If you are interested in these sites, let me know in the comments.
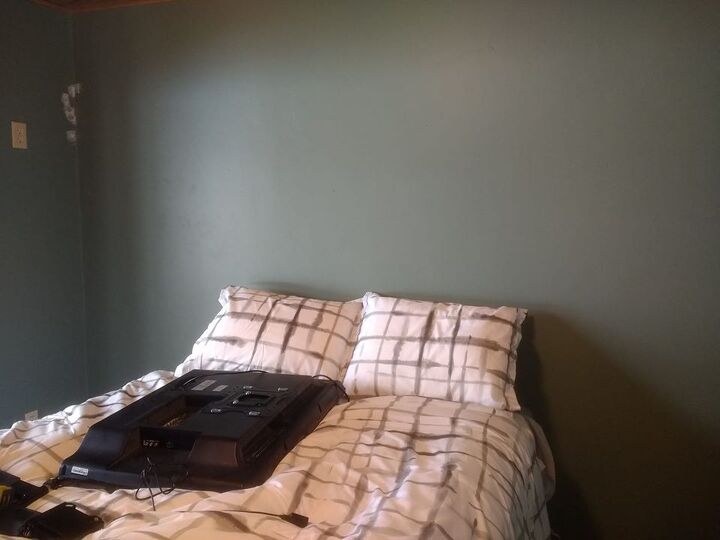
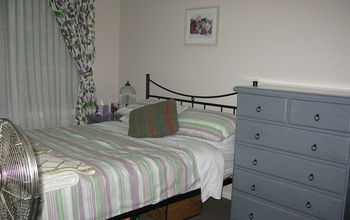
Yes, I am an impatient soul! I took the picture AFTER I took the headboard off and the TV down! My Bad!!
Note: I did patch the wall where the TV mount was, gotta love prep work before painting.
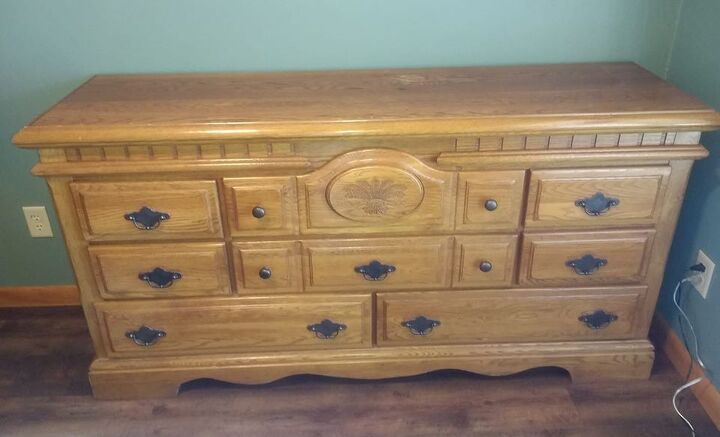
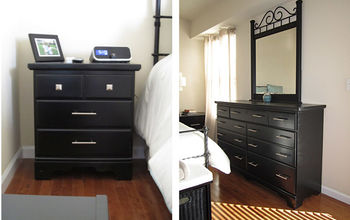
This was the monster of a dresser that was in the room!! The room really is small and just vacuuming was a chore. With no closet, this is where I stored all my linen for the beds on our lower level. Something needed to be done! The Beast is Gone!!
Btw, the headboard for the bed matched the dresser.
First, I painted the walls with my new favorite color: Agreeable Gray by Sherwin Williams. I love this color! It looks wonderful with everything. I actually had a full gallon of this paint left over from the upstairs hallway so it did not cost me a dime to repaint this room. Big Score!!
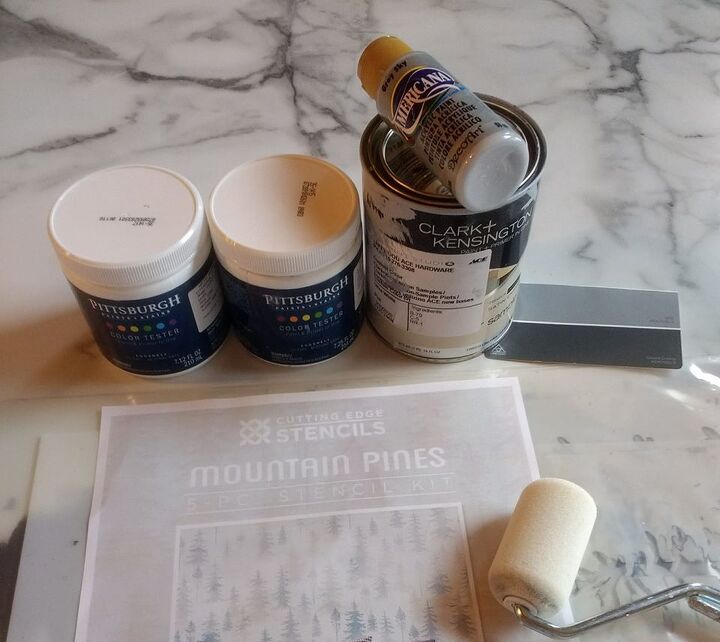
- Stencil (I bought mine from Cutting Edge Stencils)
- paint (three different colors)
- small sponge roller
- paper toweling
- wood for sconces and end tables
- lamp shades and light kits (purchased at Menards)
Here is the sad story about moving up to the lake....There is NO Craft Store within 40 stinkin miles of our house!! Seriously...Nothing!
For this project, you would think that I would have the colors in my arsenol of paint to pick from, but of course, not the colors I wanted.
I went to Menards (again, 40.5 miles away, hey, a girl has to do what a girl has to do) and found myself in the paint department.
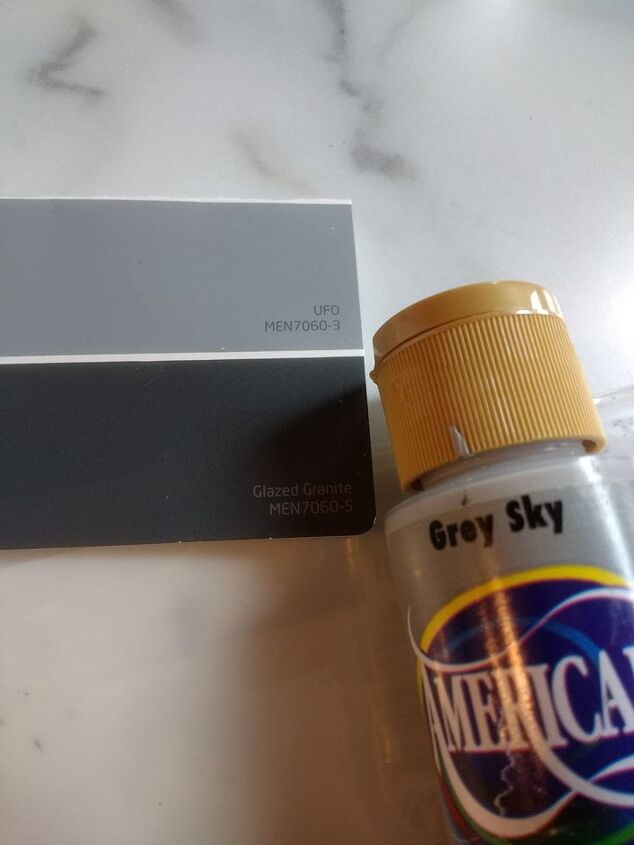
Menards has the Pittsburg Paint line and I had them mix up: UFO and Glazed Granite in their great little samples. My third color I had the store do a color match from the Grey Sky craft paint. In the picture above it shows a different brand of the paint sample...I used a lot more of the Grey Sky and had to go to my local Ace Hardware for another sample.
When stenciling, you do not want a lot of paint on your roller or brush!! That is the number one, best tip, anyone will give you when stenciling. If you have too much paint on the tool, it will bleed under the stencil. Have some paper toweling to roll off the excess onto.
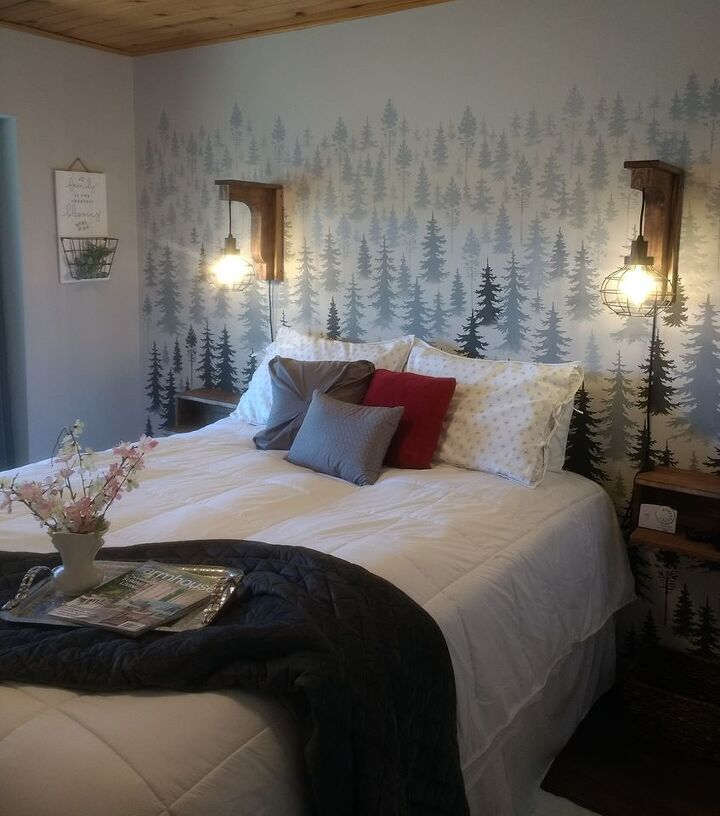
I did not have my camera crew available when I stenciled the wall, instead I am sharing the video on YouTube from Cutting Edge Stencils for you to watch. If you are doing this particular stencil, they show you how to get the misty effect which is what you want with this particular stencil.
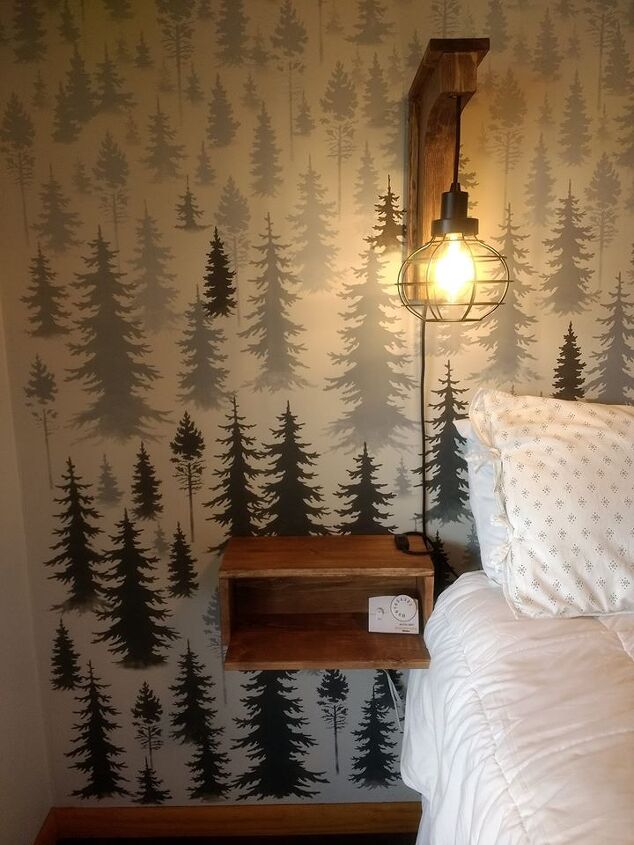
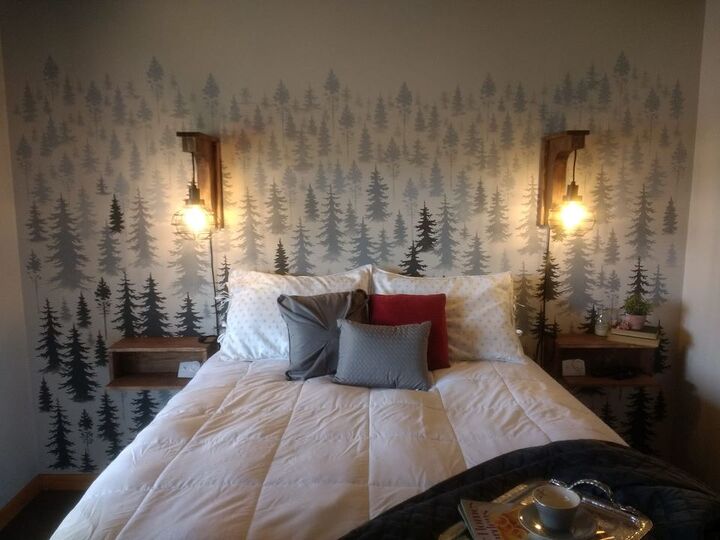
For lighting and endtables, I made Corbel Sconces and Floating Endtables/Shelves for both sides of the bed.
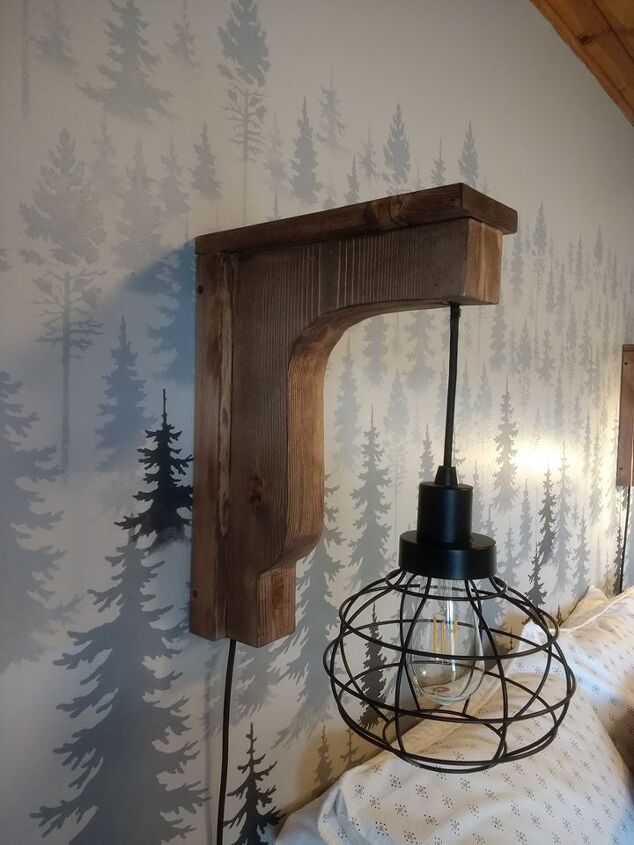
I found directions on how to make these awesome Corbel Sconces from the dynamic duo sister team from Shanty2Chic. These instructions are seriously easy to follow. If an almost 60 year old can do this, so can you!! 
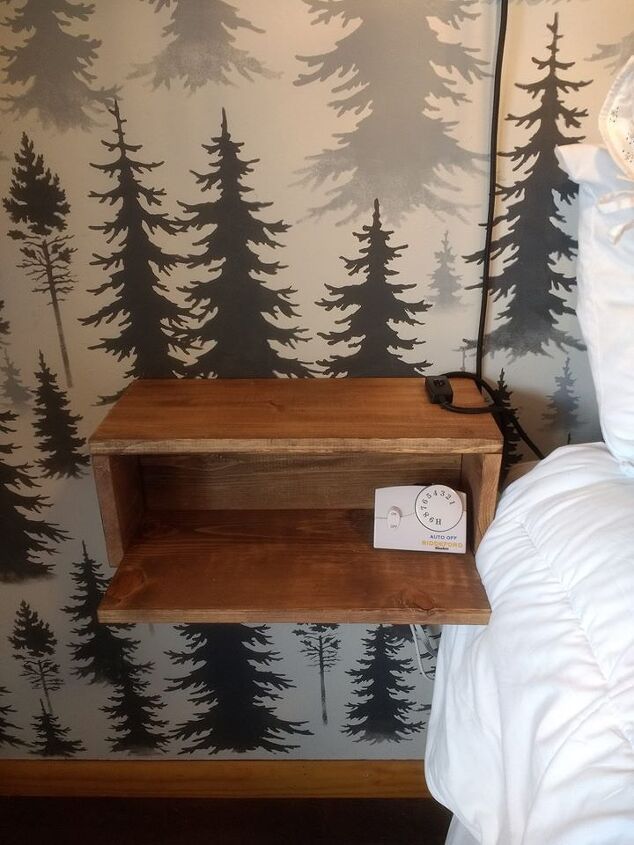
This my friends is an orginal by yours truly. I hate having to move endtables to vacuum, with space being limited in the room, I decided to make these floating shelves instead.
Because this post is getting long, I will be posting another post on how to make these.
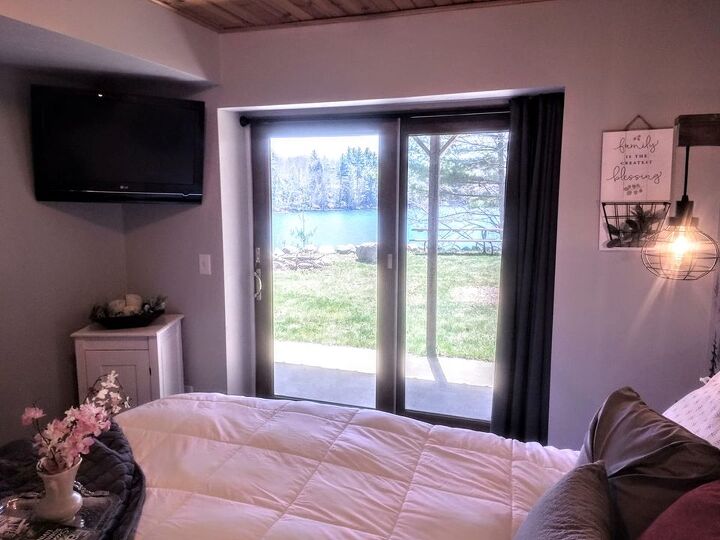
Guests can wake up to sunshine and happiness and enjoy the view of the lake!!

I hope you liked what I did in this room!! I am so much happier with how the room turned out and I hope my guests love it also!
Thanks for reading my post!! 
Comments
Join the conversation
-
Nice job Elizabeth! I too just blast into a project and neglect taking the before and during photos. You would think we learn, rather than forget, as we get older.
I really like the whole project, but especially the stenciled walls in northern WI.
keep up the good work and stay safe and healthy.


Frequently asked questions
Have a question about this project?