


Small Kitchen Ideas: Open-shelving Quick Makeover
One of my most popular projects is the tension rod trick I used in my kitchen to hang things above the sink - it’s a great way to keep things off the counter. Another thing I did that totally upgraded my kitchen is to add under-cabinet lighting - it’s so much nicer to cook with good task lighting! The one drawback is that I used 2 different light kits - the one above the sink wasn’t as bright as I would have liked and I needed to turn on each one individually. Not a big deal, just a bit inconvenient.
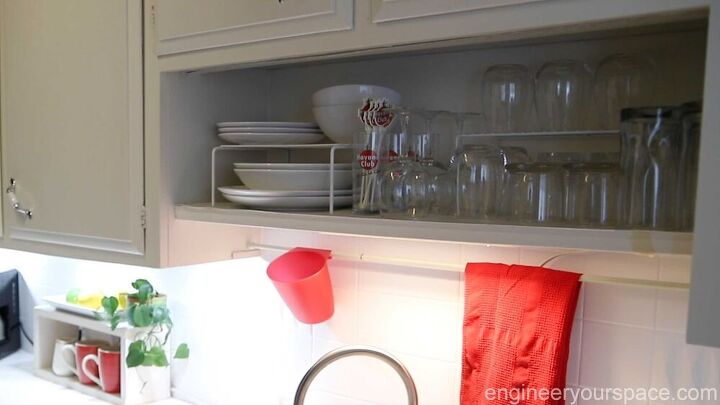
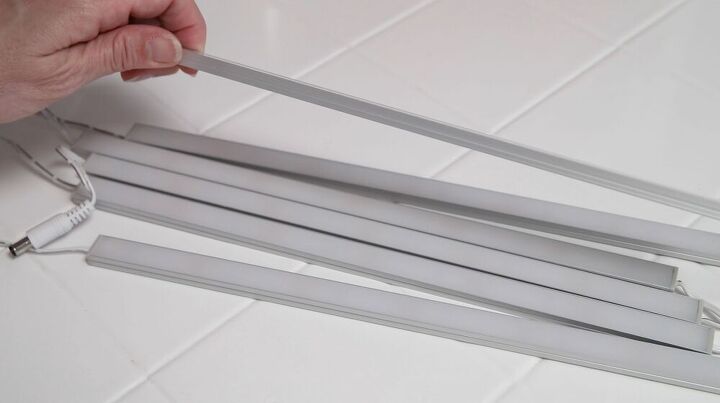
So when I was introduced to ultra-thin under-cabinet lights that come with six light bars and 2 switches, including a dimmer switch (and for under $50!), I had to give them a try to fix my lighting situation! With one kit, I will be able to light up under the cabinet, and above the sink, plus I will be able to add lighting to the open shelving which will really brighten up that whole area.
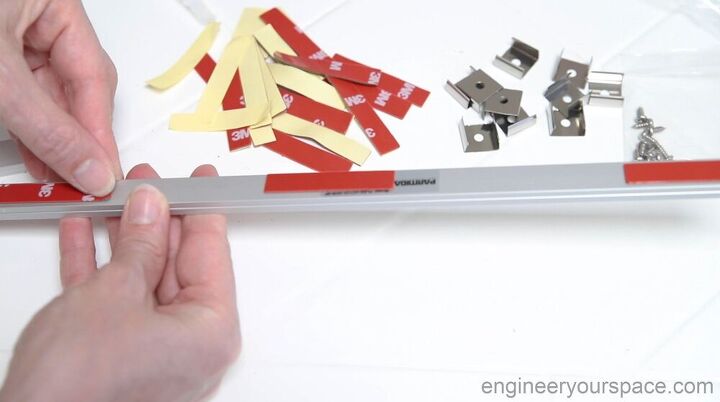
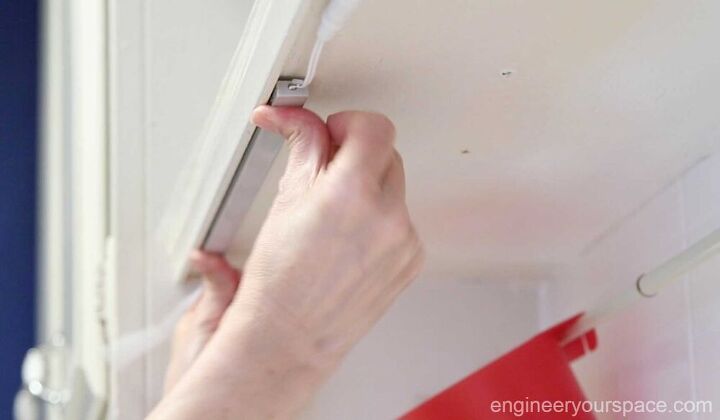
The installation is very easy, especially with all the hardware that's provided with the lights. You can use clips or double sided tape to install the lights. I used tape for the open shelving lights because it was a bit tricky to install the clips on the underside of the cabinet.
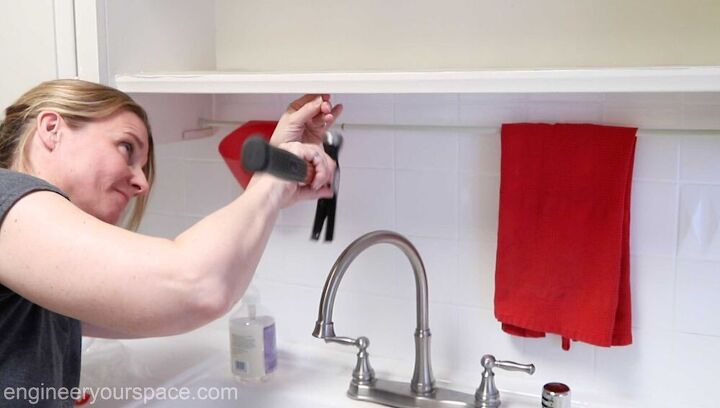
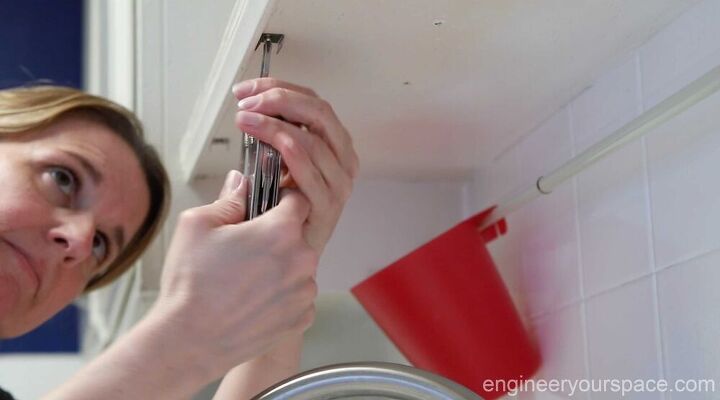
That wasn't an issue under the cabinets so there I use the clips. After marking where the clips are going to go. I used the nail to make a small hole - this makes putting in those tiny screws a little bit easier.
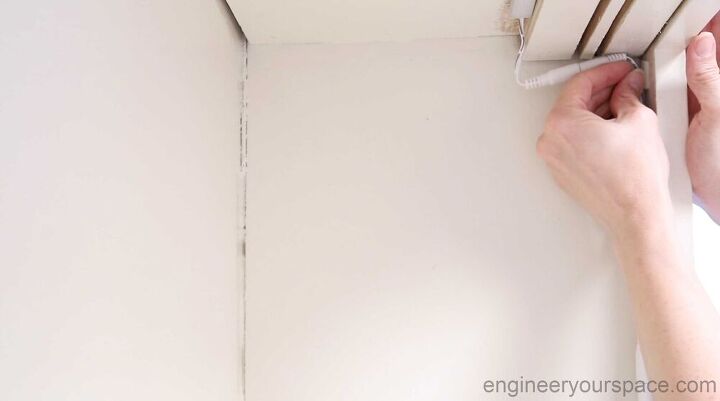
It's really nice to also have all the hardware needed to secure the cables, not something that is usually provided with these types of tights. Makes it very easy to have all the wires be neat and tidy.
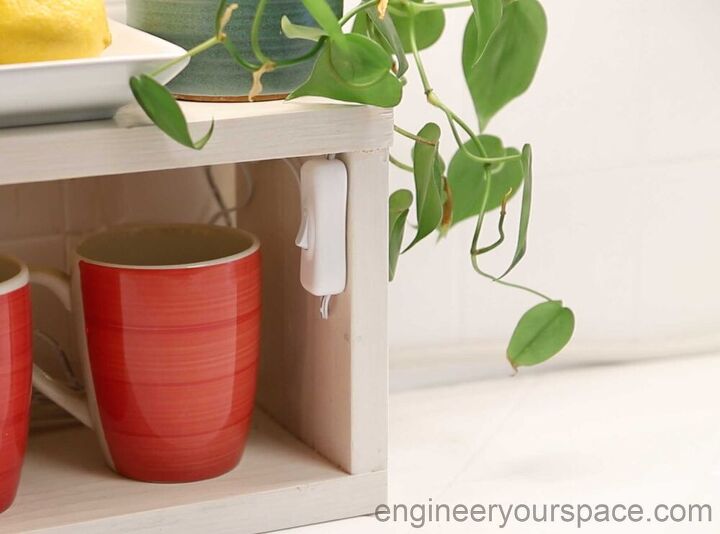
I installed the switches with double sided tape on my little shelf that I built to give me some extra storage on my counter - I really like having the option to use the dimmer or the on off switch to control the lights.
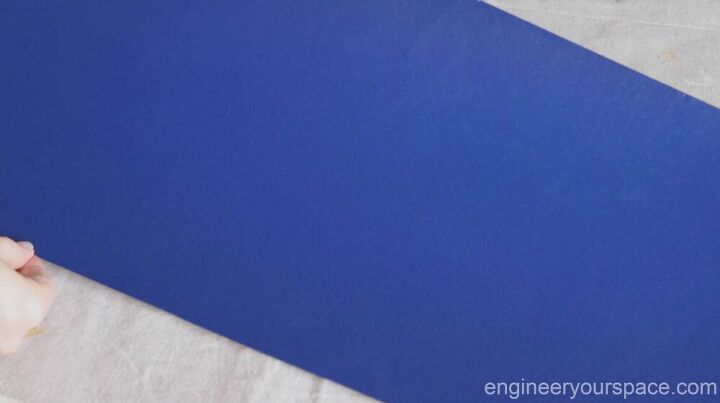
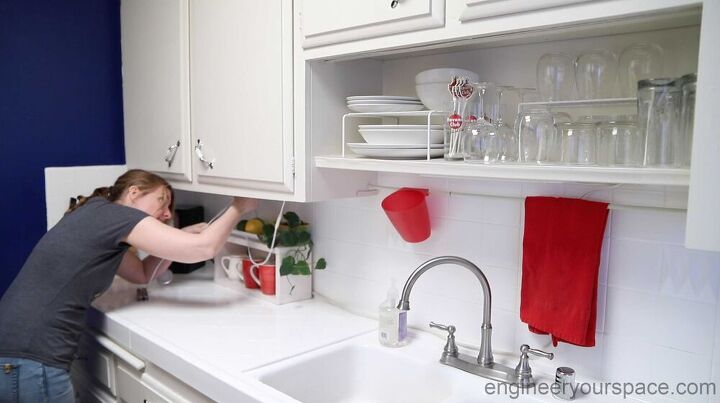
I could have stopped at the lights but then I got the idea to add a blue background to the open shelves to match the accent wall. I didn't want to paint the cabinets so instead I painted a leftover piece of RAMboard (essentially thick cardboard you can paint) that I had on hand from my bedroom black accent wall project.
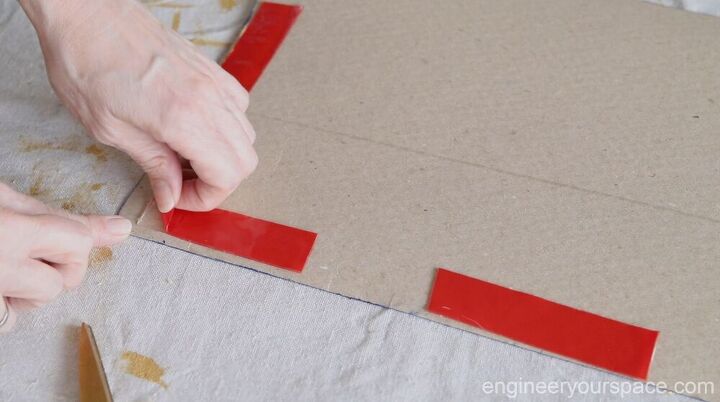
Then I used removable double sided tape to secure it to the back of the cabinet.
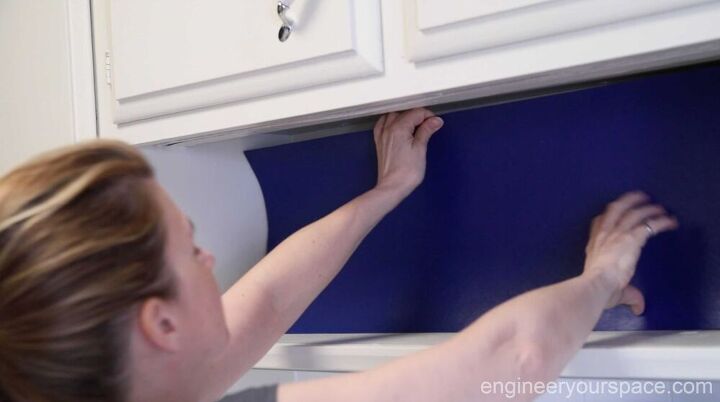
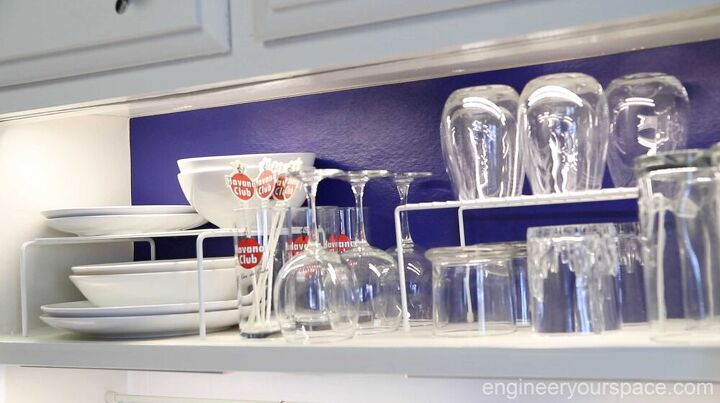
I love how the blue makes the white dishes and glassware pop. And I think I actually prefer it to just all white, what do you think?
Here’s the video that shows the light installation in the kitchen, and also how I used them to make a lighted coat rack and upgrade the lighting in my home office.


Comments
Join the conversation
-
really nice, and i love the back round!
-
Great idea and the cobalt blue really adds a nice contrast


Frequently asked questions
Have a question about this project?
Which LED lights did you use? When I click on "LED Lights - See More", it takes me to Amazon (of course) but shows many, many lights and I could find nothing that looks like the light strips you used. Thanks. Reply: noah11@verizon.net
Where do you get the power from. Are they battery operated or must you have electricity available?
You state they came with two switches, but numerous light strips. Do the light strips connect to each other?