


How to Restore and Maintain a Wood Chopping Block

DON'T THROW AWAY YOUR OLD CHOPPING BLOCKS!!
18 Years ago I salvaged a butcher block countertop from one of our kitchen renovations and cut it up into smaller blocks for gifts and made one for our house as well.
After 2 decades of abuse, I finally restored it to its original glory. Keep in mind our chopping block was used for close to 20 years and it was probably at least the same ago when I salvaged making it at least 40 years old (not counting growth time).
With this simple restoration and maintenance, I don't ever expect to buy another chopping block ever. This will get handed down to one of our lucky sons if maintained properly.
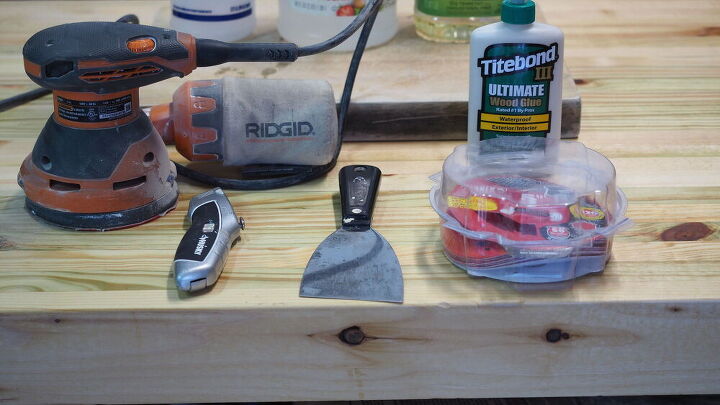
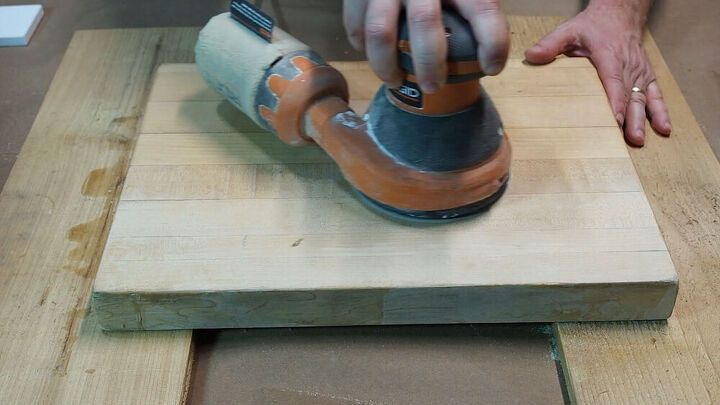
I used a utility knife, orbital sander, wood glue and putty knife to prepare, sand and fill in the gaps.
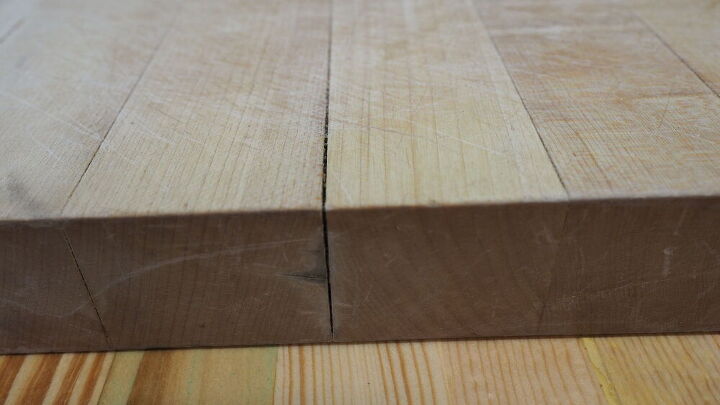
I used a utility knife to clean out the food particles on all 6 sides.
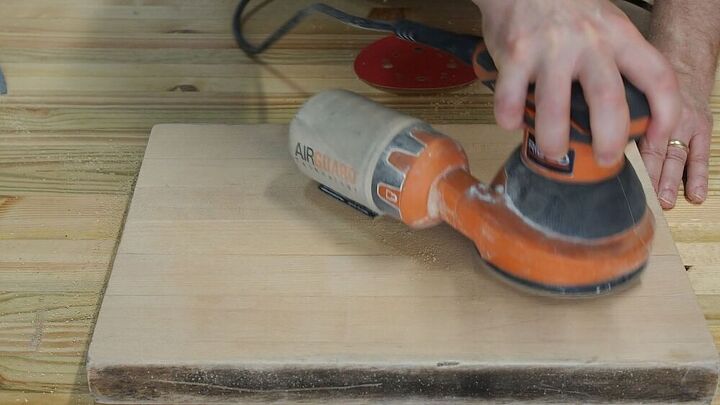
I used a 60 grit sand paper with an orbital sander to get all of the knife marks out of the wood.
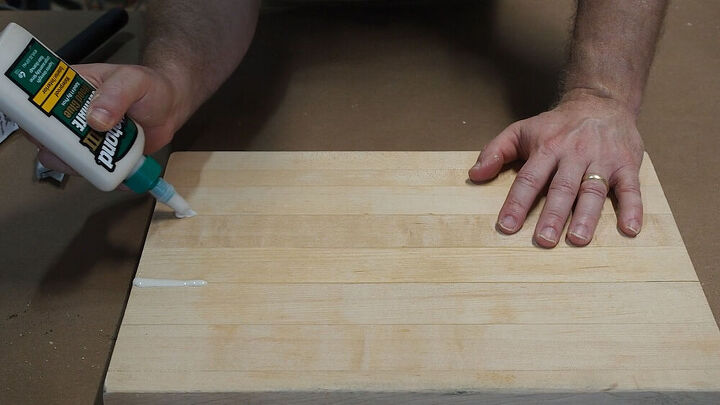
I used Tightbond III which is FDA approved for materials that are used around food.
I let the glue set for 24 hours so it would fully cure then sanded with 60 grit sandpaper. Once all of the excess glue was removed, I used 120 grit sandpaper to create a smoother surface. I did not bother going with a higher grit sandpaper after that since the surface was about to be re-scared with knives again so it did not need to be perfect.
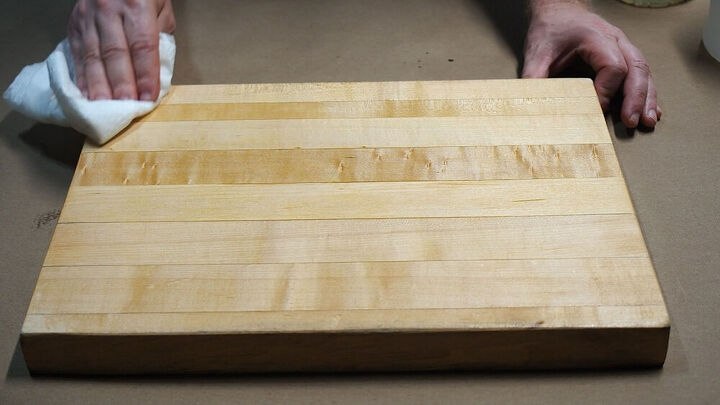
Spread the oil thoroughly on all 6 sides
Clean after each use with water and soap if needed. Disinfect with vinegar before storing. I made a spray bottle with non diluted vinegar just for cleaning this chopping block. Vinegar is more effective on wood blocks than commercial disinfectants and does not leave a harmful residue.

Follow us on Hometalk and Subscribe on YouTube.
We'll post a new DIY video for you to enjoy next week!


Comments
Join the conversation
-
It looks brand new! The chef always has to have the chopping block up to par,


Frequently asked questions
Have a question about this project?