


Wood Paneling Update

Helllloooo 70s!!!! Don’t you just LOVE all the amazing wood paneling in this room?! Ha! No one loves wood paneling. And you can see from this pic, we’ve already painted it and attempted to update it somewhat (it was legit brown oak when we bought the place)…but the painting alone fell short. Below I’m going to share with you how I updated the wood paneling to not look like wood paneling anymore! It is a pretty incredible and a remarkably easy (yet messy) transformation.
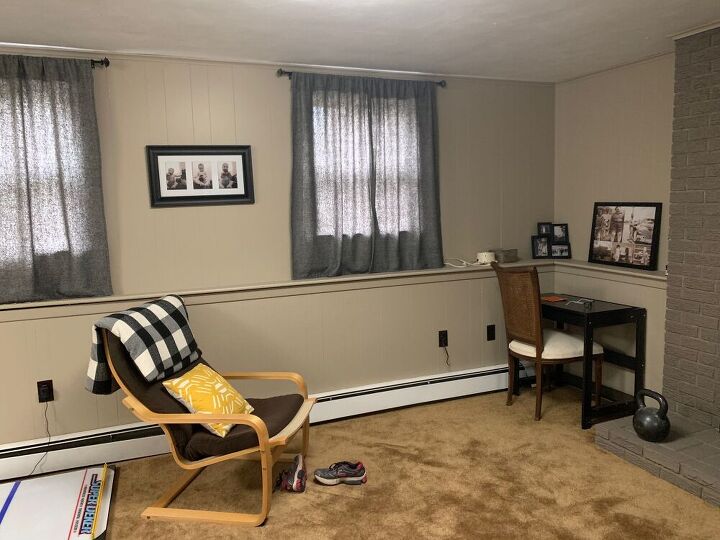
Before Photo
Disclaimer: In the name of full transparency, please be aware that this blog post may contain affiliate links and any purchases made through such links will result in a small commission for me (at no extra cost for you). As an Amazon and Home Depot Associate I earn from qualifying purchases.Length of time for project: Depends on the amount of wood paneling you need to update. I did this whole room (which is about 240 sq ft) and it took a couple of days (with lots of breaks for drying in between) to fill the cracks and sand, then finished with the painting in another day or two.Cost: Joint compound runs about $10-20, paint varies significantly- I used 1 gallon of S herwin Williams Pure White for $28 and then also got a Gallon of black paint from amazon. All told I probably spent about $50 on paint (my joint compound was free from a friend). You might also need painting supplies if you don’t have those things. I used this cool paint roller that holds paint in the handle and it really sped things up!What you’ll need: Joint compound, sanding block, paint, paint supplies (brush, roller).What I learned: Buy a low dust joint compound if given the choice. I’m not complaining because mine was free and it worked perfectly…but it’s not not messy.
Use a rigid flat putty knife type tool and apply the joint compound into the wood paneling ridges. Make sure the ridges are completely filled but try to avoid a lot of excess on the surrounding wall as it will save you sanding and mess later. Let everything dry. This step goes remarkably fast. Check out my instagram highlights for video about the process.
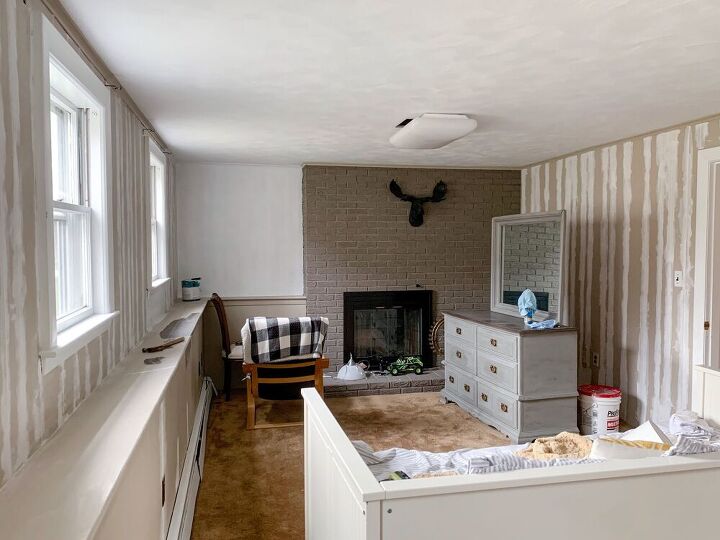
Repeat steps 1 through 3 a second time. Sorry, but you’ll need to do this process twice as the joint compound will shrink slightly with drying and also you may notice a few holes where air bubbles were. I know, doing the process twice sounds tedious. But you want it to look smooth, right?! And it really does go very quickly.

Paint! I used Sherwin Williams Pure White and needed to do about 3 coats in total. I used a brush along all the edges and then a roller for the bulk of it. This paint roller, which is a roller that stores paint in the handle, made the work go super fast! Highly recommend. The most tedious part of this product is the cleanup. I wanted to reuse the roller so I cleaned that too. If you aren’t saving the roller I think cleanup would go much faster.
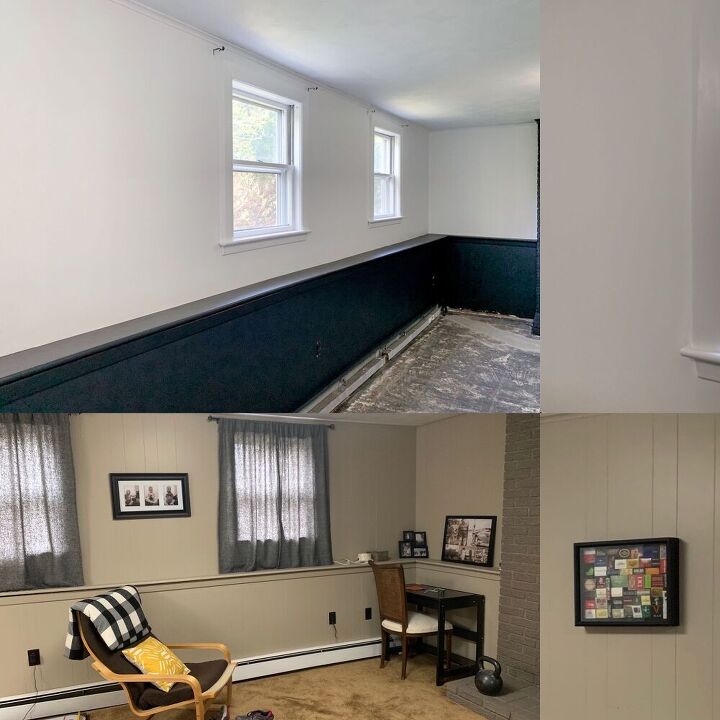
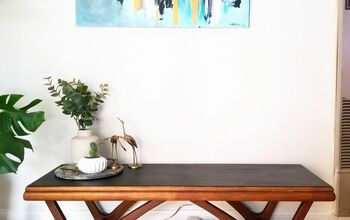
Can you believe with just a little elbow grease, joint compound, and paint you can update wood paneling to look like regular drywall?! No need to rip it all out and drywall, just fill the ridges and be on your way! It’s a major time and cost saver.
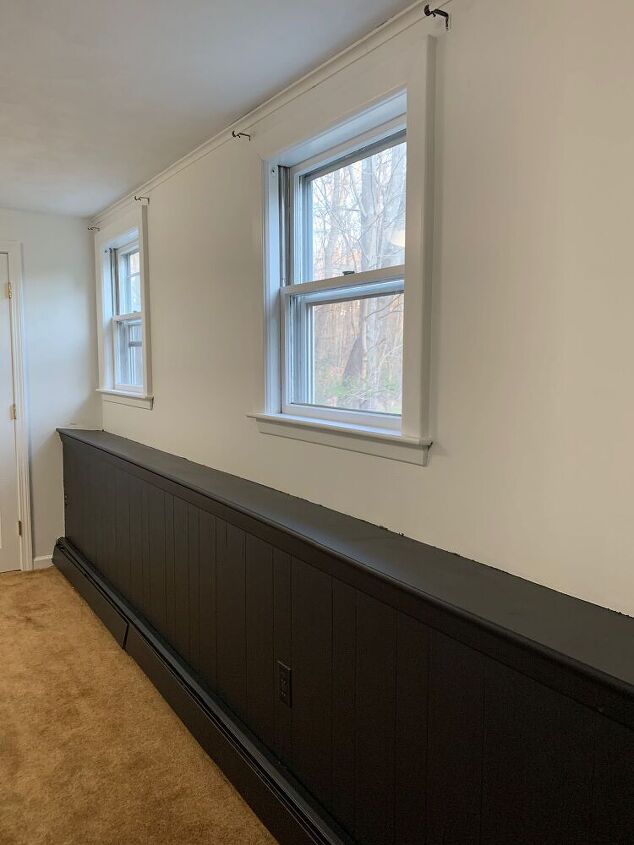
You can see I also painting the bottom half of the wall here to update the space. But look how smooth the top half is!
Comments
Join the conversation
-
Good feedback! I use primer when I’m painting over wood but never have on walls. I appreciate you sharing the rationale.
-
If only I could paint the paneling in my family room , my husband said I can do whatever I want to the room but DO NOT paint the paneling !!! LOLS


Frequently asked questions
Have a question about this project?