


File Cabinet Upgrade

Time to upgrade an old file cabinet into a more functional and stylish look for my home office. The file cabinet will get a color upgrade and become portable by the end of this project. Building a base on wheels so that it can be easily moved around the office.
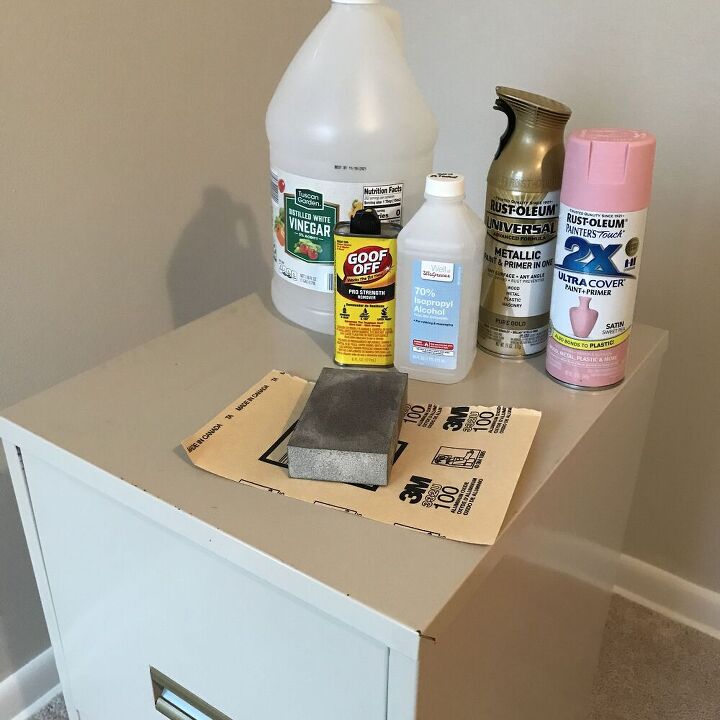
- Cleaning supplies: goof off, vinegar, rubbing alcohol
- Sandpaper to rough up the clean surface
- Spray paint to complete the cabinet
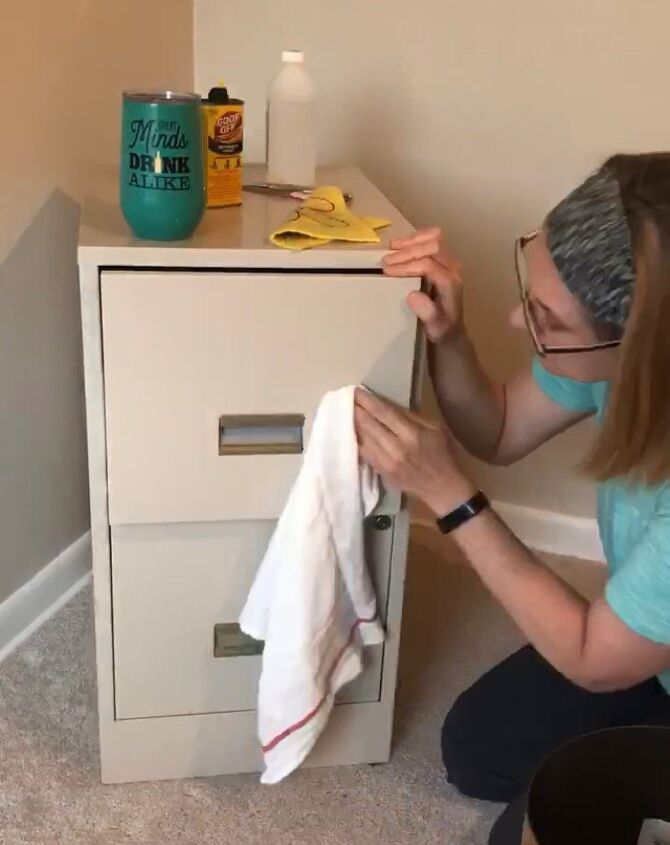
This cabinet was covered in years of stickers and tape. Goof off did the trick and removed all of them with a little elbow grease. The rest got wiped down with a combination of vinegar and water.
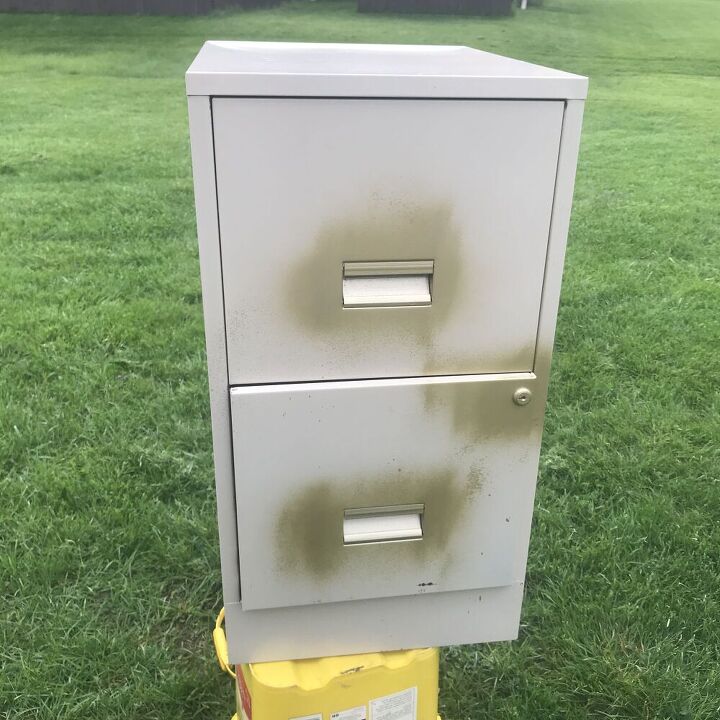
First rough up all areas to be painted with sand paper. The rough surface will help the paint to adhere well to the surface.
Spray the handles and any other details you want to set off. When spray painting use thin coats of paint keeping the can at least 6” from the surface to avoid drips.
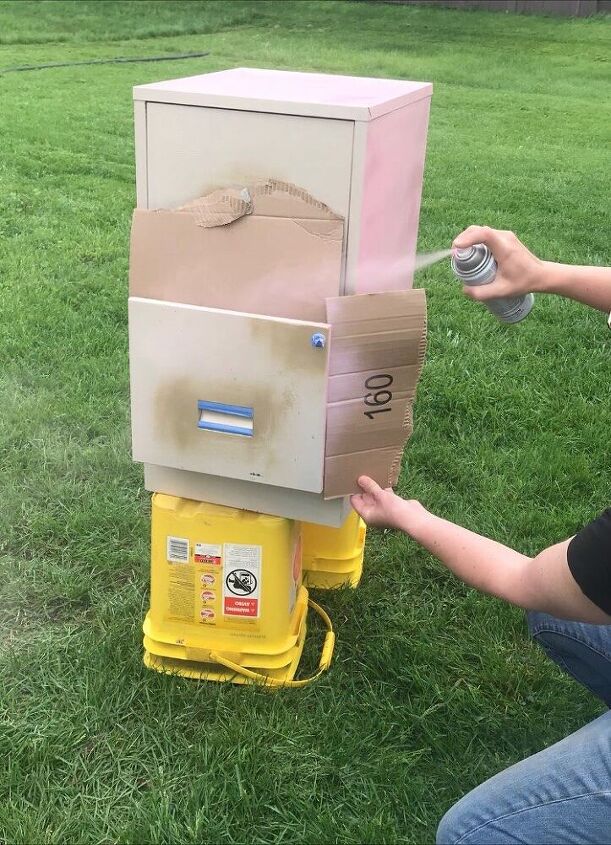
After the handles are dry cover them with painter’s tape. Add the next color to the file cabinet. Using sheets of cardboard helps to avoid getting paint inside the drawers.
Drips may occur. If they do, allow paint to dry, sand down the dripped area and repaint.
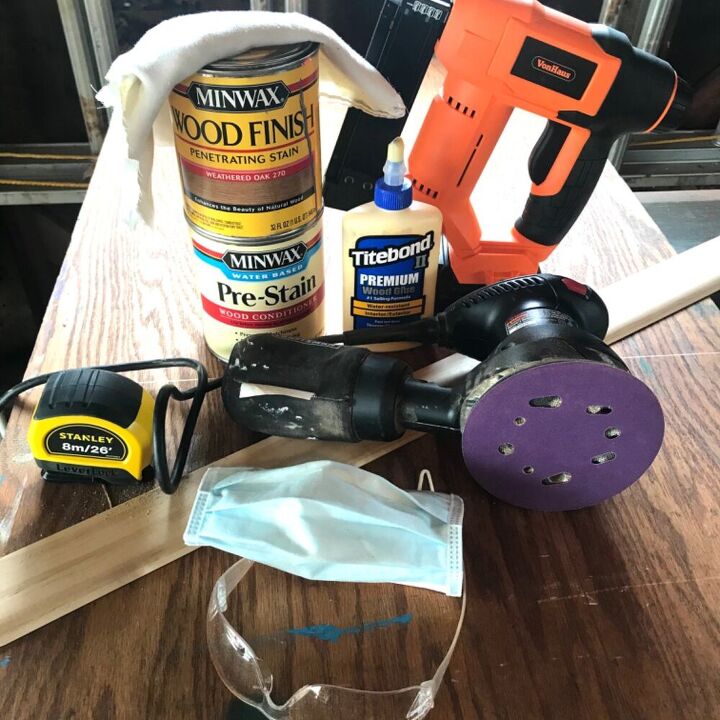
Scrap wood: unused baseboards and a strong piece of pressed plywood. The plywood was cut to just larger than the file cabinet.
Wood glue and nailer for attaching the baseboards to the base.
Sander and staining supplies for the finish work.
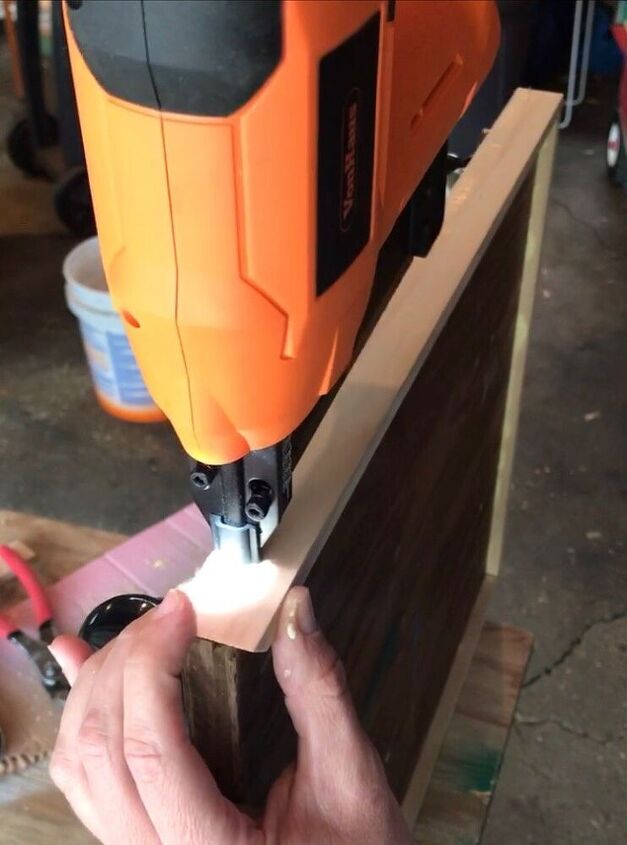
The plywood board is cut to about 1/4” larger than the size of the file cabinet. The baseboards will edge the plywood and are mitered with 45° angle.
The baseboards are then attached to the edge of the plywood with wood glue and nailed in place.
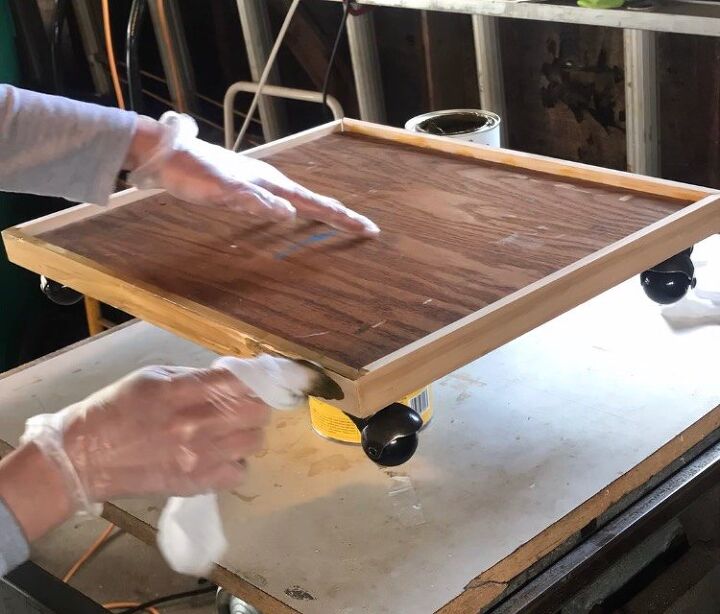
Using wood glue to fill any gaps at the joint and nail holes. Sand down the edges once the glue is dry. Wipe clean with a tack cloth to get rid of any extra dust.
next apply wood conditioner to any surfaces you plan to stain. Using wood conditioner helps the stain syncing evenly to the wood and gives you a better finish. Allow the wood conditioner to absorb into the wood for about 10 minutes, then apply your stain of choice.
follow the directions on your can of stain. Drying times and application differ depending on the type of stain you choose.
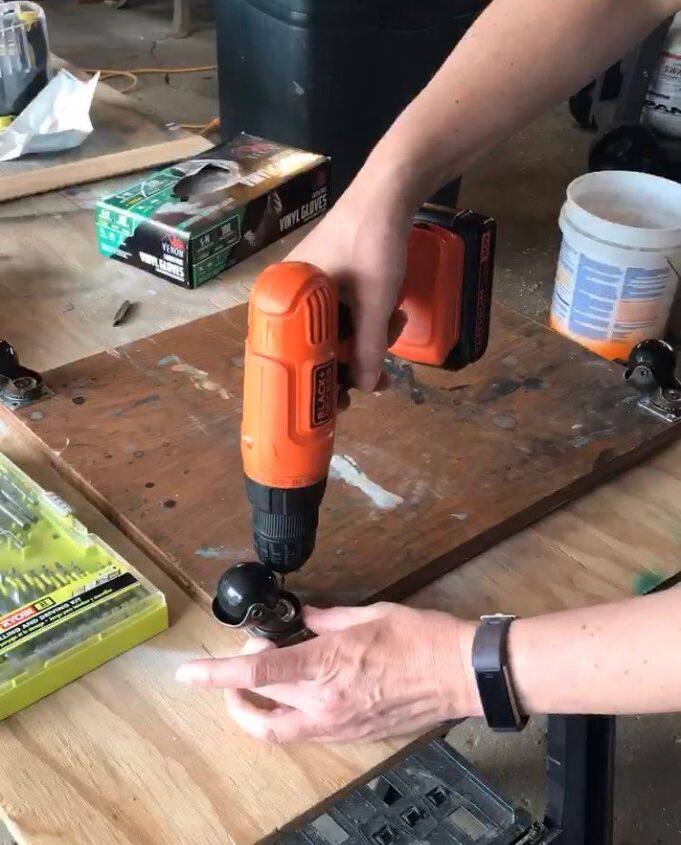
Attach the casters to the corners of your base. When you select casters for your base make sure you take into account the type of floor your office has. Different casters perform better on carpet versus uncarpeted floors.
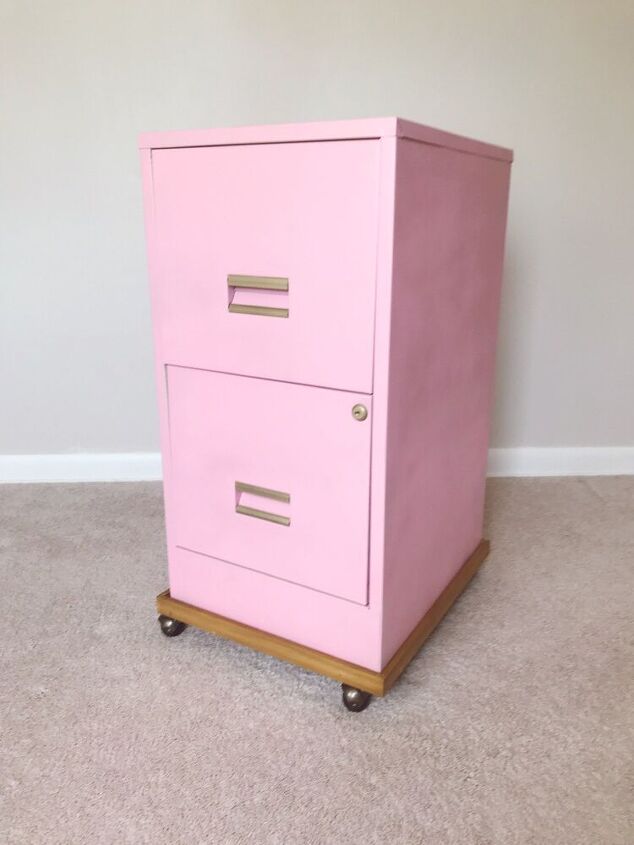
Once the paint and stain are all dry place your file cabinet on the base. Do not affix the cabinet to the base, it should rest inside the edging boards.
Now you have a brand new file cabinet to go in your office
Resources for this project:
See all materials


Comments
Join the conversation
-
LOVE THE COLOR!! 💗💗💗💗💗. This is so stinking cute and would also work as cute storage in a girls room too regardless of her age.
-
just a warning that with the rolling platform the cabinet is much more likely to tip over when heavy drawers are opened. Consider a way to create a removable tether in back to wall or rear bottom to floor to prevent tipping.


Frequently asked questions
Have a question about this project?
Anybody else hear this tune in their head when they saw the color?