


Dollar Tree Wood Block Lanterns

Hello everyone! Does anyone love the Dollar Tree as much as I do? 🤗 One of my favorite things to do is to find ways I can use their products to create DIY home decor pieces! Who doesn’t love a beautiful but affordable project? I LOVE the way these wood block lanterns came out and ONLY $6!! So easy anyone can create them and they make the perfect indoor/outdoor centerpiece!
Here is a link to my YouTube video for a more in-depth look at how I created them! And a little added bonus of my DIY hammered copper planter 😉🤗
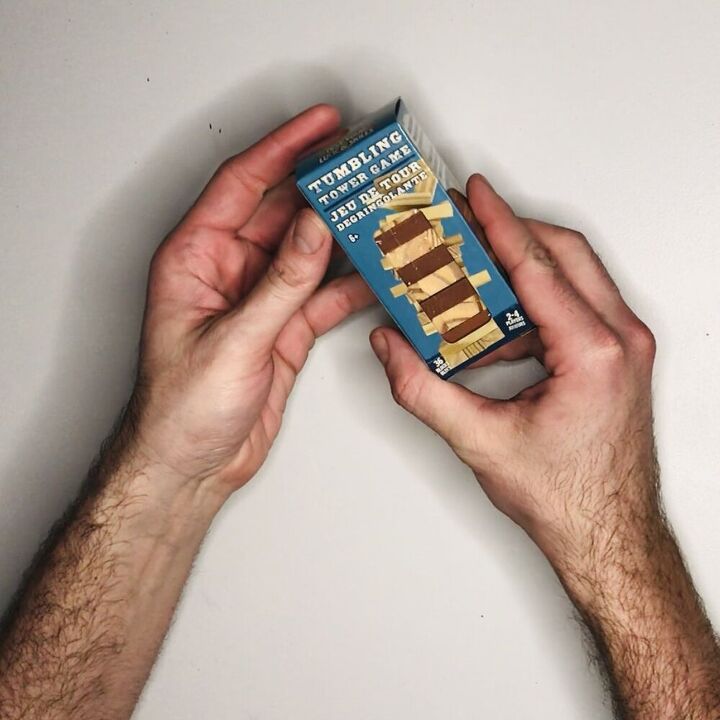
The first thing you want to do is grab those building blocks! I got these from the Dollar Tree, you get 36 blocks in each package. I used about 4 boxes to create both of the lanterns! Also, a great idea for repurposing an old game you have laying around!
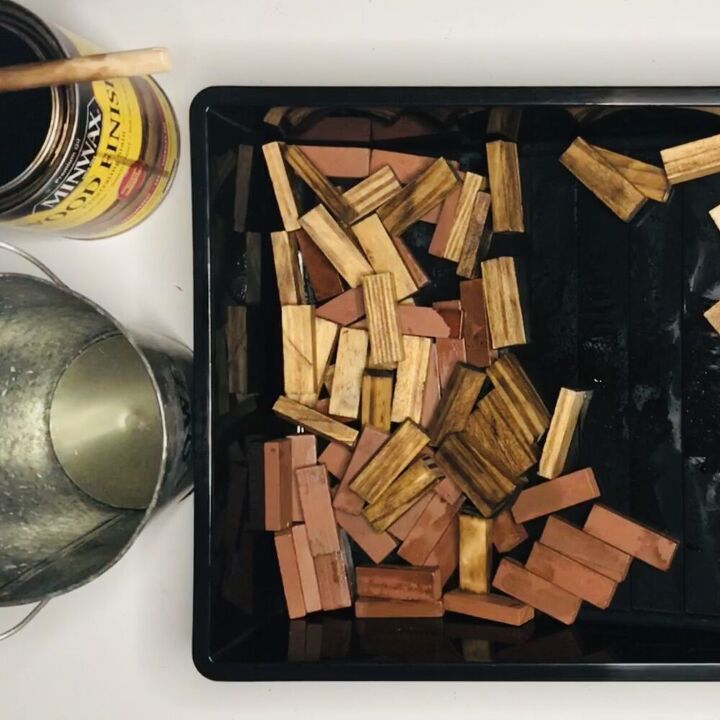
Before gluing them together, I stained the blocks using Early American from Minwax. I used the two toned blocks, but I believe the Dollar Tree also carries them in unstained natural wood. I wanted a more cohesive look to the blocks, so I stained them, but I think a nice coat of spray paint could look cool as well! 😊
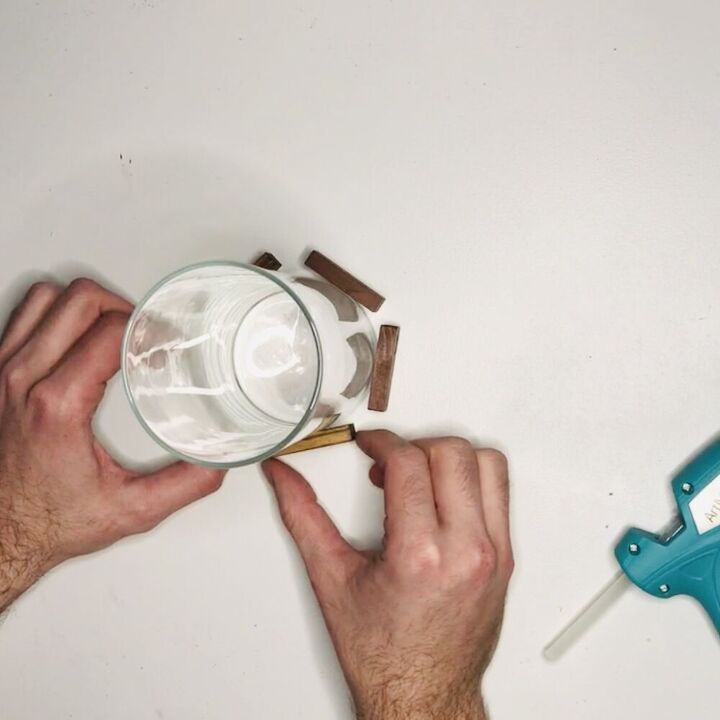
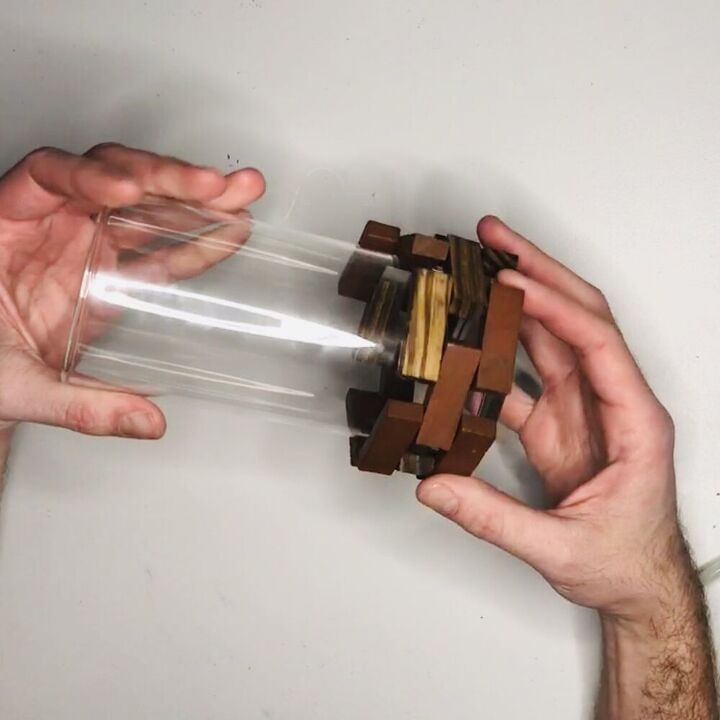
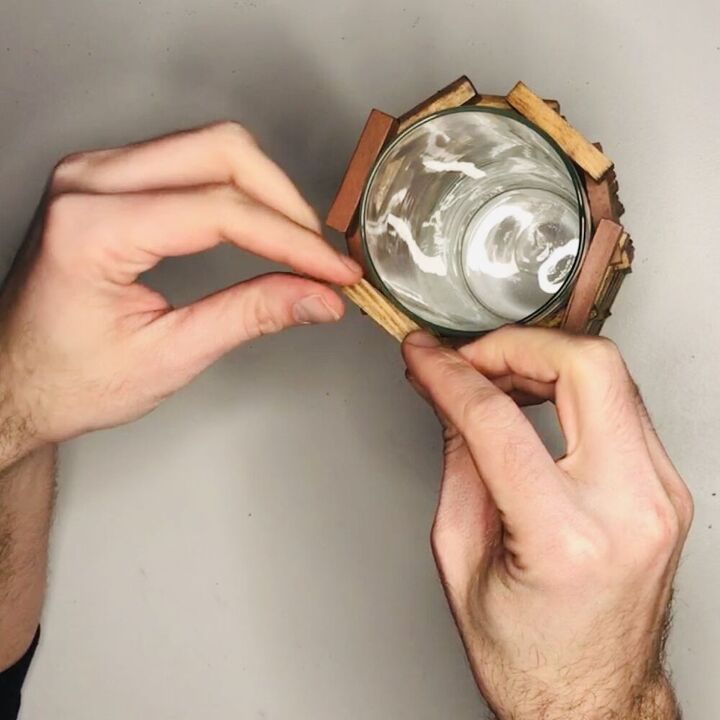
Once the blocks were completely dry, I started the base! To start, you want to take a glass vase and lay 5 blocks around the base on their sides, evenly spacing them out. I found this glass flower vase from the Dollar Tree! I swear they have everything! I picked up two of them in different heights one 7in tall and the other 9in tall, both around 3 1/2 in wide.
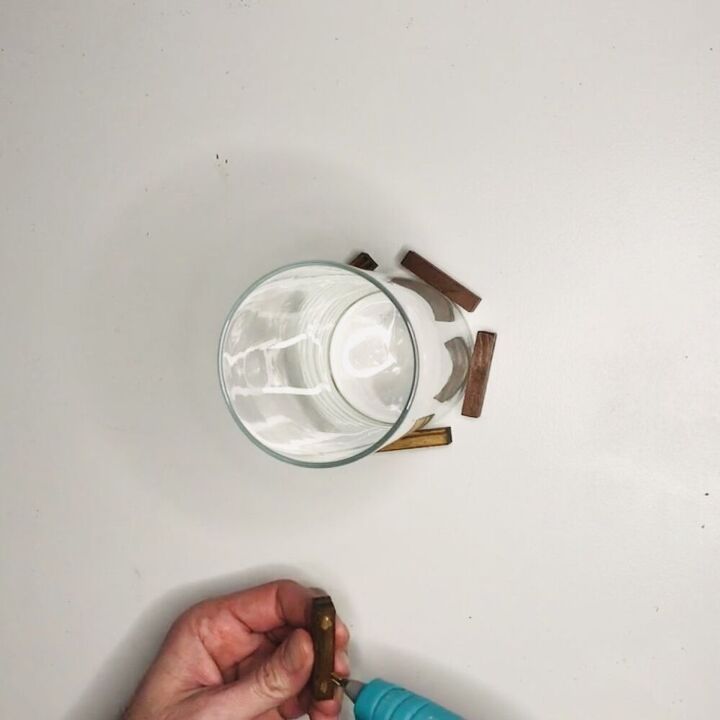
Now that we have our 5 blocks evenly spaced around the bottom, we want to start adding the other blocks on top. To do this, I placed 2 beads of hot glue on either side of the wood blocks. You want to place the second layer of blocks over the gaps from the first layer, once again evenly spacing them out. We are essentially going to create a repetitive pattern. This part honestly is so fun and much easier then it looks! Crafting with toys is always fun! 😁

Firmly press the block in place and just keeping working your way up, one layer at a time! 🤗
You can see from the photo how it will start to look. 😊
I didn’t glue the blocks directly to the vase because I wanted to be able to remove it for cleaning. 😊
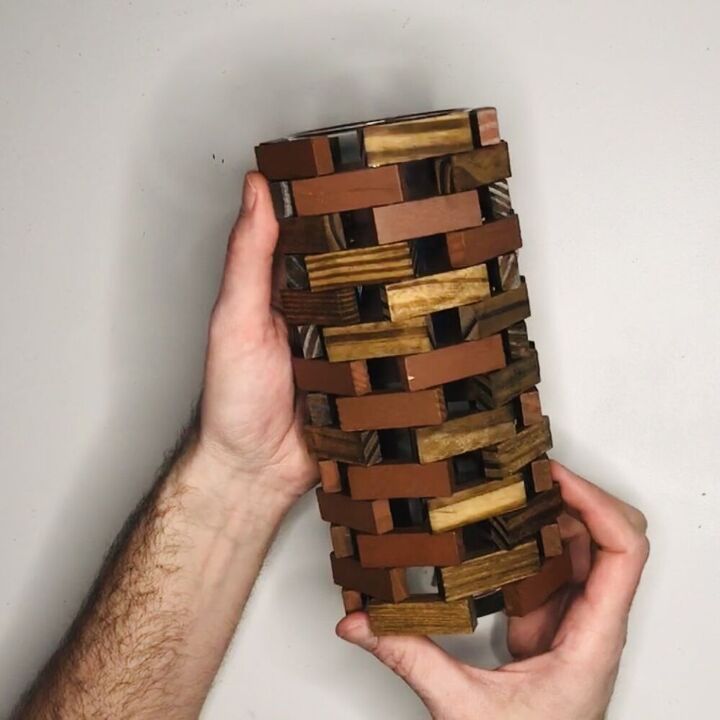
Once you’ve worked your way up, that’s it! One block layer at a time! This was the larger of the two, and for the other shorter lantern, I just repeated the same process. 🤗
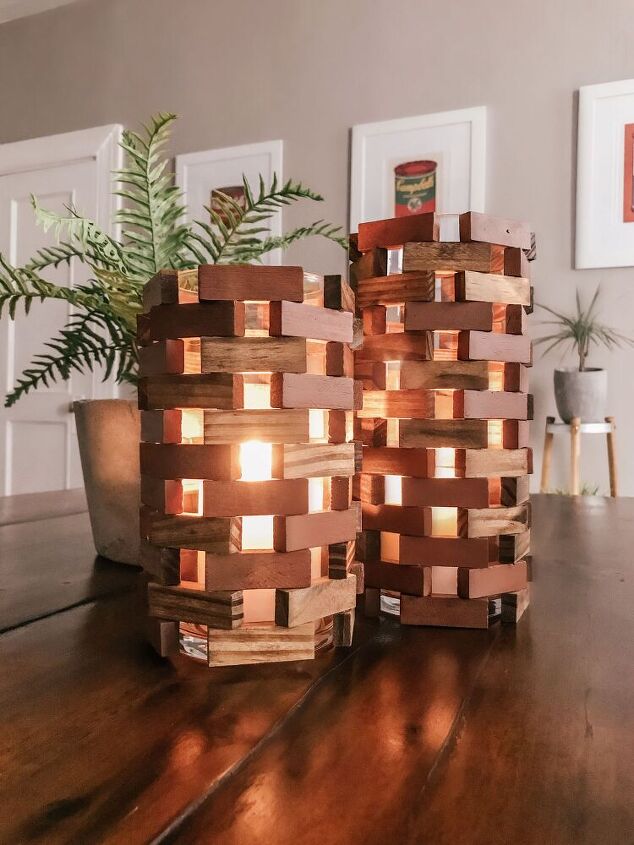
The way the light shines through them is just gorgeous at night time! Since they are contained in the glass vases, I added two pillar candles from the Dollar Tree. You could easily use a flameless-candle for the same effect! I have now made multiples of these, one set for inside and one for outside! I have received so many compliments from my neighbors on them! No one can believe they only cost me $6 to make both! Perfect! I hope you enjoyed this little tutorial and it has inspired you to create your own! If you do, tag me on Instagram so I can see! 🥰 Don’t forget to check out my other projects on YouTube/Instagram both under Justin Wray. 🤗
Resources for this project:
See all materials


Comments
Join the conversation
-
I love your idea, I always have tumbling tower blocks on hand just in case I run into something creative like this - but, a little tip for any future creators of this particular item - instead of HANDPAINTING and drying EACH INDIVIDUAL BLOCK, just pour them into a plastic disposable cup or container, dump your paint/stain, set a timer, and then with a strainer, empty onto a towel so the blocks can air-dry, use a blow dryer to speed it up. hope that saves some time!
-
I’m going to try this today!!!


Frequently asked questions
Have a question about this project?
so you put a candle Inside? I bet you could put battery operated fairy lights. I have those. Thanks for the inspiration! love it!!!
What type of light for the center?
Do you ever have trouble with the blocks coming unglued and popping apart?