


Entryway Table Makeover With Sweet Pickins Milk Paint

Disclosure: This post is sponsored by Sweet Pickins Milk Paint. All opinions are my own.
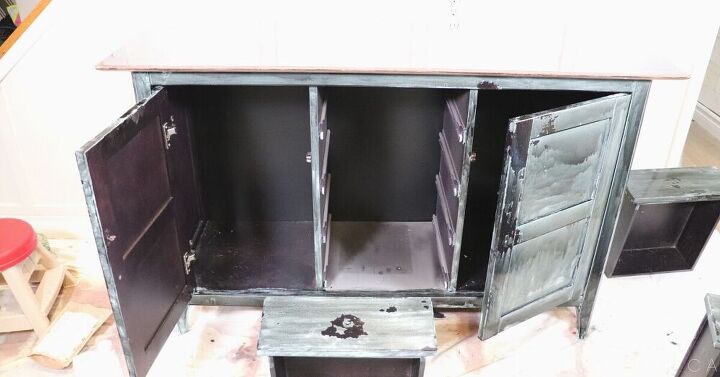
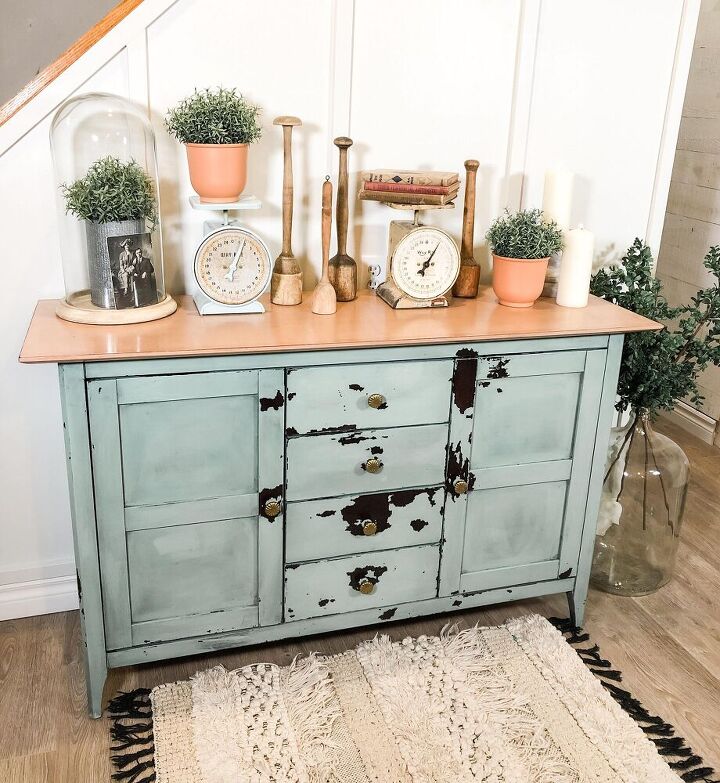
A few years ago, I scored this sweet entryway table off a buy and sell site for $20.00. It was a great find and everything that I was looking for in an entryway table. I loved that it had lots of drawers and two cupboards on each side.
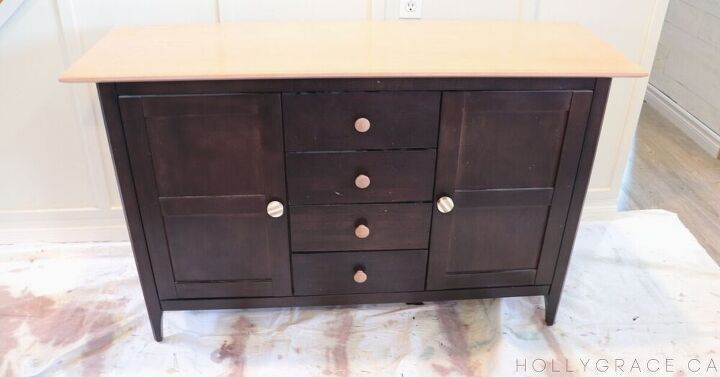
The only problem with my sweet little find was that it was in desperate need of a little face lift. The condition of the cabinet is great. There’s barely a scratch on it but it doesn’t really suit my style. I want to take this piece and make it look old, chippy and totally farmhouse style. For this project, I know that I will achieve the finish of my chippy dreams with Sweet Pickins Milk Paint.
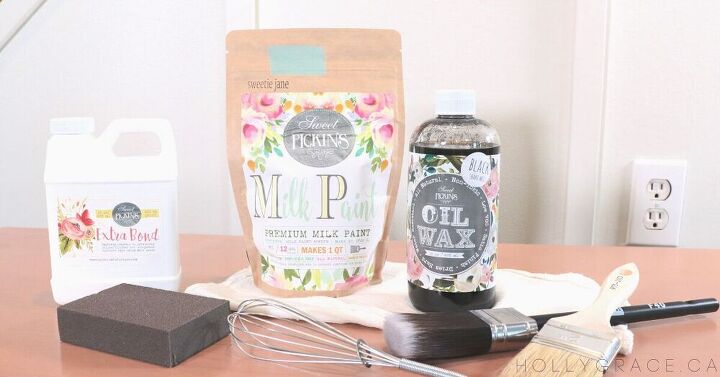
Here are the materials I used for this project:
- Sweet Pickins Milk Paint - Sweetie Jane
- Sweet Pickins Extra Bond
- Sweet Pickins Oil Wax - Black
- Sanding block
- Whisk
- 2” Chip Brush
- 40 Cling On Paint Brush
- Lint free cloths
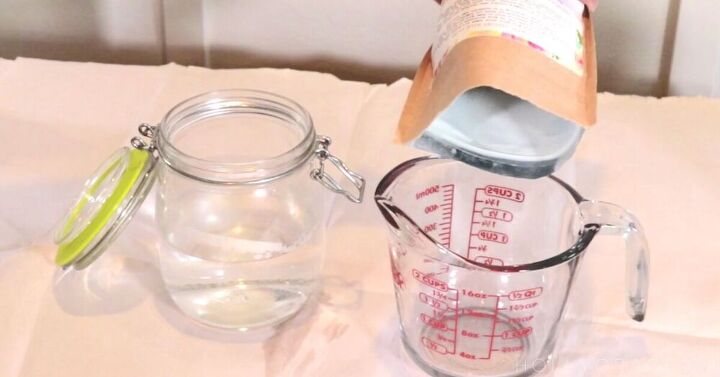
Before mixing up my paint, I removed all the drawers from the entryway table and removed all the drawer pulls. I made sure to give the piece of furniture a quick wipe down and a little light sanding. To mix my paint, I began my mixing equal parts powder to water. I started with the ratio 1 ½ cups to 1 ½ cups of each. I mixed the powder into the warm tap water using an old jar that I had. It’s important to note that you should only mix the paint that you will be using for the current project. Milk paint does not store well so you don’t want to mix up more than you need. You can save the powder in the resealable bag that it comes in from Sweet Pickins for more projects at a later date.
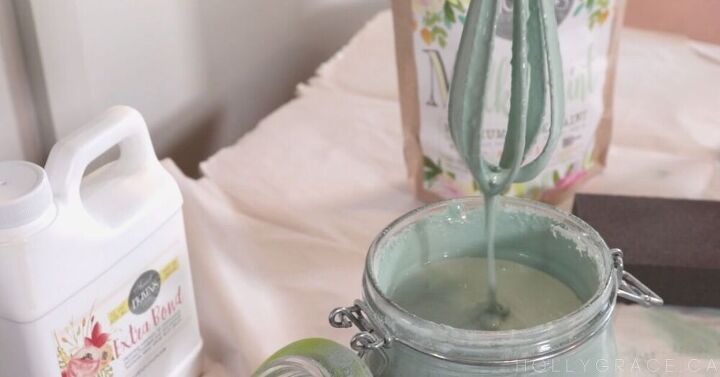
Next, I used the whisk from Sweet Pickins to mix up the powder and water mixture. I stirred vigorously for about 2 - 2 ½ minutes making sure that I mixed in any clumps and lumps until I had a smooth melted milkshake like consistency.
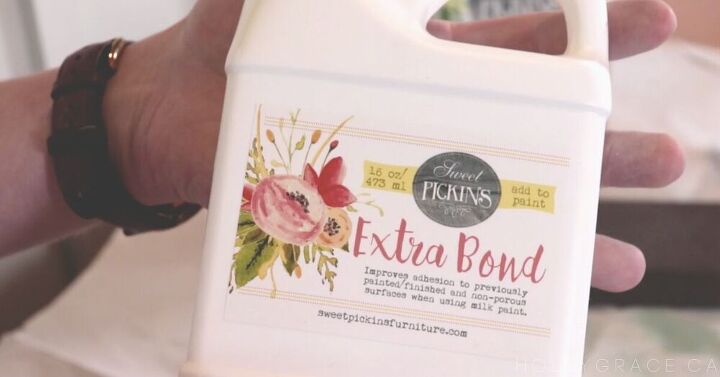
The piece that I am painting has a high sheen and is non porous so I added roughly 2 tablespoons of Extra Bond to my paint and stirred well.

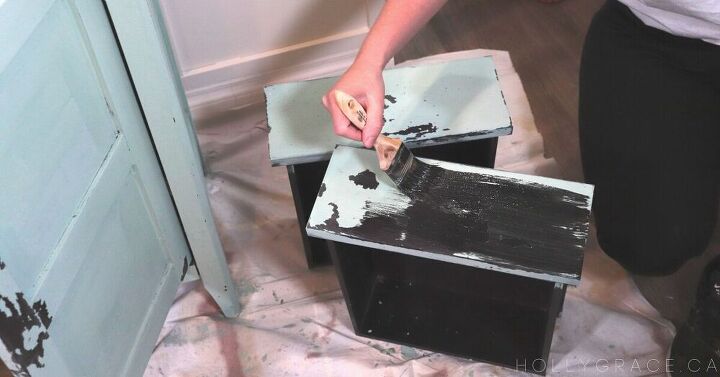
Once my paint was stirred and ready to go, I began painting the drawer fronts first. When painting with milk paint, it’s important to keep your brush strokes going in the same direction and try to brush on one stroke at a time. Long even and uniform strokes are best.
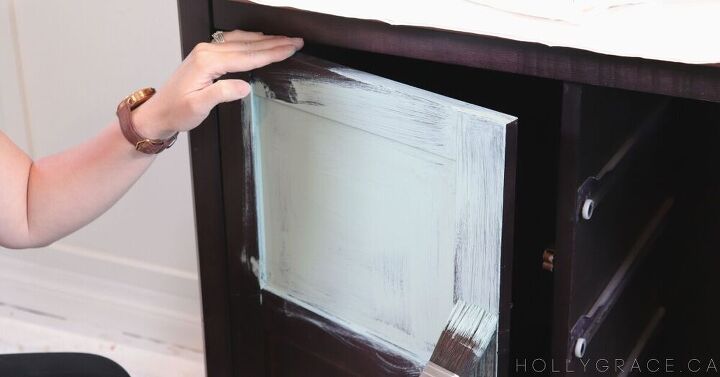
I used the 40 Cling On brush from Sweet Pickins to paint my piece. I continued working in sections until the entire piece was painted minus the top. The top I am leaving untouched. As I painted, I continued to stir my paint mixture every so often to keep clumps from forming. If the paint is too thick or thin, you can always add more water or powder as necessary.
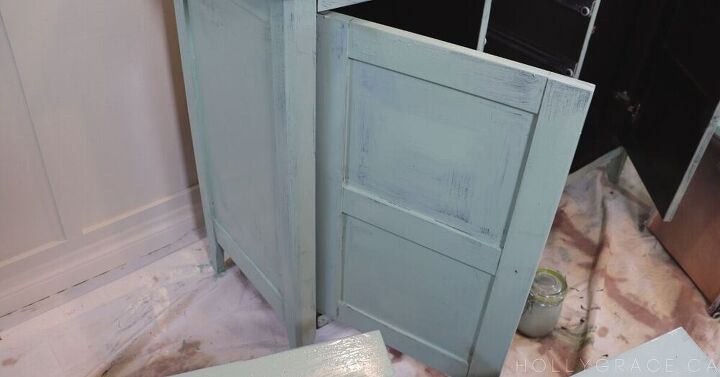
Once I had my first coat on, I let it dry for about 2-3 hours.
For my second coat, I just went over the areas where the paint was a little thin.
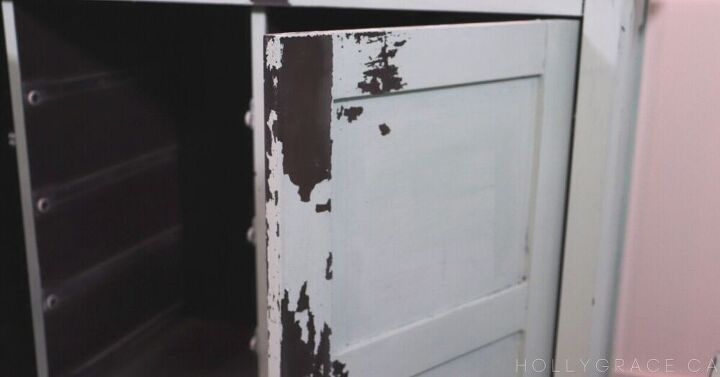
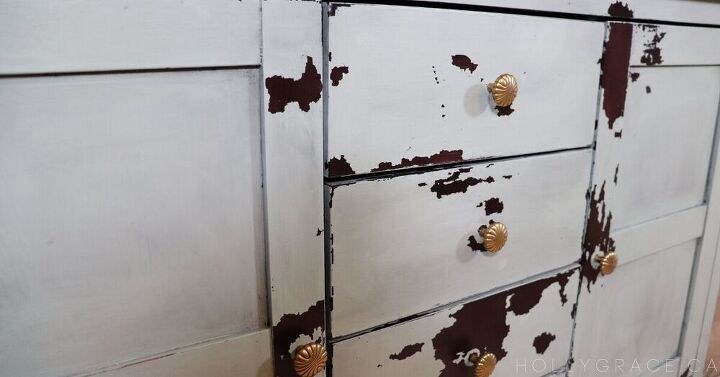
I did have areas where the paint would chip and flake away, but this is exactly the look that I am going for so I was not concerned.
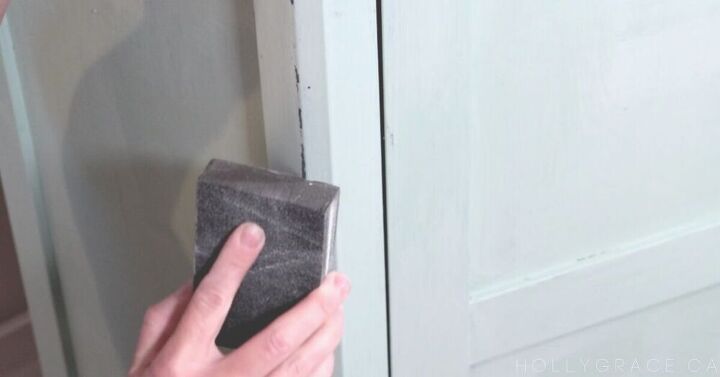
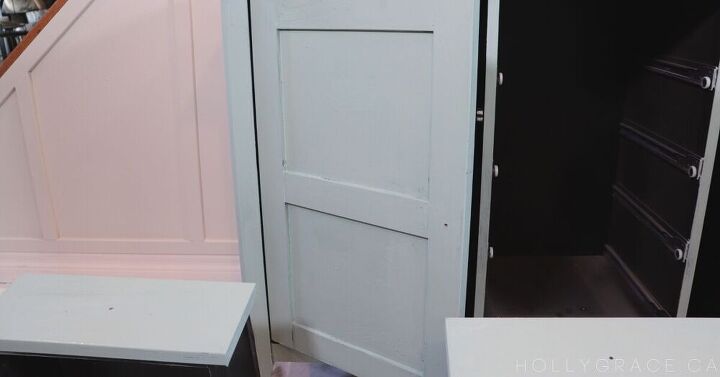
Prior to waxing, I took a sanding block and lightly sanded down the whole piece. This is so that I do not get chips or flakes peeling up while I apply the wax.
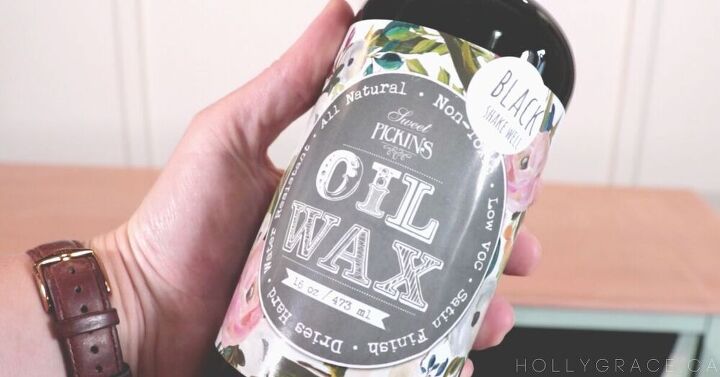
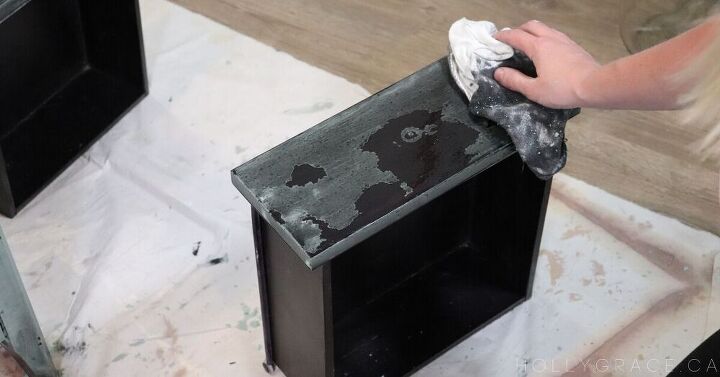
To apply the Black Wax from Sweet Pickins, I used a 2” chip brush. Before applying the wax, I shook the bottle really well to ensure that no colour pigments were stuck to the bottom of the jar. I poured the wax out into a separate container to avoid contamination.
I applied the black wax all over my entire piece. I used long even strokes when applying the wax. It’s important to not let the wax pool on your piece in anyway.
I let the wax sit on my piece for about 15 - 20 minutes. This allows the wax to penetrate into the paint.
After the 15- 20 minutes, I took two clean lint-free rags and removed the wax.
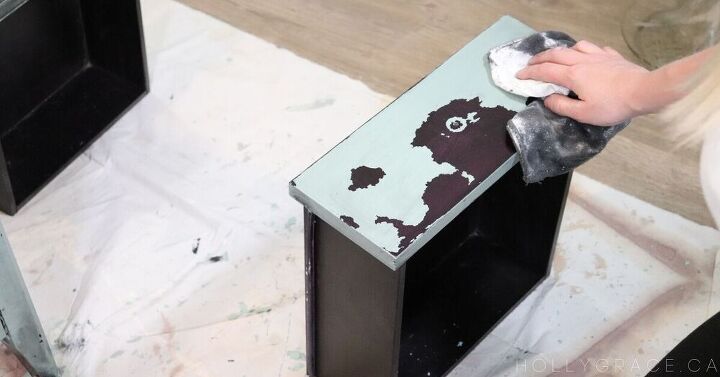
I use two because the first one will remove the bulk of the wax and then I can go in with the second rag after and really rub the wax into my piece.
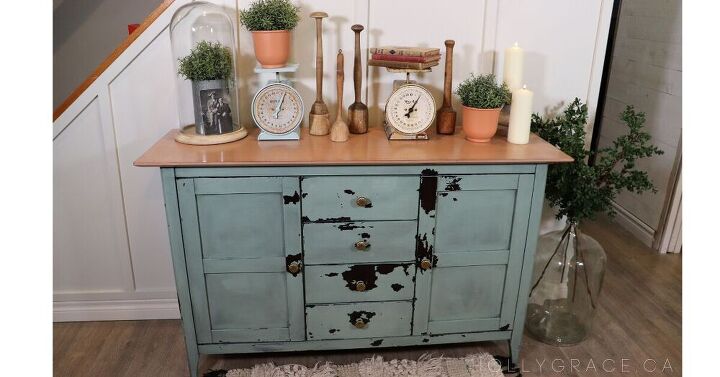
Once I had removed all the wax, I was left with this gorgeous yet natural old looking piece. I really can’t believe just how magical this wax is.
I am love with the new — yet “old” look of my entryway table.
If you love old and chippy furniture, you should definitely get your hands on some Sweet Pickins Milk Paint. I can’t wait to paint my next piece and I am already dreaming about their gorgeous line of colors. You can check them out here.

They also have lots of different waxes and finishes as well. Let me know in the comments what you think about this piece and if you have any questions, leave those as well, too! Thank you so much for checking out my project and I really hope that you enjoyed it as much as I do! Make sure you share this project with someone you know who love to paint and get creative.
If you want to see how this piece came together check out this fun video!
Resources for this project:
See all materials


Comments
Join the conversation
-
When you get tired of this piece just give me a call and I will be RIGHT over to pick it up. I love it.
-
I saved your post mainly because I love the way you styled the table. I have the same baby weigh scale and now I know how to use it!


Frequently asked questions
Have a question about this project?
How can you be sure you get areas that will not hold the paint so that you get the chippy look?
do you use something to get some areas to not take the paint? I love the chippy look. Your work is beautiful.
Absolutely gorgeous work!!! Personally I think you did an amazing job with your steal of an old piece of furniture and turned it into farmhouse fantastic!! I would love to see what this would have looked like had the top been painted as well but I still absolutely love it!! Definitely going to try this paint and extra bond and oil wax. I’ve got a lot of projects to do and this is so inspiring!!
Question… How many things can that one bag do? I’m sure it depends on the items and size but just on average what would you say this bag had left that you could use the remainder for?