


Wooden Bead Wreath for Under $5
I've been seeing so many decorative wooden bead strands all over Pinterest and Instagram and I knew I had to do a wooden bead project for myself. I wanted to do something a little different though so I finally decided on a wreath! I'm so happy with how it turned out and with the products I used it actually came out to under $5!
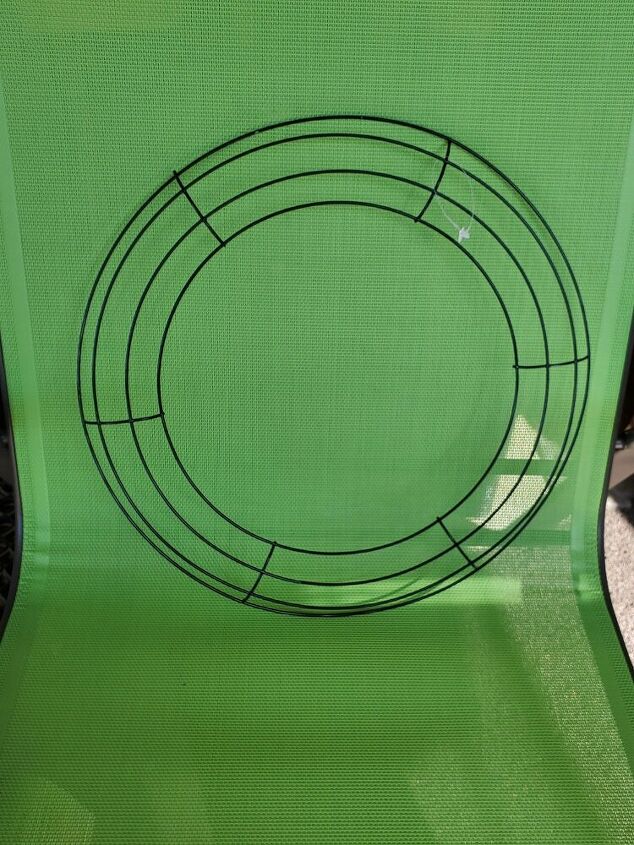
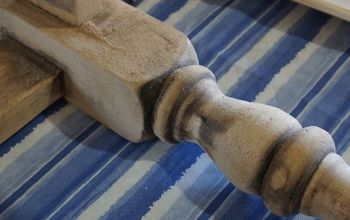
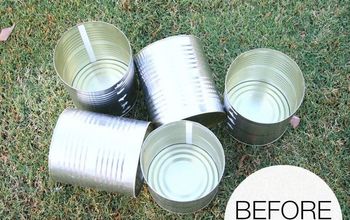
I started with this Dollar Store wire wreath that I bought a while back but never used. I decided to start with the smallest inner circle. Good thing is that you still have most of the wreath left over to use whole or cut into more single circles.
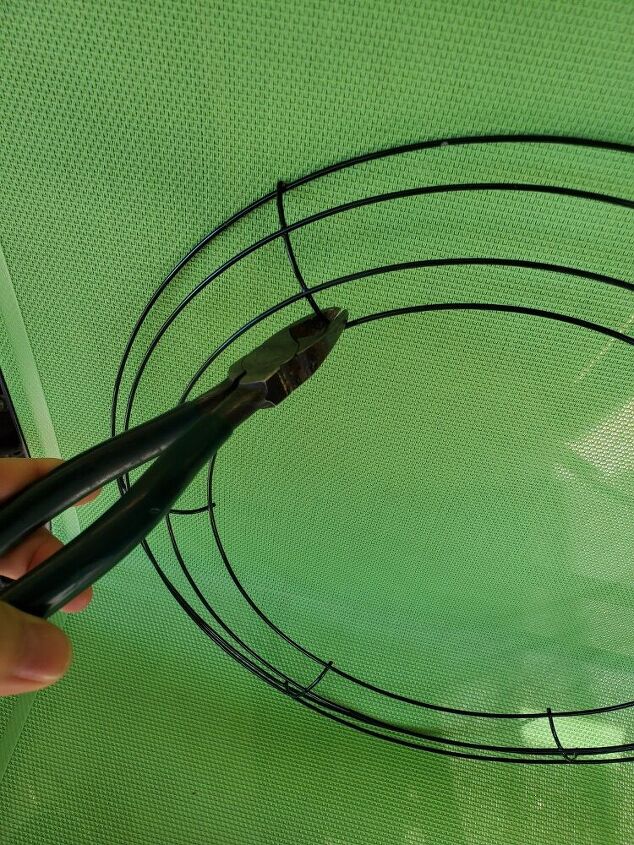
These are fairly easy to cut as long as you have a good pair of dikes. Try to cut as close to the metal ring as possible. You may also need to file down the metal nubs left over.
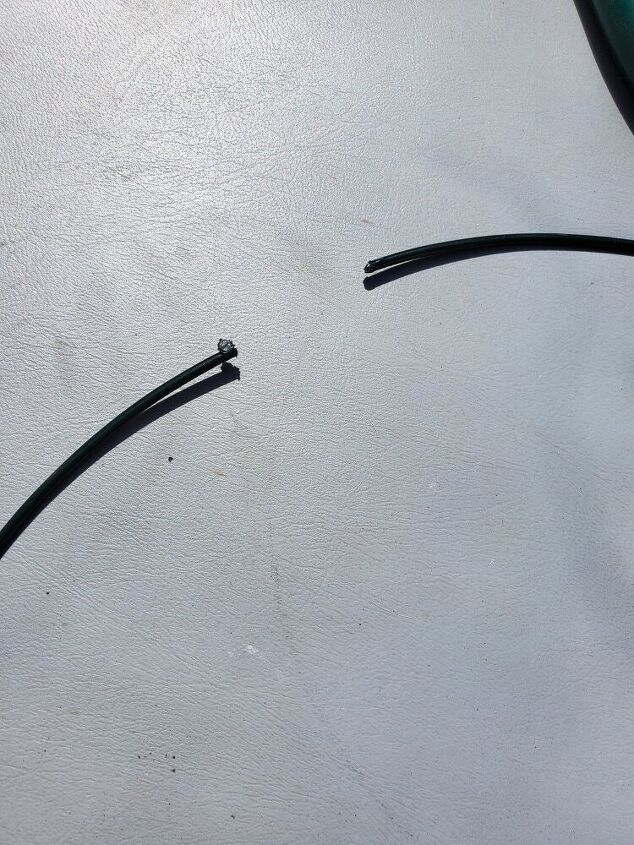
Next I made a cut all the way through to be able to slide the beads on.
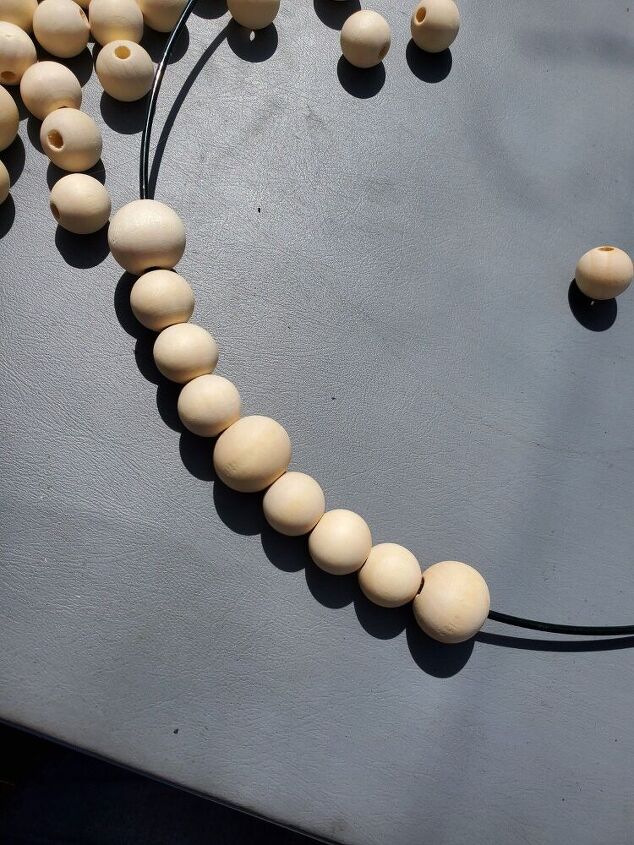
I used a mix of 16mm and 20mm beads and decided on a pattern of 3 small, 1 large. What's great about these beads is they come in a large variety of sizes and mixes and are fairly inexpensive when purchased in larger quantities.
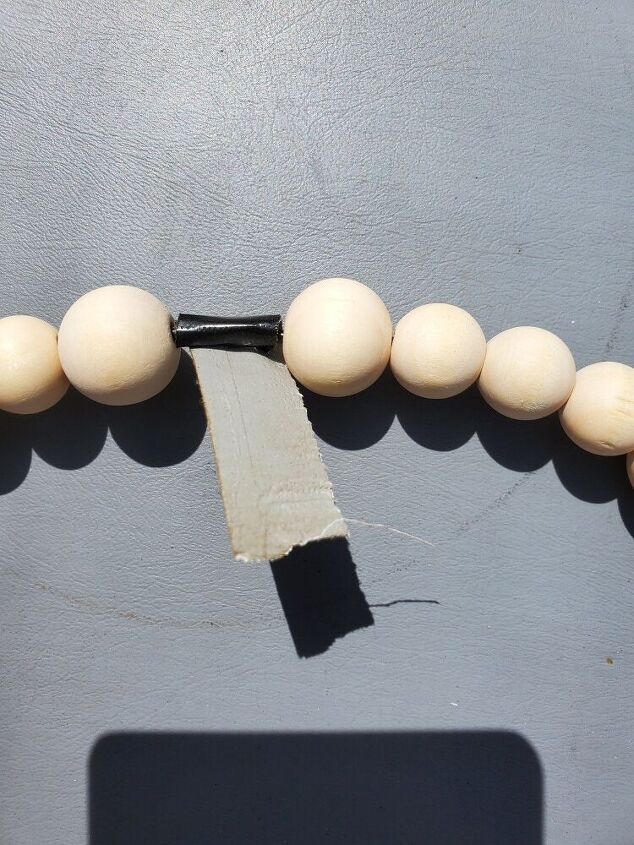
Once I added all my beads I left about 3/4 inch on each side to overlap and then I taped them together with Gorilla duct tape.
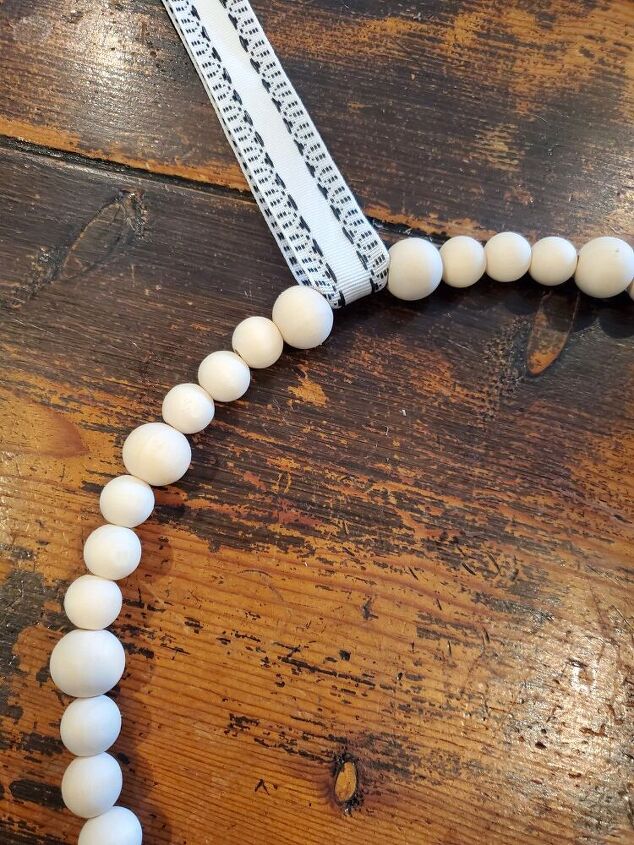
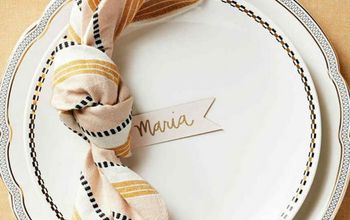
I raided my ribbon bin and decided on this pretty black and white one to hang my wreath. You could also use twine for a more rustic look.
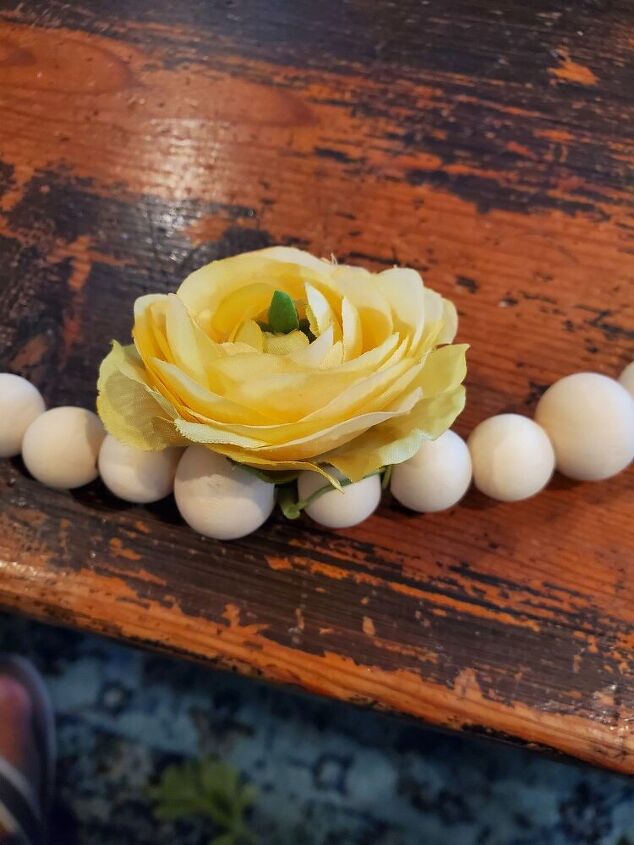
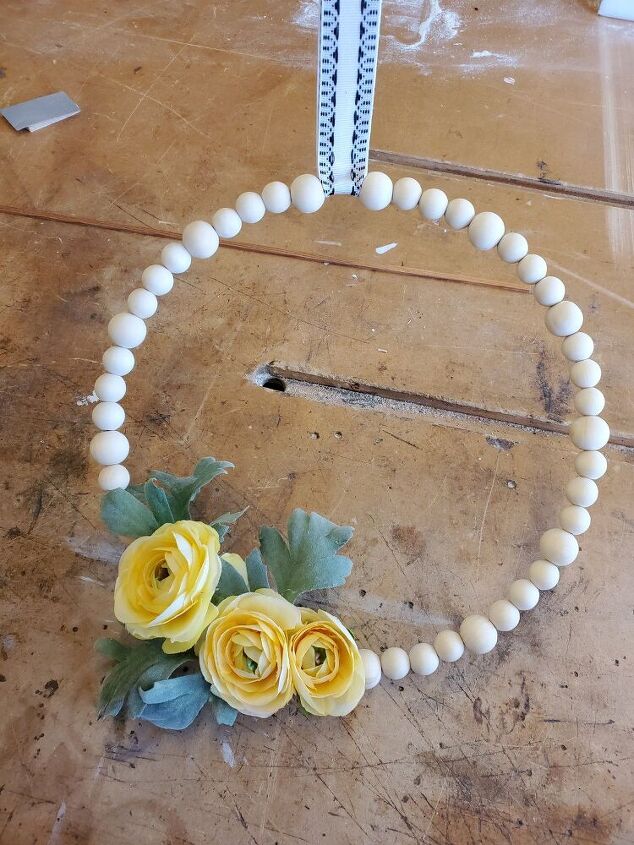
I knew I wanted to add some flowers and found these beautiful yellow ones in my stash. I thought this part was going to be super easy but I ran into a little problem with them not staying upright and swinging downward. I finally got them to stay put by wedging the plastic stem in a little more between the beads and then adding hot glue to the back to secure everything.
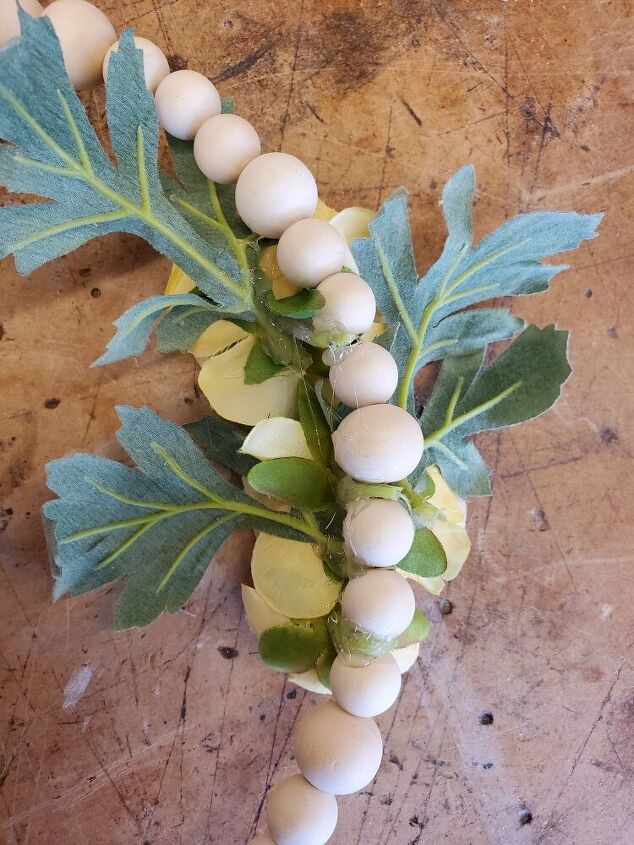
Hot glue to the rescue! I also added some leaves with hot glue and made sure everything stayed in place when the wreath was in a hanging position. This is also a part that you can get super creative with and add any kind of decorative or themed elements that you want!
I also added a small dab of hot glue between the two ribbon pieces right at the top to hold it in place and hide the Gorilla tape.
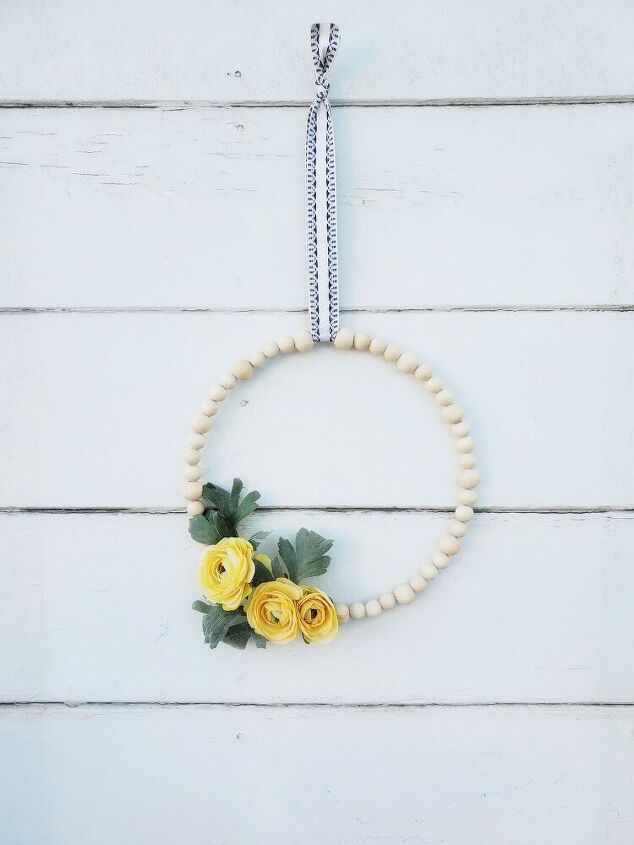
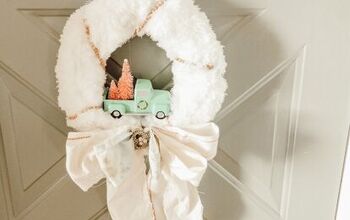
Here it is, all finished up! I am so happy with the end result and will definitely be making some more wooden bead projects in the near future! I hope you like it too and thanks so much for following along! Check out my Instagram for more fun DIYs!
Resources for this project:
See all materials


Comments
Join the conversation
-
Love this. Super simple, inexpensive and pretty. Thanks for the idea.
-
Love the simplicity !


Frequently asked questions
Have a question about this project?
I wonder what I could use instead of a wreath frame? I don't have one, we don't have dollar store in UK. I don't really want to buy a wreath form to cut up as I'd be unlikely to use the remaining bits. Any ideas folks?