


How to Upcycle a Telephone Chair (or Gossip Bench)

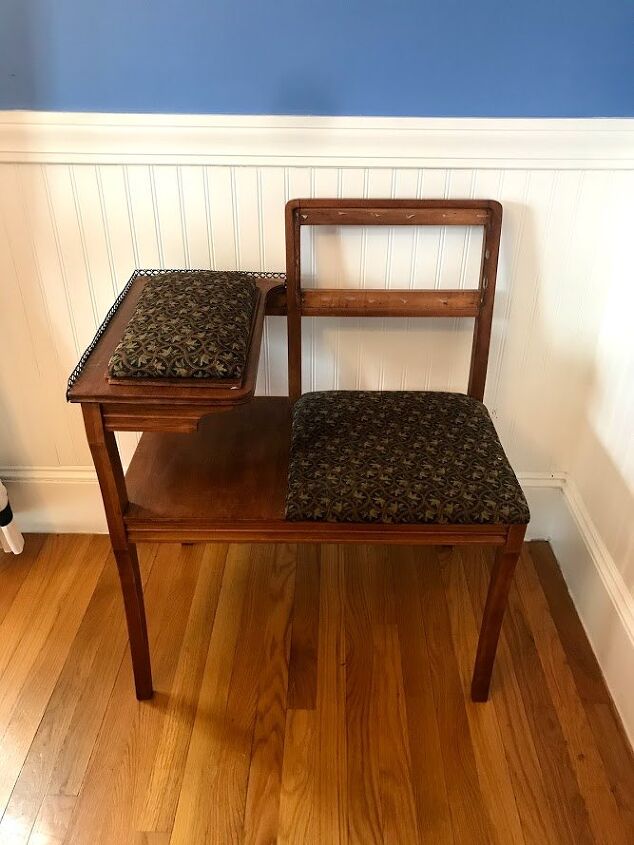
A few months ago I came across this vintage telephone chair that was in amazing shape, it just needed a little love. And in this tutorial, I reveal how easy it is to upcycle a telephone chair.
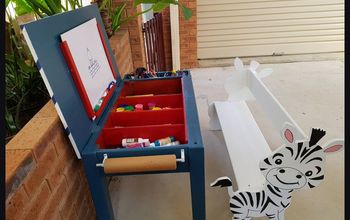
First, what is a telephone chair (also known as a gossip chair)? Popular in the 1930s-1950s well before cordless phones, it consist of a chair or small bench with a table attached at one side for the landline. Usually the table contains a built-in shelf to store a telephone book or magazine.
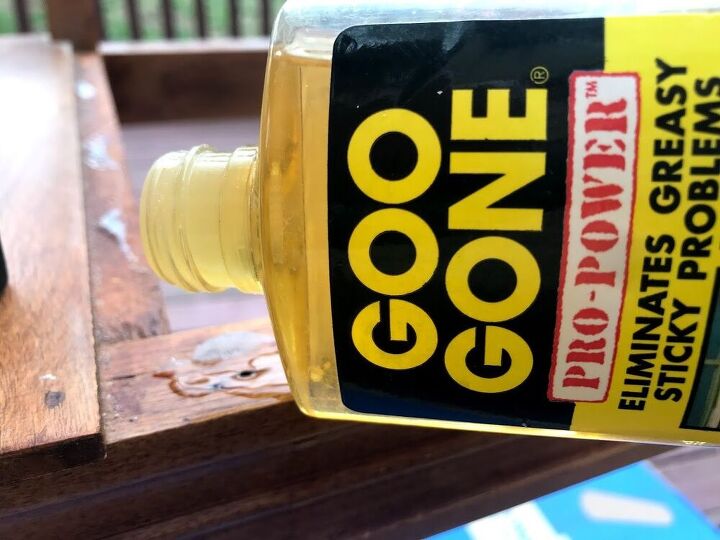
Remove the cushioned portions of the chair. For my telephone chair, the seat easily popped out. Next, remove the old adhesive. I used a combination of Goo Gone and Goof Off. (Use gloves to protect your hands).
Next, decide what you want to do with the wood portion of the chair. Sand and paint? Or just refreshen up? My chair was in great condition and perfectly matches other wooden chairs in my home, so I polished with Howard Products Feed-N-Wax.
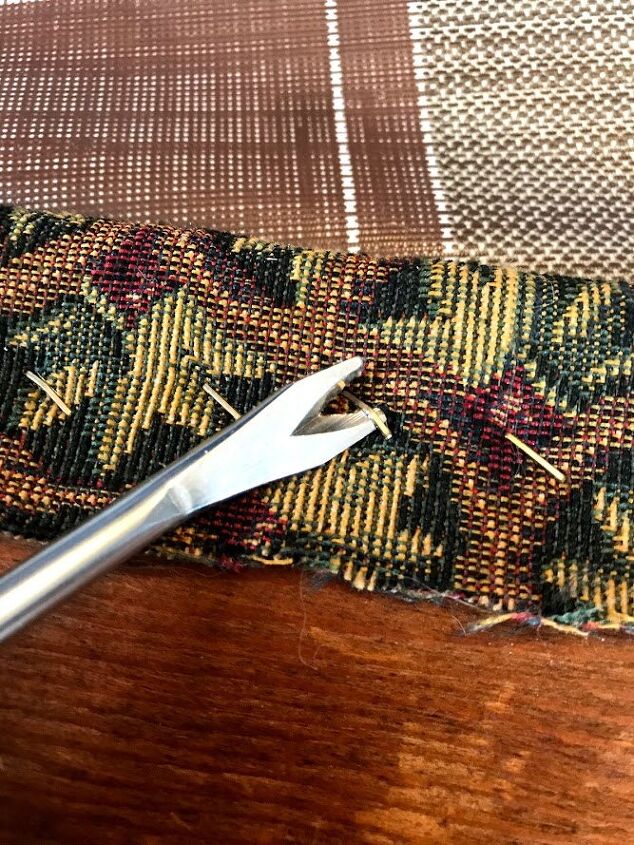
Using the same tack remover I used to remove the tacks on my mom’s antique rocker with a leather seat insert, I removed the staples on the upholstery on this telephone chair. This tool is easy to use, and fairly inexpensive. For tips on how to tackle stubborn staples, refer to the link at the bottom of this post to the full tutorial on my blog.
Now that the fabric is gone, you have the opportunity to add a new foam cushion. My cushion wasn't in bad shape. But it did have a smokey smell to it. So i gave it a good dose of Lysol and sat the cushions out in the sun for a few hours.
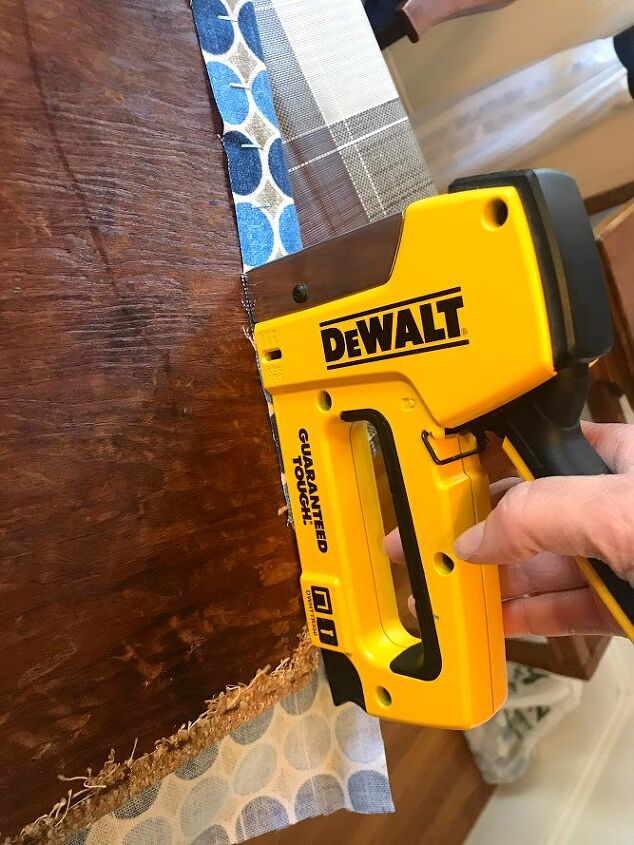
Using a staple gun, attach the new fabric to the cushions, taking special care with the corners. In my full blog post, I include an amazing video tutorial with tips from an upholstery professional that helps.
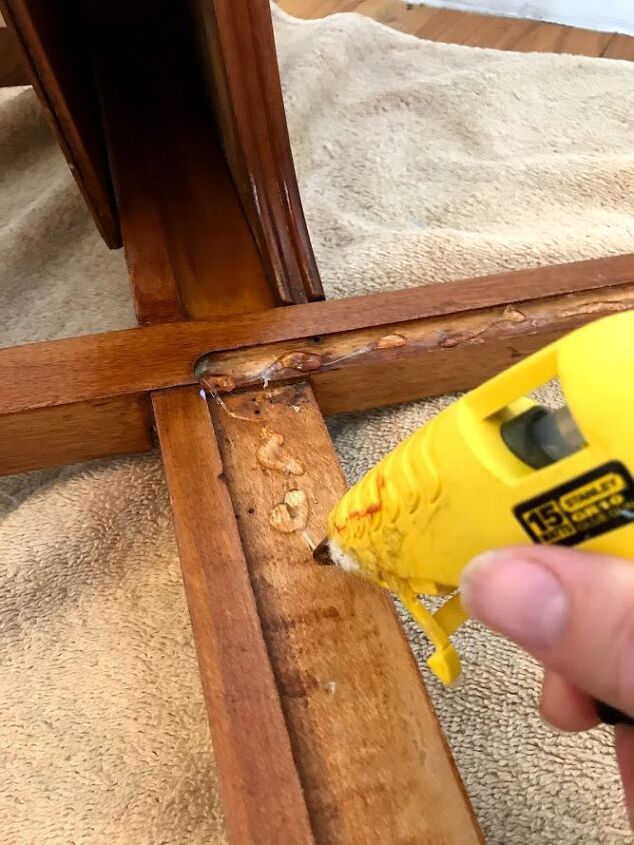
So using a hot glue gun, I applied a LOT of glue to the chair and secured the cushions.
I did the back cushion first, then set it on its side and stacked over a dozen of my children’s hardcover books on top over night to let the back cushion dry.
The next morning, I then turned the telephone chair right back up on its four legs and glued the seat cushion in place.
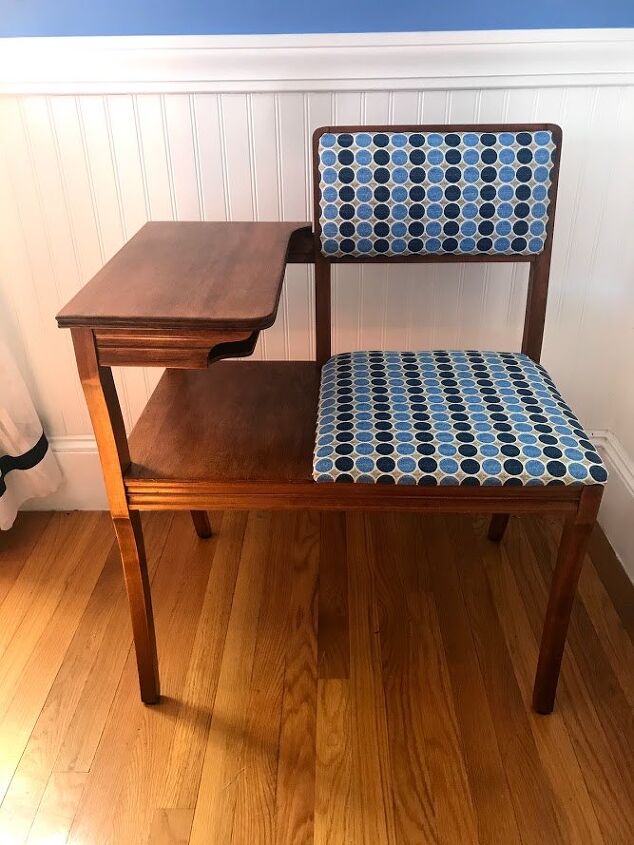
Here's the final project - I think it looks so cute! And the polka-dot fabric is a bit 1950s retro.
Interested in learning more? Check out the detailed tutorial located on my blog - How to Upcycle a Telephone Chair


Frequently asked questions
Have a question about this project?
WHAT DID YOU DO TO THE PHONE COUNTER/ARM REST?