


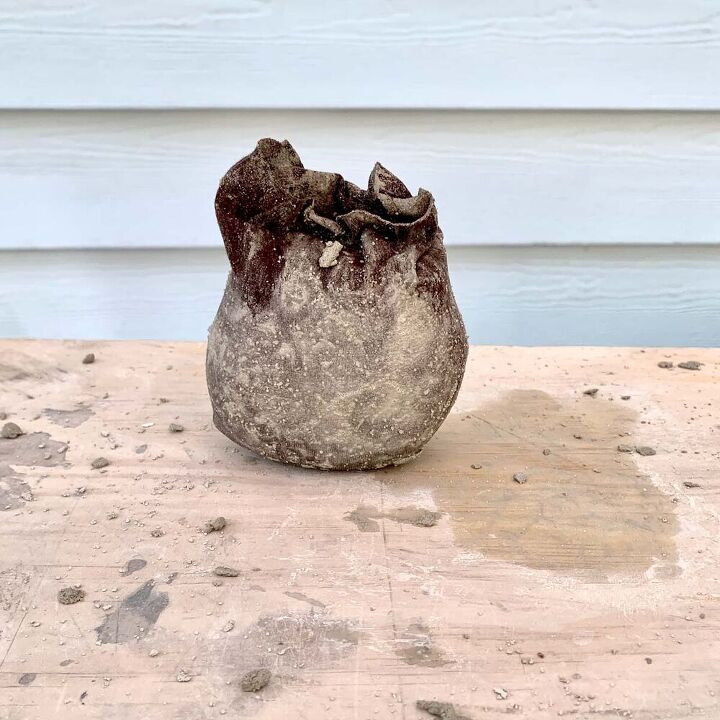
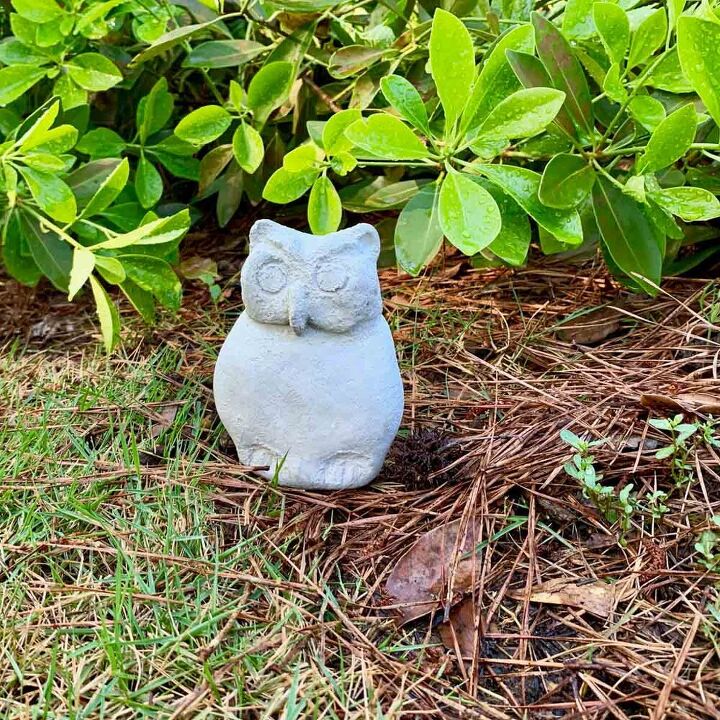
How To Make A Concrete Garden Owl Statue - Easy!
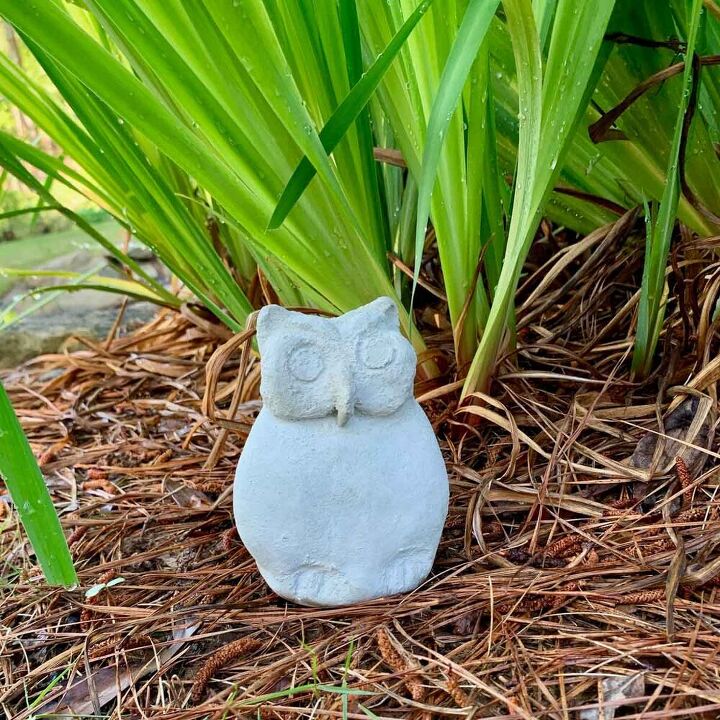
Sculpt and carve a concrete garden owl statue from cement. A surprisingly easy Cement Crafts tutorial, using just a few materials.
If you are looking for a project that’s quick and easy, try this concrete garden owl statue. This piece of garden art requires very few materials. I’ve always had a thing for owls and so does my mom (plus I’m a bird watcher ya know). I used to make my mom various kinds of owl crafts. The one that stands out the most in my memory was an owl tree ornament, which was embossed in a copper foil sheet.
If you choose not to make a clay owl prototype, then I strongly suggest drawing your owl on paper. It’s important to visualize what you will be sculpting. Now, in full disclosure, I did take a tile and brick carving class about 20 years ago, so I may have had a jump start -if you haven’t done any modeling before.
However, I am fully confident that you can do this too. It honestly is easy, but you may end up doing it a second time to get it the way you like, as I did.
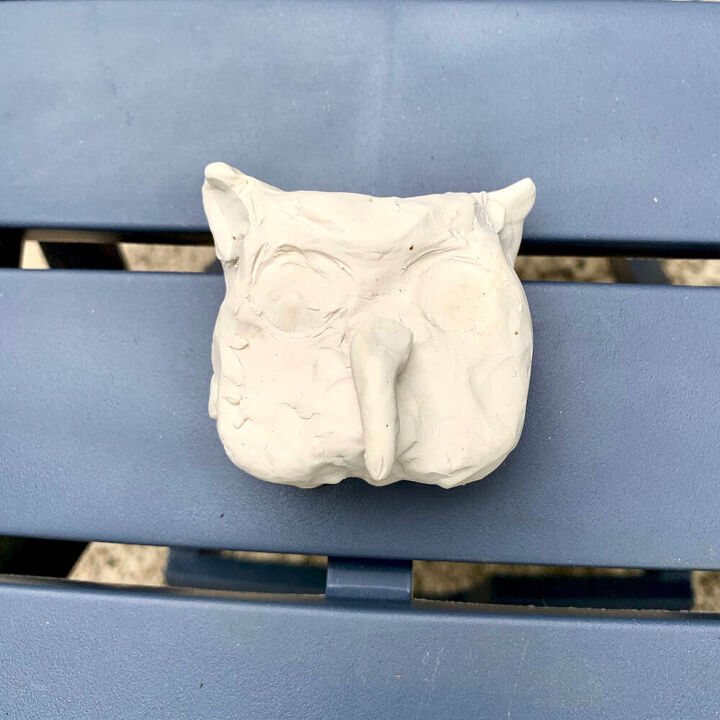
Keep in mind, this clay practice figure doesn’t have to be a beautiful work of art. You are making this soft clay prototype just to give you a sense of what you will need to do when it comes time to sculpt and carve the owl from cement.
A benefit of having this clay on hand is that you can use it for lots of cement crafts planning. It’s non drying so you don’t have to worry about having to throw it away if you don’t use. I use it all the time when I’m trying to get a sense of scale when I make things. I just pluck off a blob of clay and lightly shape it into the general size I want. This has proved so helpful!
Sculpting soft clay won’t feel the same as sculpting the semi-hard cement, but doing this practice run will give you the visual you need to know where you want the eyes, brows, ears, etc.
I only modeled the head in clay, but you may want to also make the body. The size of my owl overall was 5 ½” x 3 ½”. The body was 4 x 3 ½”. You can use my owl for reference, or look at photos of owls. There are many types of owls and mine was modeled after a great horned owl.
A search on Pinterest for stone or concrete owls is helpful because those will give you a good sense of shape.
Take a chunk of plasticine clay and roll it into a ball. Then slap it onto your work surface to start getting the shape of the owl’s body, sculpt and mold it until it looks the way you want.
Now take another piece of clay for the head. Choose the shape of the face you want and start sculpting the owl into that shape.
Don’t worry about getting into detail for the moment, just focus on the overall shape and size it needs to be to be proportionate to the body. Once you have the general head shape, place it on the body.
Now you can practice sculpting it with the sculpting tools.
When you feel good about the head, you can start the real thing.
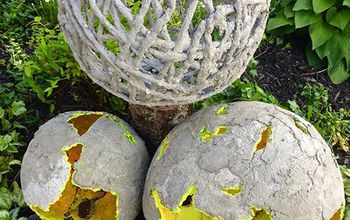
**If you like modeling, then another tutorial where cement sculpting comes into play is the Cement Balloon Planters. 
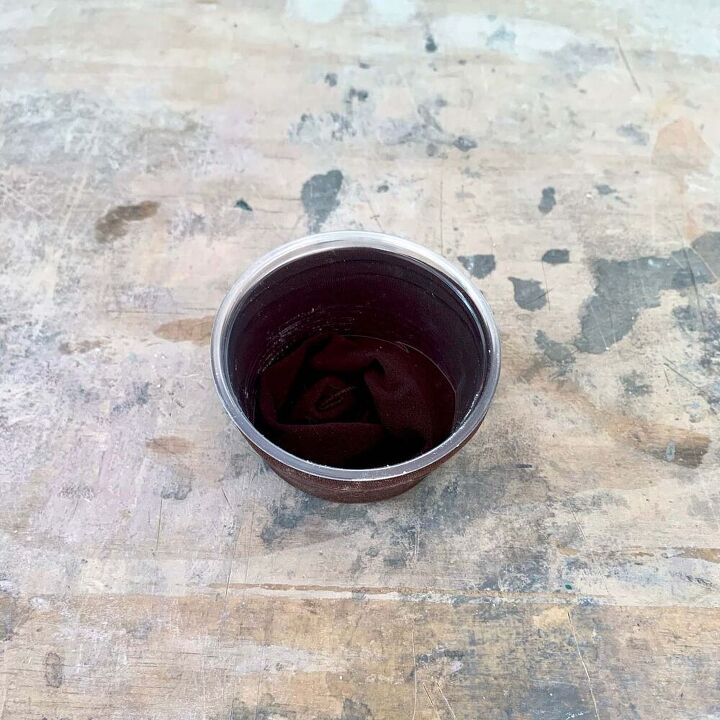
Cut the stocking 4” above the toe and then turn inside out so that the thick line of the seam is on the outside.
It’s not easy getting the cement into the stocking with one hand, so to help this, take a plastic cup and cut the top off so you are left with a collar, then insert that into the sock.
**If you love cement crafts projects then you may want to check out my article on how tested 6 different types of concrete and cement mixes. There, you can also get my Free Pocket Guide to Cement and Concrete Mixes.** 
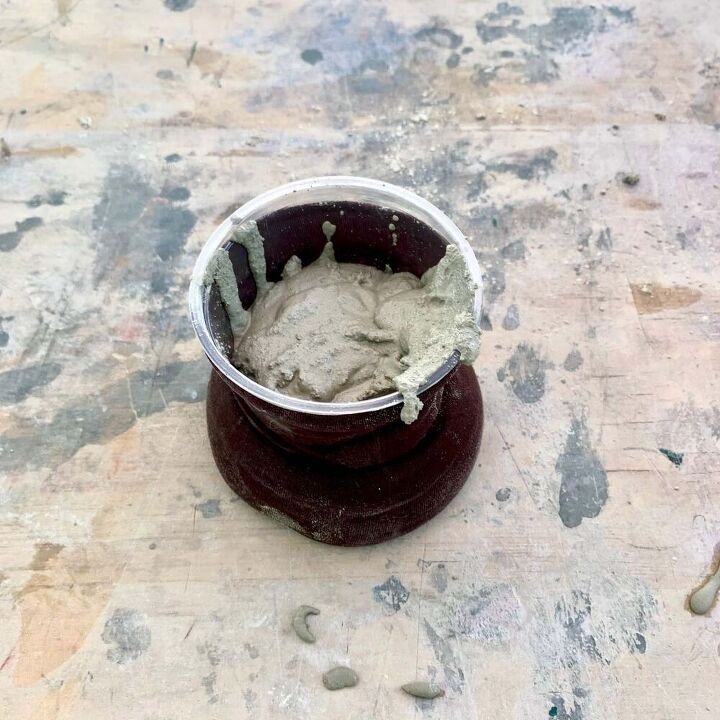
Take about ½ to ¾ of a cup of cement and pour it into your mixing bowl and add cold water. You want the cement mixture to moldable, like a thick mud pie consistency. Then scoop it into the cup/collar.
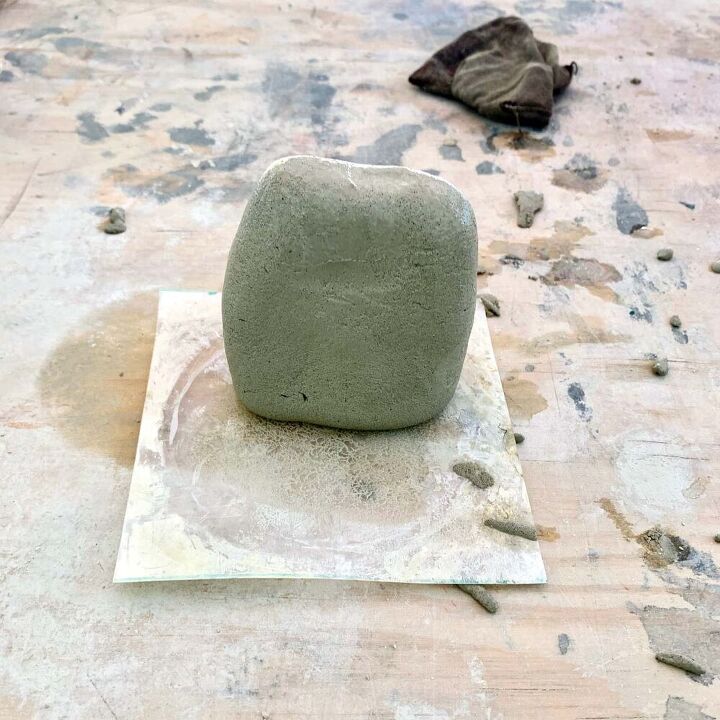
Now stand the stocking up straight so that the toe is touching the work surface. Hold the top of the stocking closed and bounce the stocking around on the table.
Keep pushing and pulling and taping until it starts to take shape. Remove excess cement if it looks like the body is becoming bigger than you wanted it.
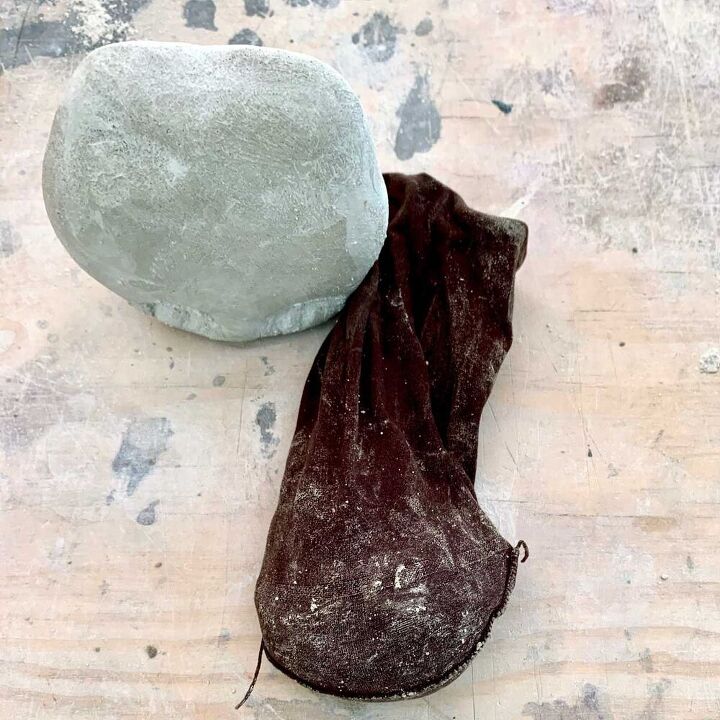
Within a few minutes, when the cement starts to set, take the stocking off and continue shaping it. As soon as you remove the stocking, drop it into the bucket of water so you can reuse it for the head.
To do this, you’ll lay it flat, stand it up, hold in your hand. I did have to hold the owl in place, with cupped hands for a couple of minutes to help keep its shape holding.
The owl needs to be standing up straight so be sure to keep pushing the bottom into the work surface to keep it flat. Continue shaping this concrete owl. It may start setting quite a bit and you may see some cracking. If so, just either spray it lightly or dip your fingers in water and rub the cracks away.
You don’t want to do a ton of this, but you’ve got quite a bit of working time here, more than you probably think. I probably spent 15 minutes on it once I pulled it out of the sock.
As soon as the shape is looking good and you no longer need to use your hands to aid it, take the carving and sculpting tools and work on the feet/claws. The two tools I used here were the rubber clay shaper and hook.
Mix up some more cement. You will use less than half as much cement as you did for the body. Use the clay mold as your guide to see how much cement should go into the stocking by laying the head onto the stocking.
With the cement in the sock, repeat the same steps you did to shape the body. Once you take the cement out of the stocking, start sculpting it the way you did with the practice clay. Just a heads up, the head may take quite a bit of working and reworking.
Make sure you position it on top of the body, off and on, while shaping it to be sure you have the right fit. Also remember, just focus on the overall size and shape of the head, not the details.
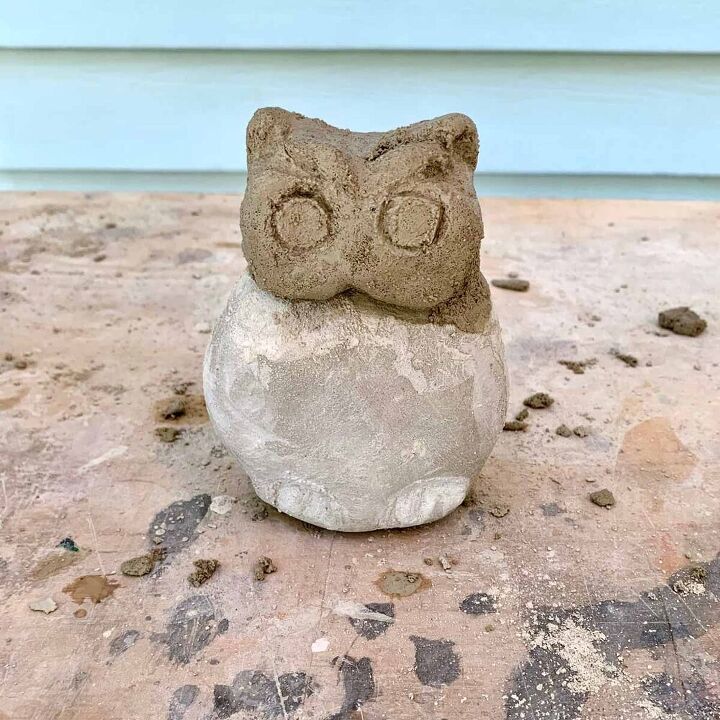
Don’t get frustrated if it’s not becoming the shape you want it immediately. By looking at the timing of the photos, it was 15 minutes from the time I pulled the head out of the stocking until I had the shape right and was ready to carve. Then it was another 10- 15 minutes of carving.
And once you start carving it, it will start to come together. Remember to use water to heal over any cracks or rough parts.
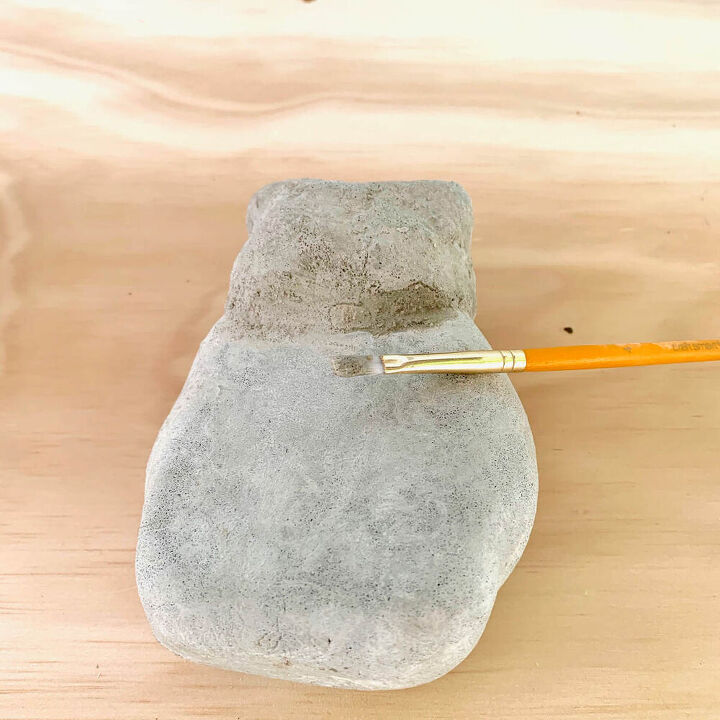
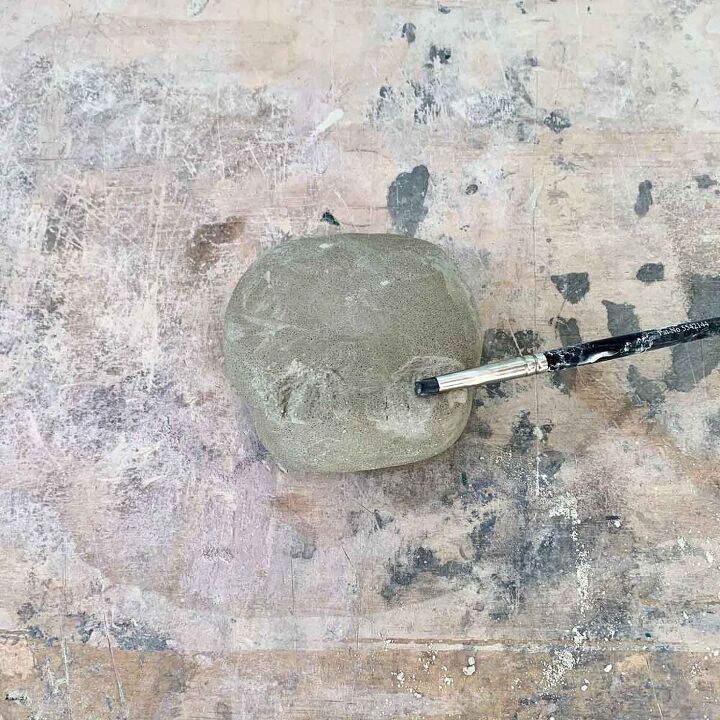
When you are happy with the overall shape and the head is on the body, you’ll need to paste the head and body together. This is easy, you’ll just mix together a tiny bit of cement and water- the consistency should be like a paste (essentially mortar), then use the paintbrush to paint the paste on at the seam where the body and head meet.
At the front, I didn’t use too much, but at the back of the owl, I went a little thicker since that wouldn’t be seen. Let this cure for at least 30 minutes.
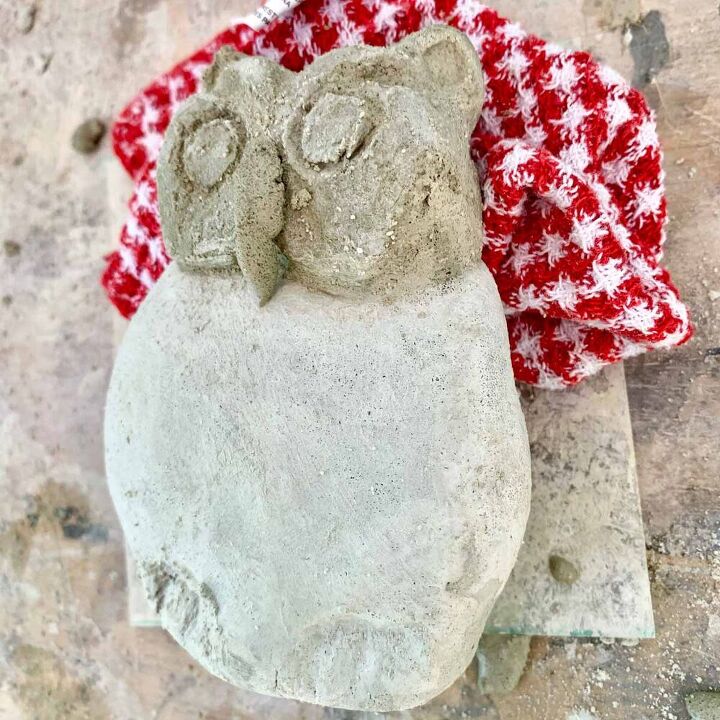
Now you get to make and add the beak. First, lay the owl on it’s back but be sure to place a rag or something soft under its head to help support it. Just take a little more cement and add water. The consistency should be moldable. Now roll it up into a ball and then make it oblong, so it looks like a beak.
Take it and press it to the owl’s face so that you can check for size/length proportions and also to help position it where it will attach to the owl. This should flatten the part where the beak touches the owl. Curve the beak. When it looks good, use the paste/mortar trick to glue it to the face. Now stand the owl back up and let it cure for a couple of hours.
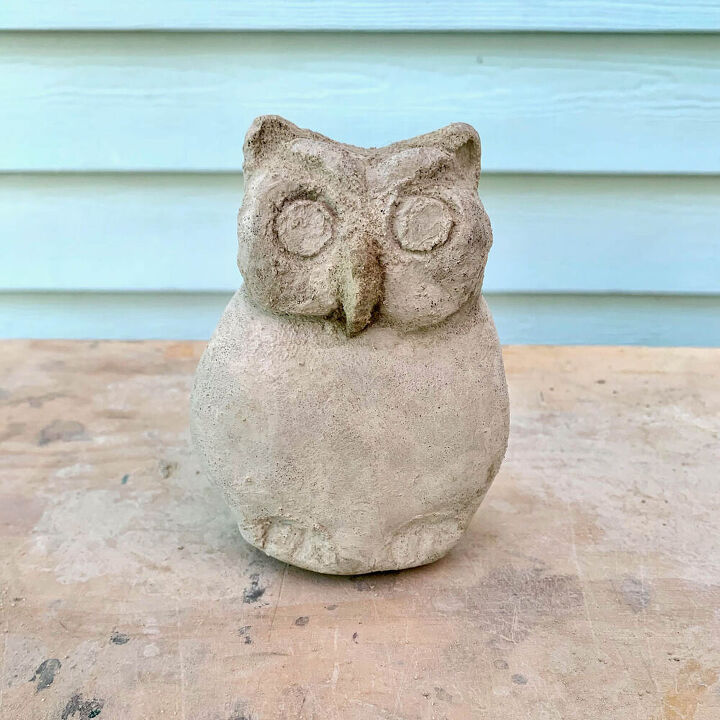
Once it’s fully cured, you can sand any rough spots. This owl isn’t going to be smooth like many other Cement All projects because all the rubbing and adding water pulls the sand to the surface, causing it to be rough. But since it’s a concrete garden sculpture, smooth probably isn’t what you’re going for.
Resources for this project:
See all materials


Comments
Join the conversation
-
That's really cute! I've been looking for some garden gnomes for my garden. This is perfect!!
thanks for sharing! Your tutorial is spot on! Real easy to follow .
-
Thanks Jennifer!


Frequently asked questions
Have a question about this project?