


Countertop Farmhouse Box
Do you have a spot in your home that is a catch all for mail, papers and whatever else can be tossed on that spot? We have a countertop in my kitchen where everything gets piled up. I’m tired of looking at it all, so we did something about it! Using mostly scrap wood from other projects we created a farmhouse style countertop box. Keep reading to see how you can make your own.
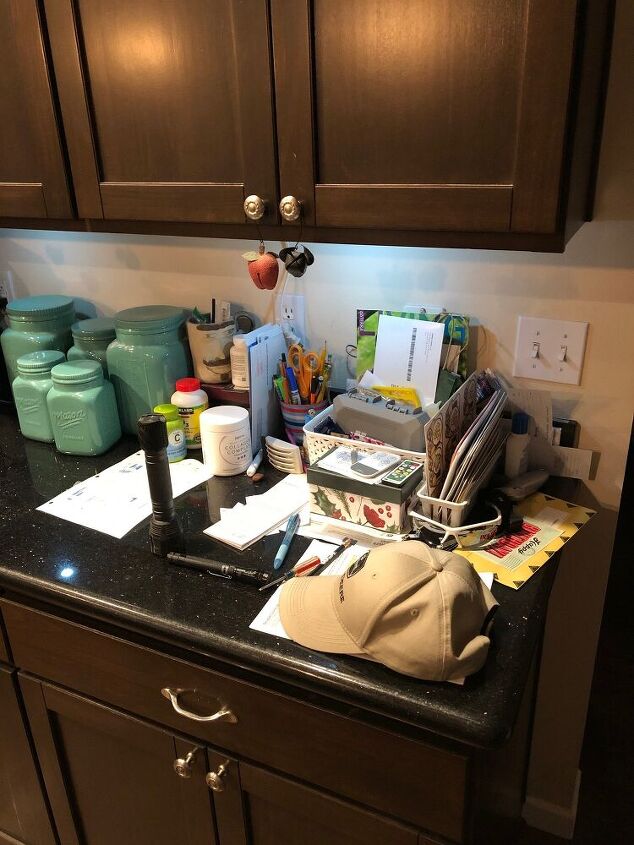
This spot in our home was driving me crazy. I had a basket for the mail, but everything looked cluttered and tossed around.
Materials we used:
• 1x2” scrap pine boards
• 1/8 “ scrap plywood
• wood glue
• brad nailer & nails
• spray paint (color: brown)
• chalk paint (white)
• knob or pull
• 2 hinges
• rubber “feet” (for the bottom of the box)
• orbital sander
• Table saw
• miter saw
Cut list -frame
Scrap wood pieces (1x2 pine) cut down to 3/8”x3/4”
Frame Bottom: 2@ 9” left and right sides, 2@ 12” front and back
Frame verticals: 2@ 8 1/2” front and 2@ 11” back
Frame top: 2@ 10 1/2” front and back and 2@ 8 3/4”, angled to fit slant from front to back, I used my sander to fine tune the angle.
Cut list- Front and Sides:
1/8” plywood cut into 3/4” strips
Bottom, Back & Lid: 1/8” plywood
Bottom: 12 1/2” x 9 1/2”
Back: 12 1/2” x 11 1/2”
Lid: 9 7/8” x 12 1/2”. If you want the lip to over hang the front edge, increase the 9 7/8” measurement.
I used my table saw to cut the wood to the width I needed and my miter saw to cut each piece to the desired length.
Arrange the two 9” pieces of 3/8” x 3/4” pine on the left and right of your work area, and the two 12” pieces on the front and back of your work area. They should be positioned so they are 3/4” tall. Place a small amount of wood glue on each end of the 9” pieces and glue them perpendicular at the ends of the 12” pieces. This will form a rectangle for the bottom frame. Use a brad nailer to secure pieces together.
To build the frame up, begin with the back pieces. Lay the 11” pieces, 3/4” side down, and at the top place a 10 1/2” piece between them. Put glue on the ends of the 10 1/2” piece and glue it to the 11” pieces, then use your brad nailer to secure them. It should look like an upside down U. Do the same with the 8 1/2” pieces to form the front of the frame. You should now have the base rectangle and two upside U’s. Place glue on the bottoms of the 8 1/2” pieces and attach to the top of bottom frame. Use brad nailer to secure. Repeat for the 11” pieces for the back, and secure with a brad nailer. The upper left and right frame pieces are 8 3/4”, cut at an angle to fit between the front and back and form a slope. Sorry, I don’t know the angle, but used my orbital sander to make adjustments to fit. Glue each end of the 8 3/4” pieces then secure with brad nailer. The frame is now built.
For the sides, starting at the bottom place your 3/4” plywood strips to fit on the sides without overlapping the front or back. Glue each piece to the frame. Once your strips reach the angled portion, place a larger than needed strip in the space, and with a pencil mark the angle on your plywood strip. I used a scroll saw to cut the piece into the proper angle. Repeat for each needed angle.
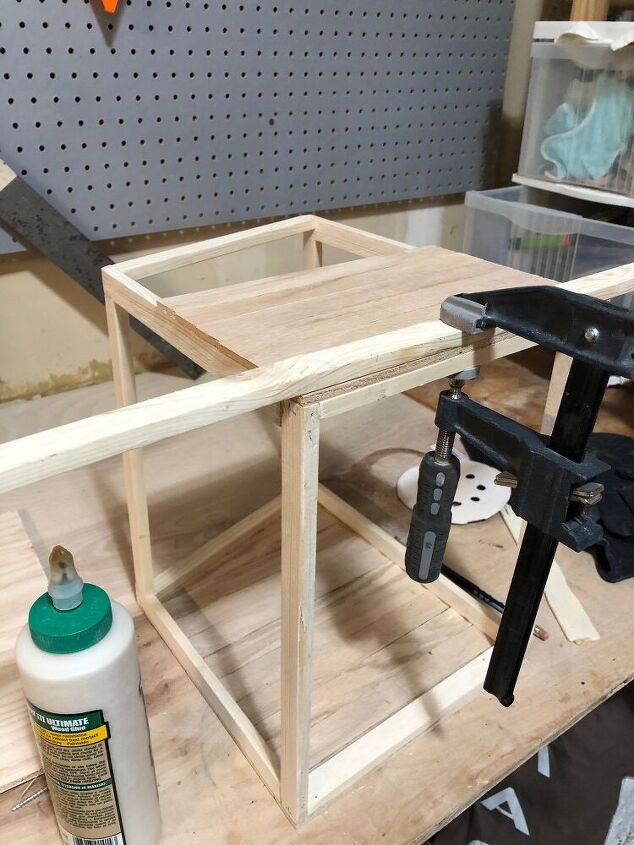
Once I completed a side, I clamped them down and allowed the glue to dry. To protect your surfaces, place a piece of scrap between your clamp and your pieces to prevent the clamps from making an imprint in the wood. Repeat for the opposite side. When placing strips on the front, overlap the end of the strips on the side.
Apply glue to the bottom of the frame and attach the bottom piece of plywood (12 1/2” x 9 1/2”). It should be flush with all sides. Repeat for the back piece of plywood (12 1/2” x 11 1/2”).
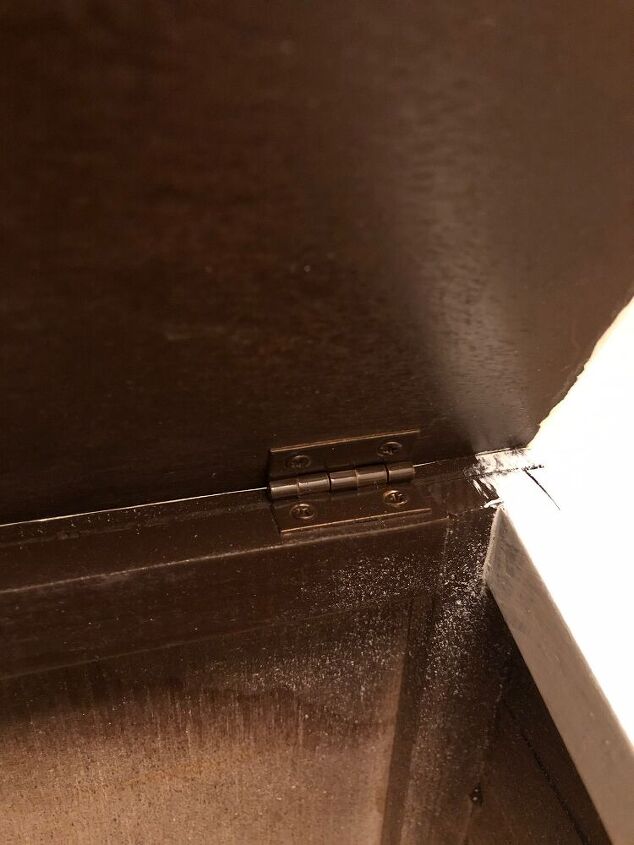
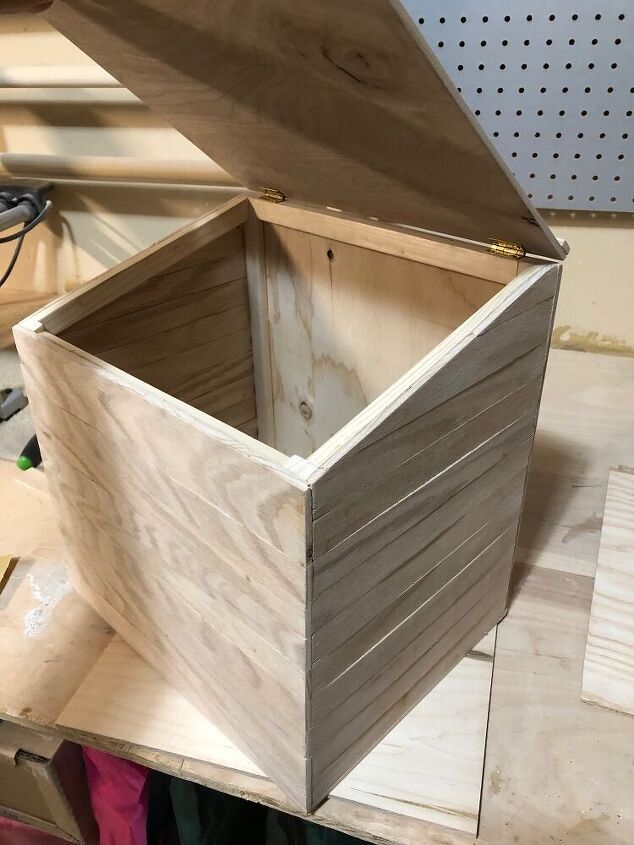
For the lid, glue to the top, back your 1/2” x 12 1/2” plywood strip. It should be flush with the back and sides. This is to hide the screws for the hinges into the lid. Next, attach your hinges to the frame in the back. Place your lid over the opening, and mark the location to attach the hinge to the lid. It may get awkward, I had to lay my box on its side to get the hinges to stay open and keep the lid flush to the sides.
If you decide to use a pull, find the center of the lid, and from the front edge measure back about 2”. Drill a hole that will fit the hardware for your pull. Once the lid is attached, stand back and admire your work. The great thing about this box is it is rough. Use your orbital sander to smooth out any edges or corners that may be off or rougher than you would like.
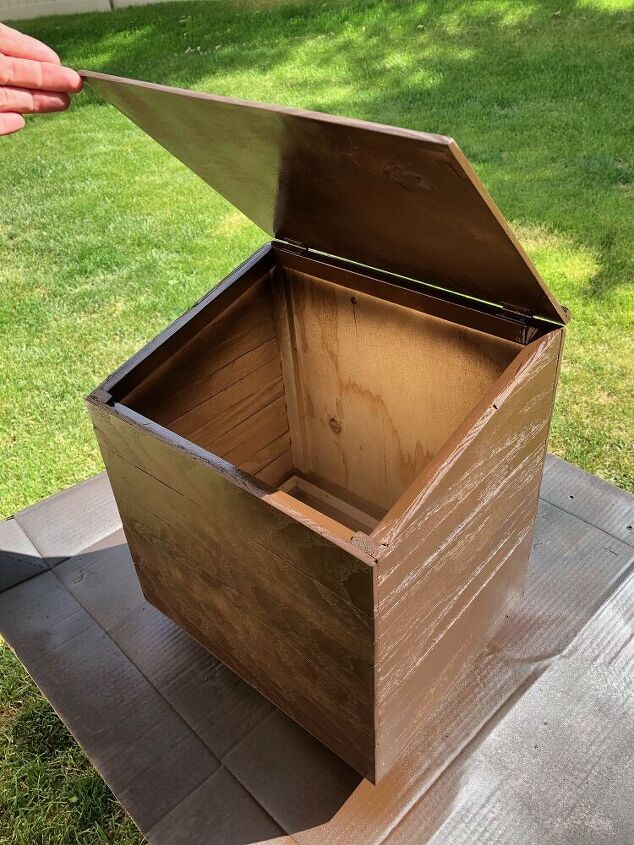
Here you can see the angles of the box a little bit. How the box is taller in back and shorter up front.

I spray painted two coats of the brown spray paint. Letting the paint dry between coats. Spray paint doesn’t take too long to dry. Then I applied 2 coats of white Chalkpaint with a brush and sand distressed (with sandpaper). I distressed the edges, corners and along the slates to give it the rustic farmhouse look.
Once the painter is dry wax seal the piece.
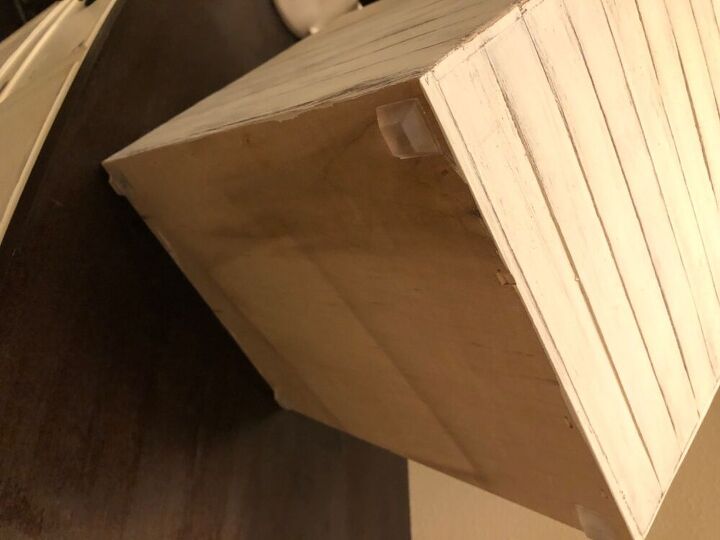
Then I added rubber feet onto the bottom Of the box so it wouldn’t scratch anything.
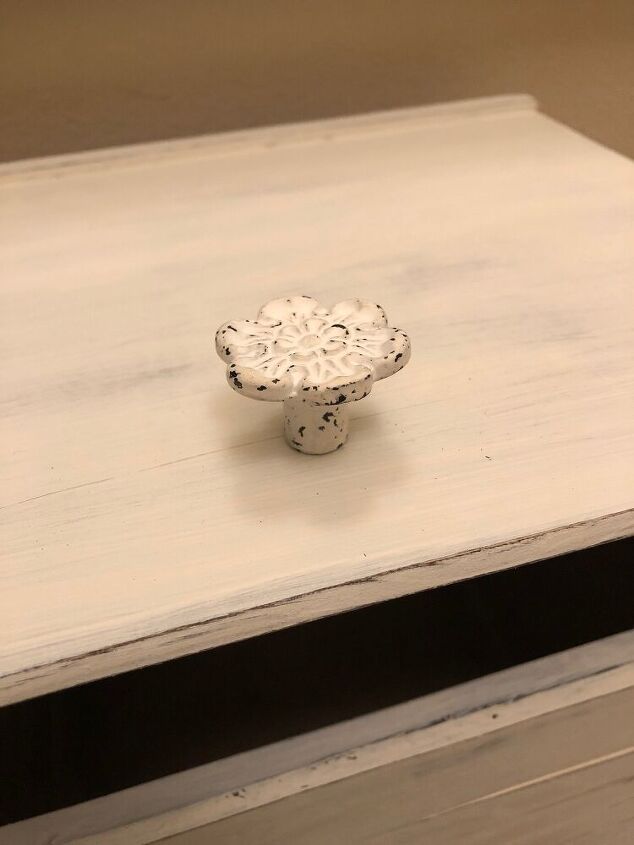
Attach your pull or knob. Then place the box in its spot and start hiding the mess.
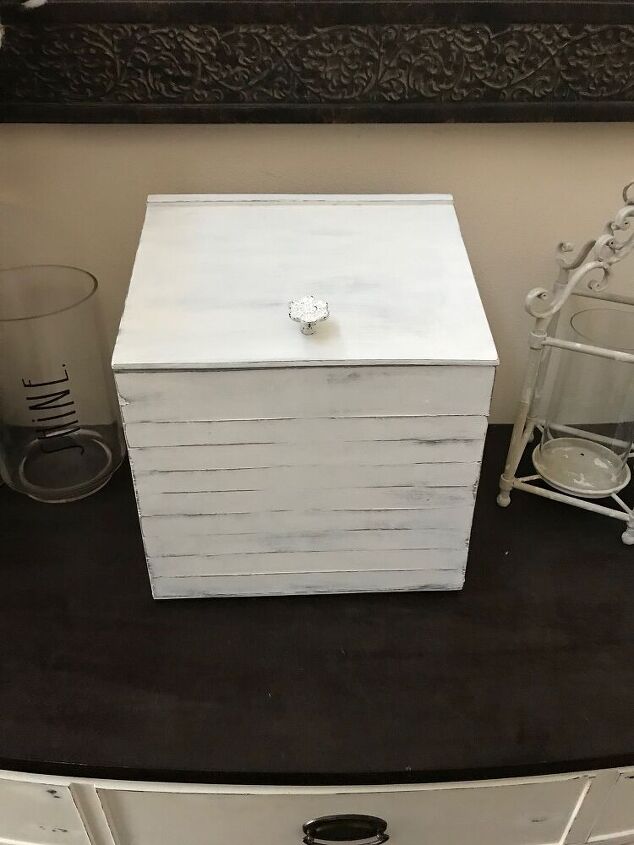
Here’s the finished product. You can definitely use this on a buffet, dresser, hearth of your fireplace, on a bookshelf, even on the floor next to a console, dresser or bookcase. The possibilities are endless.
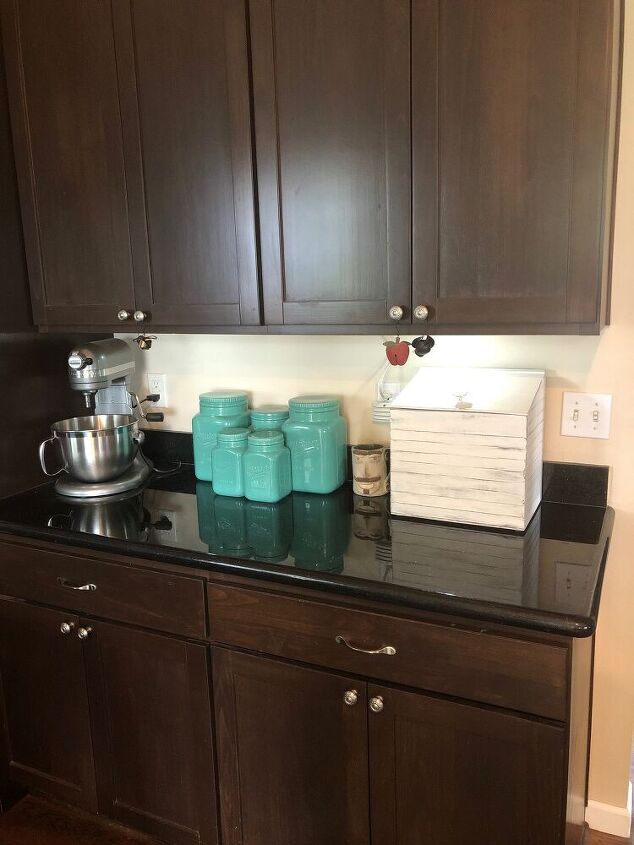
This is the end result! I have a cleaner countertop. The mess is hidden but also more organized in the box and I’m a happier person.
This project wasn’t very expensive as we had most of the tools and materials on hand. We did purchase the hinges, the pull, spray paint and the rubber feet.
Resources for this project:
See all materials


Frequently asked questions
Have a question about this project?