


All Signs Point to ANTIQUES

I love antiques....and signs....and antique signs. I just don't love paying the prices, so I decided to make my own sign, an ANTIQUES sign. This sign was so easy to make and very inexpensive and it only took a couple of hours (not counting the drying time for paint and glue). :)
You really can make your sign any size you want but I'll give you the list of supplies that I used for this sign.
1- 1x10 x 6 ft pine board
2- 1x2 x 8 ft pine boards
8 inch Letters
paint
stain
wood glue
sandpaper
miter saw
finish nailer
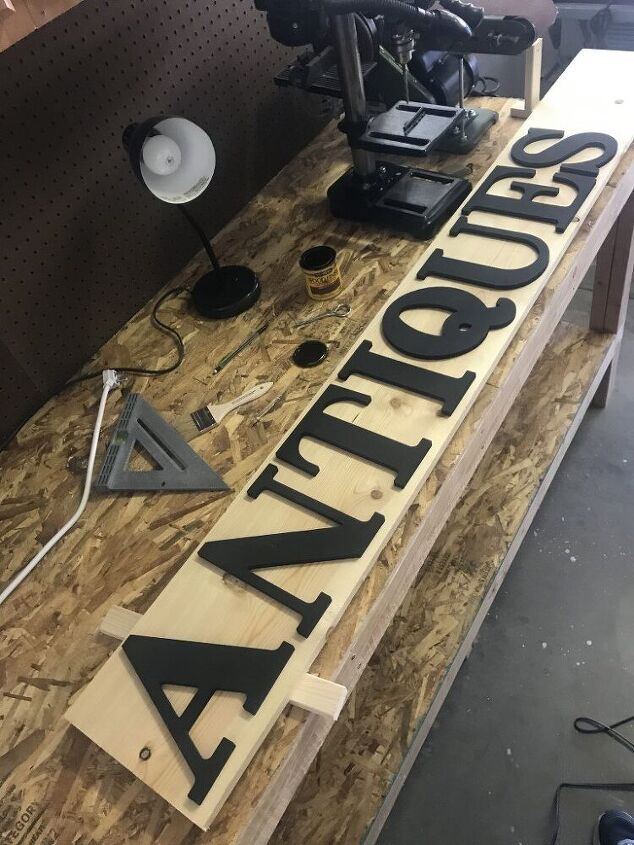
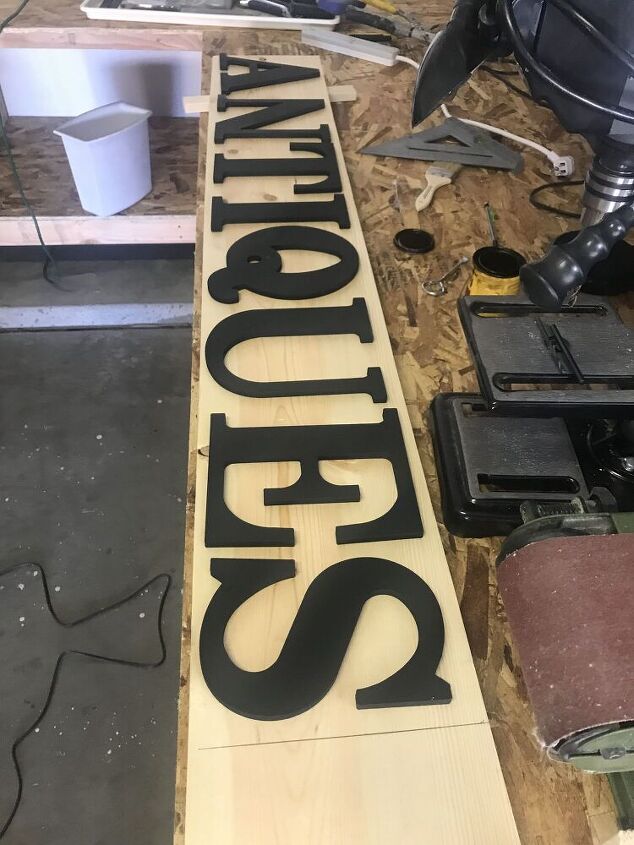
The first thing I did was to lay out the letters (I had previously spray painted them black) on my board to decide how best to space them and how long to cut the board. This took a bit of measuring and standing back to look before I was happy with the placement. I didn't make any marks on the board (other than the cut mark at the end) because I knew the painting step would cover that up anyway. But at least I knew what length would work.
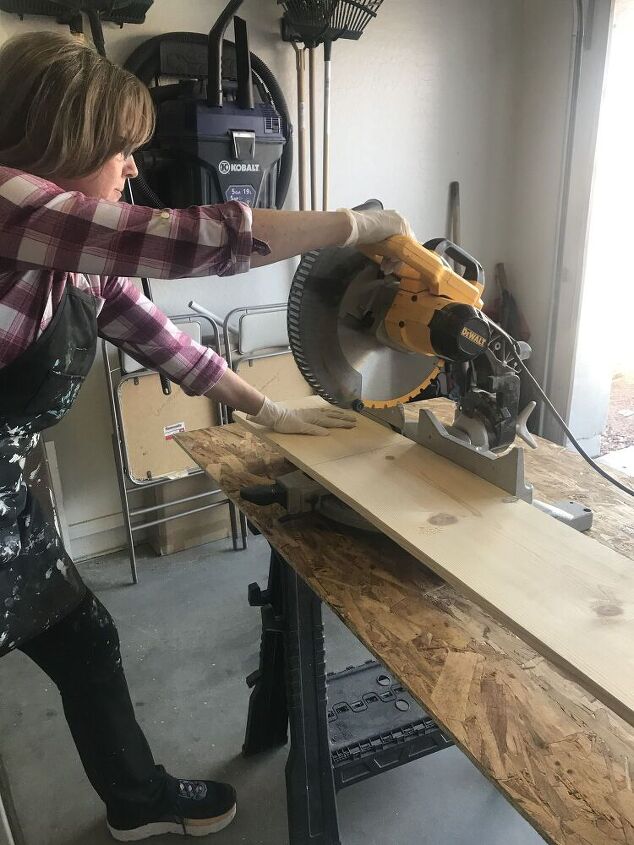
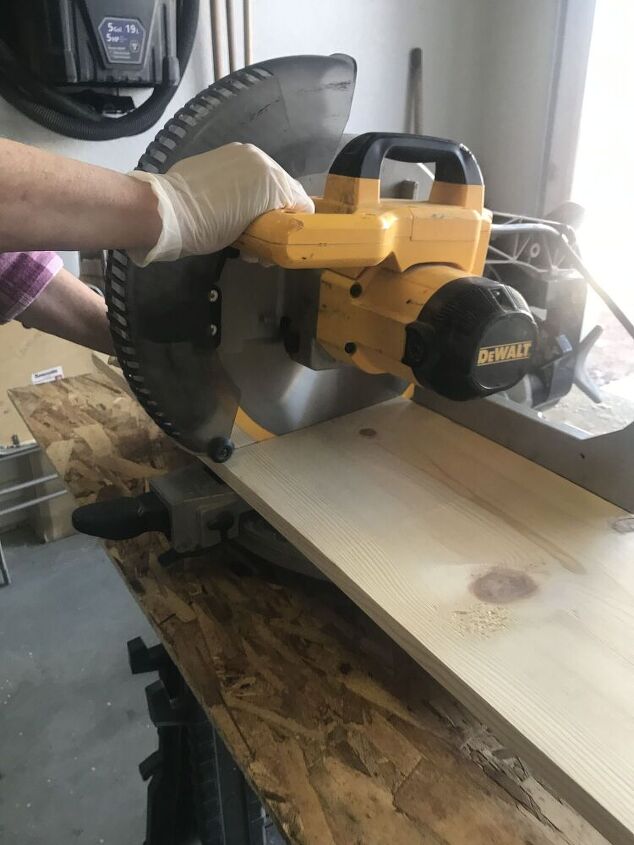
I ended up cutting my board to 56 inches and I used my miter saw to do that. My saw wouldn't cut through the entire board so I had to flip the board to finish the cut.
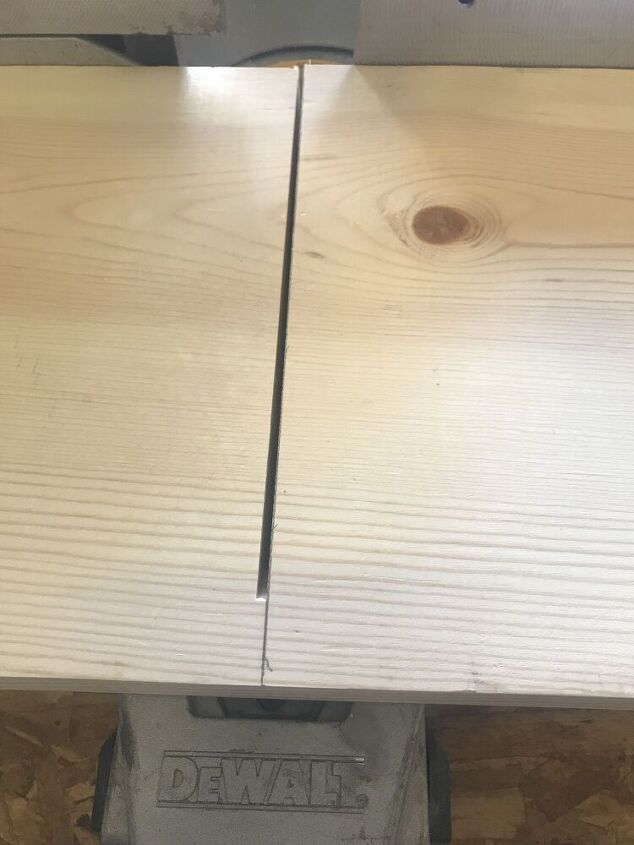
Yes I could have used the table saw
to make the cut all at once, but my garage is not set up with my power tools in dedicated spots, and getting out the table saw for one cut was just not something I felt like doing. So miter saw it was!!! Work smarter not harder is my motto! :)
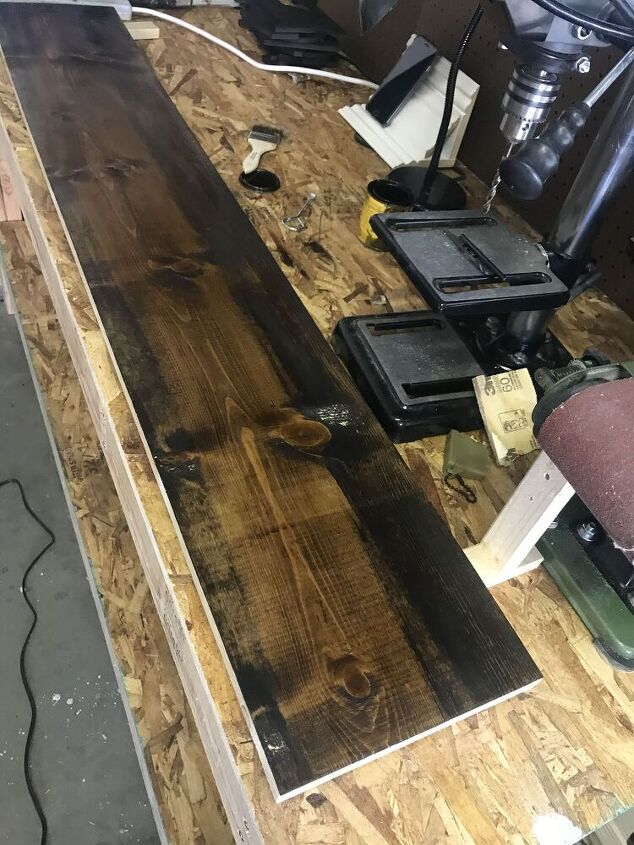
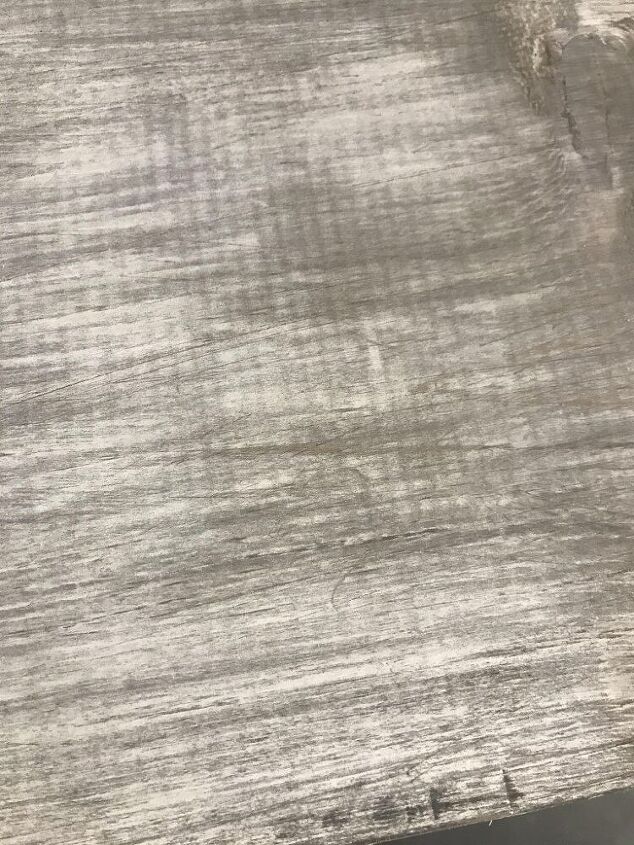
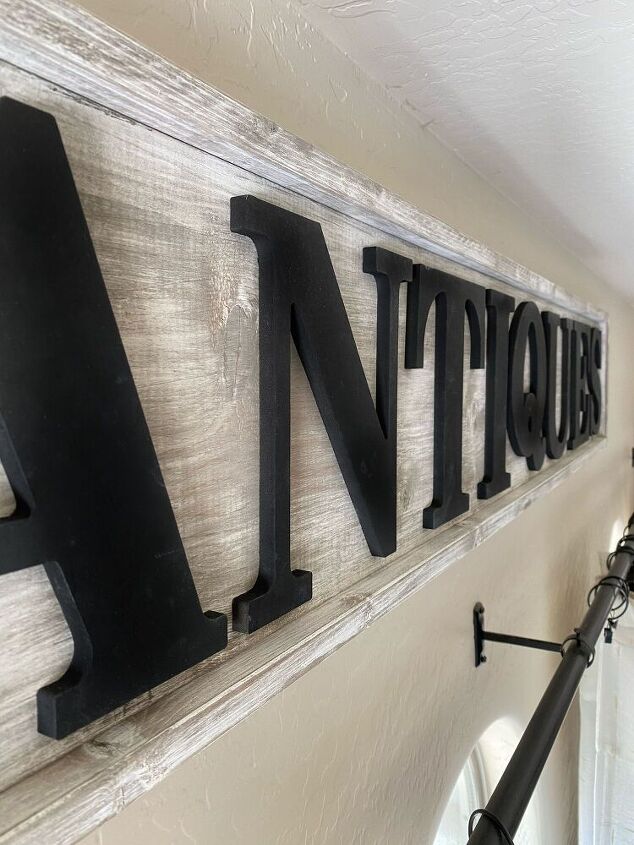
I put a coat of Minwax Dark Walnut stain on the board with a brush and let it sit for about 5 minutes and then wiped it off with a shop towel.
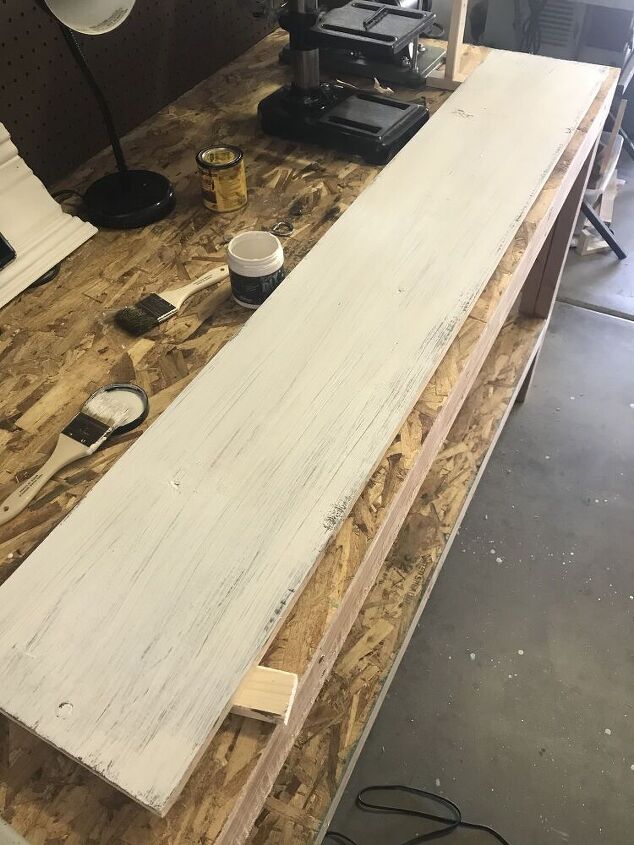
As soon as I wiped off the extra stain I started painting. I used a cheap chip brush and put one coat of whatever white paint I had on hand. I made sure not to allow it to cover it completely. I was going for lots of brush strokes with dark showing through.
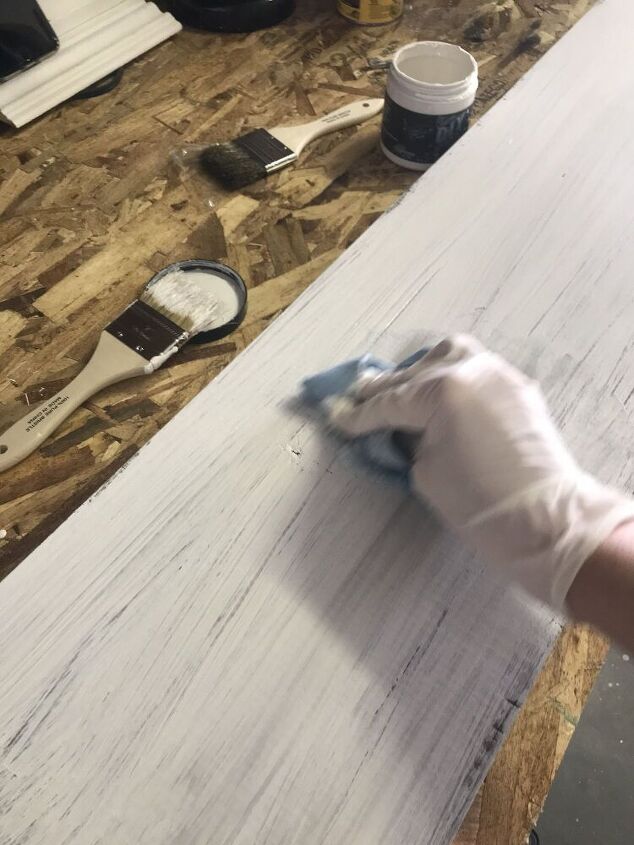
Using 150 grit sandpaper I started sanding...before the paint was completely dry. This really blended the white into the stain and gave it an authentic worn and aged look.
Once I had the board looking like I wanted I stepped away and let it dry.
Now it's time to place the letters...permanently. I layed a 1x2 along the bottom of the board where I wanted the bottom edge of my letters to sit, and clamped it on so it wouldn't move. This gave me a straight line to sit my letters on so that they would all be at the exact same distance from the bottom of the board.
Once I was happy with the placement of the letters I made a tiny pencil mark on the bottom left corner of each letter (sorry, I forgot to snap a pic of that). Then, one at a time, I picked up each letter, put a mall bead of wood glue down the center of the entire letter, on the back of it and carefully laid it back down right where the mark was, pressing down gently to make sure it was flat against the board.
After gluing the last letter I allowed the glue to dry for 24 hours to be sure it was good and set. I considered nailing the letters to the board but decided that it's just a sign that is going to be hanging on the wall and the glue will suffice.
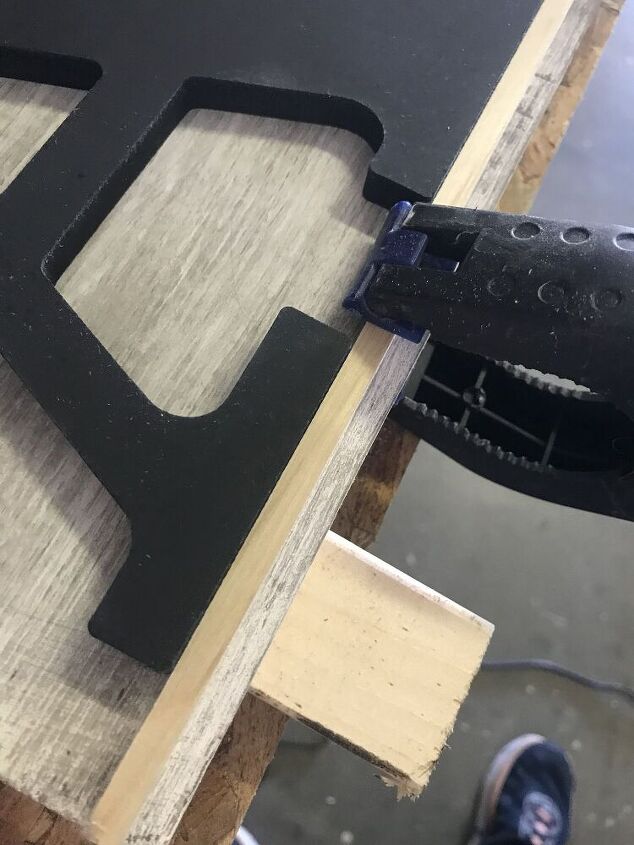
I got to work on the frame. I took one of my 8 foot 1x2's and laid it along the top edge of the sign. I made sure it was perfectly flush with the right end of the top of the sign and then made a pencil line at the left end where the cut would go. I did the same for the bottom of the sign with the second 1x2 and then I made those cuts on the miter saw.
I laid each piece along the top and bottom and clamped them in place while I measured the end pieces.
I used the remaining pieces from the top and bottom for the end pieces. This time I laid the 1x2 down so that it was flush with the end of the top frame piece and made my mark so that it would be flush with the edge of the bottom frame piece. I repeated this step for the other end.
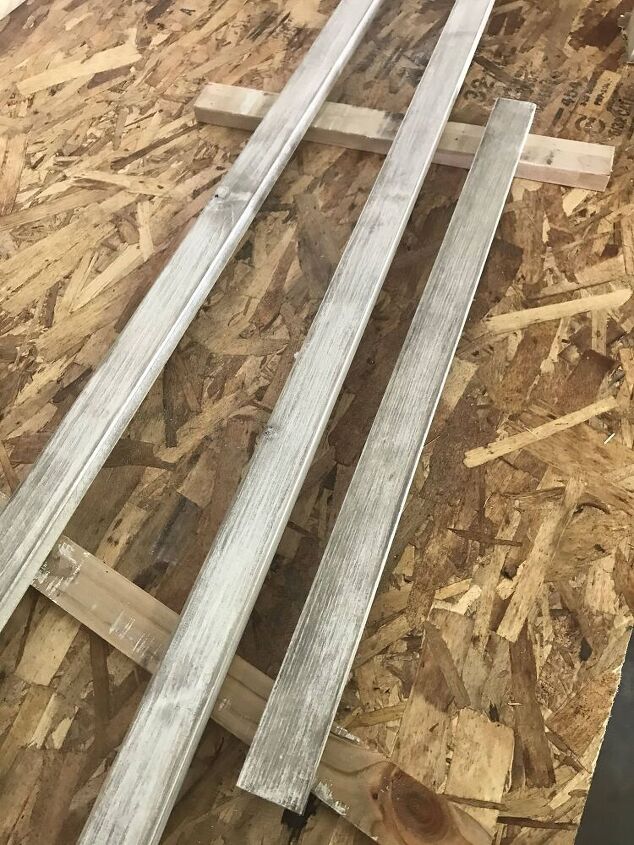
Once all my frame pieces were cut I used the same staining/painting/sanding technique that I did for the board. You could paint or stain the frame pieces to contrast the board with the letters on it, but I wanted mine to all be the same.
The next day
when my glue was good and dry I used my finish nailer to attach the frame pieces. When making a sign I always attach the top and bottom pieces first and then the end pieces. For this size sign, I put a nail about 2 inches from each end and a couple more in between those two nails. The end pieces each got two nails, one about an inch from each end.
I added hanging hardware on the back about 12 inches from each end.
I apologize for not having all the photos of these last few steps. I tend to get so excited and hasty that I just forge ahead and forget about my camera.
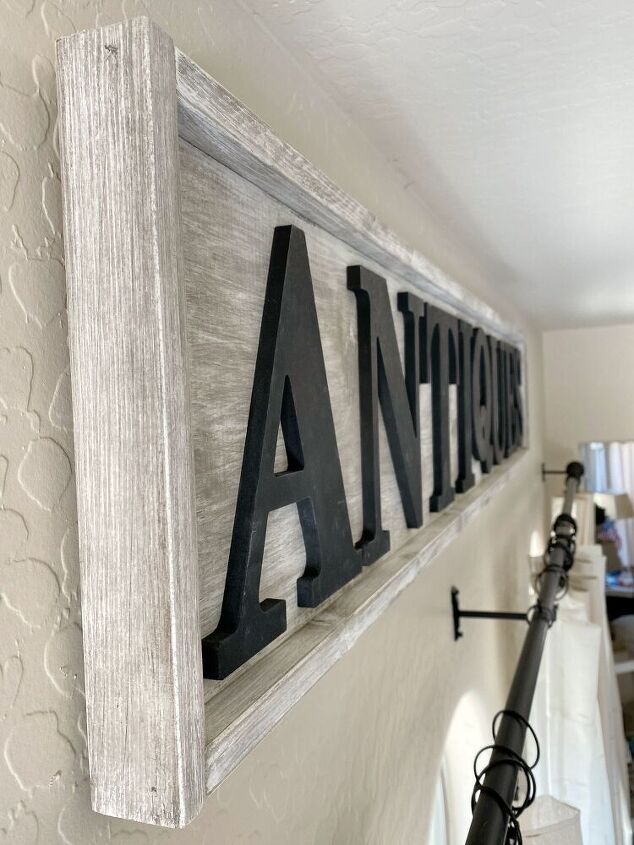
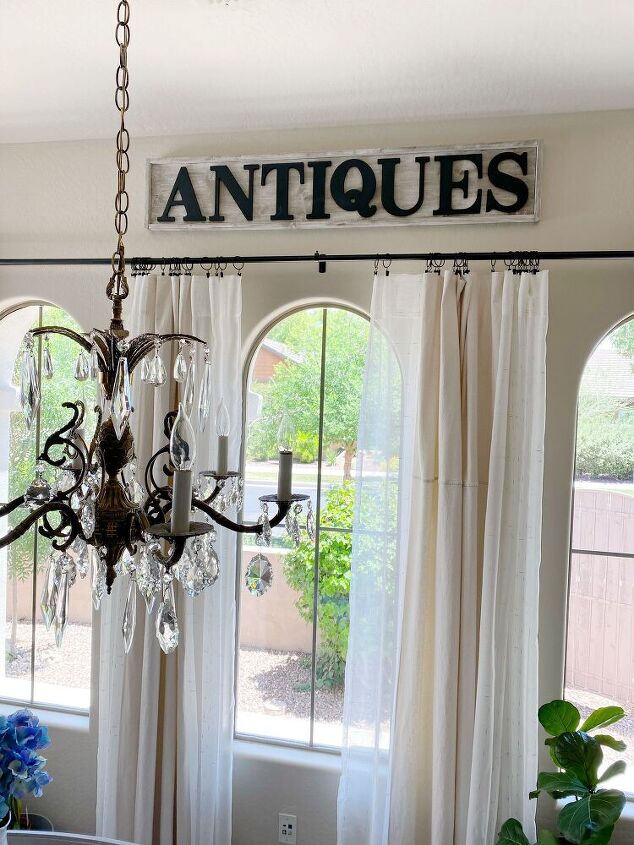
My sign now graces my dining room and it's the perfect spot for it. I love this sign and plan to make at least one more using this same technique, I just need to decide what I want it to say!
I hope you enjoyed this tutorial and I'm happy to answer any questions you may have.
Feel free to hop over to my blog www.somethingpaintedwhite.com for the full post including links to the tools and supplies that I used.
Also, I would love for you to stop by my Instagram page @somethingpaintedwhite and say hello.
Have a great day and happy signing!
Cindy


Frequently asked questions
Have a question about this project?