


Flower Wall Art

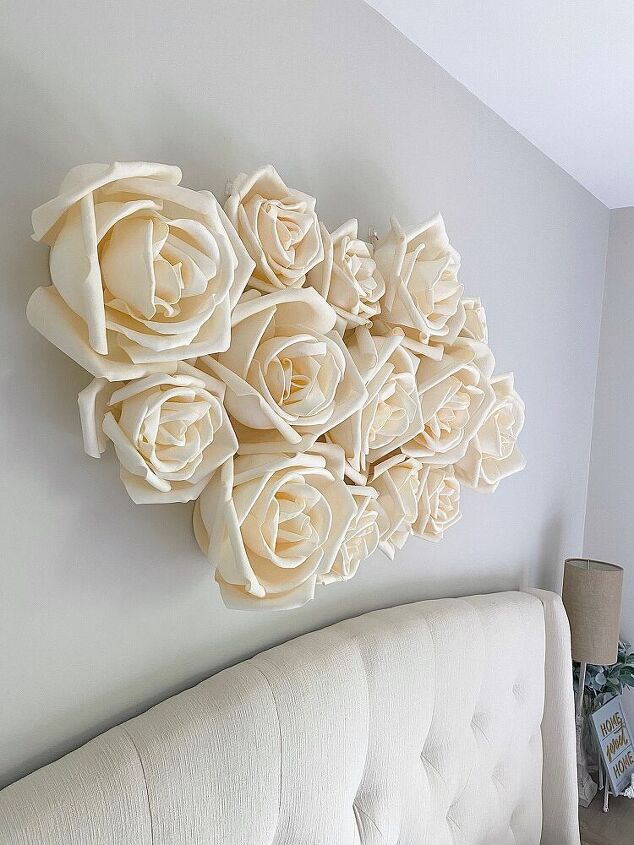
Have you been looking for flower wall art but haven't been able to jump on the price? You can make your own for a fraction of the cost! I searched everywhere and finally found the perfect life-like flowers that would make great wall art for over a bed, crib, or couch.
The flowers can be purchased at Michael's or Hobby Lobby. I purchased flowers with a built in hook on the back for easy hanging. The flowers are so light, too, and can be hung with mini Command Hooks. This is great in case you decide you'd like to update the wall later and don't need 14 holes to cover/fill. The Command Hooks are also convenient in case you'd like to move a flower to another spot.
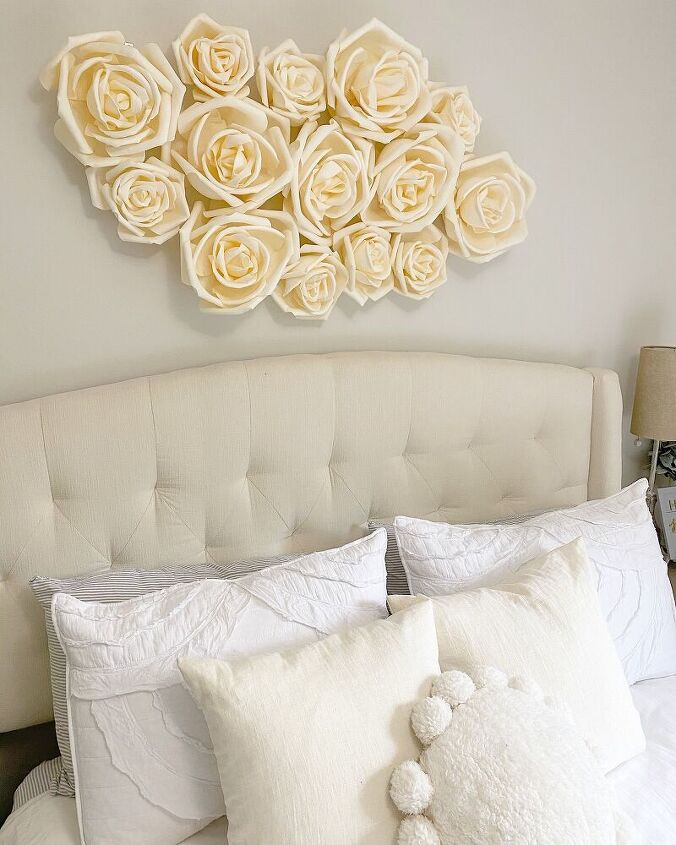
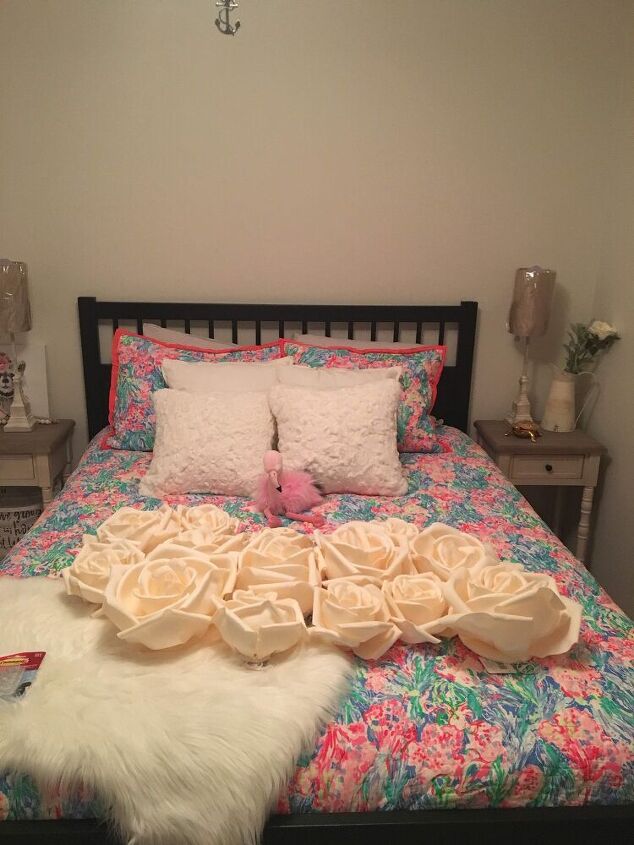
Step 1: Lay the flowers down in the way you'd like the flower arrangement. Make sure that the hooks of the flowers are positioned at the top of the flower for hanging. The flowers can also be fluffed once they're on the wall. I arrange the flowers first to see if I needed to purchase more flowers or needed to remove extra flowers.
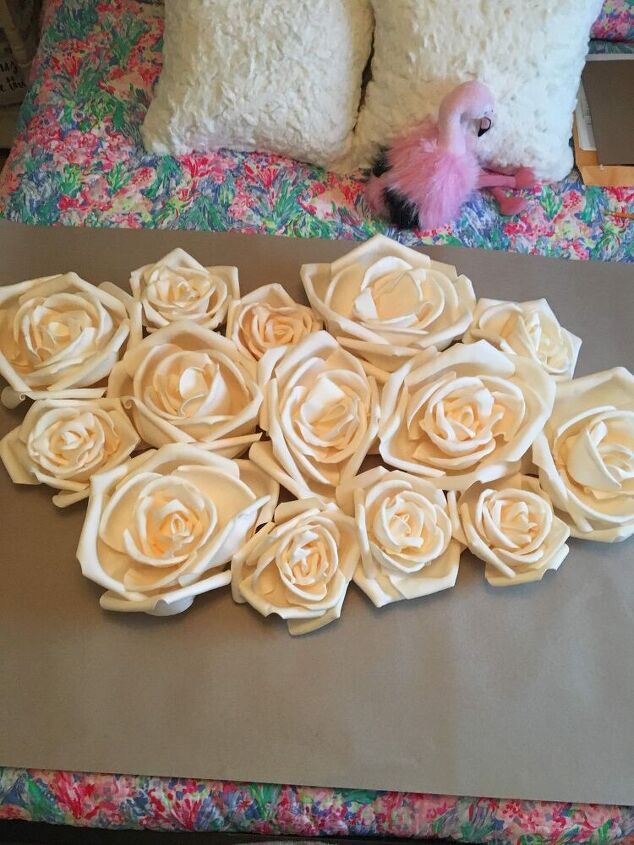
Step 1: Slide a piece of construction paper under the flower arrangement.
Step 2: Start tracing around the outside of the flower arrangement with a pencil.
Step 3: Once you have traced all the way around the flowers, take the pencil and poke holes through the back loop and into the construction paper. These small holes will help determine where the command hooks will be placed on the wall.
Step 4: Slide the flowers off of the construction paper (make sure to keep them in order) and cut out the outline of the flower arrangement.
Step 5: Tape the paper cutout to the space you'd like the flower arrangement to be. Make sure the paper is level.
Step 6: With a pencil, lightly make small marks through the holes of the paper onto the wall.
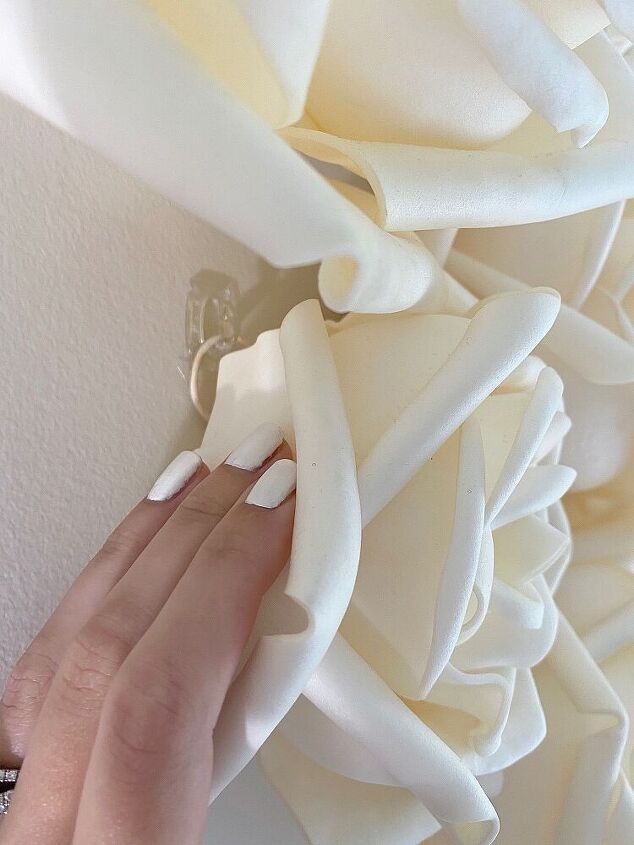
Step 7: Take the command hooks and hang them on the wall on top of the tiny marks. Follow the directions of the Command Strips and make sure to use the wall side of the sticker to stick the hook to the wall.
Step 1: Take the construction paper off of the wall.
Step 2: Start to hang the flowers on the hooks and follow the arrangement.
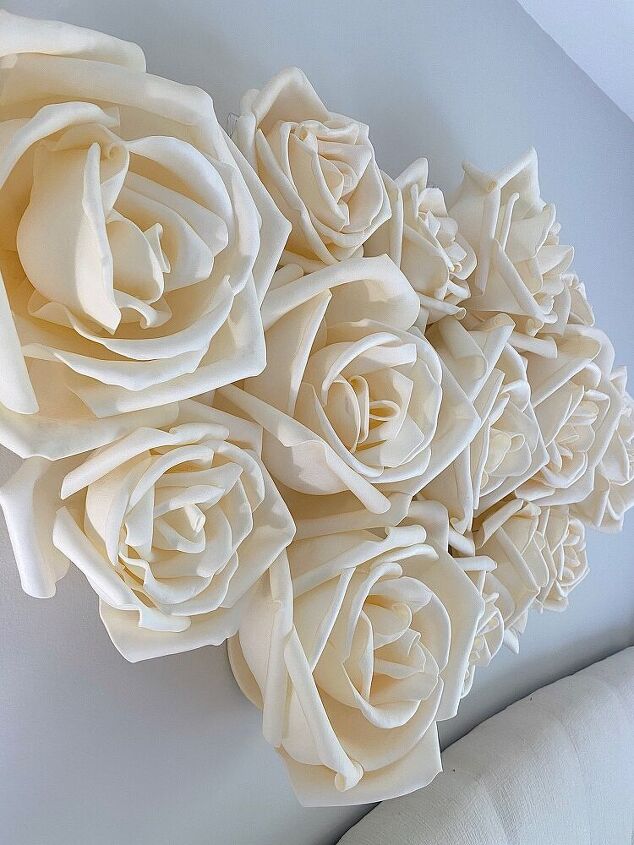
Step 3: Fluff the flowers if you see any spaces in between each flower.
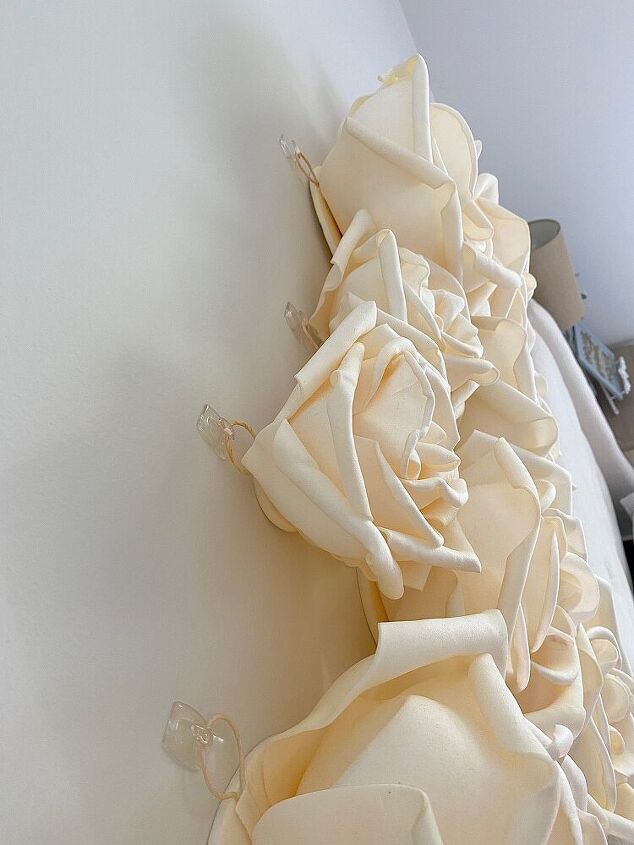
Top View (don't worry if you can see the hooks from the top. It won't be seen from far away and once the flowers have been fluffed.
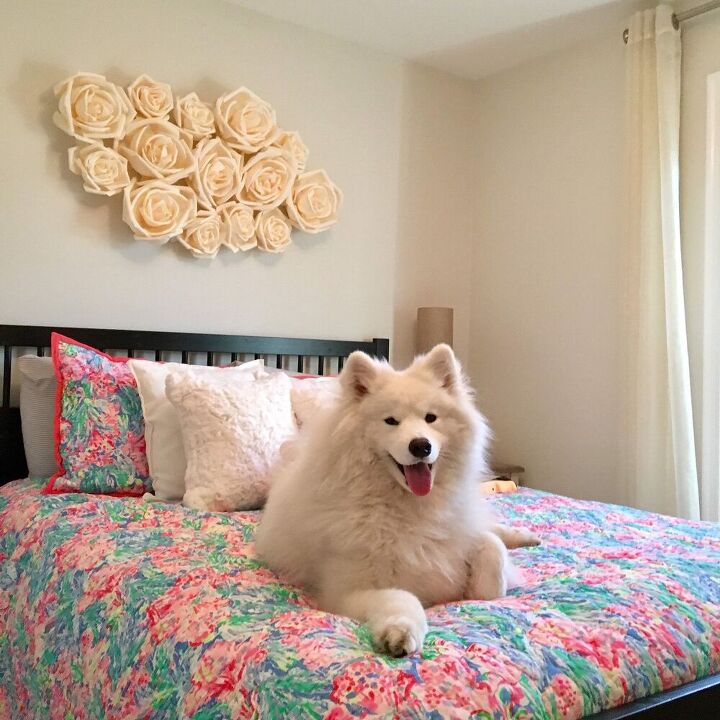
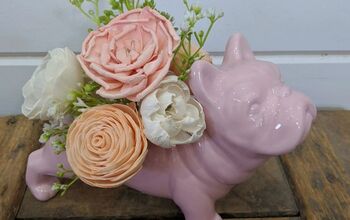
The bed has been updated since then but I couldn't help to include this cute photo of when I first completed the project. Betty approves of this lovely art statement piece.
Ooo la la!
So pretty.
Comments
Join the conversation
-
Prettiest little girl on 4 paws!🐾!🐾!
-
Alternate suggestion for renters: outline the arrangement very close to the flowers on a piece of thin poster board and attach the Command hooks to the poster board and hang the poster board to the wall. That way the entire arrangement can move with you if necessary.


Frequently asked questions
Have a question about this project?
Miss Thang on your bed doesn't like having her picture taken, does she????? She is gorgeous!
So how do you make the actual flower?
I love this project!! Do you put hooks on all flowers???