


Easy DIY Outdoor Throw Pillows
Hello! It's Jess from Jessica Welling Interiors. With Summer on the way, and everyone spending a lot more time at home, I think it's the perfect time to make your outdoor living spaces prettier and more comfortable! This project does involve a sewing machine, but rest assured, basic pillow are just about the easiest thing you can sew. Let's get started!
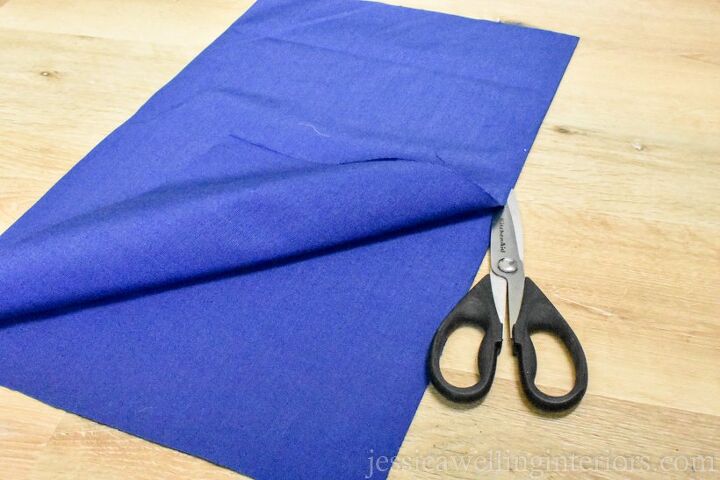
I started by folding my fabric in half and cutting two identical rectangles. I measured a lumbar pillow I already had and added a few inches to get the size I wanted.
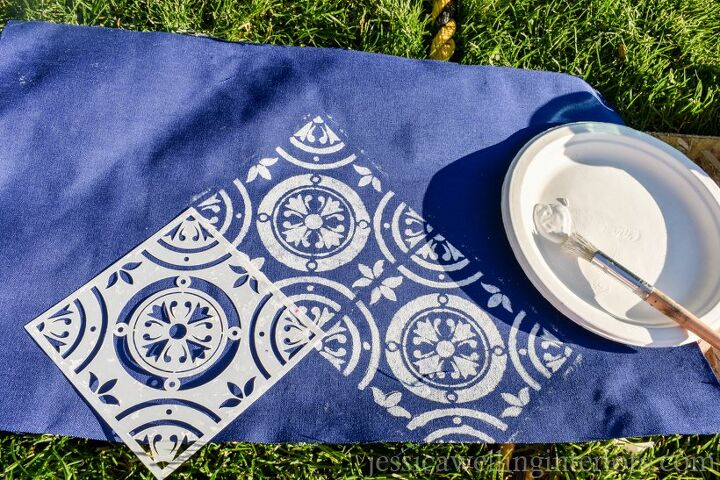
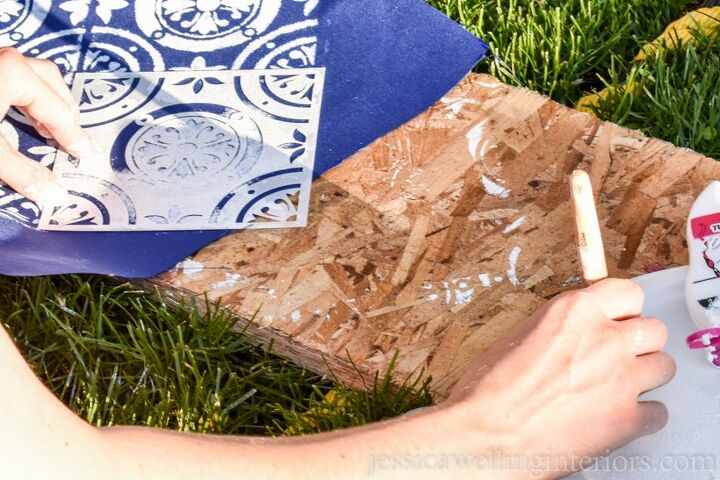
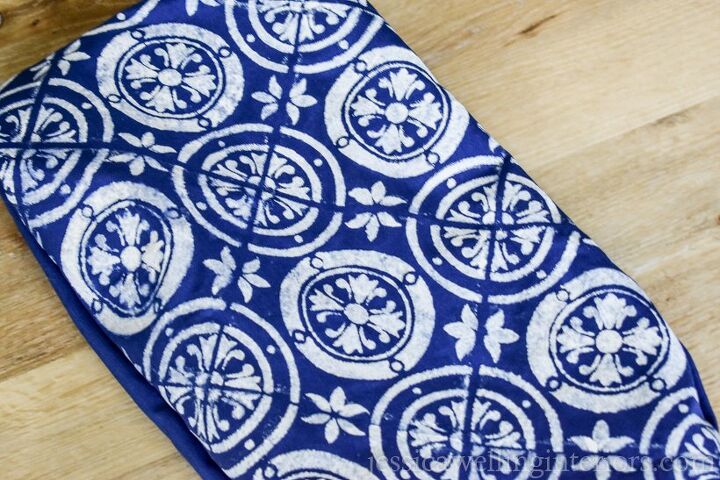
This step is optional. I used one of my favorite Moroccan tile stencils to create a pattern on one of the pieces of fabric. I always use a stencil brush, and hold it perpendicular to the fabric. I hold the stencil down with my left hand, and apply paint with a dabbing motion. You can't tell in this photo, but there's a piece of plywood under the fabric to create a hard work surface.
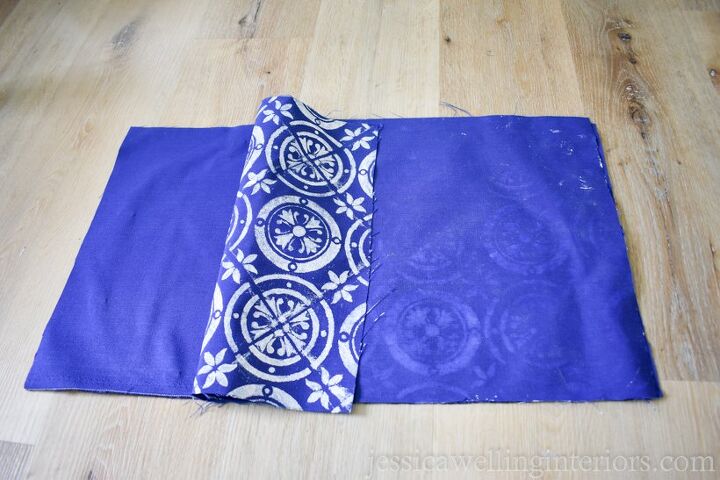
Once the paint is completely dry, place the two pieces of fabric right-sides together. My fabric doesn't really have a right side, except the piece I stenciled.

Place two pins 4-5" apart on one of the ends (see the two pins on the left side of the photo. The space between them will be left open so you can turn it inside-out and stuff it later. Place a few more pins around the perimeter of the fabric, making sure all the edges are lined up.
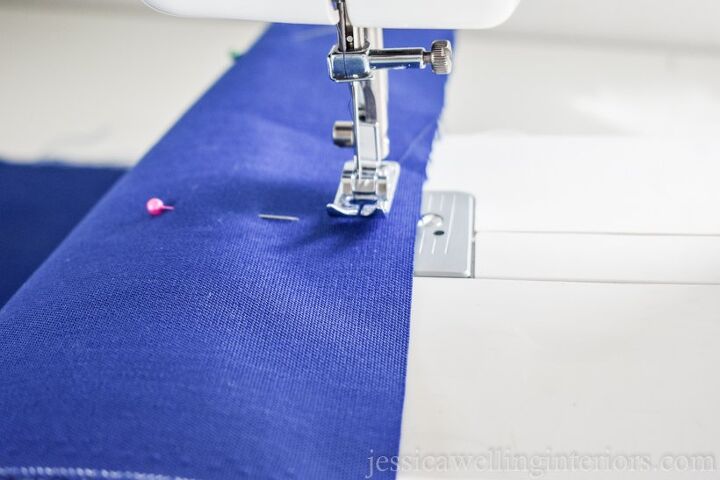
Use a basic stitch and begin at one of the perpendicular pins. Sew all the way around the perimeter, leaving a 5/8" seam allowance. Stop when you get to the second perpendicular pin.
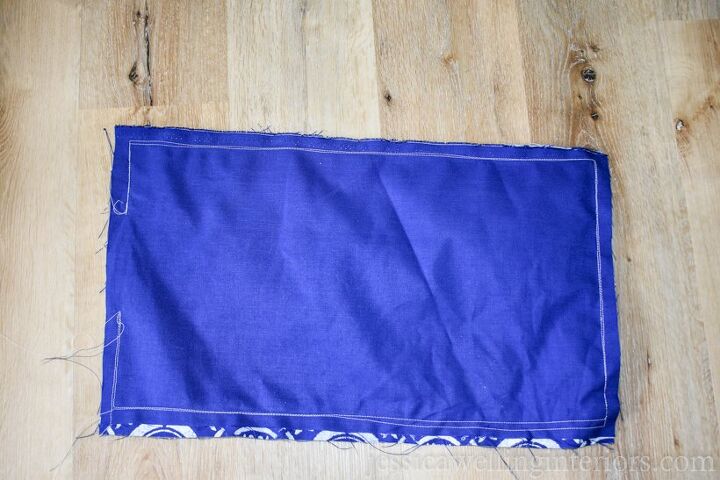
I like to reinforce my seam by running over the whole thing a second time.

Now it's time to turn the pillowcase inside-out. The stenciled pattern should be on the outside.
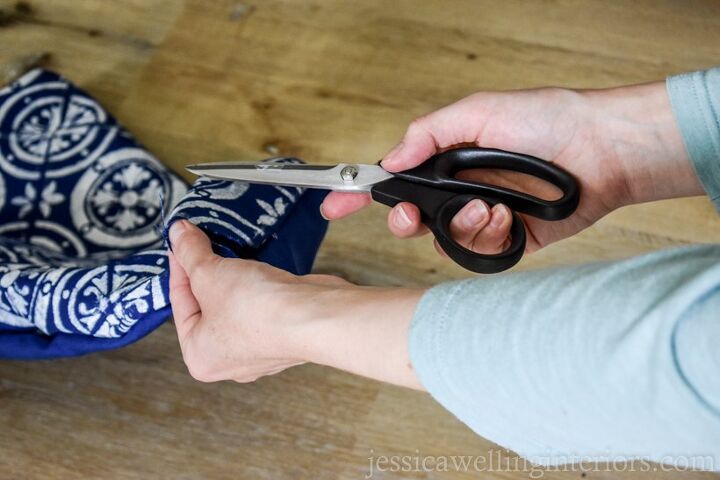
I like to use something pointy like a closed pair of scissors or a pen to poke into the insides of the corners and get them all the way inside-out.

Now stuff the pillows with polyester fiber-fill batting to the desired firmness.
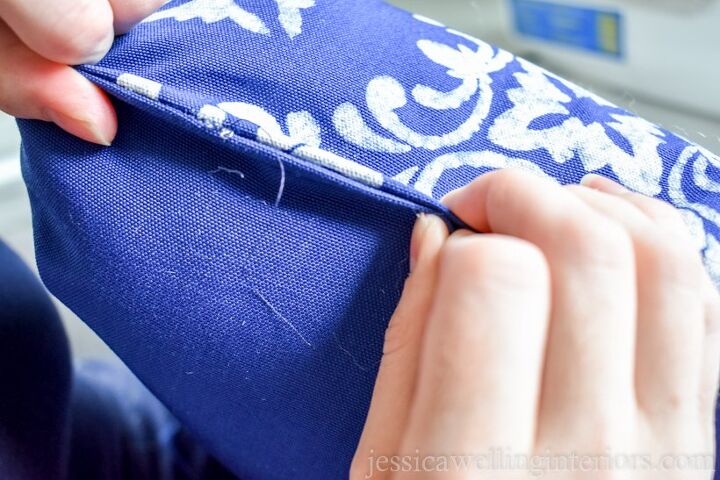
Now tuck the two exposed edges inside and pin the sides together across the opening.
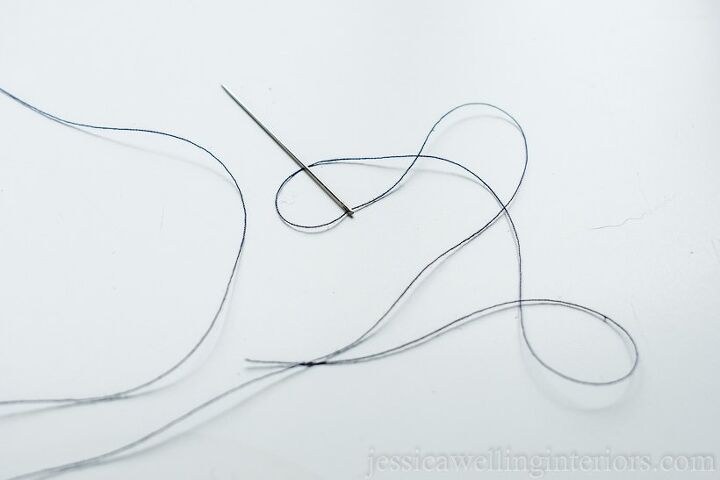
Now thread a needle and hand-stitch the opening closed. Be sure to tie off the thread when you're finished.
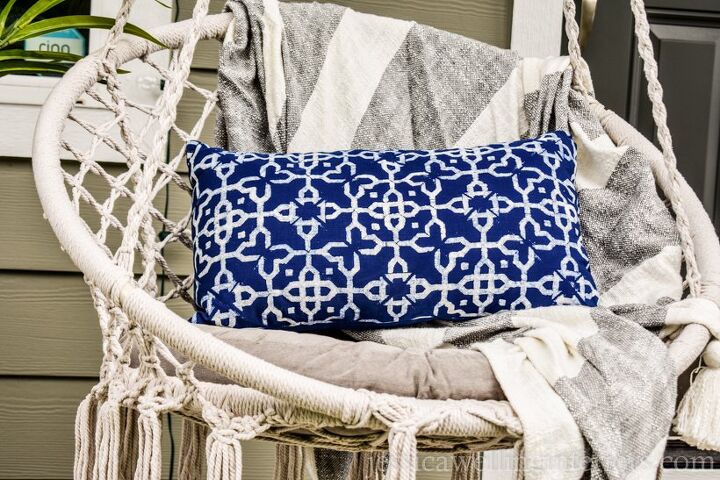
Now put your new cushion on your favorite patio chair, make yourself a mojito, and grab a good book. At least that's what I'm going to do!
I do want to note that these pillows are not designed to be left out in the rain repeatedly, though a few times shouldn't hurt them. Here in Seattle, where Summer rain isn't uncommon, I mostly use my outdoor pillows in covered spaces, like the front porch and gazebo.
I'm totally obsessed with stencils right now, and I've made a roundup of my favorites, including the set I used for this project. You can check it out HERE. And I would love for you to come see the rest of my brand new boho front porch makeover too!
Resources for this project:
See all materials


Frequently asked questions
Have a question about this project?
How did you keep the acrylic paint from running? I know from experience that it tends to run when it gets wet, especially on material if you don't use vinegar to set it, or use fabric paint.