


Repurposed Tin Lid Wreath
It took a while to collect all these can lids because a lot of the tin goods we buy have pull tabs. It was so fun to make each tin lid it's own work of art!

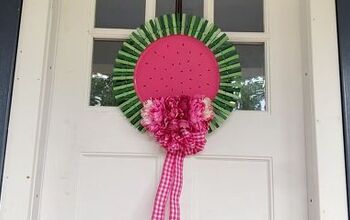
Upcycled tin can lids brighten your door with a wreath that will last for years to come.
I like to use unexpected craft supplies and I used fingernail polish to paint the leaves.
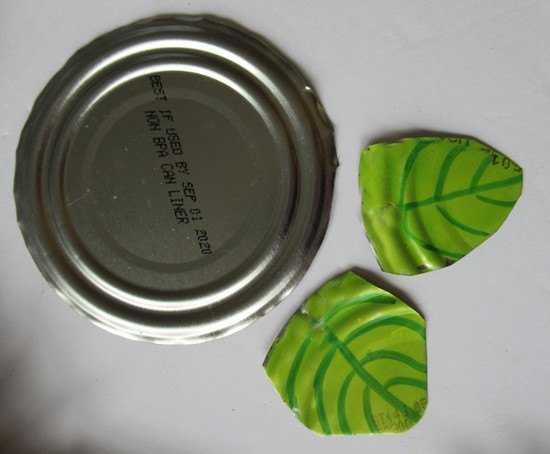
Cut the lid in four pieces and round the edges to leaf shapes. After the fingernail polish is dry, use a green paint pen to make the veins.
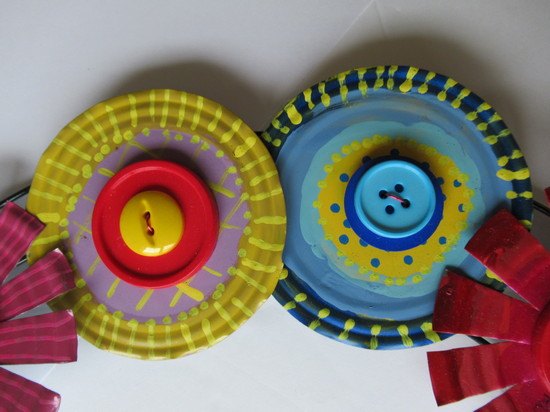
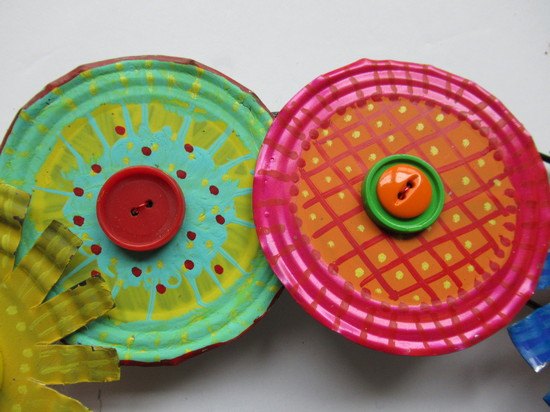
Make each flower design different using acrylic paint and paint pens and topping each center with a combination of colorful buttons.
Use an awl or drill to make holes for the wire that holds the buttons on. Cut the wire long enough to have a "tail" to twist on to the wreath form.

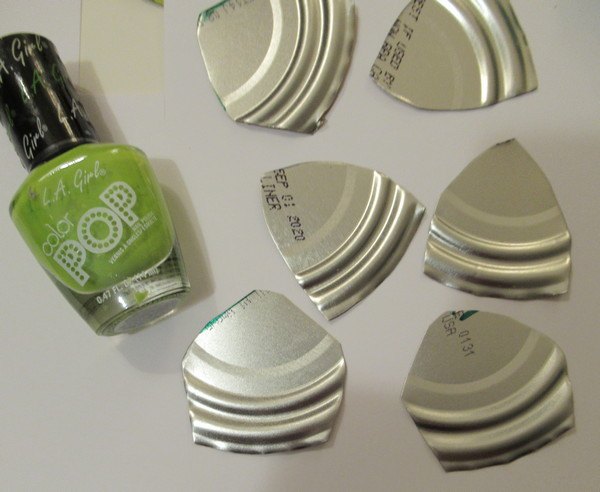
Cut wedges out of some of the larger tin can lids to form flowers.
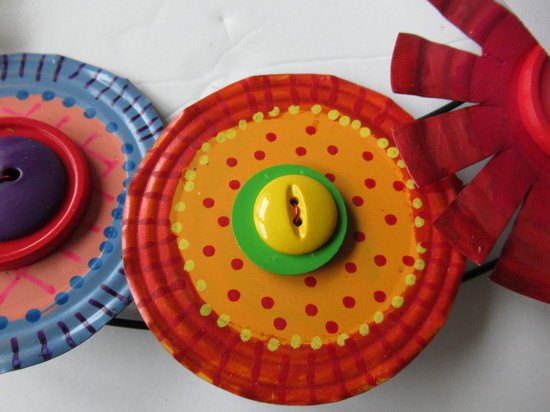
Try for whimsy with the paint pens with dots and stripes or swirl shapes.
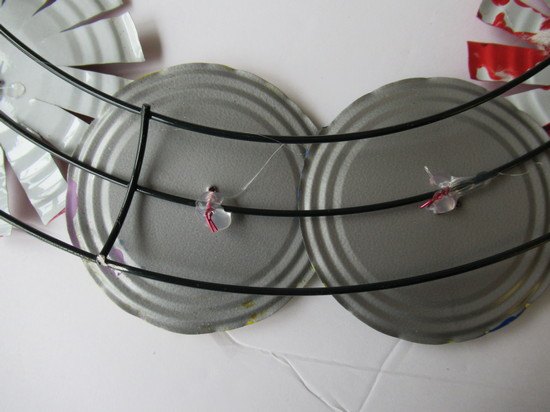
Twist the tail of the wire you use to hold on the buttons unto the wire form. Squirt some hot glue to hold the wire securely to the wire form so it stays in place. I used a combination of hot glue and E6000 to attach the leaves to the backs of the flowers.
Comments
Join the conversation
-
I LOVE your wreath. The colors are SO vibrant and perfectly highlighted. This is one of the coolest recycles I have seen in quite a while. You have inspired me to get in gear.
-
This would be so much fun to make. Thanks for the inspiration!


Frequently asked questions
Have a question about this project?