


How to Make a Pretty DIY Gold Leaf Dish
I had so much fun making a DIY gold leaf dish and couldn’t wait to share the easy tutorial with you!
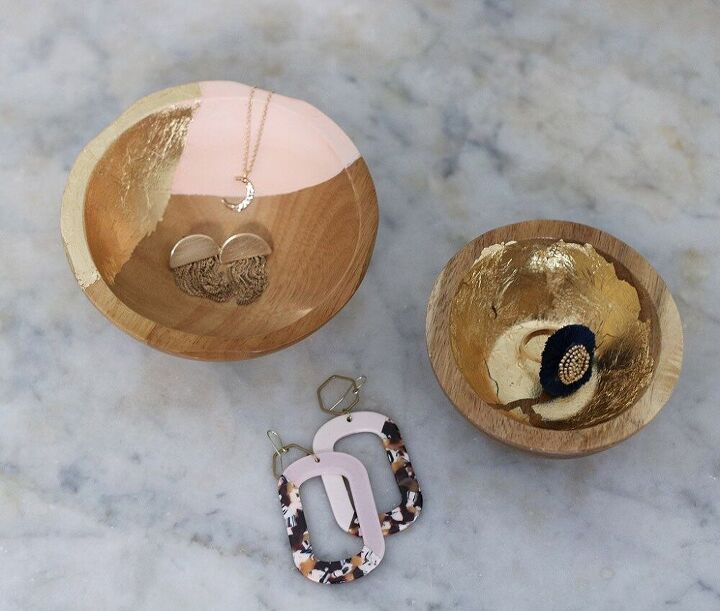
These cute and colorful dishes work perfectly to organize and display your jewelry, keys, you name it! And you know what? They’re so easy to make and are a great and affordable gift idea for friends!
I’ll show you just how easy this DIY gold leaf dish was to make.
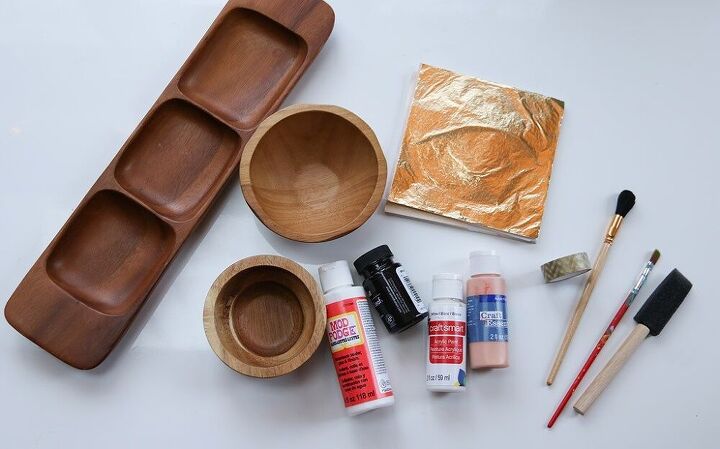
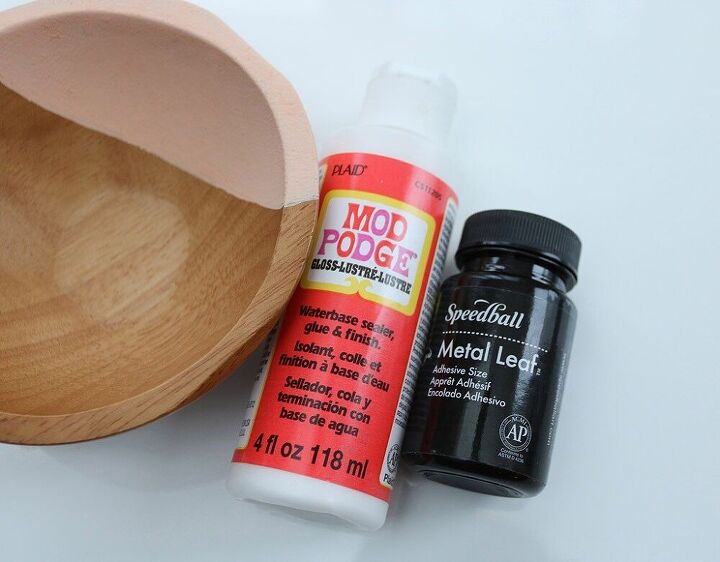
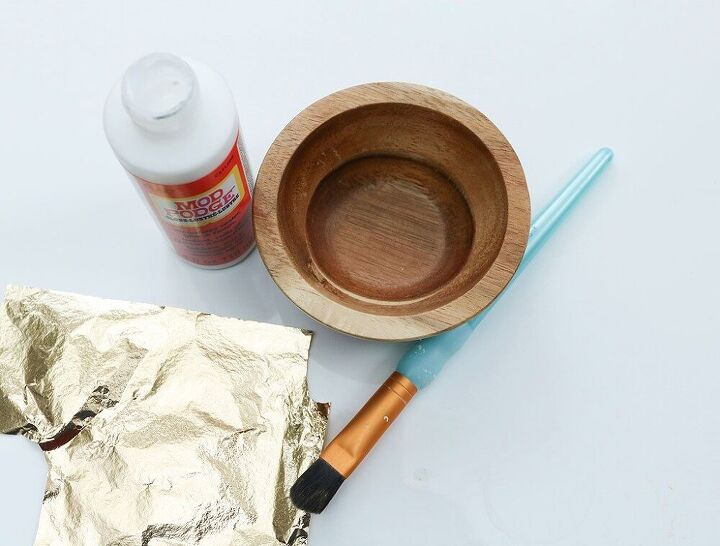
Here are the supplies you’ll need:
• Wooden bowls, trays, etc
• Gold leaf (or metallic gold paint)
• Gentle Gold leaf brush
• Mod podge (or gold leaf adhesive)
• Acrylic paint
• Paint brushes
• Painters tape (optional)
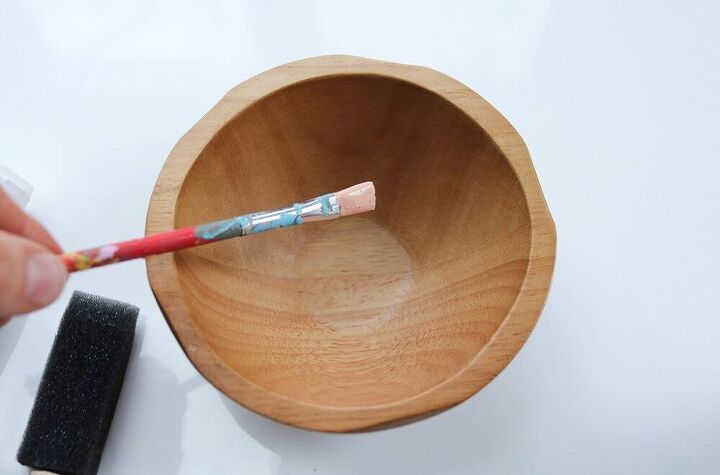
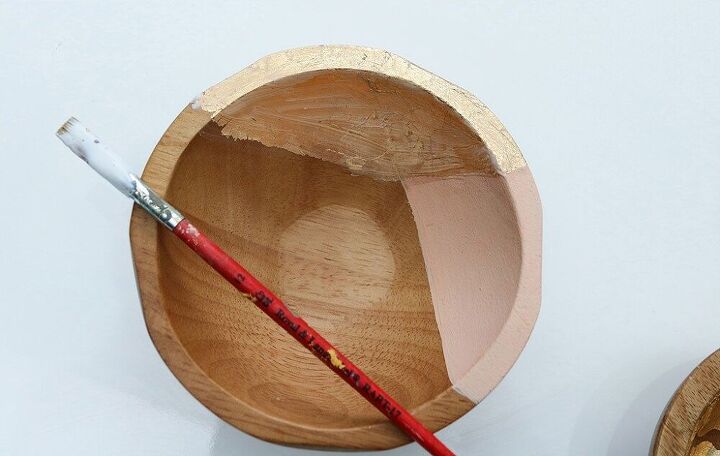
Grab a wooden bowl, some acrylic paint, and a brush.
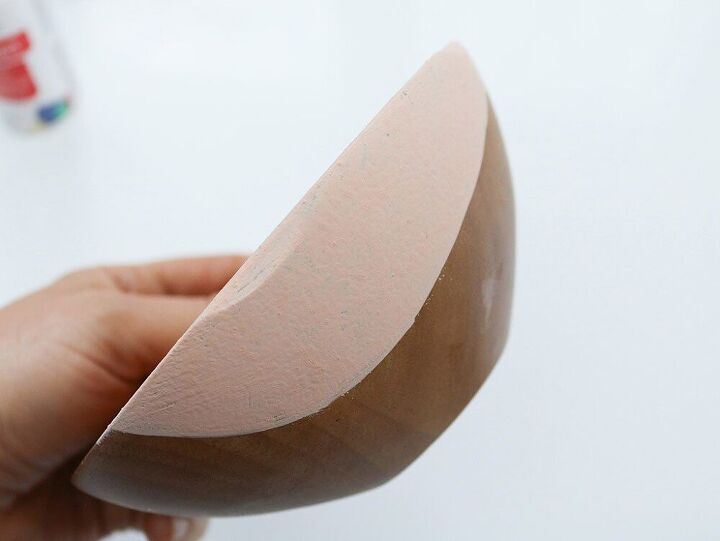
Hand paint some paint on one section of the bowl. I chose to hand paint this shape, but you could also free hand it like it did.

Let the first coat dry and paint another two to three coats of paint until you’re happy with the result.
Let the paint fully dry.
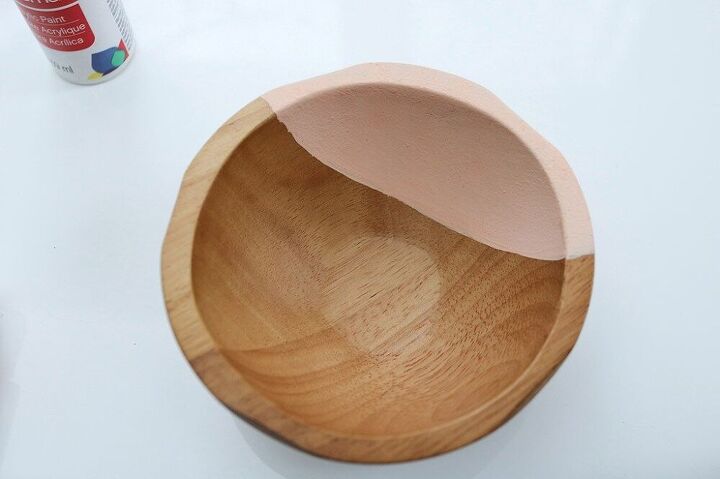
Here’s a side view.
I wanted my gold leaf paper to overlap the paint for a layered look, so I took a paint brush and painted some Mod Podge in an overlapping pattern.
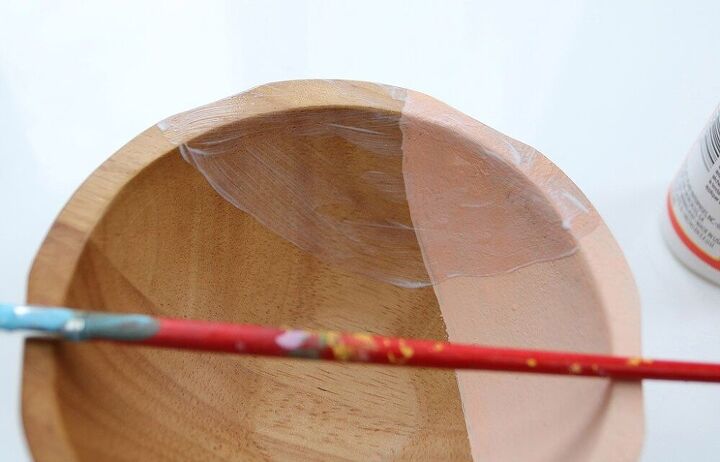
Both Mod Podge and metal leaf adhesive works.
I chose Mod Podge because it takes less time to get tacky, which is the ideal time to brush on the gold leaf.
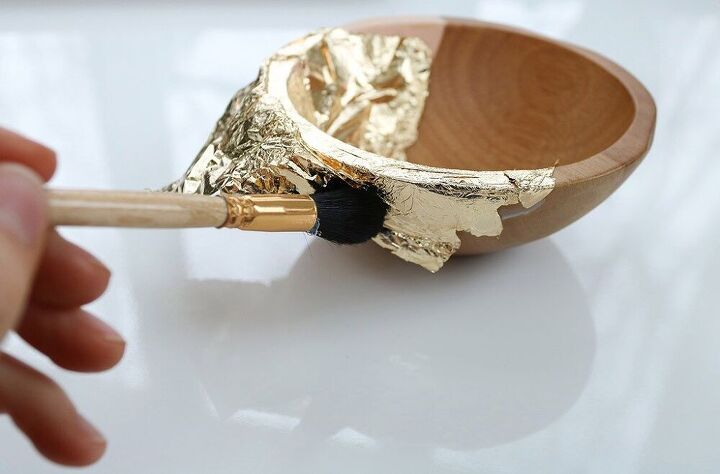
Once the Mod Podge got tacky, I used my hand to apply the gold leaf and accompanying wax sheet.
I like to use my hands to push the gold leaf onto the tacky glue, then remove the top layer of paper.
I used my fingers to gently push the gold leaf onto the glue a little further.
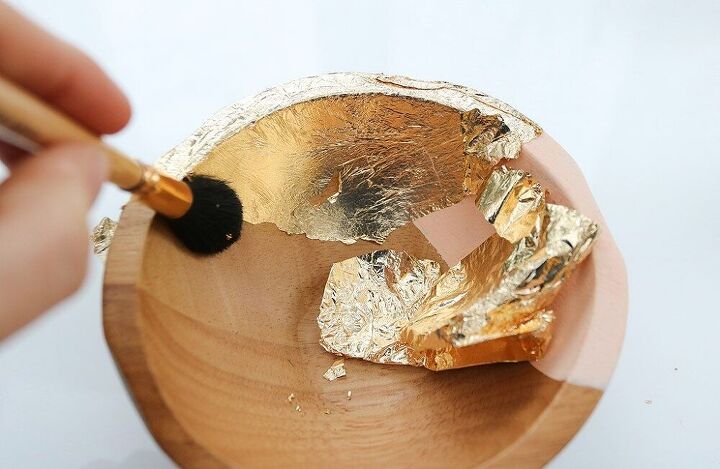
Then I took my golf leaf brush to smooth over the whole area and gently wipe away any excess golf leaf.
I paid extra attention to the edges and didn’t mind that the edges were rough and a bit organic in areas.
I paid extra attention to the edges and didn’t mind that the edges were rough and a bit organic in areas.
Next I smoothed the gold leaf section as much as possible, but didn’t worry about any imperfections. I like the organic look of the gold leaf being imperfect.
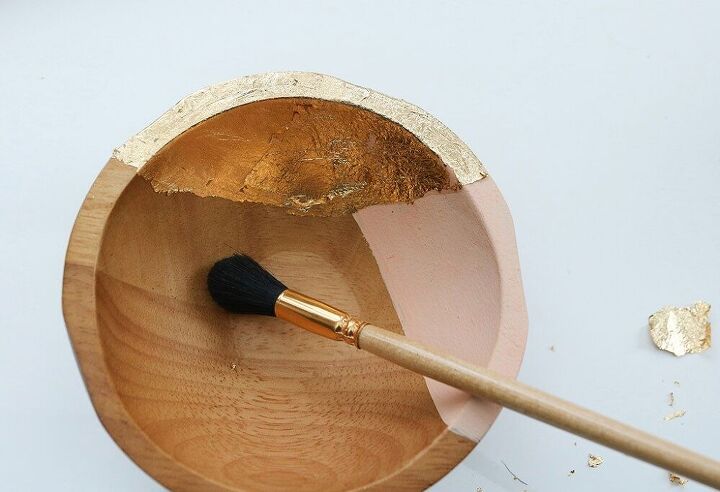
Then I worked my way to the outer edge.
Once the gold leaf was perfected, I gently brushed over the leaf with some Mod Podge to seal it to the bowl.
I then let it completely dry.
Once dry it was sturdy and had a shiny gleam to it.
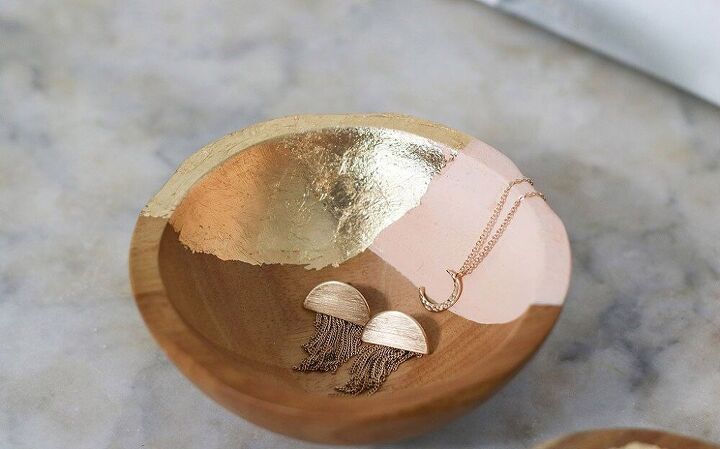
I love how my DIY gold leaf dish turned out!
Let’s try another DIY gold leaf dish
I decided to do one more wooden bowl with gold leaf on the inside instead of on just one side.
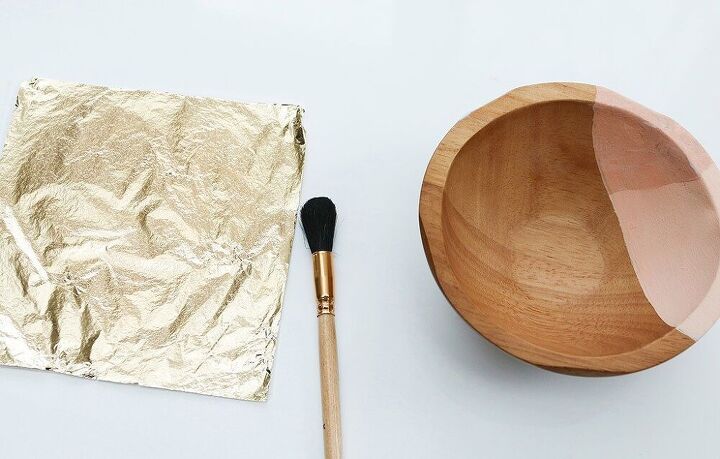
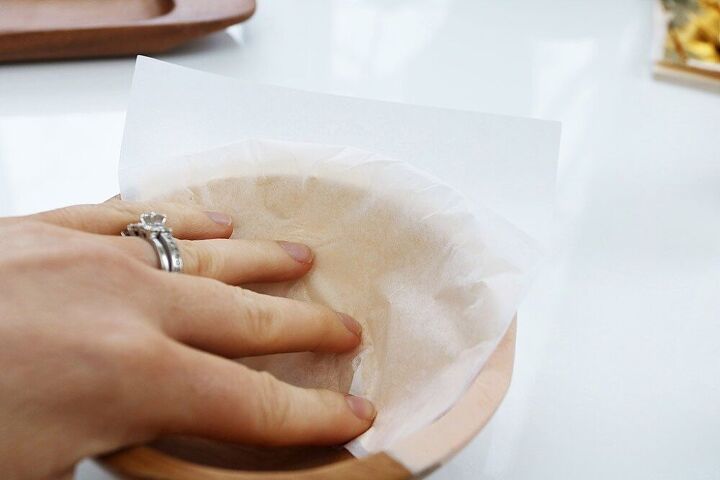
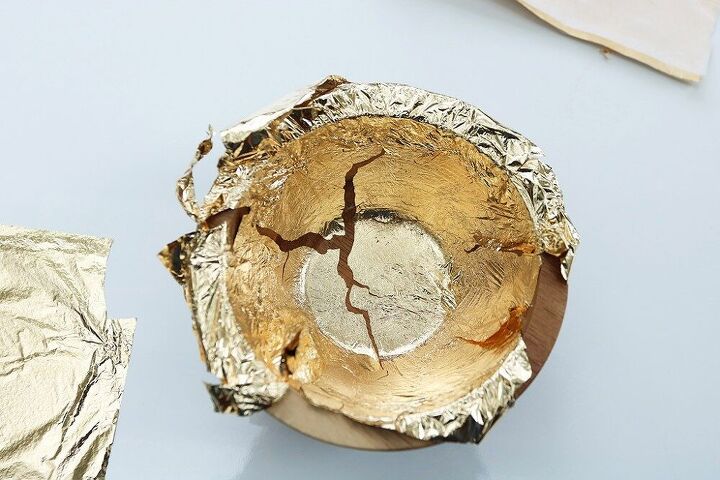
I gathered a smaller wooden bowl, a sheet of gold leaf, Mod Podge, and a gold leaf brush.
Using my paint brush, I painted some Mod Podge onto the inside of the bowl.
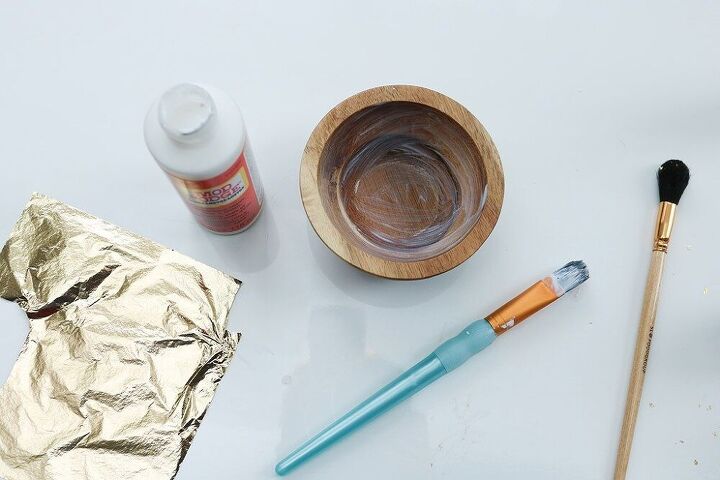
About 3-5 minutes later, once the glue was tacky, it was time to add the gold leaf.

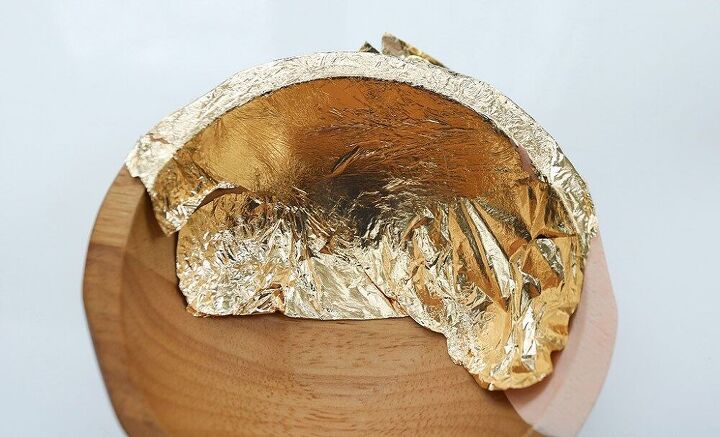
I used my hands to apply the gold leaf sheet and the top sheet that came with it.
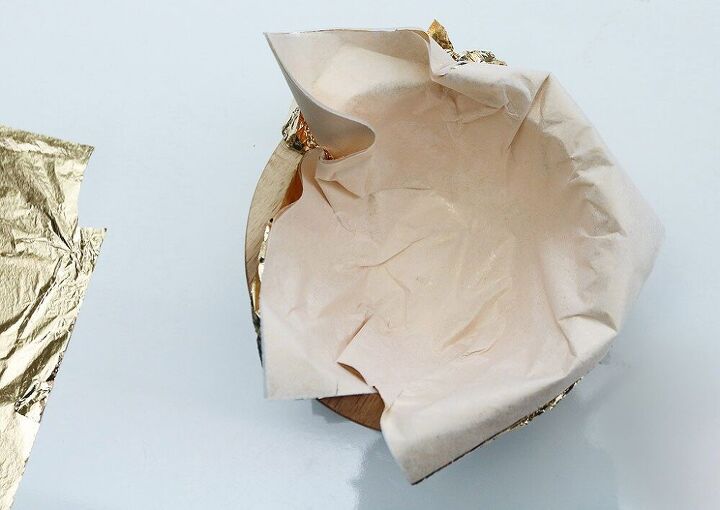
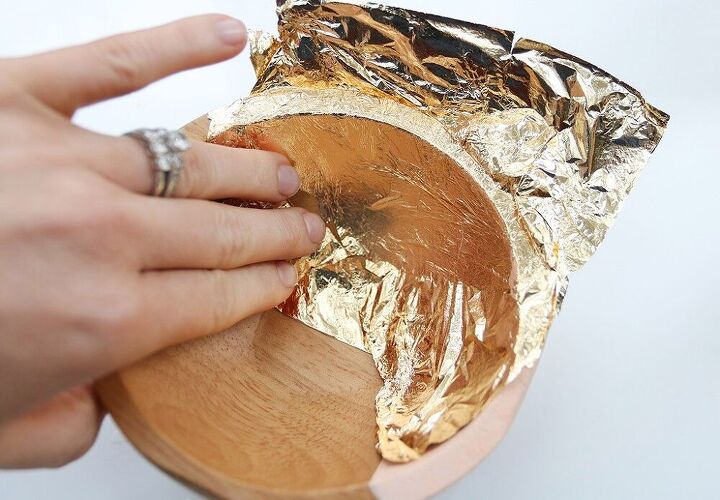
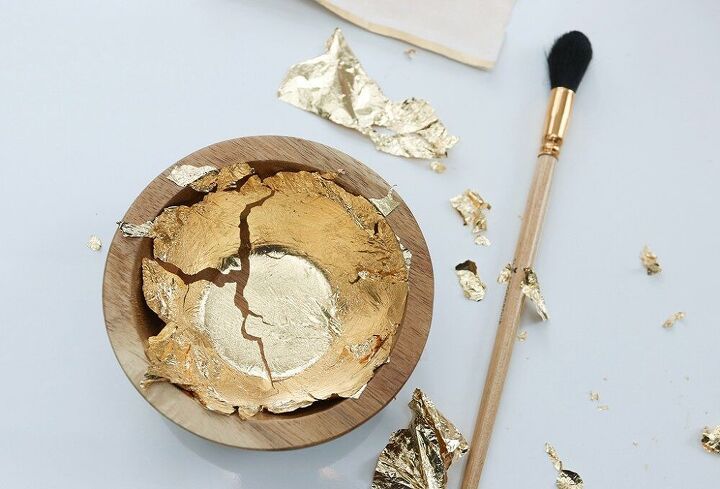
I pressed firmly over the whole area until the gold leaf was mostly attached to the glue.
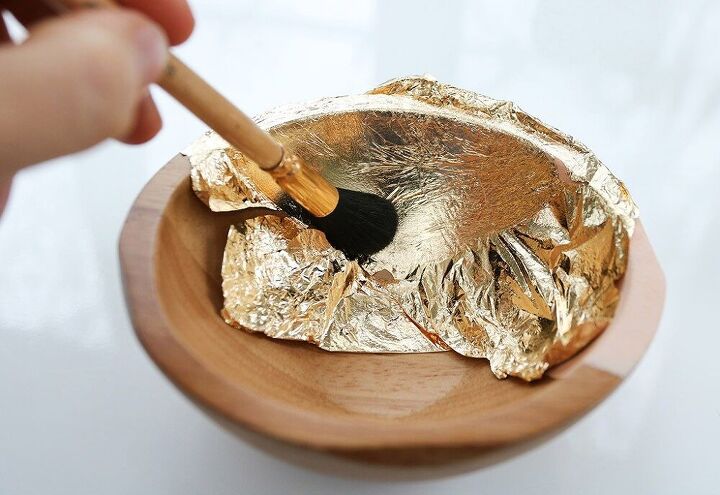
Once I was happy with the look, I took my gold leaf brush to clean up the edges.
I then applied a coat of Mod Podge to the top of the gold leaf to secure it to the bowl and to seal it.
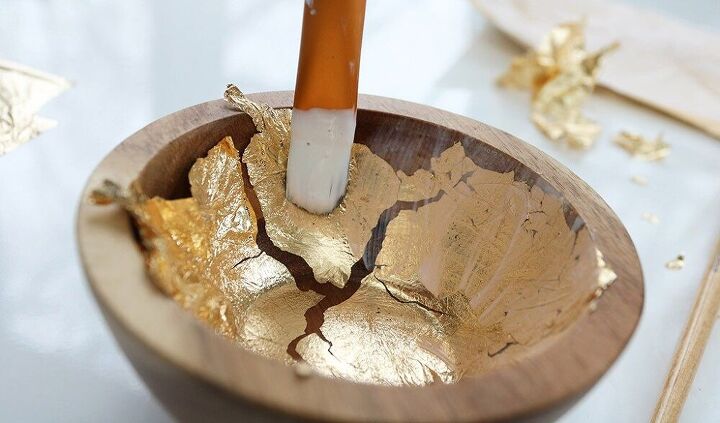
I ensured that the gold leaf was completely coated in Mod Podge.

Once fully dry, the golf leaf was completely sealed and ready to use.
I followed the same steps on a DIY gold leaf tray for a Hometalk TV segment and here’s a peek at how that DIY turned out!
On the tray I did one crisp painted side and decided to do an organic gold leaf side. I like the juxtaposition. I’ll share the video tutorial once it goes live.
Pretty big bang for the buck on this $2 thrifted tray!

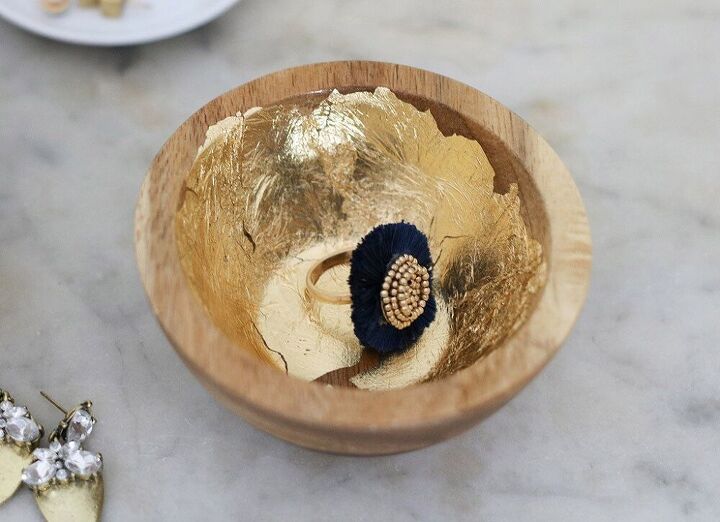
I love the bowls mixed in with a DIY ring dish I made a couple years ago.
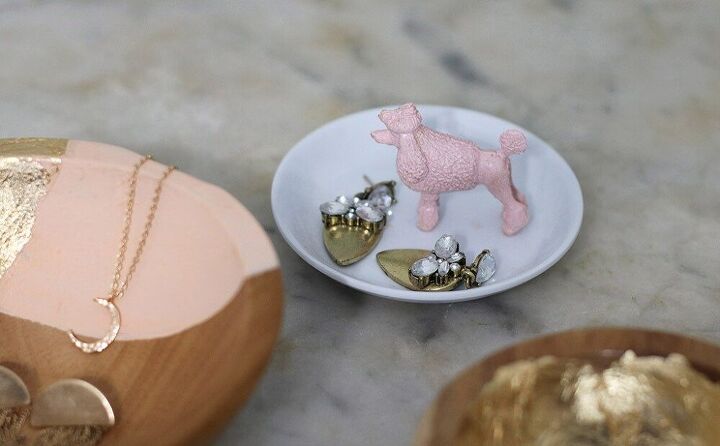
I love storing and displaying my jewelry in these bowls.
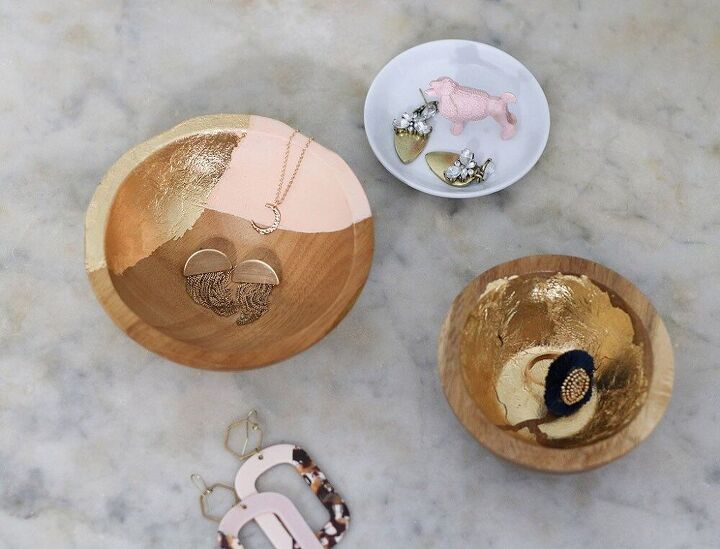
They all go well together. I adore the poodle, but made quite a few with other dogs and of course a flamingo. 🙂
Wanna make one or two for yourself? I highly recommend it!
They’re so quick and easy and would make the best gift for a teacher, Mother’s Day, or any friend gift.
If you make a DIY gold leaf dish or anything similar I wanna see how they turn out, so be sure to tag me in your Insta, Twitter, or Facebook photos.
Resources for this project:
See all materials


Comments
Join the conversation
-
These are adorable. Hard to go wrong with gold leaf!
-
I love this idea! Do you know if the Gold leaf will work on cement? I’ve made some cement bowls and thought the Gold leaf would really compliment the cement.


Frequently asked questions
Have a question about this project?