


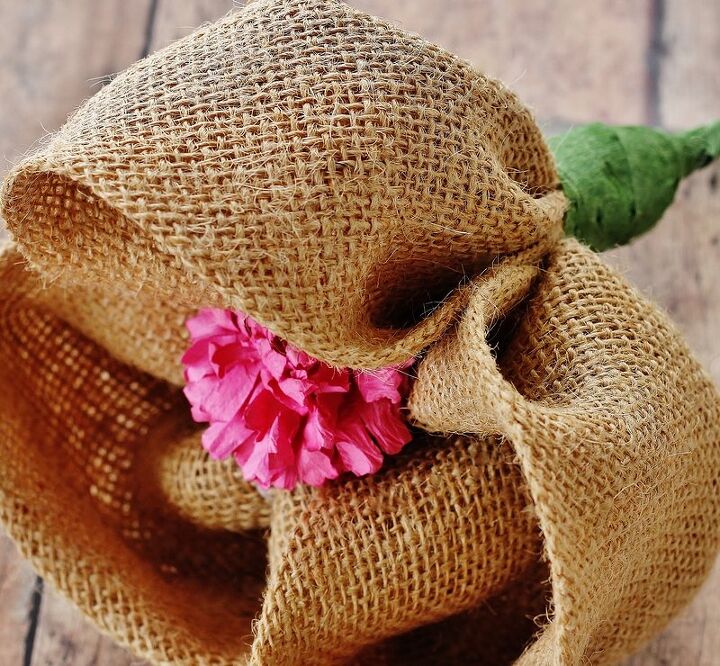
DIY Burlap Flower Project

I love flowers.
Any kind of flowers make my heart happy.
I love decorating with fresh flowers, but they fade so quickly. Sometimes it's fun to make your own flowers instead that last and last.
Here's a fun flower project I made with burlap.
See the step-by-step instructions below.

Supplies
Supplies:
8 inches of coat hanger or heavy gauge wire
florist tape
burlap
flower center
scissors
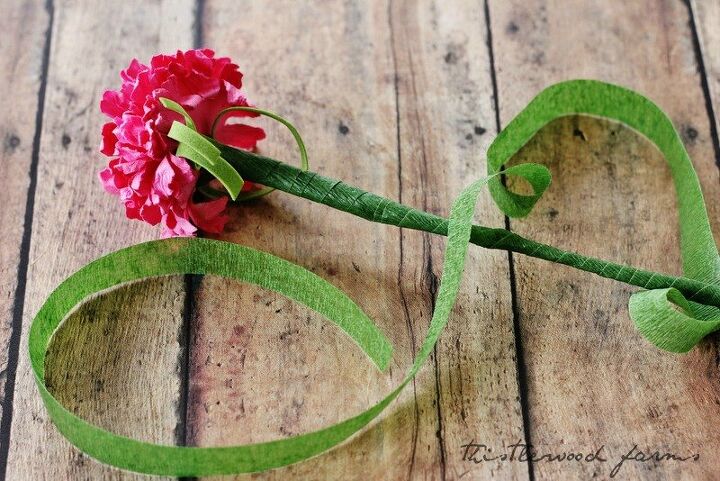
1. Create the center of the flower
Place one of the small pink silk flowers on the tip of the coat hanger and wrap end with florist tape.
Continue on down the wire until you have completely covered the wire with tape.
This is the center of your flower.
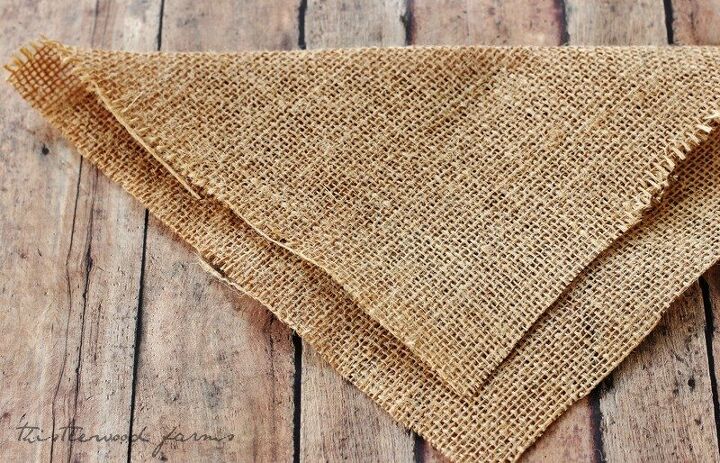
2. Make a burlap square
Cut three squares of burlap into 7" x 7" pieces.
These pieces are going to form your petal.
Fold burlap in half, leaving about a 2 inch edge as shown.
Iron.
Ironing the burlap gives the burlap a nice crisp edge for the petal.
Trim away any excess strings of burlap.
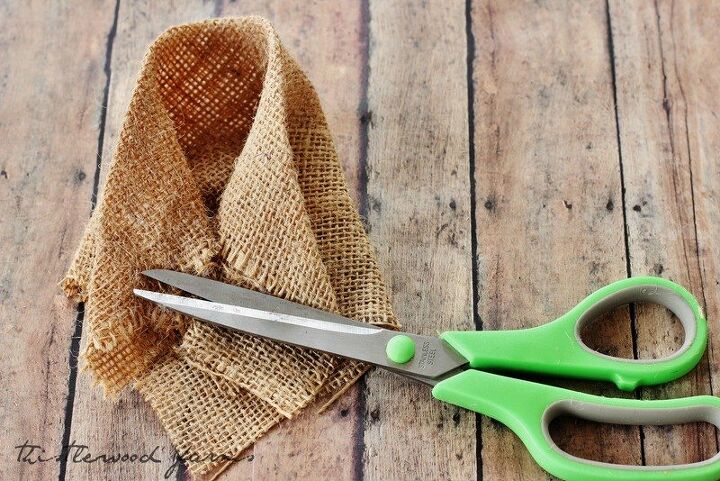
3. Form the burlap square into a petal
This is easy to do and super hard to describe.
Bring the edges of the triangle together to make a loop in the burlap as shown.
Trim any excess burlap off the base of the petal.
It's much easier than it looks.
It's almost like the burlap wants to become a petal.
Maybe it is a little tired of all those curtains.
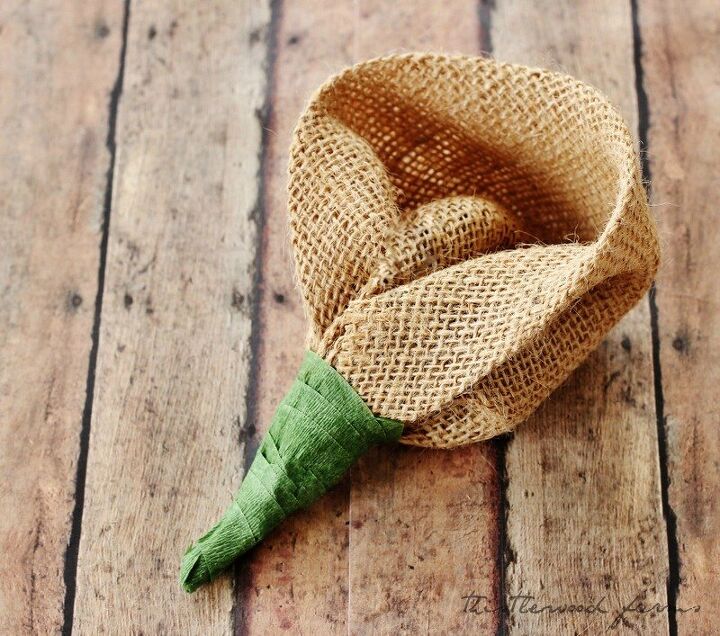
4. Wrap florist tape around the petal
Tightly wrap a piece of florist tape around the base of the gathered burlap.
Try to make this as compact as possible.
You have three petals to fit on your flower and you don't want a big glump (a completely professional florist term) at the base of the flower.
Repeat step 4 and make two more petals.
5. Add petals to wire stem
Place all three petals around the flower that you taped to the coat hanger.
Wrap florist tape around all three petals to form a flower.
If the petals need a little extra support, use some hot glue to bind the base of the petals together.
Get some tips on how to make artificial flower arrangements.

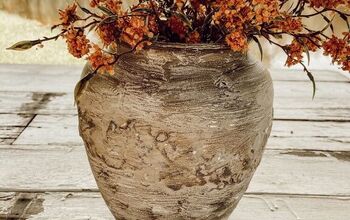
Here's the finished flower.
You can repeat the process to make a bouquet of these or you could just add one flower to a small vase.
The best thing about these flowers?
They will last forever.
Or at least through spring!
If you'd like to see some more flower projects, here are a few of my favorites:
Resources for this project:
See all materials


Comments
Join the conversation
-
I am like you, don't really have time to take care of fresh flowers or change them out. Love your burlap and flower project. Very pretty.
-
I think you could make a nice wreath from these too....


Frequently asked questions
Have a question about this project?