


DIY Your Fourth of July Decorations With These Patriotic Porch Firewor
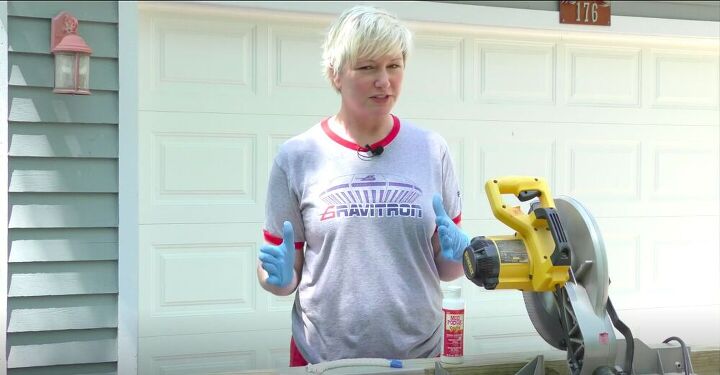
Get your porch ready for July 4th with these patriotic porch fireworks! Your front porch is a great place to decorate for the holidays, and I love decorating mine for the Fourth of July! These Americana fireworks are a simple way to decorate and only take a few hours to make. Using basic tools and materials I created some simple decor with maximum effect. This decor is also easy to store during the rest of the year, so they won’t take up too much space. Follow my step-by-step tutorial below to make your own in no time!
Tools and Materials:
- Rope
- Mod Podge Stiffy
- Lumber
- Tape measure
- Pencil
- Miter saw
- Electric drill
- Painter’s tape
- Spray paint (red, white, and blue)
- Butcher paper
- Glue gun
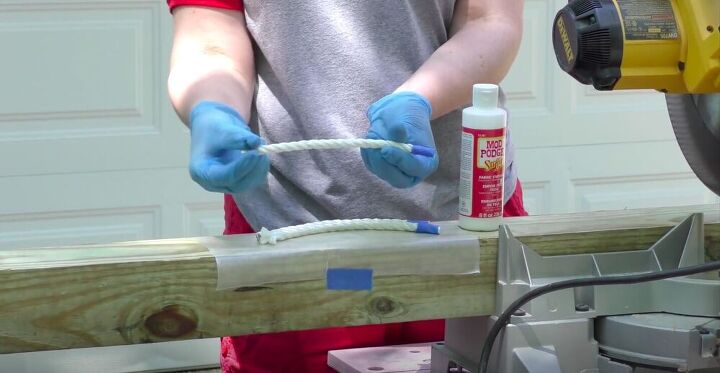
I started off by cutting the rope to the length that I wanted.
Tip:
Wrap the ends of the rope in masking tape before you cut. This stops it from fraying and gives you a nice, crisp edge. We’re also going to be threading the rope through a hole later and this will make it easier to do.
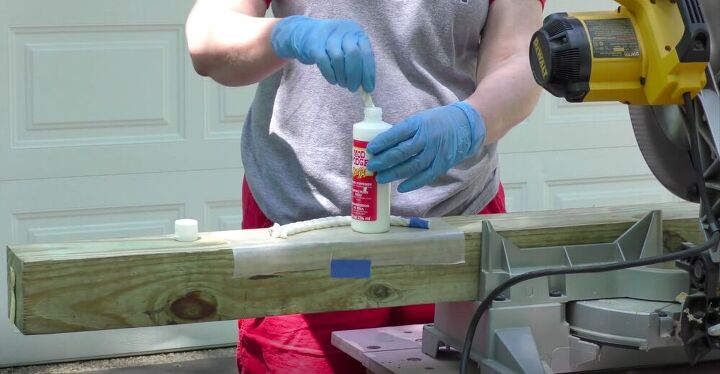
Next, I took the lid off of the Mod Podge stiffy container and dunked the entire piece of rope into the glue. Remove the excess, but make sure to leave enough to completely cover the rope.
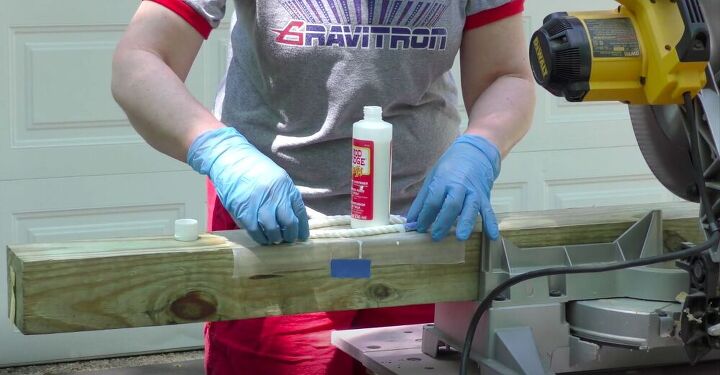
Then I lay them on a piece of wax paper to dry. Wax paper works well as it won’t stick to the rope and will be easy to remove once it dries.

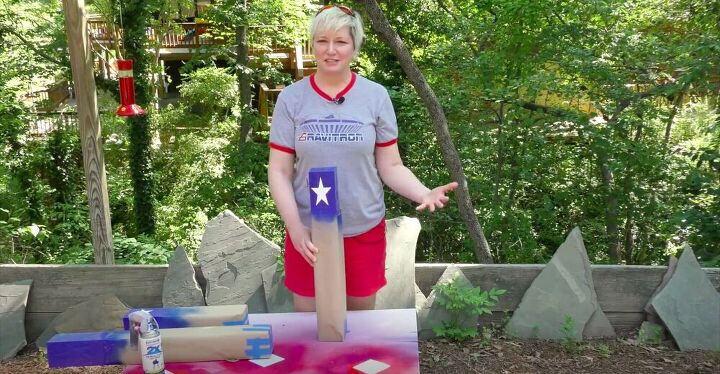
I happened to have a six foot piece of lumber so I did some math and determined that I could make three fireworks; 18 inches, 24 inches, and 30 inches long. Using a tape measure, I marked off the correct measurements on my piece of wood.
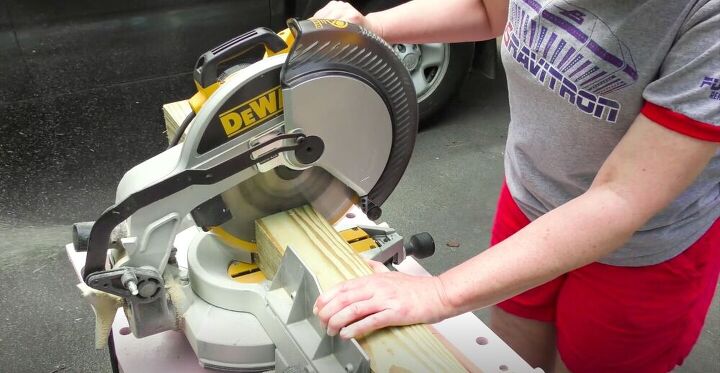
Once I had marked them I went ahead and cut them with a miter saw. Please remember to exercise all safety precautions when working with power tools.
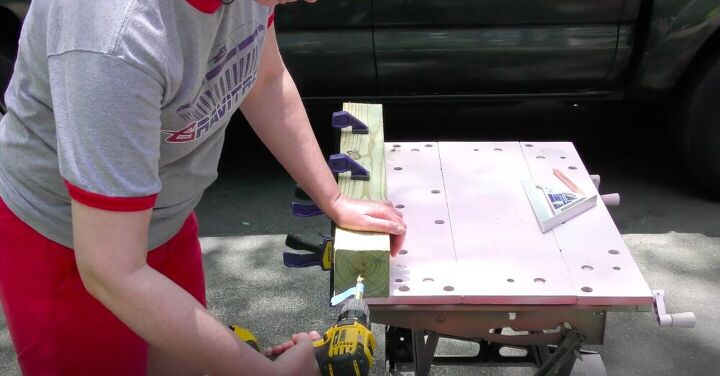
With all my pieces cut to size, I found the center of the top and drilled a hole to insert the wick into later. It was easy to find the center by measuring from corner to corner and marking off where the two lines met.
Tip:
When drilling to a specific depth, add a bit of tape to your drillbit so that you know when to stop.
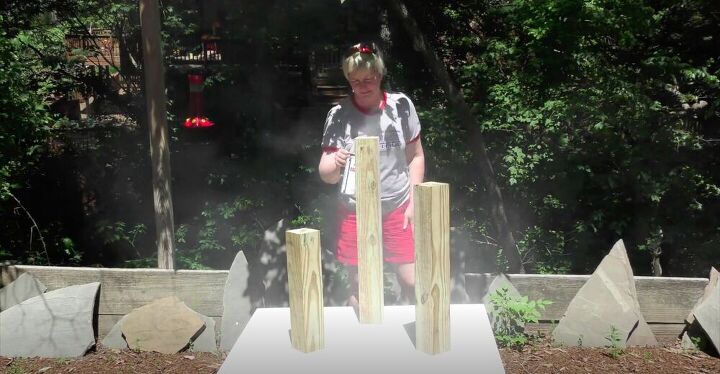
Boy do I love spray paint! Spray paint will make this step quick and easy. I also like to use a spray gun attachment so that my fingers don’t get too tired while holding down the nozzle. I set the three pieces of wood outside and sprayed them with a coat of white spray paint. Before you move on to the next painting step, make sure that they are completely dry. We’ll be taping off a design and if the paint isn’t completely dry, the painter’s tape will end up removing some of the white paint.
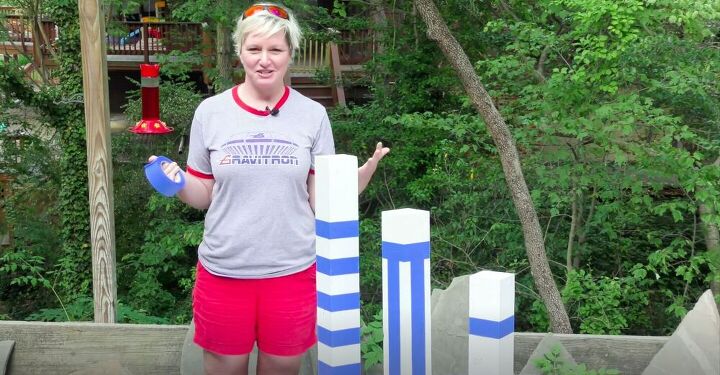
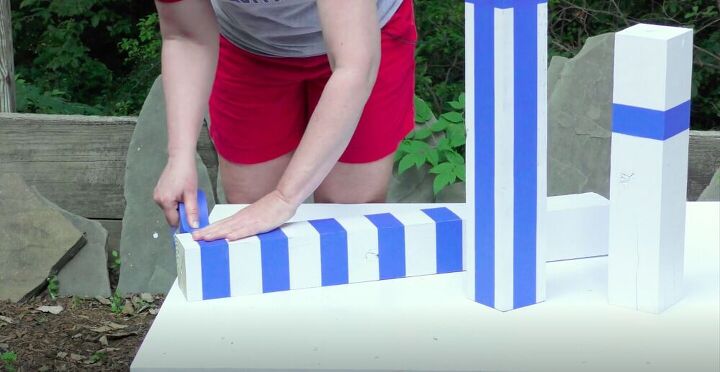
Once everything had completely dried, I taped off a design. I wanted to vary them a bit, so I did one with horizontal stripes, one with vertical stripes, and one with just one horizontal stripe.
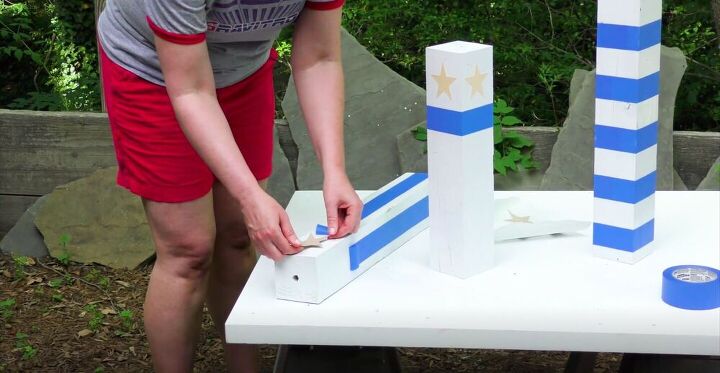
I also used some star stencils for this project. I made my own, but you can easily find them at your local craft store. I wasn’t worried about the stars being perfectly placed as I wanted this project to look homemade.
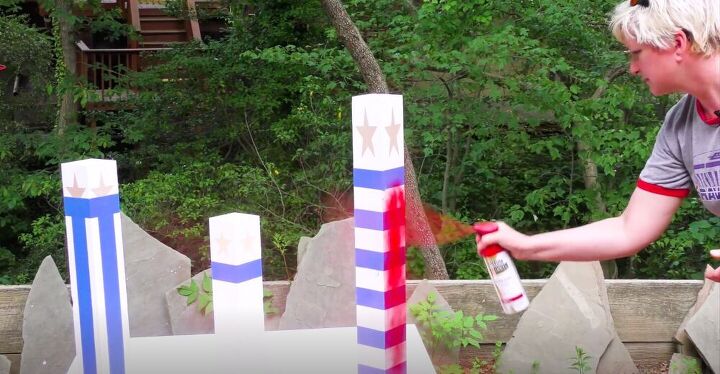
With my design in place, I was ready to spray paint in the next color. I sprayed all of the stripes with red spray paint and then let it dry a bit. Don’t worry about any paint getting where the blue paint will be, as it will cover it in the next step.
Next I move on to blue! Using some butcher paper I taped off the red stripes that I had already painted.

One thing I learned along the way is that you should lay the wood down when spray painting a stencil. When I had it upright, some of the paint managed to drip down and get under the stencil. So I lay the wood down with the part I was painting hanging over the edge so that I could flip it as I went and not worry about it sticking to the board I was painting on.
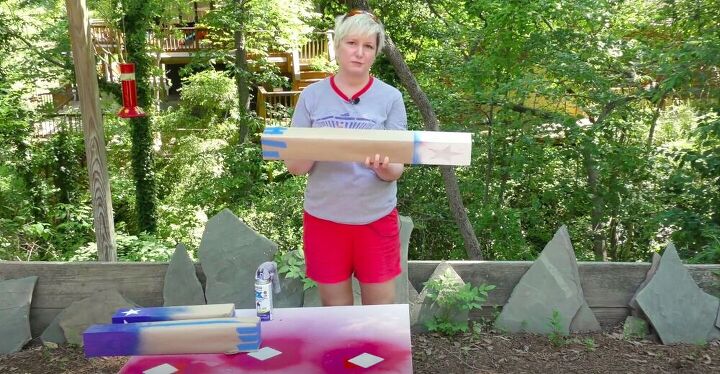
Once everything dried I unwrapped all of the butcher paper and peeled off the painter’s tape and stencils.
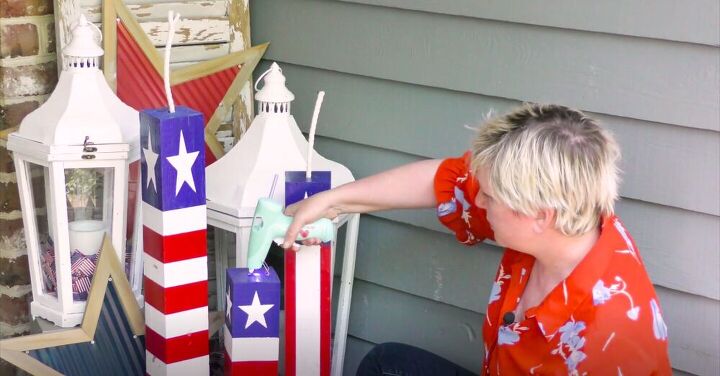
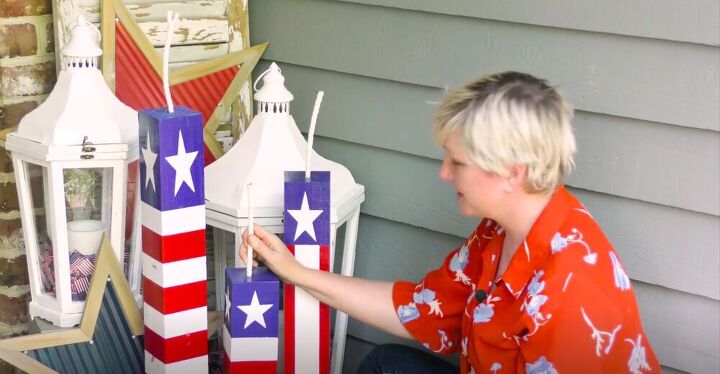
I added a touch of hot glue to the hole I had drilled in the center of the wood and inserted the wick into it.
You can leave the tape on the end of the rope, as it will help you fit it into the hole and it won’t be seen once in place.
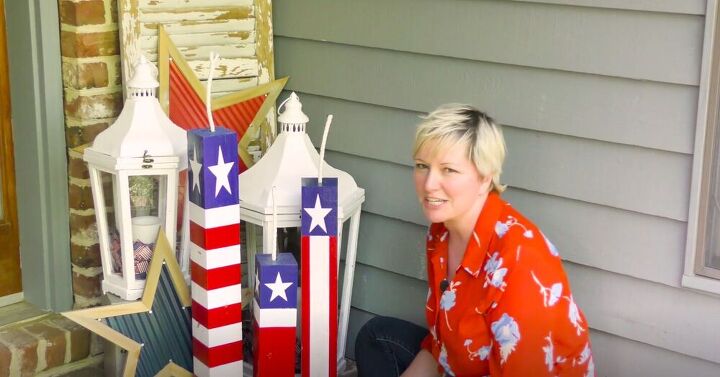
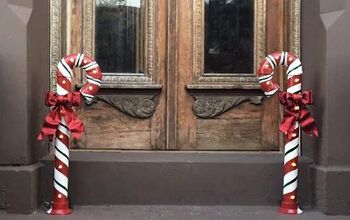
And just like that I have added some festive decor to my porch for the Fourth of July! How do you decorate for Independence Day? Let me know in the comments below!
Resources for this project:
See all materials


Comments
Join the conversation
-
Really cute!
-
Nice.


Frequently asked questions
Have a question about this project?
How did you attach the star stencils?