


Old to Gold: Old Door Headboard

So you can't find the perfect headboard or do the ones you love cost a fortune? This inexpensive project will allow you to save a lot of money and offer far more character than any headboard you can find in a store. One of my favorite things to do is find a way to use old things. I like the idea that an old item be repurposed rather than destroyed and wasted, and… I also like saving money (so I can splurge on things I can’t create myself!!!).
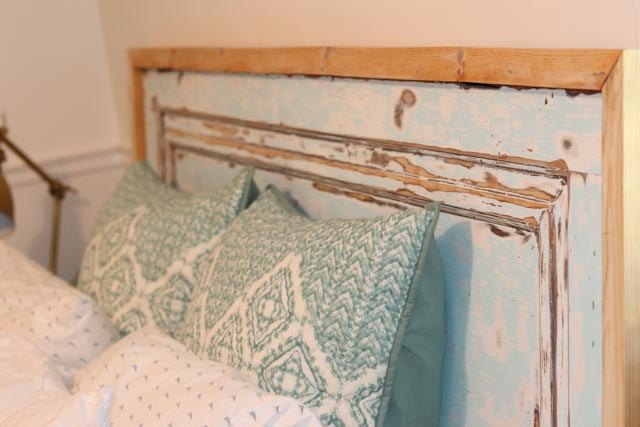
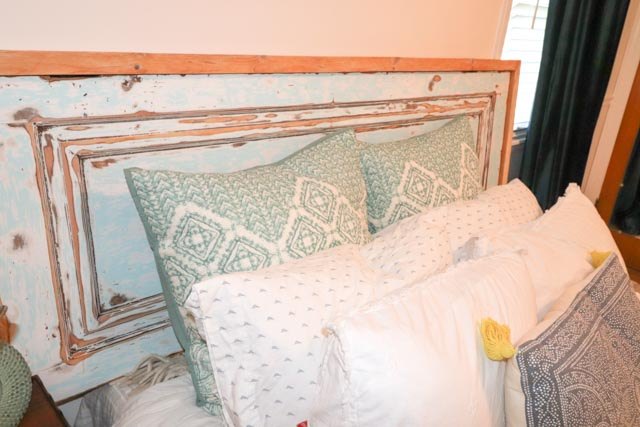
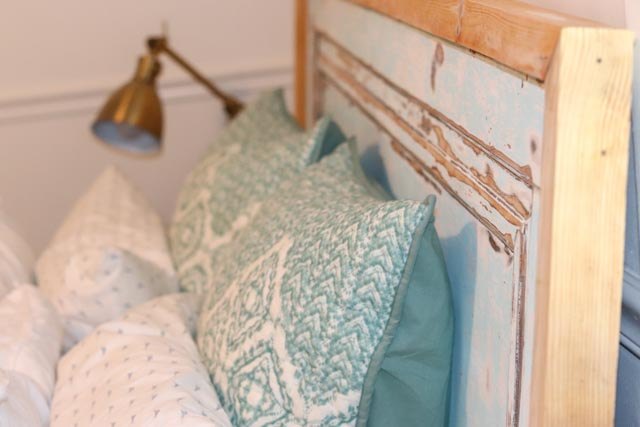
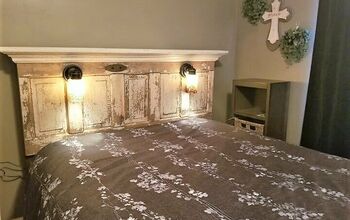
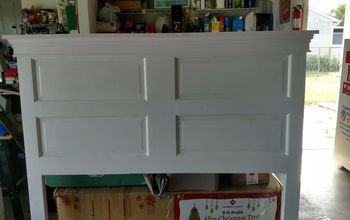
Here is an example of what the final piece can look like.
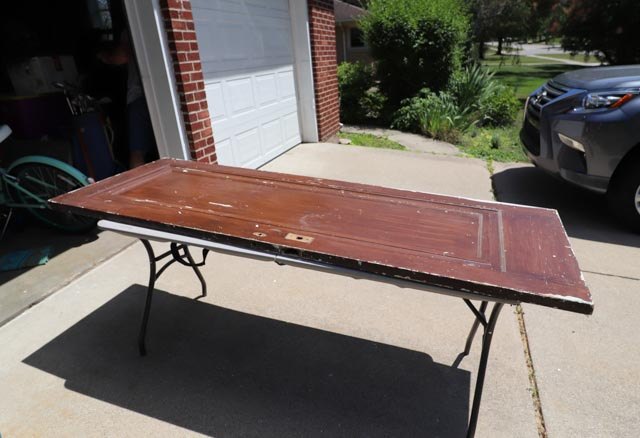
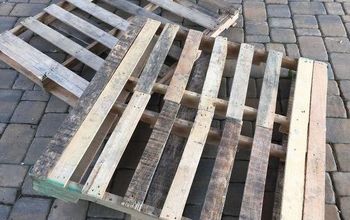
First of all, you need to get an old door! We were lucky enough to find some old doors in the garage of an 1892-built Victorian home we owned. If you don’t happen to have some laying around, check your local antique market, Craig’s List, or Facebook community pages. Sometimes you’ll get lucky enough to get one for free, but the average price range I’ve seen is between $50-$150 depending on the condition and quality of the door. Before you start searching, you’ll need to determine what minimum length you need the door to be to fit the size bed you are making it for. There are ways to make the headboard taller (if the door isn’t as wide) by adding trim to the top of the headboard, but length would be more difficult, as far as the design concept is concerned. Solid wood doors are a must. You will most likely need to cut the bottom of the door to match the top (I will discuss in a moment) so if it’s hollow core, that will be an issue.
More things to consider: painted or stained? If you want a natural wood look, you’d be better served by finding a door that hasn’t been painted as it can be very time consuming to remove the likely many layers of paint on the door, but it is possible. If you like the painted look, all you need to do is find the style you want and it won’t matter if it is or isn’t already painted, or if it’s the correct color because you can just paint it! And, sometimes there will be layers of paint surprise under the current color of the door (like found in the example we did).
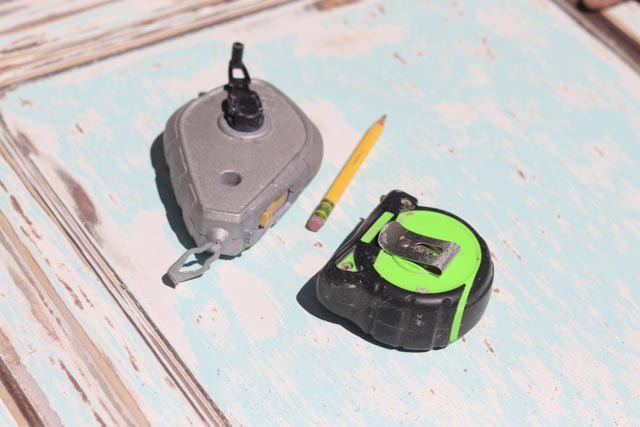
Most often the top of the door and the bottom of the door will not match. Usually the bottom is much longer, so you’ll want to cut the bottom of the door to match (see pics for reference). This is why you’ll need a solid wood door, especially if the top and bottom don’t match. First we measured the top and then marked that length at the bottom so we knew how much to take off of the bottom, and marked it with a chalk line to help ensure you get a straight cut. We then used a circular saw to cut off the excess at the bottom. I would also sand this edge after you cut it as it is likely to be a little rough after cutting.
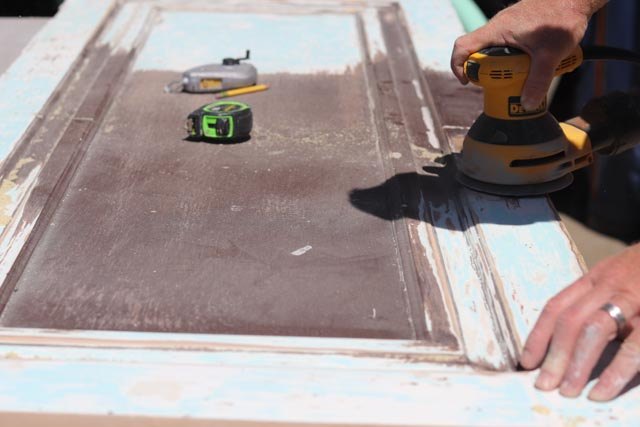
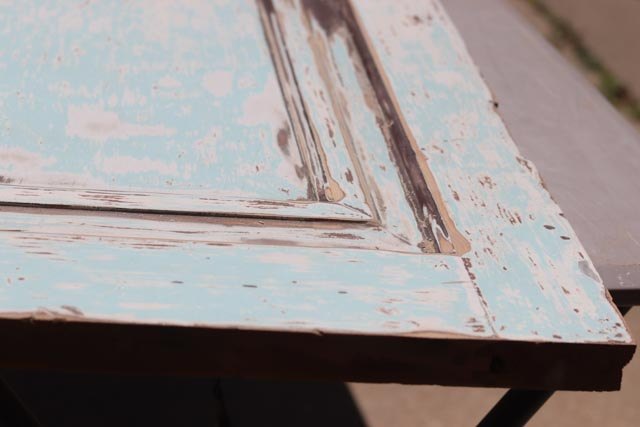
Then you’ll want to sand the door if it is not natural or the color you want. If you’re happy with the color, I would still consider lightly sanding it to get rid of the grime and buildup that may exist. The door we have for this project has at least 5 layers of paint so we can decide what color we want to show. In most cases, as it was in ours, you'll ended up needing to sand a bit more in some areas, so the natural wood will show through.
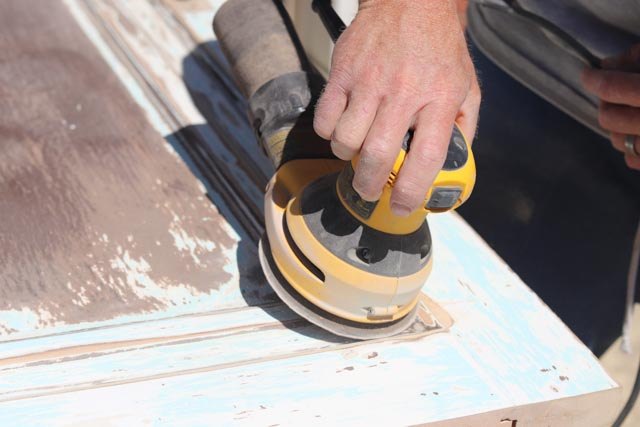
The is likely to happen in the corners, which can be hard to reach without excessive sanding. If you don’t like this, you could apply a layer or paint after you sand to get your desired color. I recommend using a orbital sander. We used 80 grit paper and that did a decent job of sanding off the many layers of paint. If you’re just trying to lightly sand to remove grime or add an aged look to a freshly painted surface, I suggest something less abrasive.
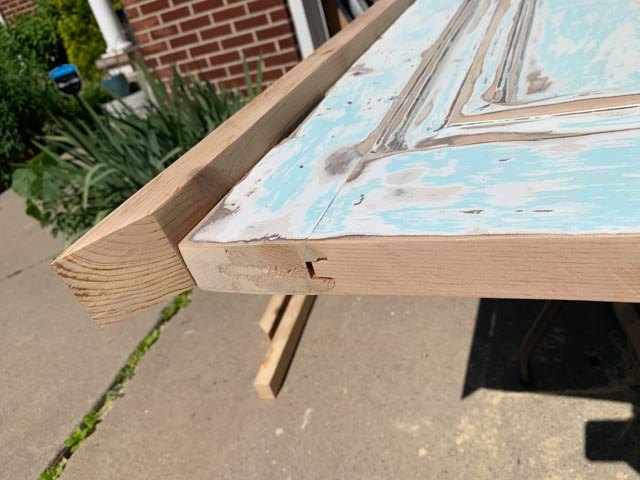
Another option is to add trim to the top and possibly to the sides to give it more of a finished look. We have chosen to do both. You can use scraps or buy wood from your local lumber store. We had some scraps from other projects that we used. A handful of finish nails will work fine to secure the trim.
All that sanding makes quite a mess, so you’ll want to clean it well, especially if you are planning on adding a topcoat.
If you want to protect your final finish, I recommend a water-based polyurethane, as it will not yellow. I like the matte finish, but you could do a semi-gloss if you want a different sheen. Follow the instructions on the side of the can for application details.
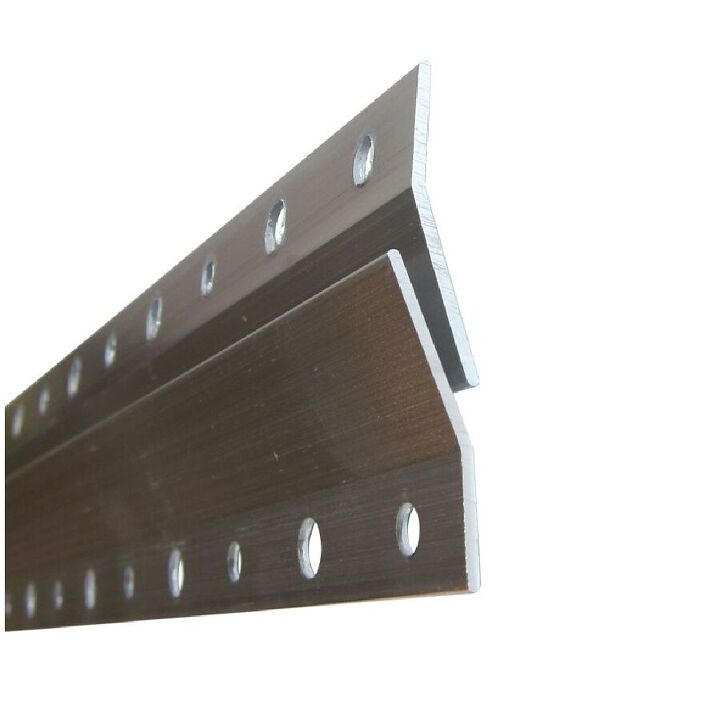
You have a couple options for finalizing the headboard. You can add legs and prop it up, then secure by pinning the headboard agains the wall with the mattress. The method I prefer is using a french cleat. One side goes on the wall, the other goes on the back of the headboard, and then you secure
Step 1: Mark a level line
Turn the headboard over. Measure the distance from the top edge of the headboard to the top of the bottom edge of the entire cleat assembly. Mark a level, horizontal line on the wall that same distance down from where the top of the headboard should be.
Step 2: Align hanging wall cleat
Remove the wall portion of the cleat from the back of your headboard. Align the bottom edge of the wall section of the hanging cleat to the line. Follow the guides on the cleat bar indicating which direction is up and facing out.
Step 3: Mark location of wall anchors
Lightly tap each screw into the holes while firmly holding the cleat bar in place. This marks the location for the wall anchors.
Step 4: Screw in wall anchors
Screw in the wall anchors where indicated by the screw marks. It’s ideal to screw into a wall stud, especially if it’s a heavy door. The wall anchors provided are rated for the weight specified on the package.
Step 5: Install screws
Align the cleat bar to the wall anchors and install the screws. Hand tight is fine, do not over tighten.
Step 6: Hang the Headboard
Carefully hang the headboard on the cleat bar. There should be enough room to adjust left or right.
Resources for this project:
See all materials


Comments
Join the conversation
-
Very pretty, great idea.
-
Great Idea, I think I would paint the boards around the door black to give it some ewL contrast or white to blend in with the door.


Frequently asked questions
Have a question about this project?
I can’t tell what the finished project looks like. It is difficult to see The finished product. Looks very unfinished. Maybe pics taken from a different angle??