Cutest Little Tray You Ever Did See!!

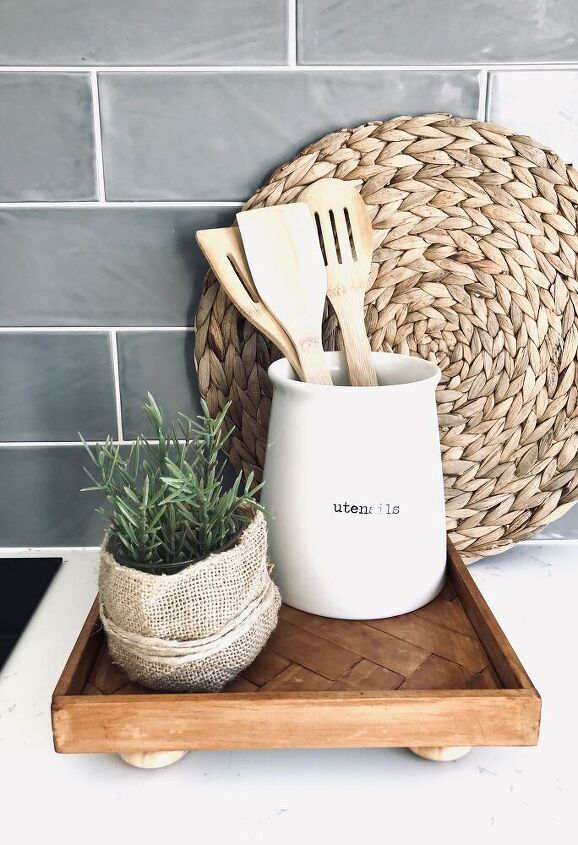
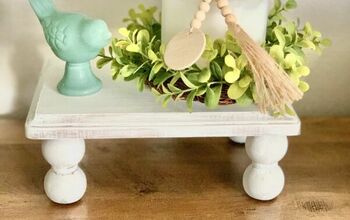
This tray ended up being so cute! I just love the chevron design and have always wanted to create something using it. It’s perfect for beside my stove top or on my dressing table to hold my jewellery or phone. Follow these simple instructions and create your own!
I started with 3mm mdf board that was cut a little bigger than I wanted to make the final tray. I also gathered about 6 metres of thin pine (I think it was 3 mm) and four wooden door handles.
I cut my pine into 10 cm pieces using my mitre saw, but left enough wood to make a frame at the end. I then dry fitted my wood to make sure it fit over most of the board and the cuts were sitting nicely.
I then used wood glue to glue it all together. Wood glue is perfect as it doesn’t dry straight away so it’s easy to move things into place and get that perfect fit. I then let it dry for a few hours.
Once dry I used my mitre saw to cut the tray to the size I wanted. It ended up being about 22 x 22 cms but you could make it any size you wanted depending on how big your original board was.
My next step was to cut the frame using the left over pine. I created a butt joint by measuring one side and cutting two lengths to that exact length, then cutting two new lengths by adding on the width of the two boards to the length I needed.
I then glued my feet on, although I think next time I will do this step last.
I used wood glue again to attach the sides to my tray. I clamped them together to hold in place while the glue dried.
I then used my brad nailer to pop in a few 15mm nails into each corner to hold them secure.
I used wood filler to then fill in the nail holes and any joins I didn’t want to see. Once dry I sanded it all as much as possible. Be careful to sand where the glue may have gotten onto the tray as when staining it will look different to the rest of the board (something I found out the hard way :[ ]
I used this stain and did about three coats. Like I said before make sure all the excess glue and wood filler are sanded well to get an even finish.
You can see on the below photo where I wasn't able to sand of all the dried glue. Although I am not happy with the final stain I still love the tray!!
It is the perfect addition to my kitchen and a perfect place for my utensils.








Frequently asked questions
Have a question about this project?