


DIY French Mattress Cushion - Window Bench Cushion

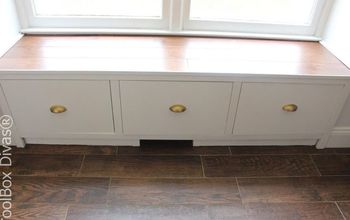
I have never put off a project as I have with this French mattress cushion. When I convinced my husband to make a window bench in our master bedroom a long time ago, I knew I wanted a french mattress style cushion. I searched online, and I found a couple of vendors that confirmed my suspicion; french mattress style cushions are pricy. My window bench has an odd shape, so I would need a custom order a cushion, which means it’ll be more expensive. Being a crafty person, I checked some DIY videos and blogs about making a french mattress, and it didn’t seem so difficult. I started working on the cushion just as soon as we finished making the window bench, but my work wasn’t complete until now. I was intimidated by the size of the project, and I procrastinated, not wanting to commit to the level of effort. Read more...
WATCH THE STEP BY STEP VIDEO to learn how I made this French mattres cushion for my window bench. You could always just follow this step-by-step guide too.
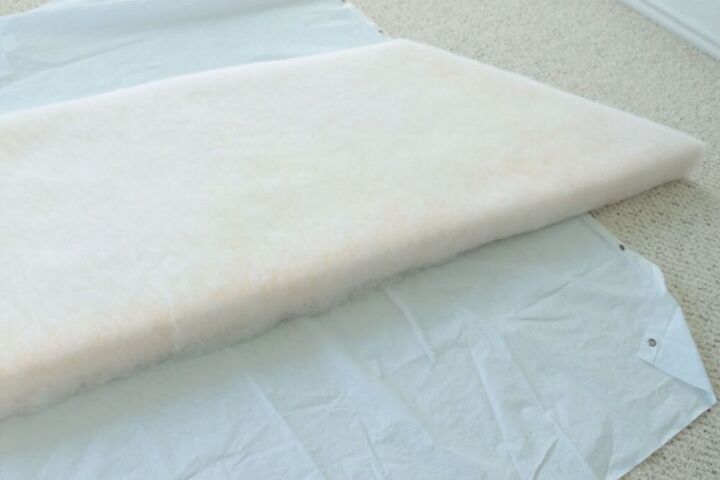
Cut the foam to the dimemsion of your window bench. My husband helped me to cut the foam using an electric knife, it works great.
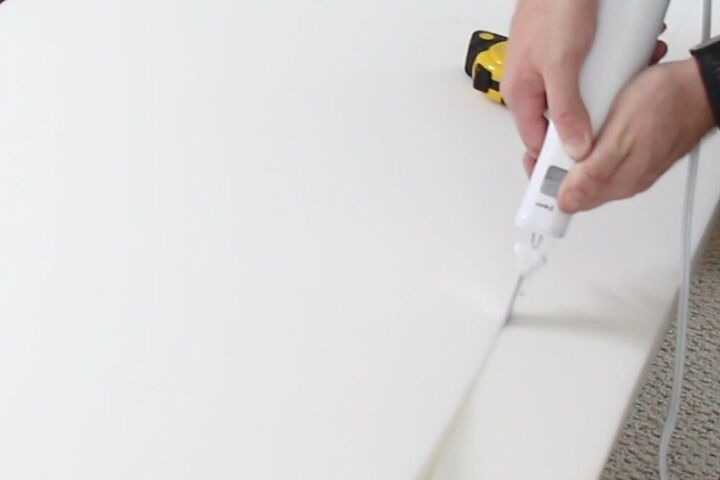
I used Gorrila spray glue to attach the batting to the foam.
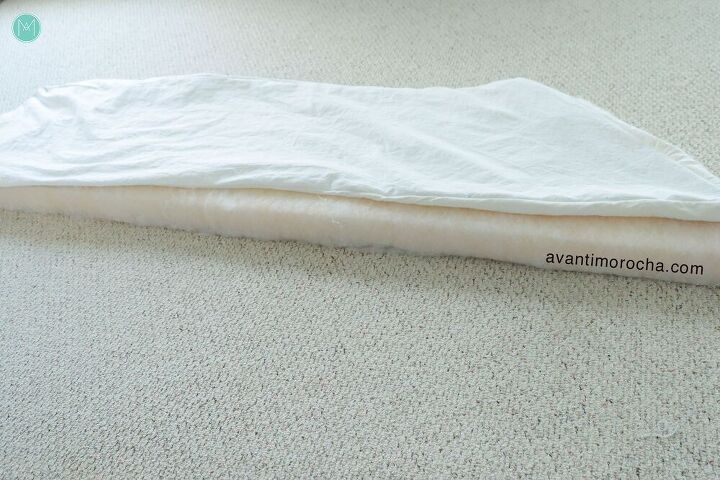
I used canvas drop cloths as the fabric; the main reason was that I didn’t want to spend too much money on expensive material that I may ruin. Plus, I like the look of canvas, and it is super husband/pet friendly.
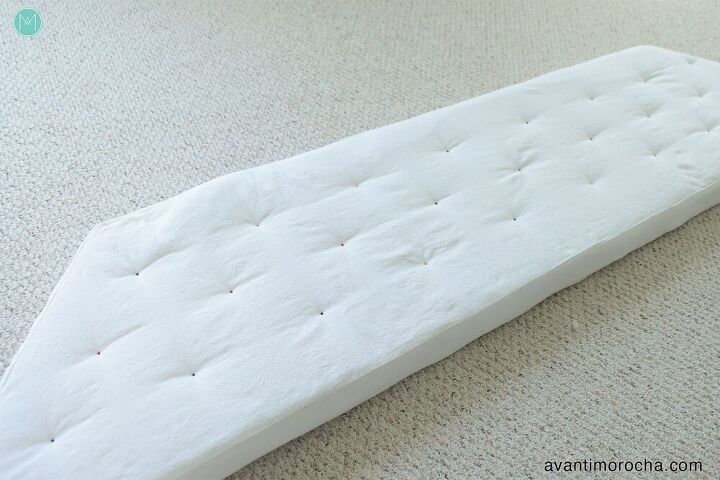
Now you need to decide what tufting pattern you want to use.
Plan the spacing based on your cushion.
I'm using a diamond pattern.
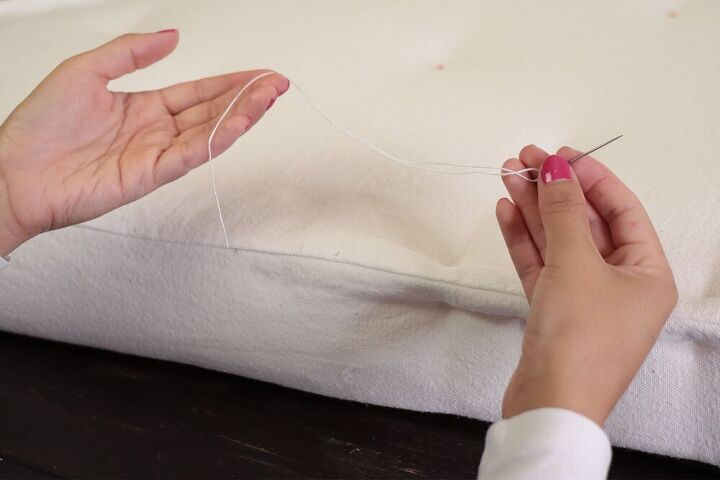
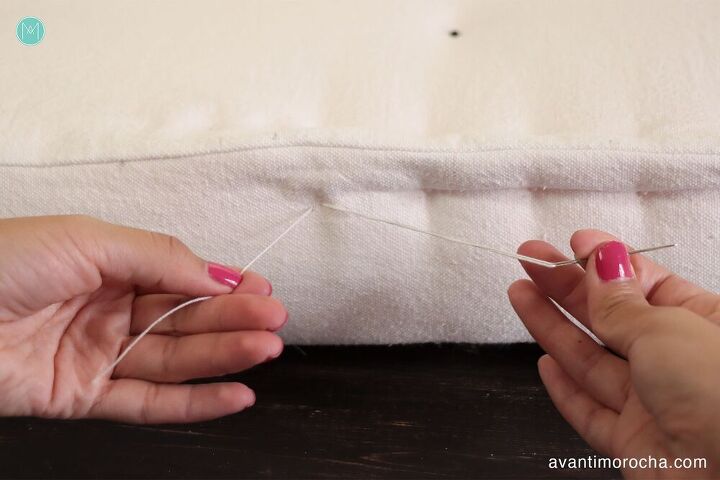
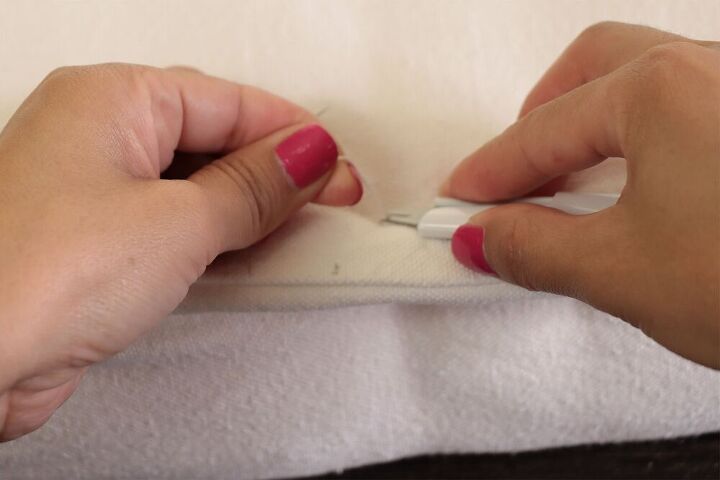
I'm going to show how to form the edges of the french mattress.
Move the needle about 1/4 in and sink it back in the cushion , pull it out from a spot close to the start point about 1/4" away.

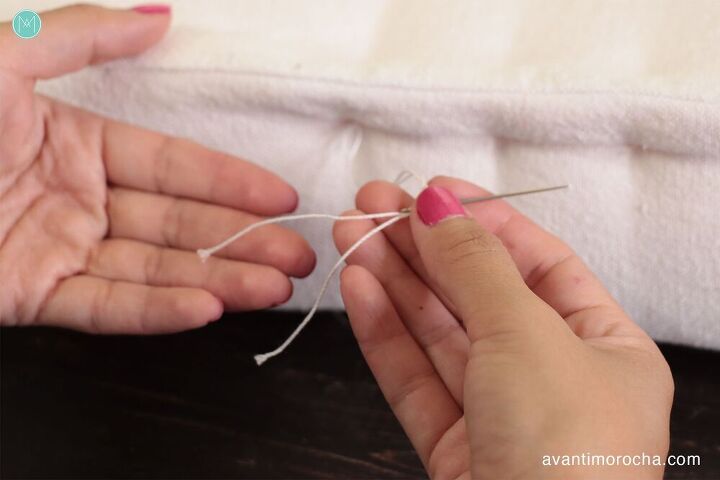
Made a loose knot with the thread that has the needle and stick the left end of the thread through the loop.
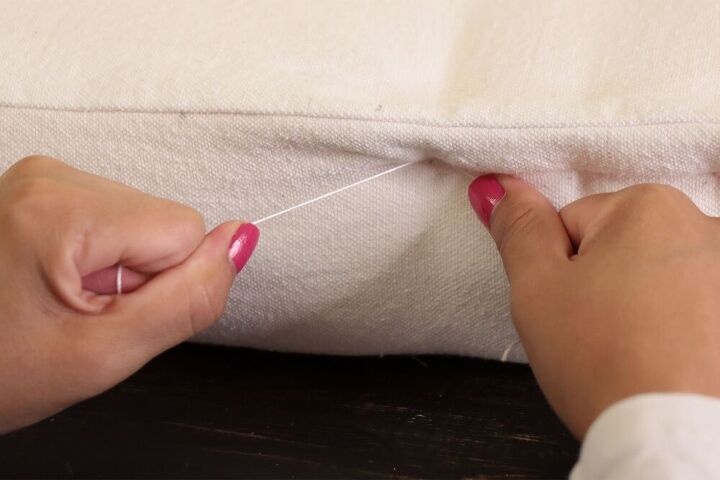
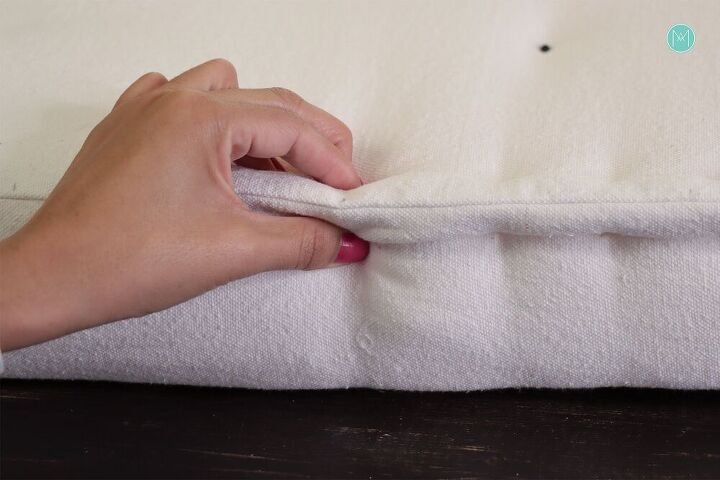
Pull the thread on the left side until you see the edges forming.
To secure the shape, make 2 to 3 knots.
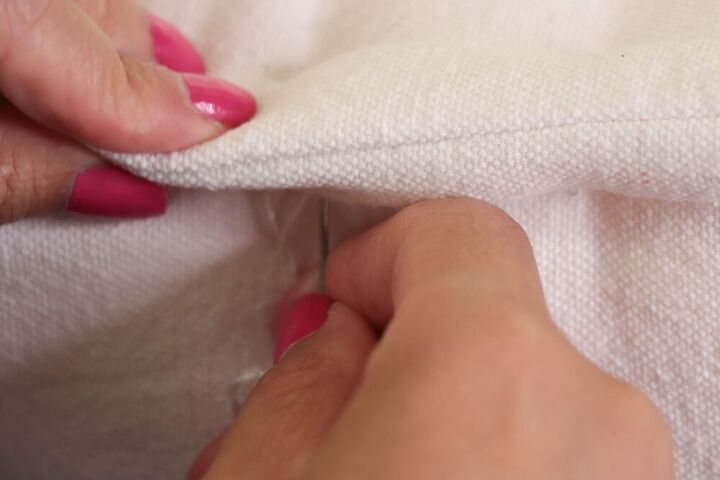
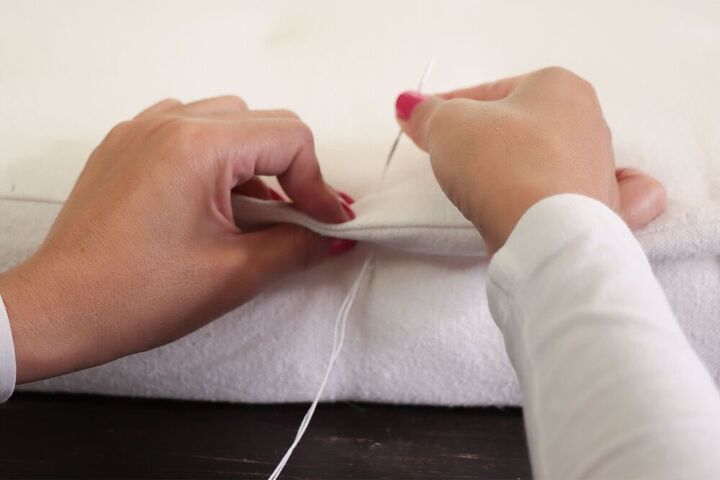
Sink the needle back to the cushion coming out to the top, somewhere close to the top point.
Pull it tight, and trim the thread, the ends are going to disappear inside the cushion.
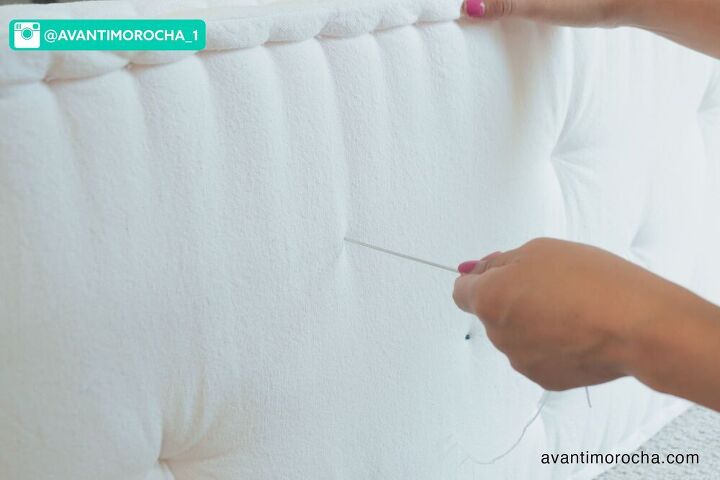
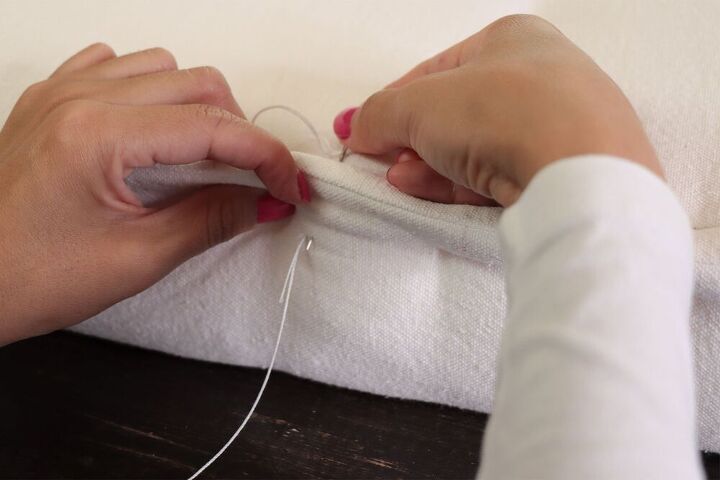
The process of making the tufts in the top and bottom is the same. I show you for the edges, but you'll need to use an upholstery needle.
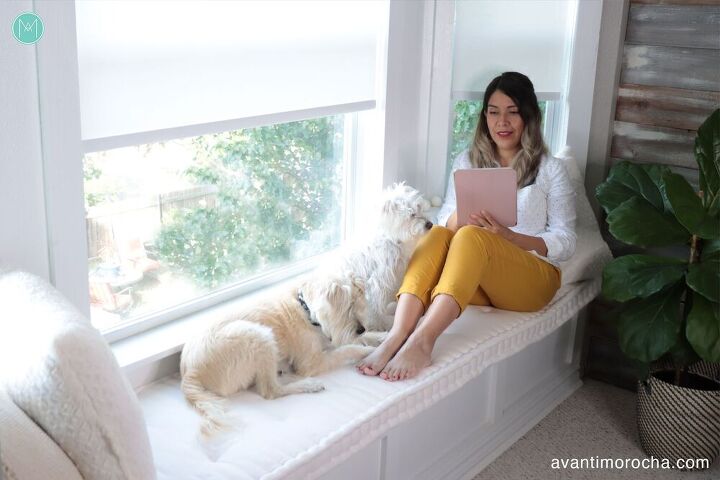
I hope you like this tutorial, and if you have any questions, let them in the comment section. don't forget to visit my blog avantimorocha.com
Don't forget to follow me on my social media.
Resources for this project:
See all materials


Comments
Join the conversation
-
Beautiful I would love to do this but I don’t know if I have the patience.


Frequently asked questions
Have a question about this project?
Did you do the French edging on top and bottom of the cushion.
Is the batting and the material on the bottom of the cushion also?