


Get a Faux Hammered Copper Look for Under $3

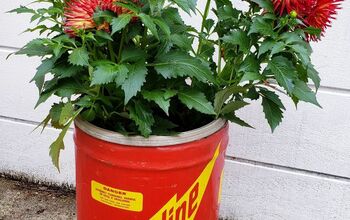
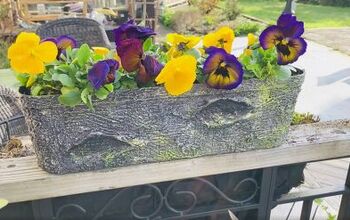
I love making ordinary household goods look expensive. This hammered copper technique is an easy way to make something that only cost me a few dollars look like it cost a whole lot more. It only takes a few items and it can be done on pretty much anything your heart desires. I’ll be using it to turn a simple dollar store planter into a faux hammered copper planter. This piece will add a touch of shine to my home decor, and nobody will ever know that it only cost me $3! Follow my step-by-step tutorial below to learn how I did it!
Tools and Materials:
- Planter
- Acrylic caulk
- Cardboard
- Water
- Marker
- Copper spray paint
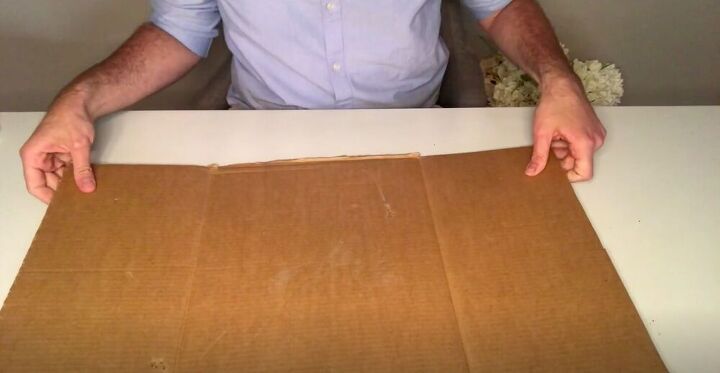
Before I could get started I needed to cover my worktop to protect it. I just used a piece of cardboard for this.
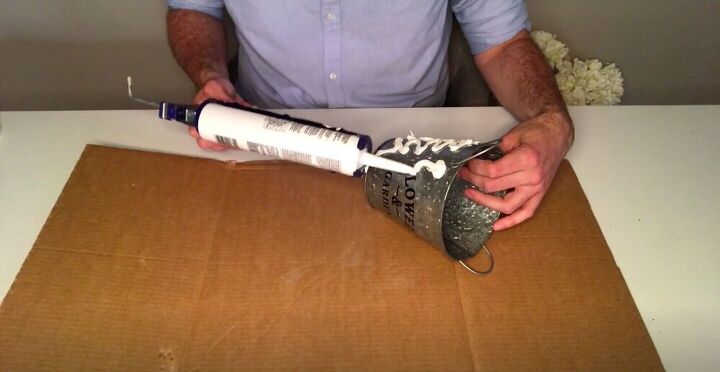
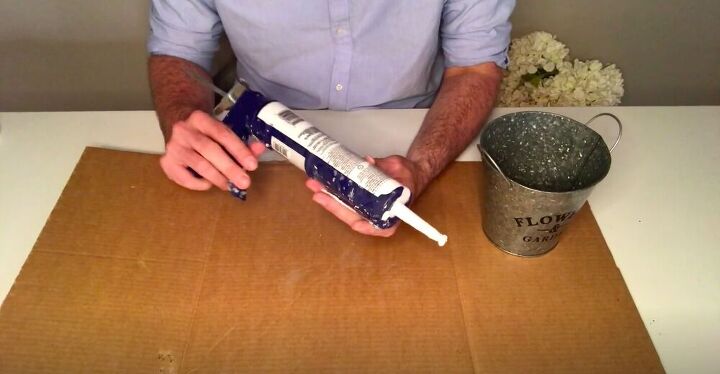
Then I applied a generous amount of caulking to the planter.
I spread it all over with my fingers. It should have about a quarter inch of caulking over it. Go back and fill in any holes if you have them.
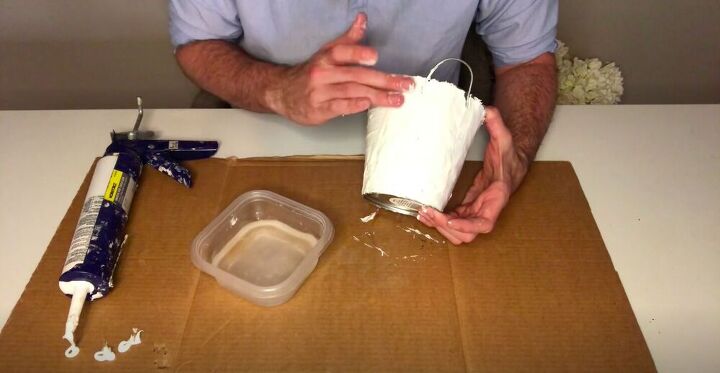
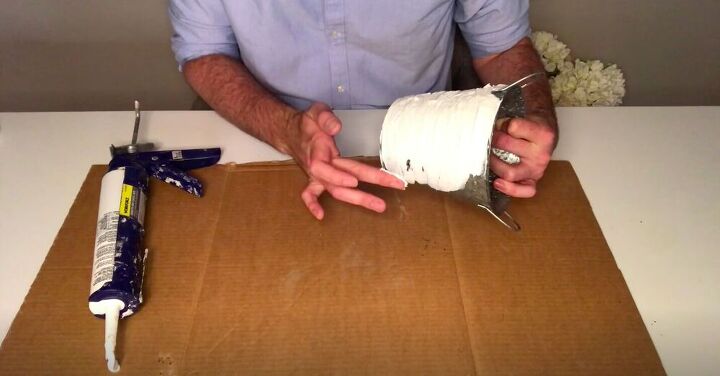
Once the planter was covered in caulking, I went back in with wet fingers and smoothed it out. You don’t want it to be perfectly smooth because we will add a bit of texture next.
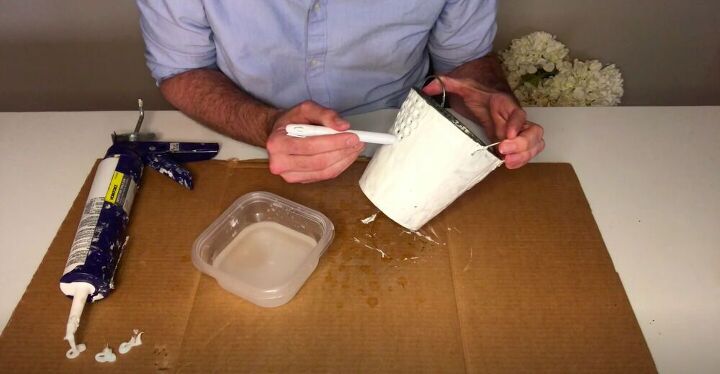
Using the rounded end of a marker, I pressed lightly into the caulking to create a hammered copper effect. I dipped the marker in water each time I pressed it in.

Press down all the way until you can see the original material of the planter. There really isn’t a wrong way to do this, and if you aren’t happy with how one of the dots turns out, just go back with a wet finger, smooth it out, and try again.
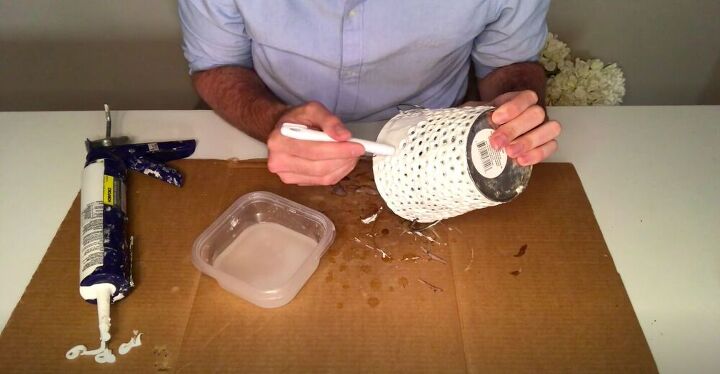
Once you’ve covered the entire planter with dots, let it dry completely.
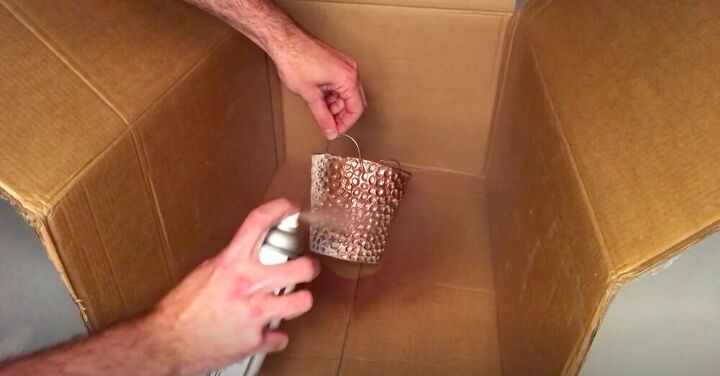
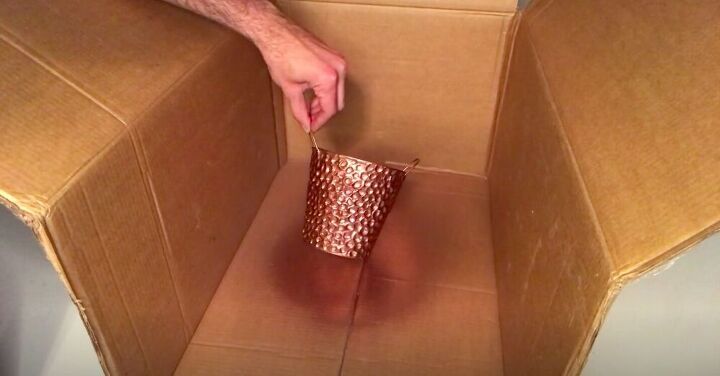
Once the caulking had completely dried, I was ready to paint! I placed the planter in a cardboard box with one side cut off. This makes sure that any paint that misses the planter doesn’t end up on my floor or worktable. I applied two coats of copper spray paint and let it dry.

With the paint dry, all I had to do was insert a faux succulent and I was done! This technique can be applied to so many different things! What would you use it on? Let me know in the comments below!
Resources for this project:
See all materials


Comments
Join the conversation
-
I love this. It would be great in my kitchen. Does it take long for calk to dry?
-
Very nice!


Frequently asked questions
Have a question about this project?
Can you use it on cardboard and do you use a sealer other than paint so it doesn’t chip
Can it be donee on a wood picture frame?
Will caulking stick to plastic?