


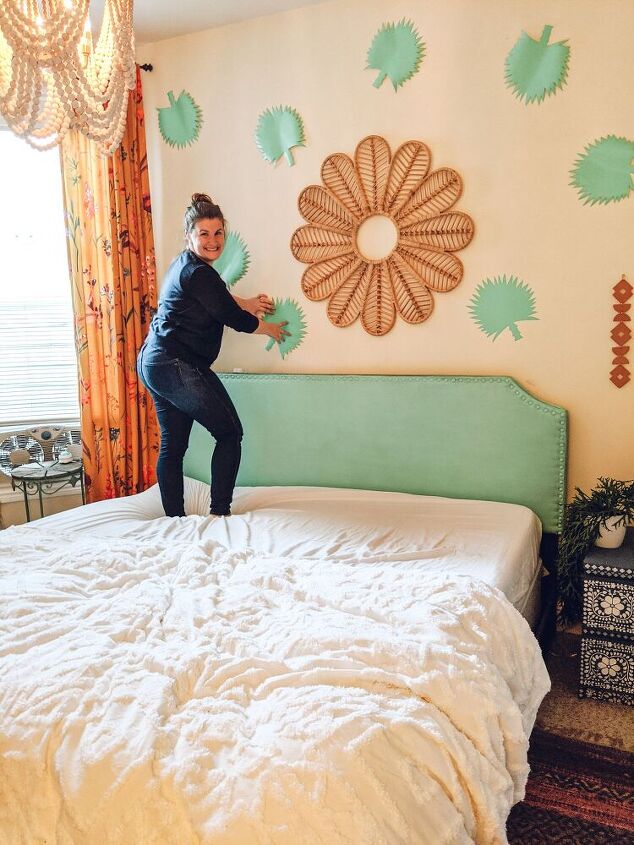
DIY Custom Removable Wall Decals

I couldn't find what I wanted online so I made these quick and inexpensive decals on my own with just scissors and removable vinyl sheets.

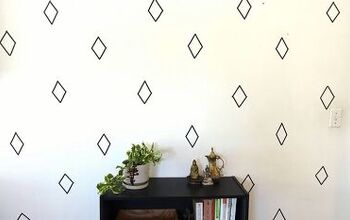
This a near finished product! See below for the easy steps to create your own.
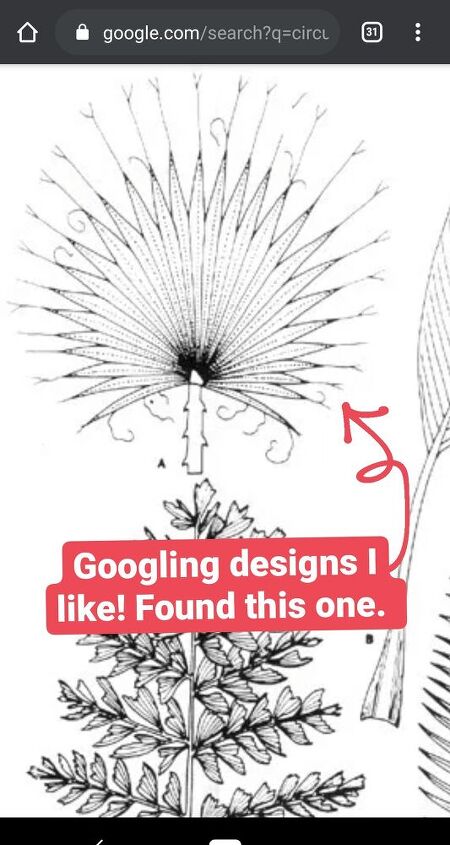
Using google images I found a general shape that I liked
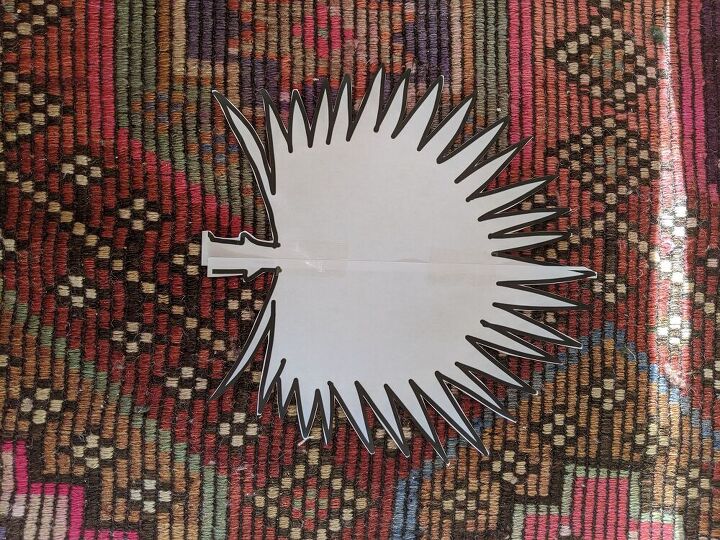
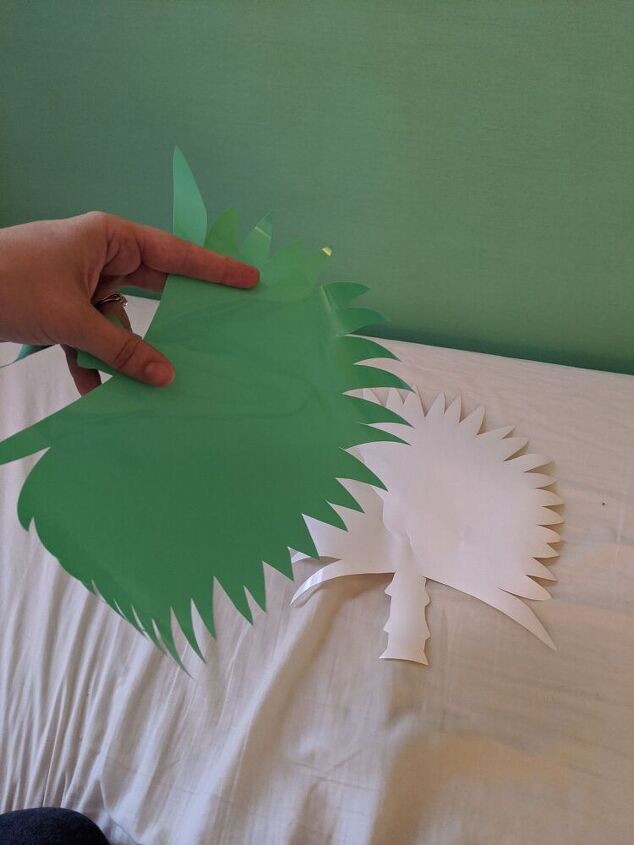
This is Paper and Sharpie. I cut a shape out of regular computer paper to the size and shape that I wanted.
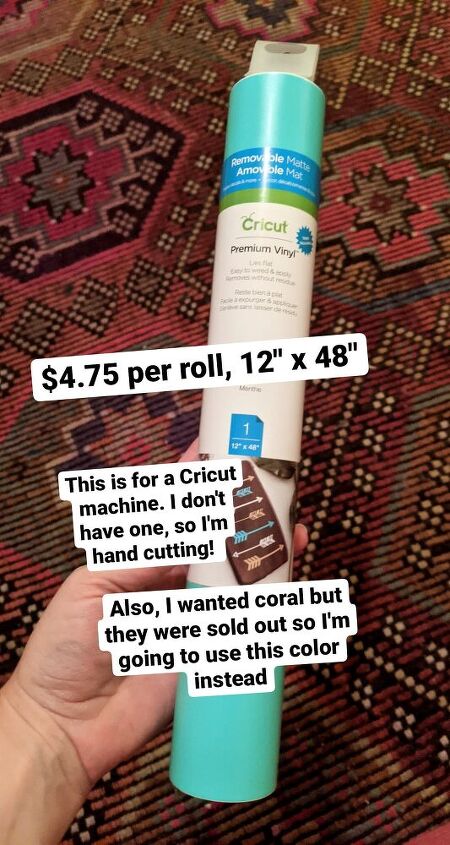
These come in 12" by 48" and they were on sale for $4.75 per roll. Note that these are for the cricut machine, but you don't need a machine to cut the shapes out by hand.
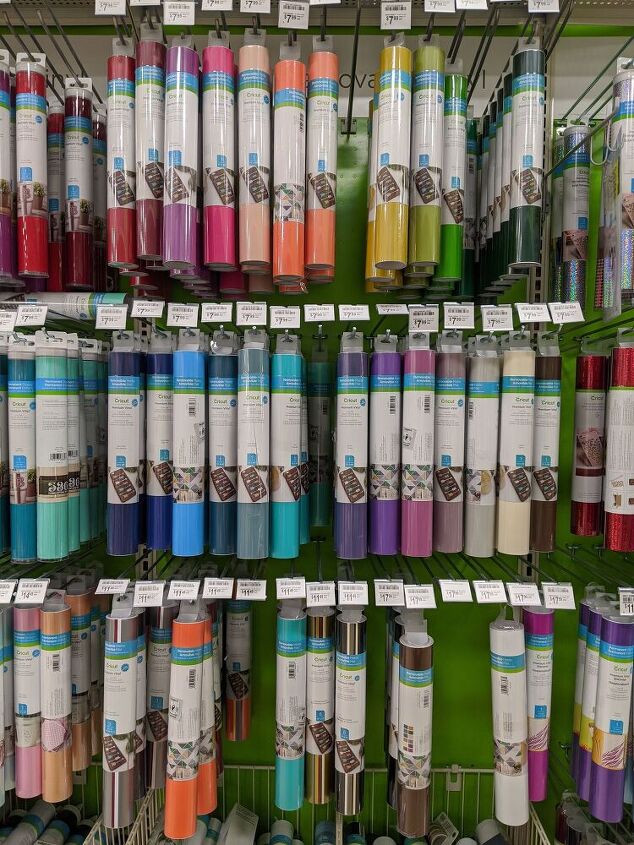
I went back later to see what else was available and I couldn't believe how many choices there are!! I think I would have picked one of those orange colors, but no problem. The project is super easy and fun to do.
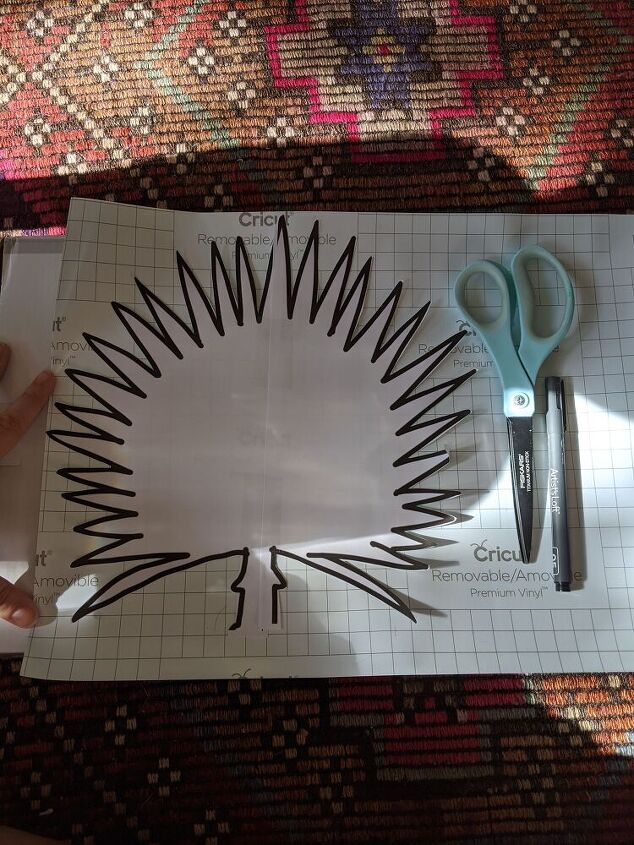
I made mine as tall as I could using all 12" of the height of the paper.
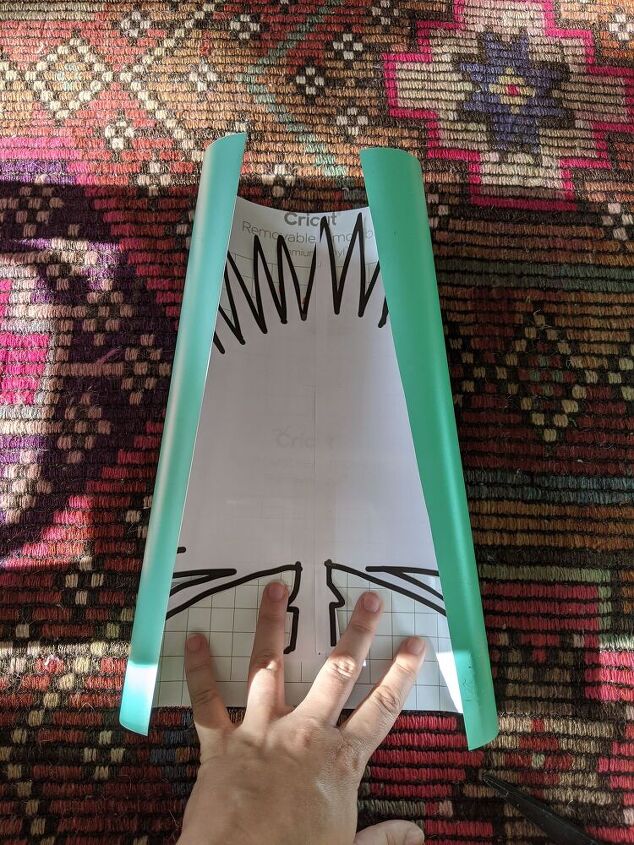
It says it lays flat, but don't listen, it doesn't. This made my design tricky, but It was fine because I didn't need them to all be exact.
The sharpie doesn't bleed through at all. Made super easy lines for me to cut.
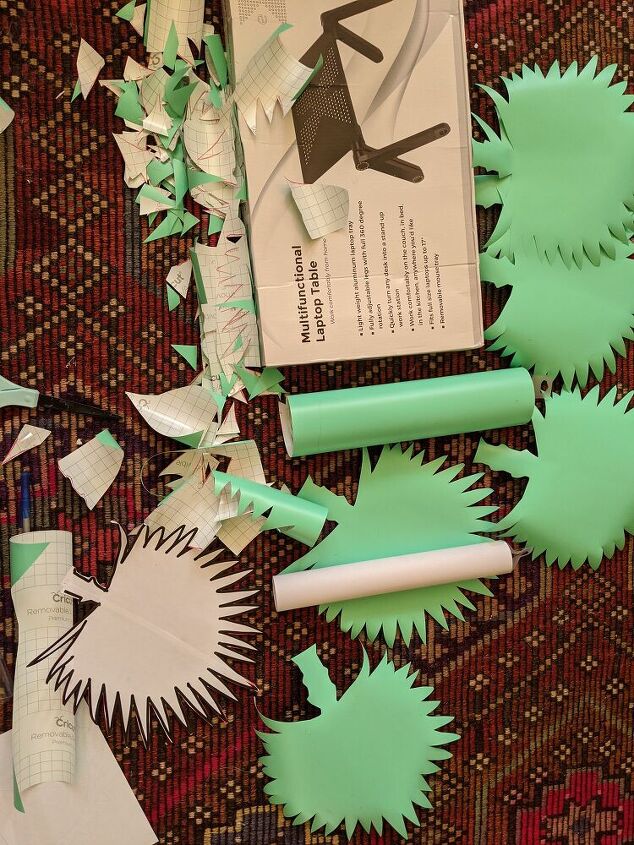
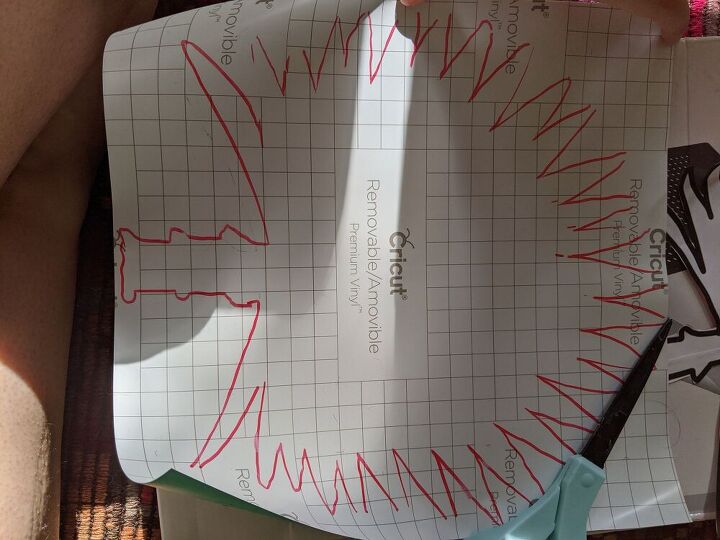
This was pretty fast, honestly, I just did it while I watched TV. I do not think it needs to be perfect or exact. I just made the stencil and traced it and cut it about the same way each time.
I used scotch tape to place them on the wall in approximately the location where I wanted it
Peel each one off the paper backing and place down
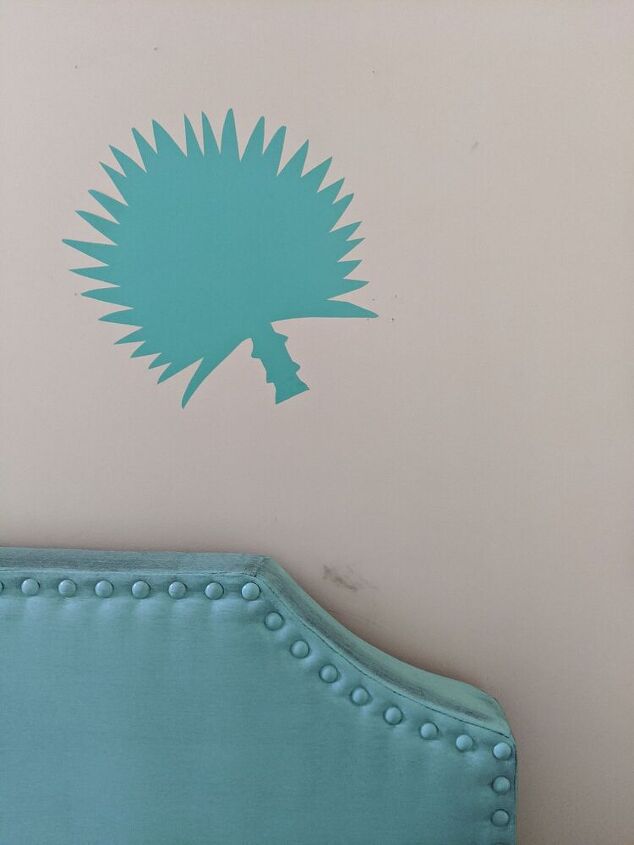
This was hard to photograph, but you can really just stick it to the wall. It's removable so in places where I made a mistake I could just lift up the corners and try again. I smoothed it out with my hand.
Keep placing where ever you'd like and follow your guide.
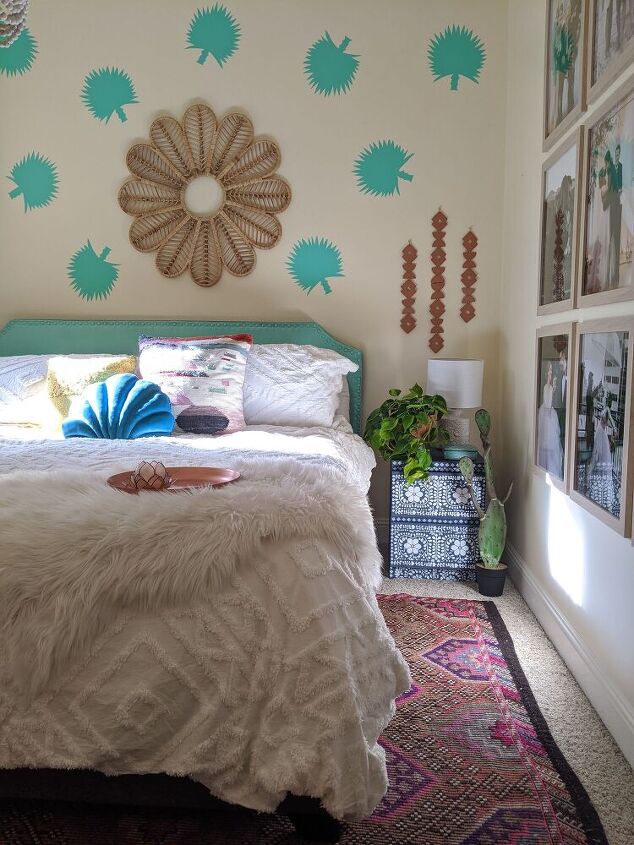
Here they are!!! I will say I wish I had been able to get a different color, but honestly, I really think this project was so easy and inexpensive I don't mind leaving it up and seeing how I feel later.
Resources for this project:
See all materials


Comments
Join the conversation
-
Really clever and pretty!
-
Wonderful! You definitely have me thinking what I will do in my office! Thank you!


Frequently asked questions
Have a question about this project?
Awesome!!! Where did you get the center wall decor over the headboard so pretty?
thank you
Brill idea.
however, when I am in bed, I seldom look up at the wall above me, and yet, everyone designs only for over the bed, for impact upon entry.
I look at the opposite wall. What did you do on the opposite wall, for watching from bed?? Drlucille👌
What are the 3 wooden objects hanging above the nightstand and will you share where you got them? I love unique and organic objects for my walls.