


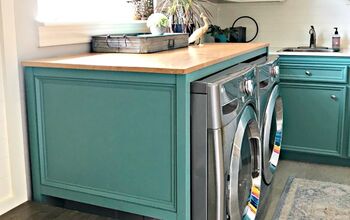
Narrow Storage Table for Laundry Room

Our apartment's washer and dryer have had so much space in between each other and I've always felt like there was wasted space. I looked up some narrow tables to place in between them, but everything I found weren't the right measurements. I took it upon myself (and voluntold my boyfriend to assist) to create a table for the room from scratch. Here's how it turned out!
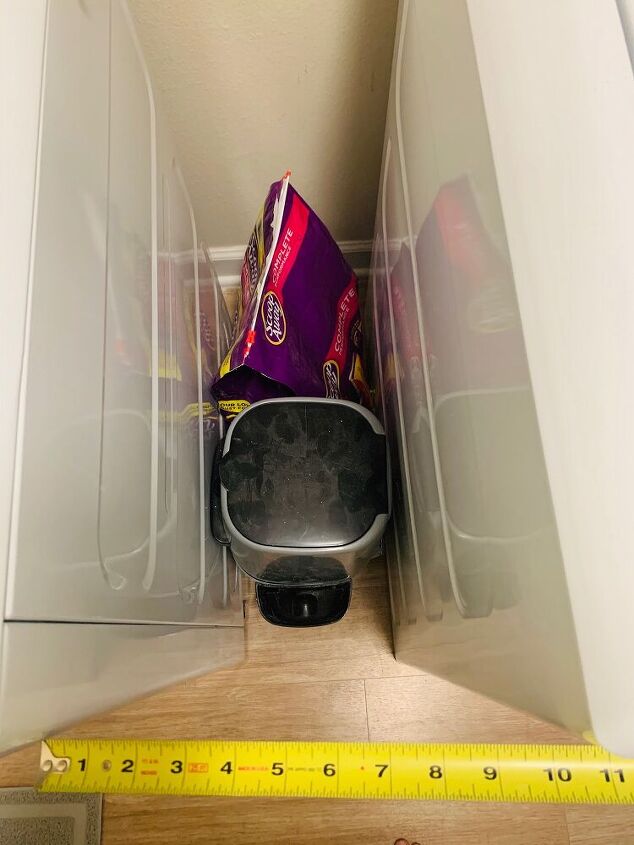
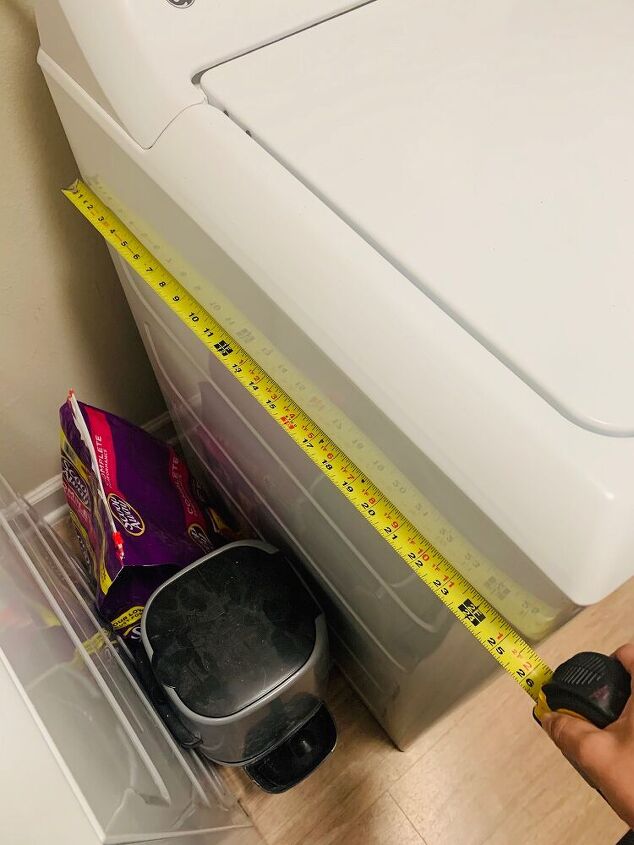
Take your measurements
I used the space in between the washer and dryer to hold my cat's litter stuff. It has always looked kind of awkward and ugly, and I wanted something that was tall enough that could hide the litter genie and litter, but also give me a little more storage space and room for decor.
I first took my measurements and figured I needed the table to be:
10" wide, 24" long, 34" tall
Gather supplies
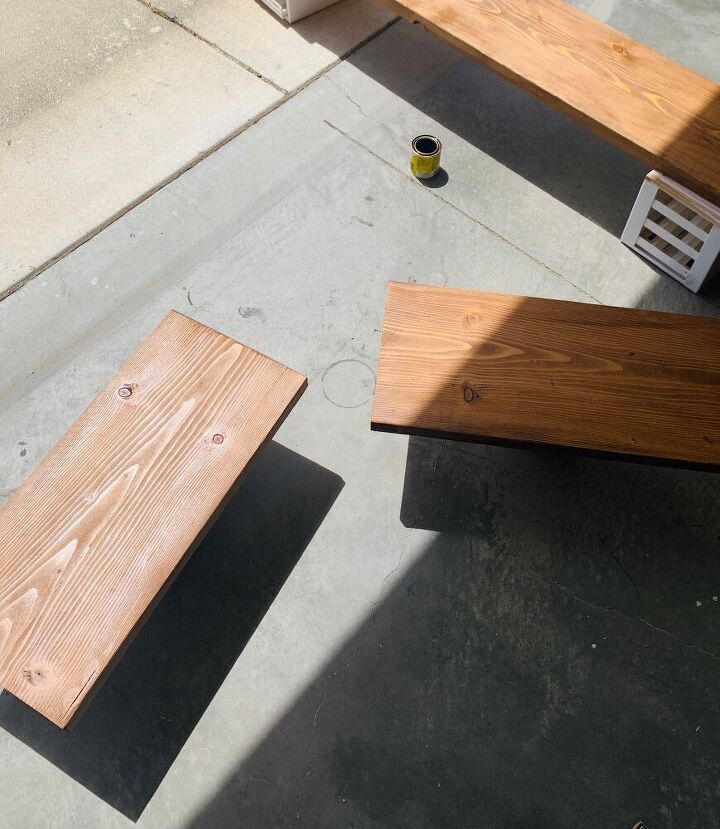
I had these 11" W x 24" L x 1 1/2 D boards that I had leftover from my shelving project that I had cut to size. I had already sanded and stained them.
I wish I had taken a better before picture of all my supplies. But I went to Lowe's and bought some long 1" x 1" x 34" (the 34" wasn't exact) pieces of pine wood that I decided I would use as the legs (you'll see them pictured soon)
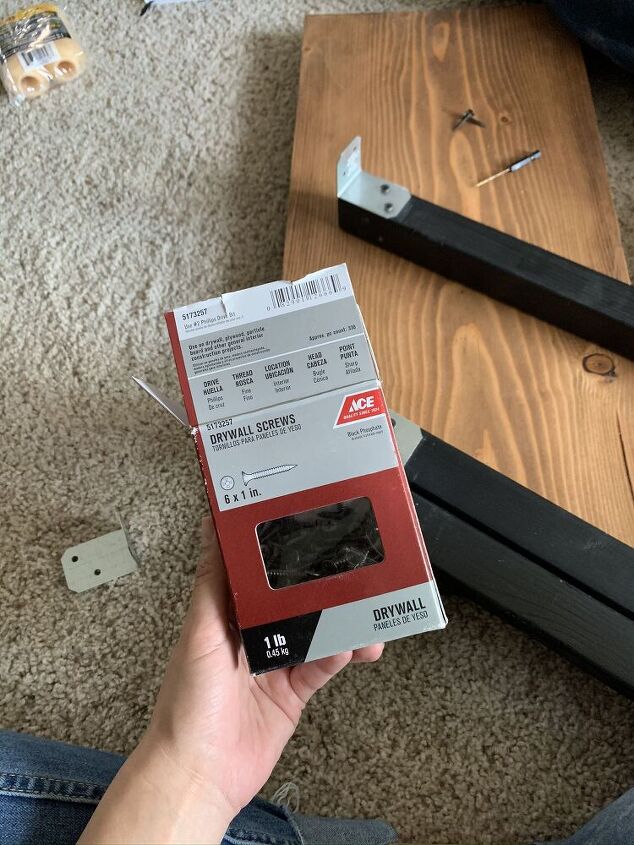
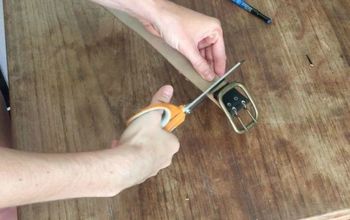
I also bought some angles (see next photo, bought a total of 16) and some screws.
We also used our level, tape measurer, drill, jigsaw, sandpaper, foam brush, and black paint.
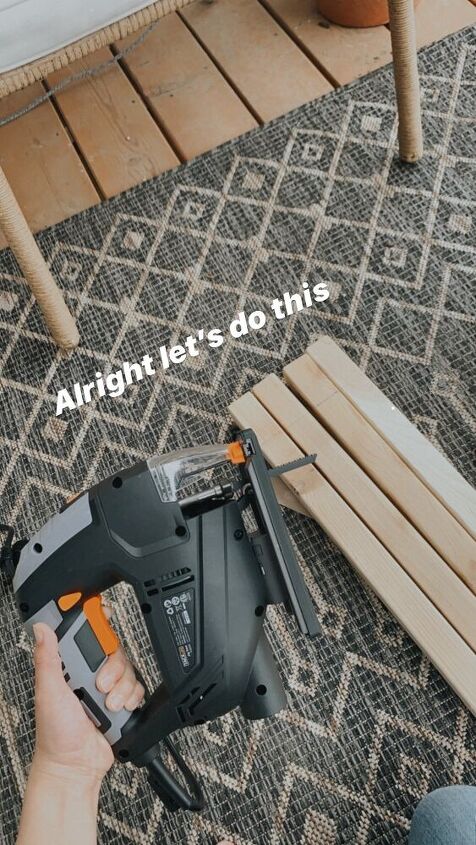
Cut down the leg pieces to size
One of the first things we did was cut down the legs to size. We cut them to 33" using our jigsaw.
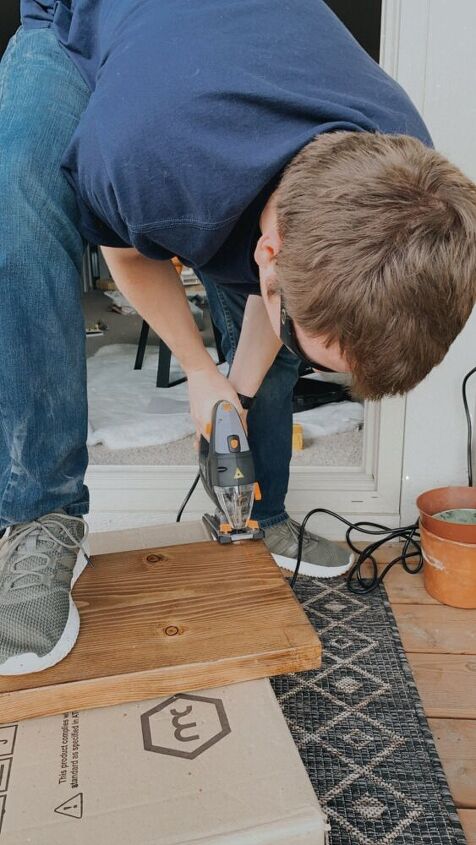
Cut out the boards where the legs go
Sorry my description isn't the best, but basically we traced the leg pieces onto the wood board with a pencil, we only did this on one of the boards, which would be our second shelf. I don't have a better way of describing it!

This is what it looked like after cutting them out with the jigsaw.

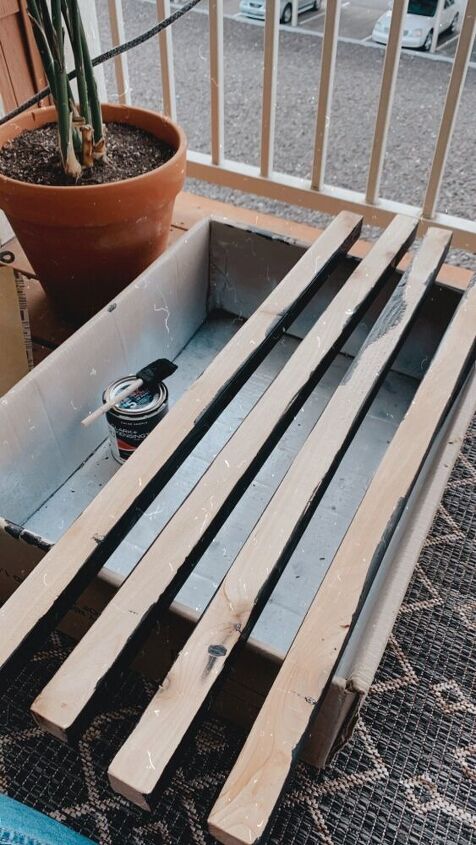
Painted the legs black
I wanted to go for a black paint to use for the legs since the upper shelves in my laundry room had the same look. I used a foam brush to paint them after I had sanded them down.
Because this table is going in between the washer and dryer and the legs aren't that visible (and only two of them are front facing), I didn't bother to finish them with a top coat or anything. I just did one layer of paint and called it good.
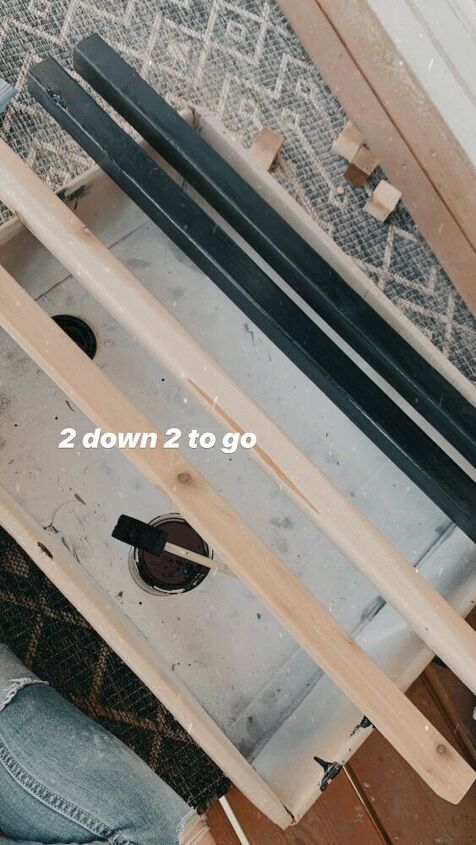
I painted 3/4 sides black and laid it on top of a box while they dried before doing the backside.
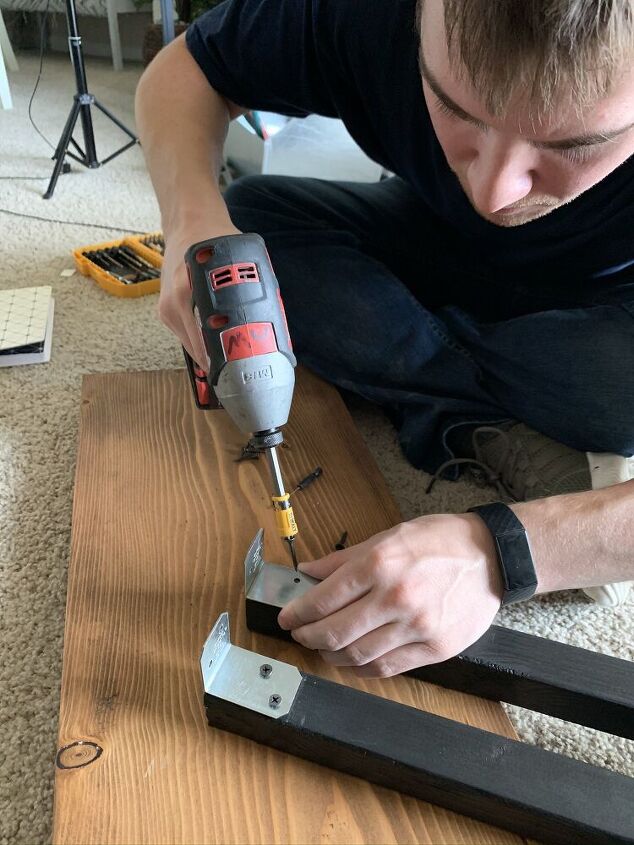
Install the angles
Once the legs were fully dry, we continued on to create the table.
We took two angles and drilled them into the legs side by side with our screws, then secured them onto the top shelf.
I wasn't intending to go for an industrial look, but I honestly kind of liked how they gave it that vibe!
We used two angles for each leg, we realize it could've been stable with just the inside ones, but I decided to make it a pairs for each leg, just for extra support.
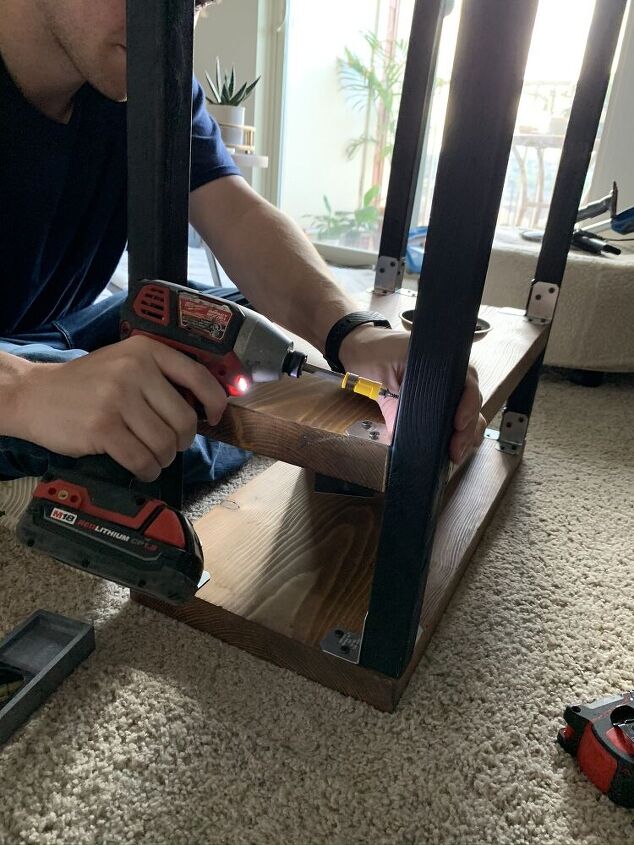
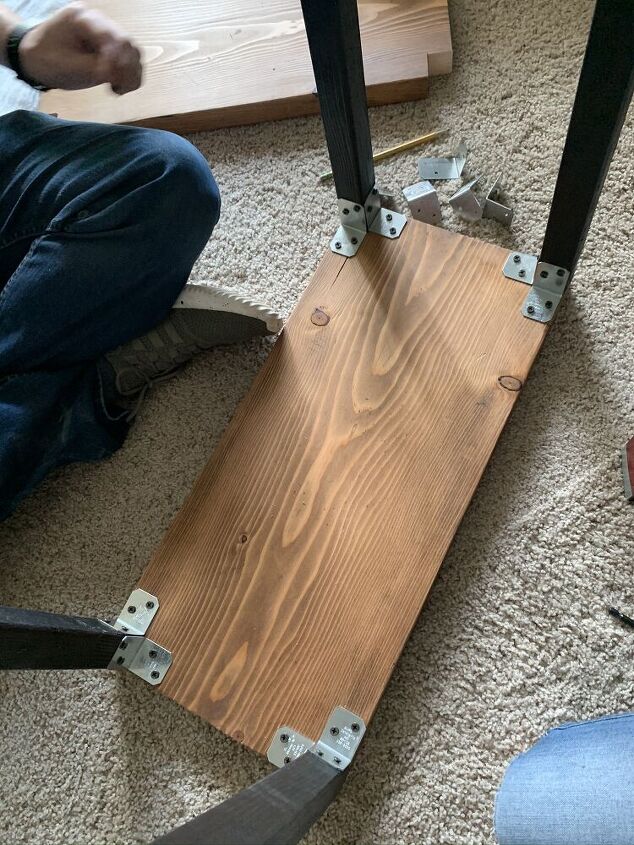
Installed the second shelf
Using the second board that we made the cut outs in, we fit it inside and I used my little storage basket that I was going to put inside the shelf as a guide for the height I wanted to secure it in. I think it was about 7" between.
We again used two angles for each side of the legs.
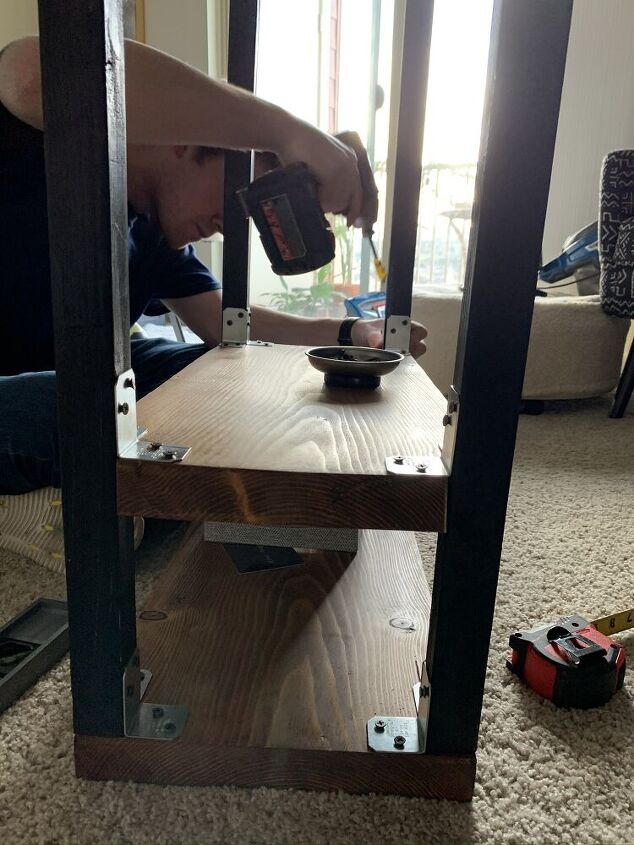
After all were secured, we're ready to flip it over and see how it looks in the space! It turned out incredible!
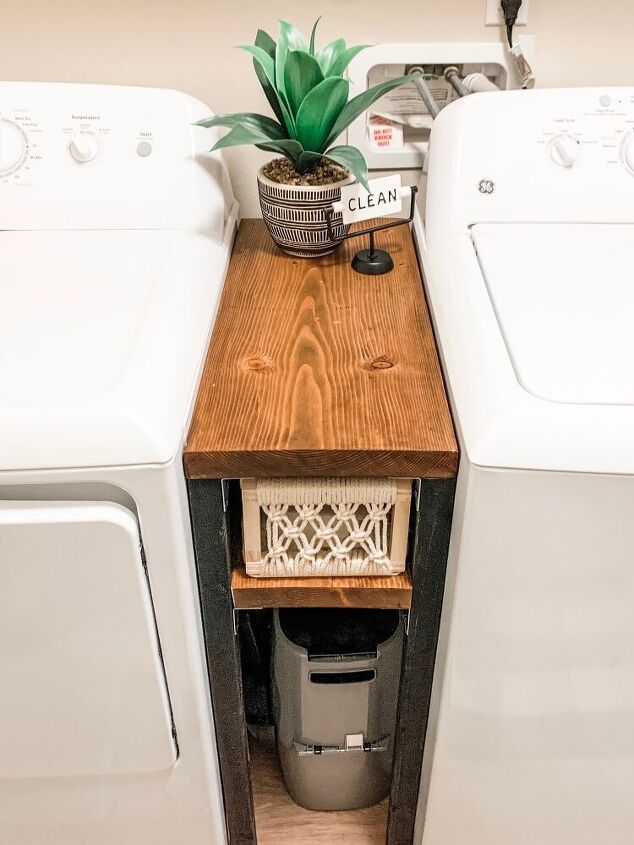
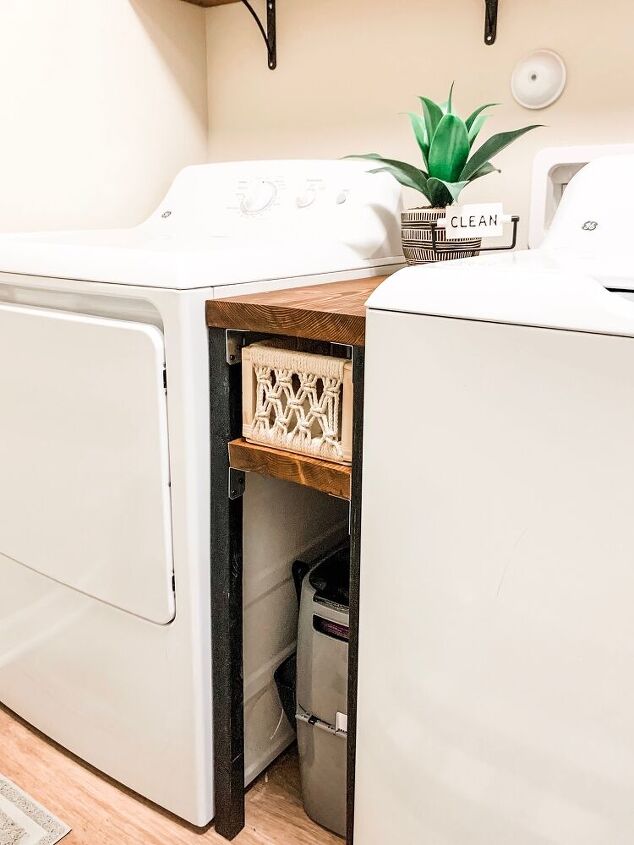
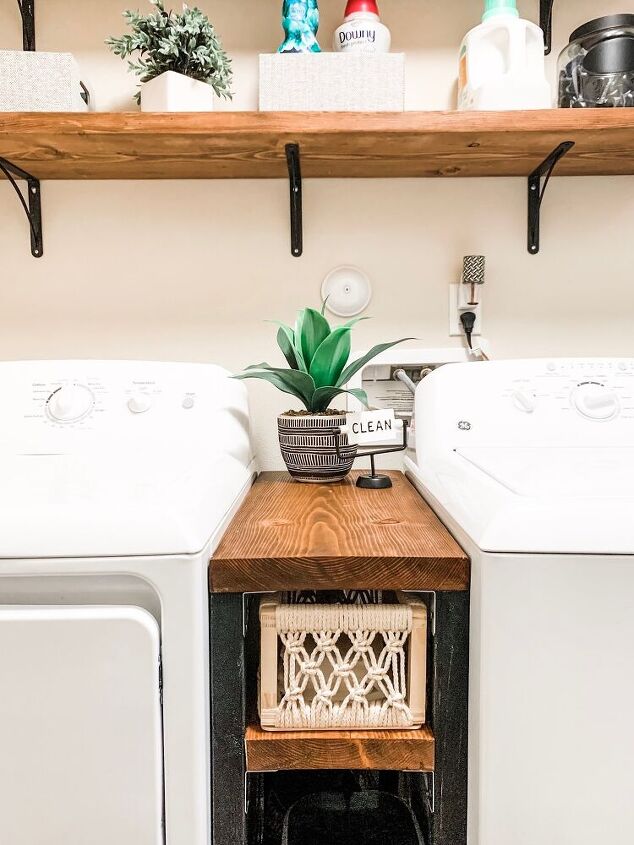
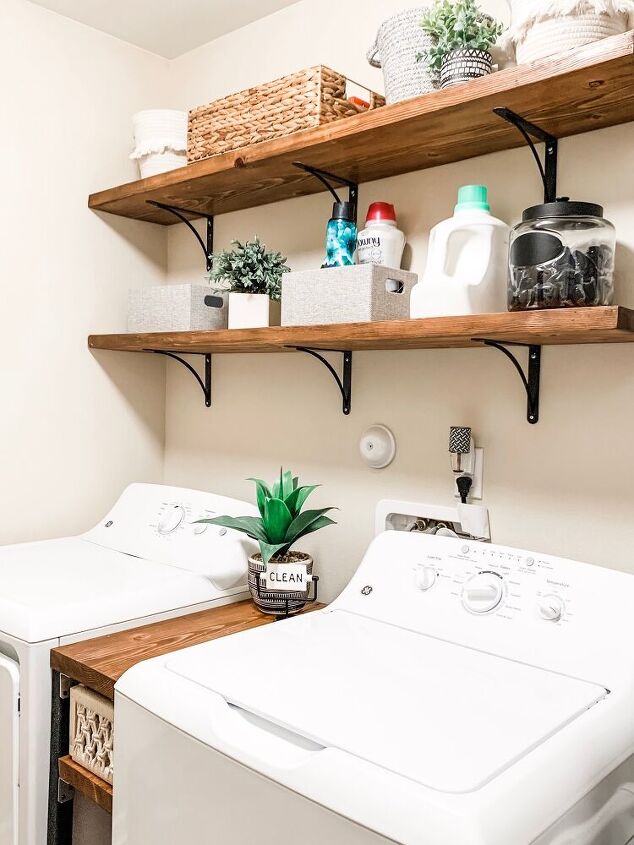
I love how this really makes the laundry room feel more complete! I have a little spot to place some extra clothes or detergents and what not in between loads, and I also have a little shelf to store my dryer sheets and items behind it. It also covers up all the litter stuff nicely! I do have to pull the table out a bit in order to get the litter stuff out, but I eventually plan on adding some felt pads to the bottom of the legs to allow it to pull out easier for grabbing those kitty items.
Overall, I think this DIY made such an impact on this space, and it was so easy to make! A one day project for us, and also our first wood working project from scratch. I'm so happy with how it turned out.
I hope this tutorial inspires you to make one for yourself!
If you're interested in DIY projects, home decor, and room makeovers, follow me on instagram @emgraceyourspace for more :)


Comments
Join the conversation
-
Looks great!
-
Love it, amazing job!


Frequently asked questions
Have a question about this project?
I really love this, great job!
What is the vibrations of the washer and dryer going to do to the appliances over time, no way to keep them from rubbing the shelving, thus leaving scrub marks on them.
love this and I also thought add castor wheels. I have the same question about the vibration and rubbing against the washer and dryer over time. thoughts on preventing the damage to the sides of both? gluing felt ?