


Faux Concrete Birdbath Centerpiece -- Decor Accessory
Create a "concrete" birdbath from cast-off's -- and it's easy and fun! And also tons of latitude for your imagination.
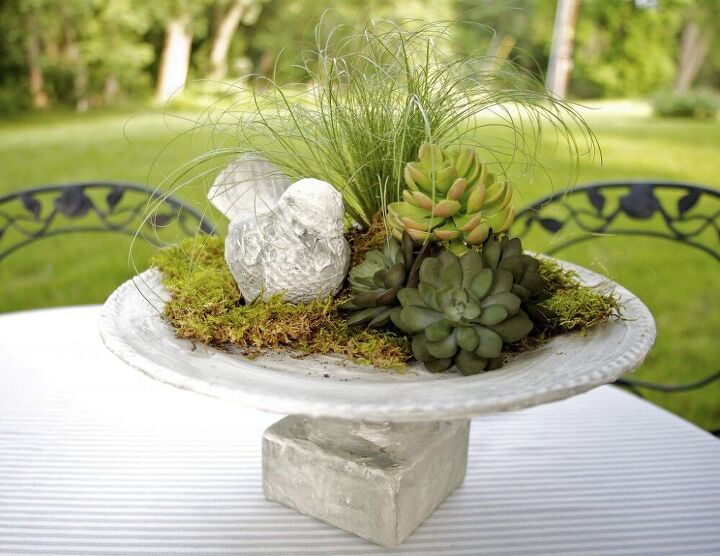
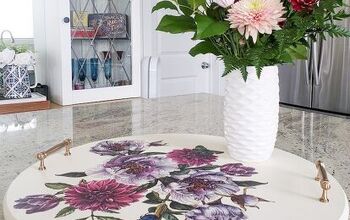
One Example of a "Concrete" Birdbath Centerpiece
I've made many of these for several large events. This set of three were made for DIY Wedding magazine. Jump over to the blog post to see several more examples and more in-process pics.
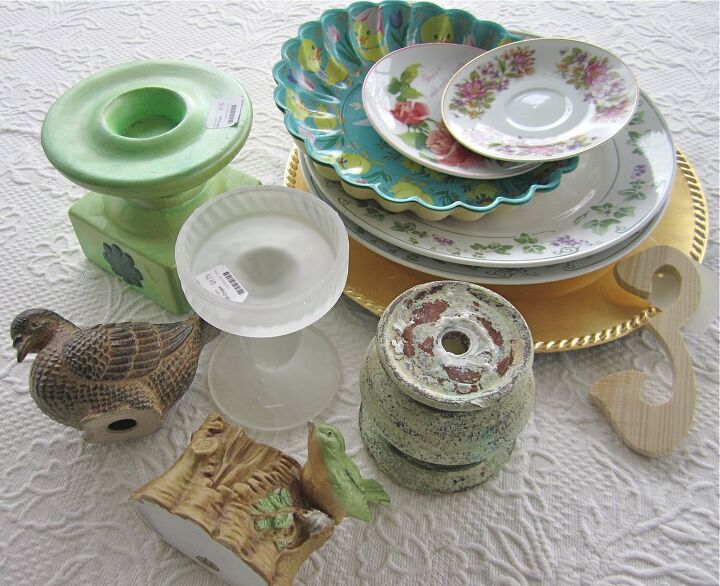
To craft your own, start by gathering odd pieces to form the structure. Keep in mind you are only looking at the shape, the form, the scale. Don’t be put off by the truly atrocious colors, finishes or surface designs. Mine through your cabinets, take a field trip through your local thrift stores, dollar stores or yard sales.
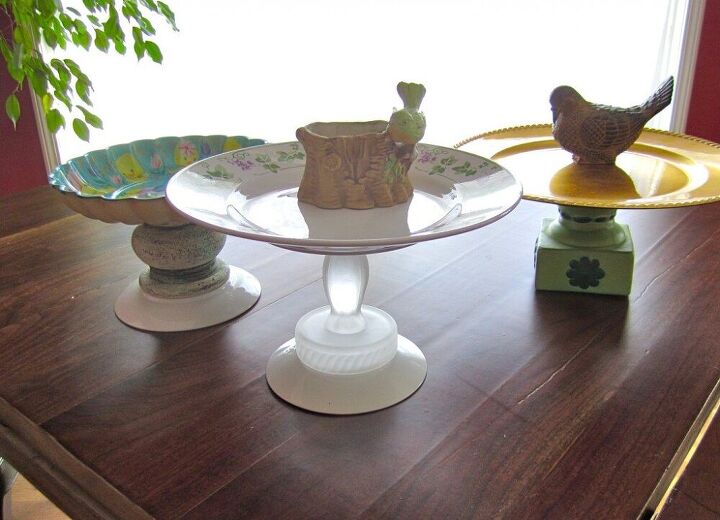
Each birdbath will need at least 2 items. First, a large plate, pasta bowl or small platter for the basin. Then for the pedestal, a squatty vase, a hefty candle holder, a stemmed dessert glass are all good options. If the footprint of the pedestal needs more width for stability or a bit more height, I like to add a salad plate or saucer upside down, like the one on the left and in the center.
And what’s a birdbath without a bird? I’ve used two different options here. A solitary bird statue and a short vase with a bird attached that will hold some fresh cut flowers in water. Have fun with this!
Break out a super strong adhesive – I used E-6000.
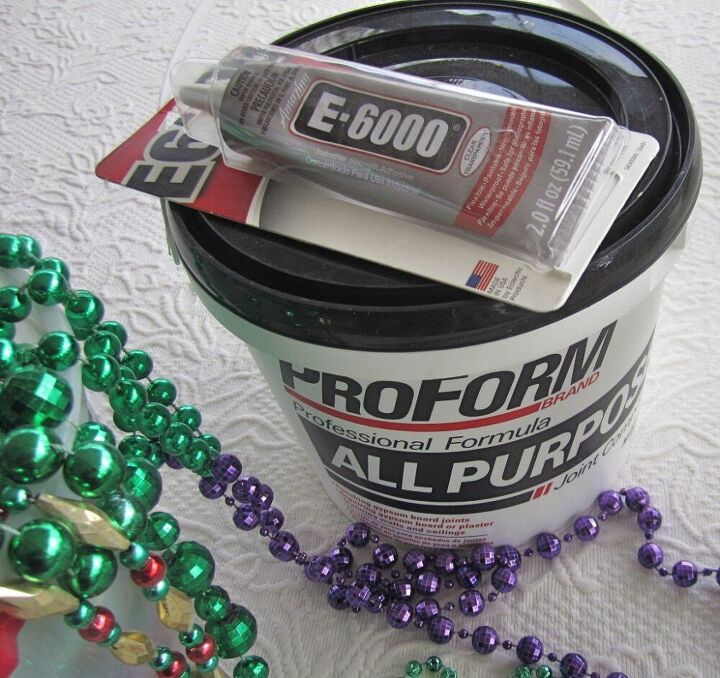
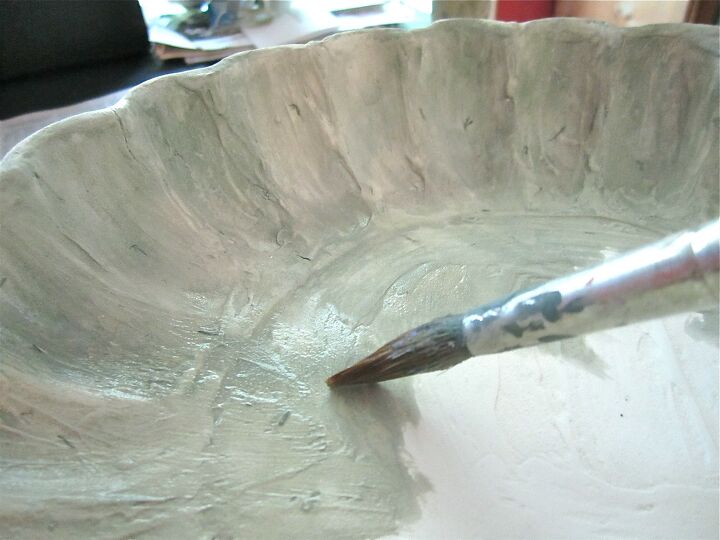
Once your glue is dry, it’s time for the fun. Bring on the joint compound!
Joint compound? Yep and you wouldn't believe what else I've made with my secret weapon. Check this one out.
Stir the joint compound to get it a smooth and even consistency. If it seems too dry, add some water. You want it the consistency of frosting.
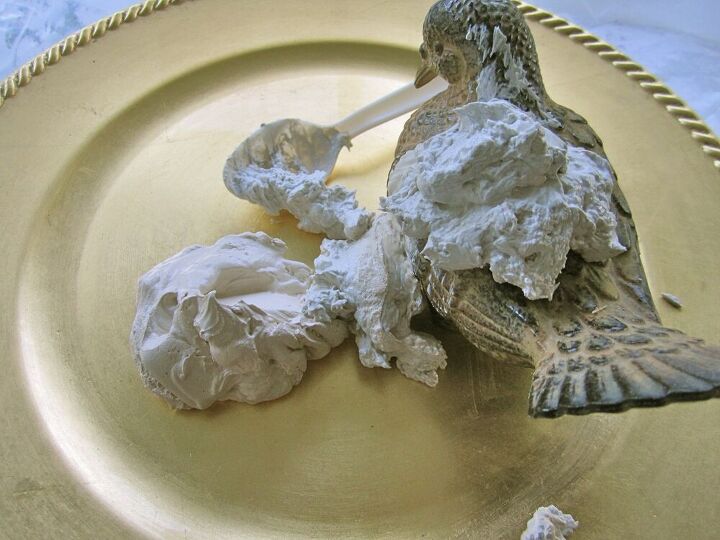
Start with piling on a good helping of joint compound (JC). Then with your fingers, work it into all the nooks and crannies. Lather this beginning layer on all surfaces. Just like with painting, two thin coats is better than one heavy coat. Don’t obsess over this first coat. You will smooth it out and work on the texture later. The goal here is a good somewhat consistent base layer.
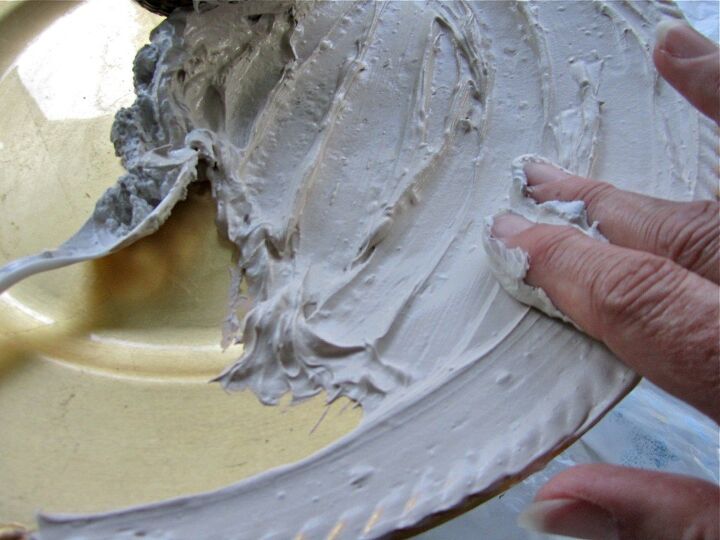
Wet fingers are the best for smoothing getting the JC into all the nooks and crannies and smoothing it out.

Be sure to get under the basin too.

Let it dry a bit (an hour or two), or even overnight and then dip your fingers (or a small soft pad works here too) in a bowl of water and gently rub to smooth out your semi-dry finish a bit.
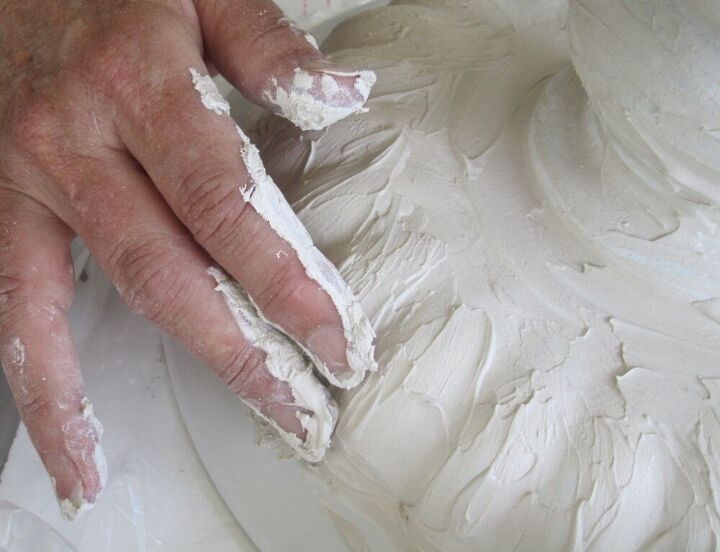
Let it dry a bit more or for several days if your schedule requires, and you are ready to add a second coat of joint compound. This layer should be enough to give you complete coverage and polish the texture. If you were a bit thin in your application, and you have the time, there is nothing wrong with a third thin layer.
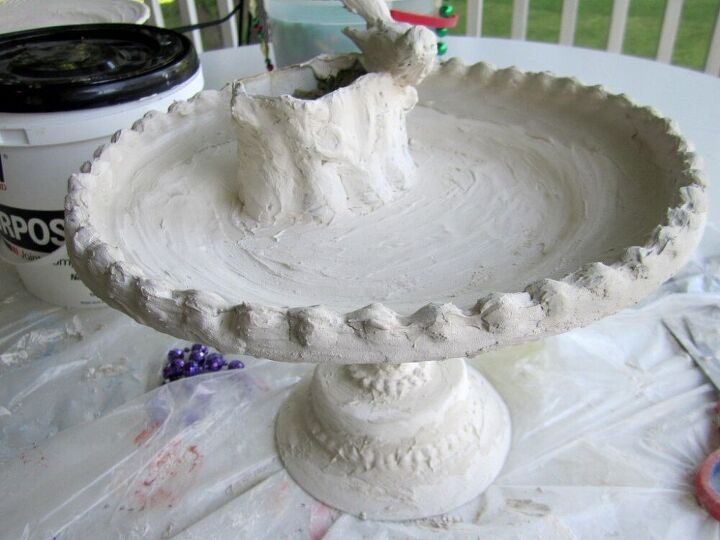
Again, wet fingers, or a damp smooth rag rubbed over the almost dry surface will smooth it out further. Once it is dry, fine grit sandpaper can also be used if you have a particularly troublesome spot.
This whole process is very forgiving, so just get in there and play!
Once you’re happy with the texture and it’s dry, it’s time to add the aging. Watered down paint applied quickly and rather sloppily is it.
I used cheap black craft paint. Make sure all areas are covered and let it pool a bit in the nooks and grannies. Keep a damp rag or paper towel handy and wipe as you go on the raised areas lightening the raised areas and leaving the recessed areas darker. You can go as light or dark as you like.
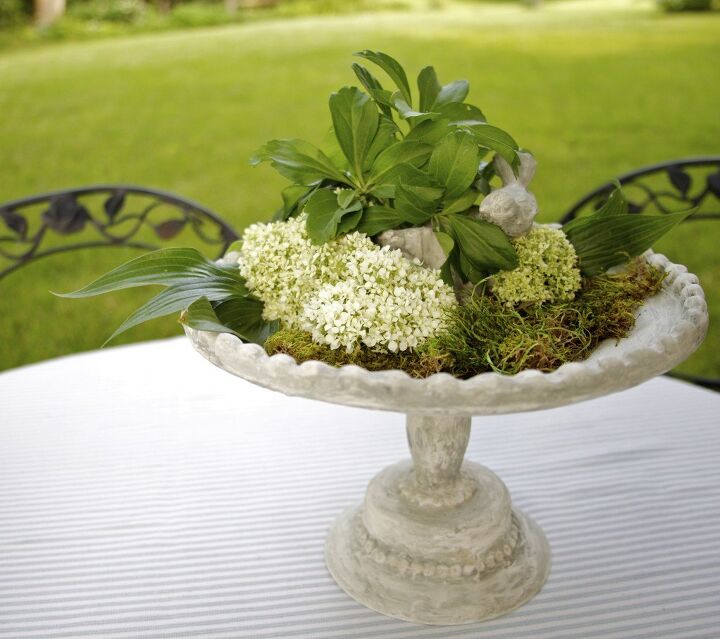
Garden clippings or succulents? Monotone or festive variety? This is where you get to have fun designing. And there are more examples on the blog post to inspire you further. The link is in the first paragraph.
If you enjoyed this project, check out more of my hostessing tutorials here.
Resources for this project:


Comments
Join the conversation
-
great idea to use things that would otherwise be thrown away very inspiring I
ndeed!!
-
I'd like to ask if this method would work on metal rather then glass objects. I love how this looks but don't want to have glass shards all over my patio or deck if it accidentally gets knocked off and breaks. I also wonder how it would hold up to hot summer months. We live in an area that is pretty humid during the summer so I would have to seal one I made.


Frequently asked questions
Have a question about this project?
No sealant necessary?
Joint compound outside? Won't it wash away?
Love this idea! very pretty looks like a old stone piece but can it get wet?