


DIY Dollar Store Side Table
I made this fun and easy nautical DIY Dollar Store Side Table using some simple items from the Dollar Store, a few items I already had (and a few from Michaels). Here is how I made it.
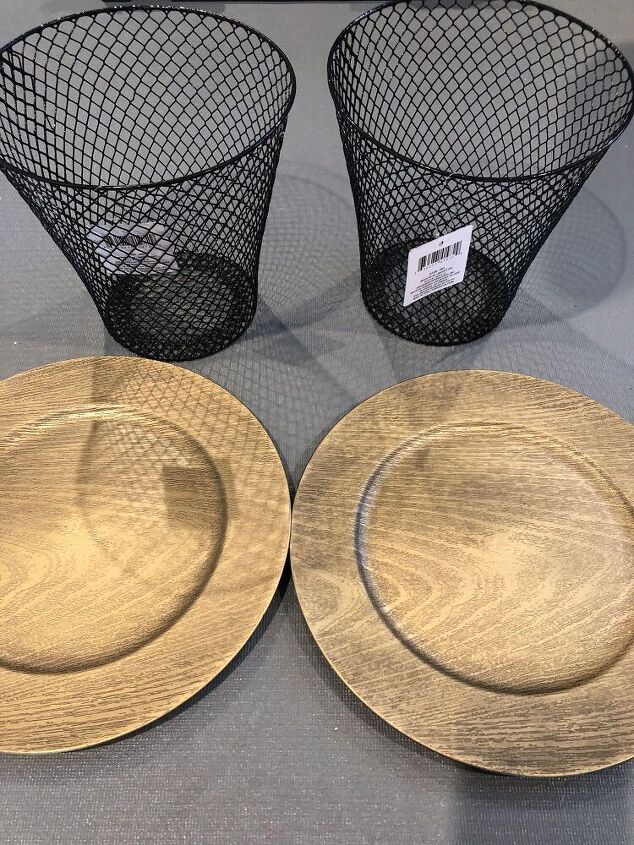
Spray Paint
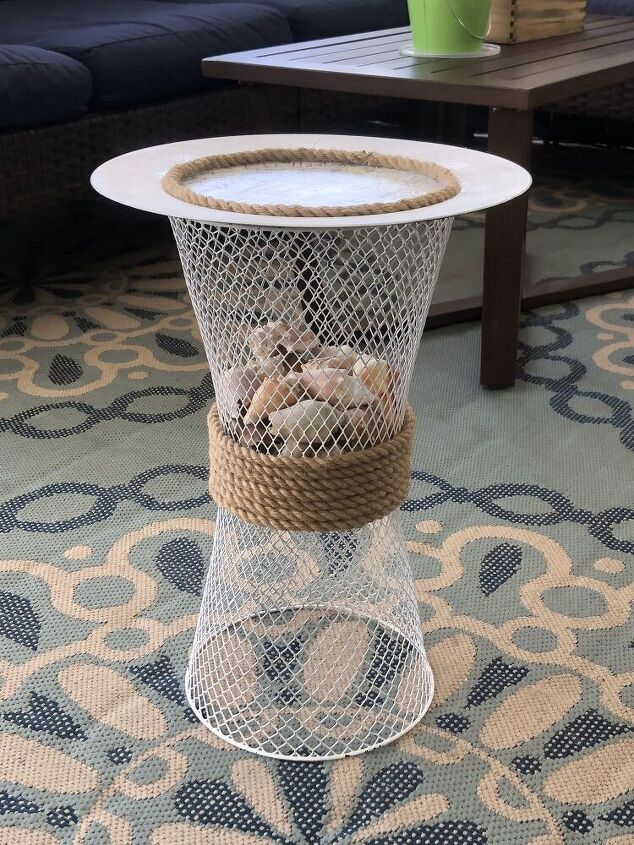
First, I sprayed painted the trash barrels and charger plates a glossy white. I bought 2 chargers, but only ended up using 1. Apparently these trash barrels come in white already, but they didn’t have them at the 2 Dollar Tree stores I visited in my area.
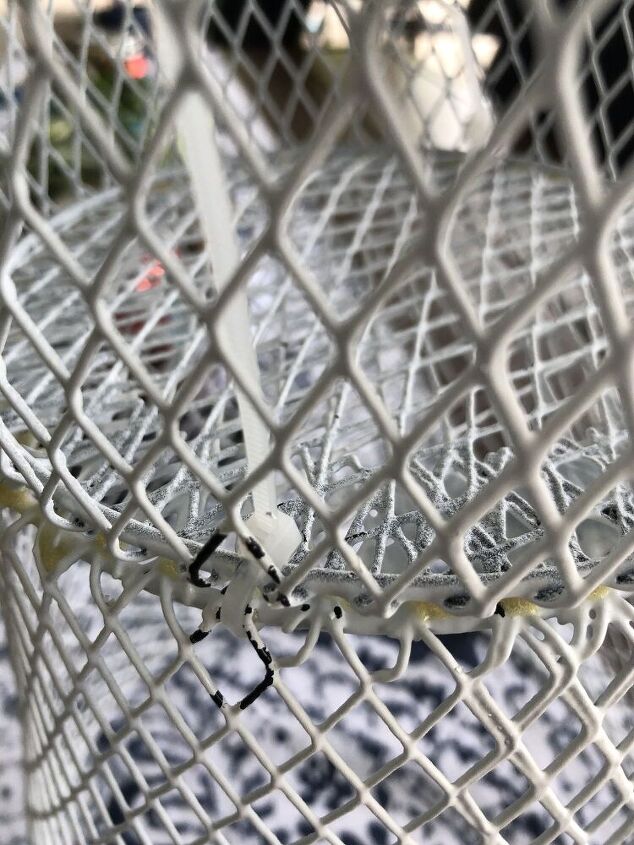
Attach the Barrels
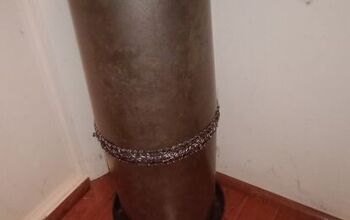
Once the paint was dry, I attached the 2 barrels together. At first, I tried gluing them. That wasn’t working great and I was worried the glue wouldn’t hold up, so I ended up zip-tying them together to make sure they were secure. I used only 2 zip-ties, 1 opposite the other. This did the trick.
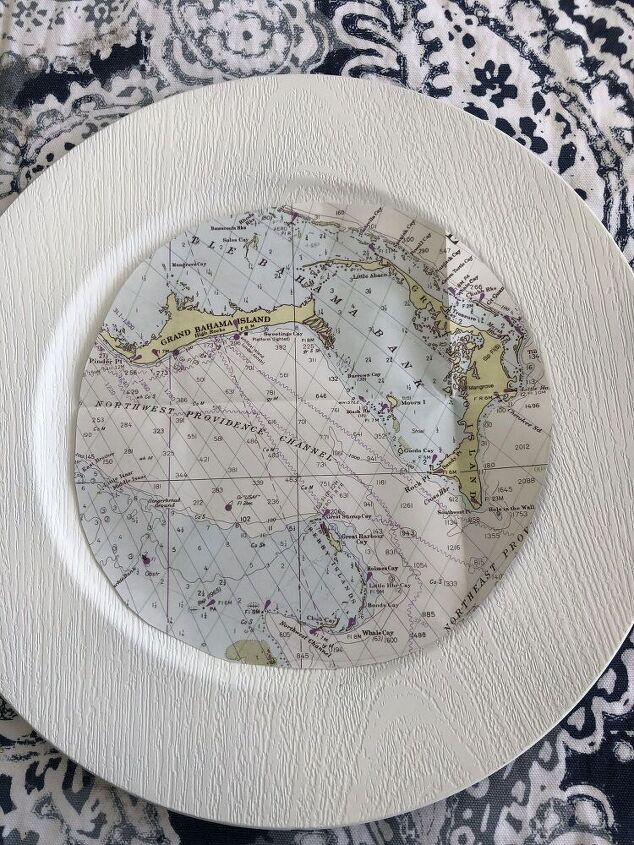
Embellish the top (optional)
This step is optional. You can leave the top as is, if you’d like.
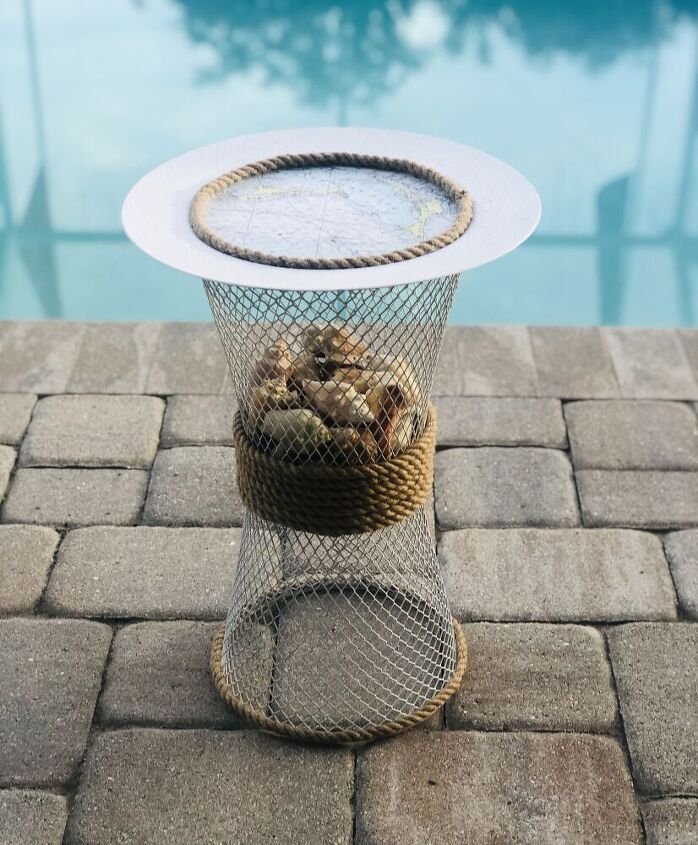
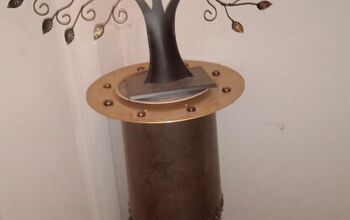
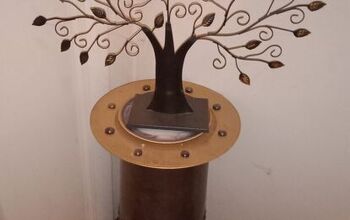
I was going to stencil the top using this Compass Rose stencil I found on Amazon (and have used in many projects, like this tray). However, the stencil was a little to big for the plate. Instead I used this nautical map wrapping paper. I simply cut a circle to fit inside the charger plate and used some Mod Podge to adhere it to the top.
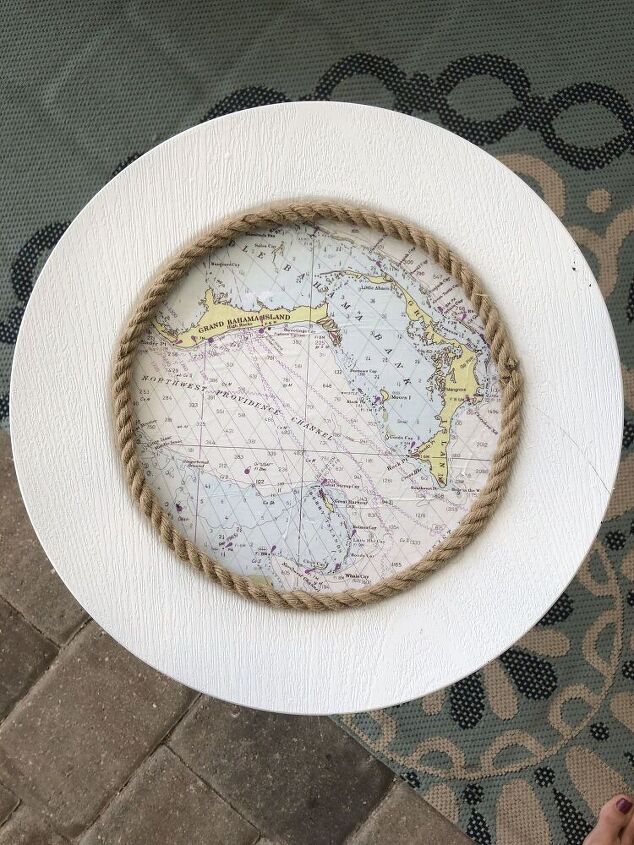
Add some rope
Once the Mod Podge dried I used some E6000 to add some rope around the edge to hid the imperfections. I also added some rope to the middle of the table (to hid the zip ties), and one strand around the bottom.
NOTE-I usually purchase my rope at Dollar Tree, but both stores in my area were out of it. I was able to purchase very similar rope at Michaels (which I actually liked better, but cost a bit more)>
Glue Charger to the top...
I added some shells to the top trash barrel and then used the E6000 to glue the charger plate to the top of the table.
Finishing touches...as I was working with the barrels some of the spray paint chipped off, so I did have to touch up the paint a bit. Luckily I had some regular white paint in the garage and used that to touch up any chips.
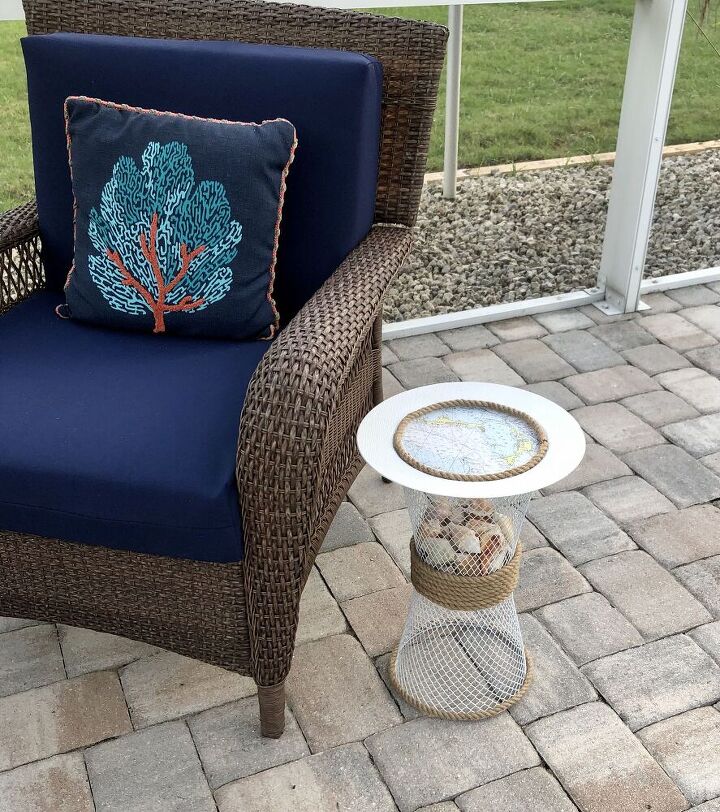
Overall, I am happy with how it came out and it didn't cost very much to make. This was pretty easy to make and looks pretty cute too.

Resources for this project:
See all materials


Comments
Join the conversation
-
I did something similar with two trash cans and a charger plate.
-
see pics below it kept cutting off.
I loved your project !!!


Frequently asked questions
Have a question about this project?
I live in Australia, what is a "charger plate" please? Could any flat surface be used instead?
What size rope did you use? It comes in anywhere from 1/4" to 1".
WHERE Can i find paint for ceramic tiles. i don't want to break them