


Sew Easy Upgrades for Your Patio Furniture!

Ok, I get it. Lots of Hometalkers want to know how to do "NO SEW Makeovers." Me too.
So I avoided pulling out the old machine. A White "Millennium Edition" had been buried in the basement for nearly 20 years.
Today, looking at what we accomplished in a one day, I regret that I had waited so long.
For years I had been delaying replacing all my mismatched outdoor furniture. The frames were still good; but the fabric was worn and shabby. A repeating saga. I was not at all eager to reupholster them all properly. But...
Why not make slip covers that fit snugly and could be removed in winter?
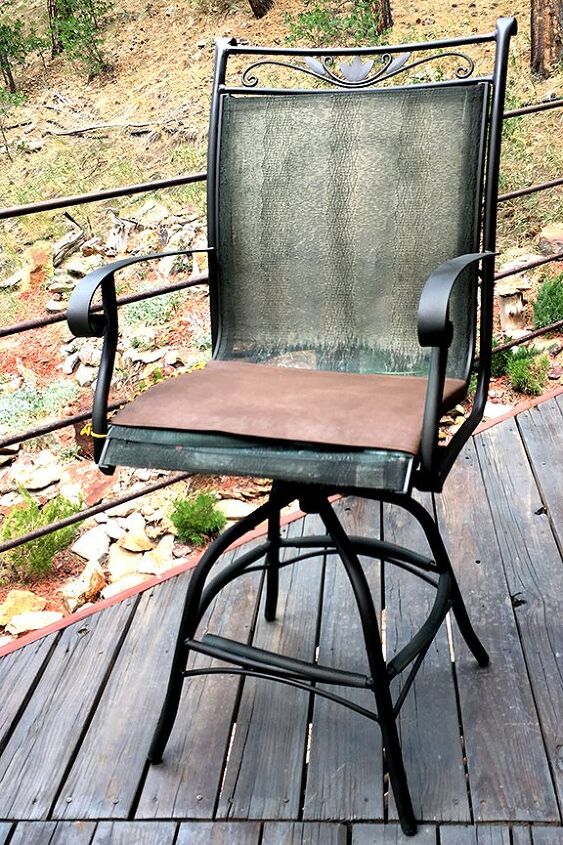
And then there's a bar-height swivel chair that I like... with mesh supports that are busted.... Can I fix that one too?
Here's how we did three of the pieces in one afternoon.
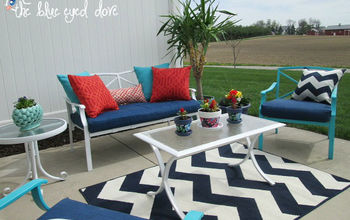
And threw in some extra cushions and pillows to tie all the outdoor furniture together.
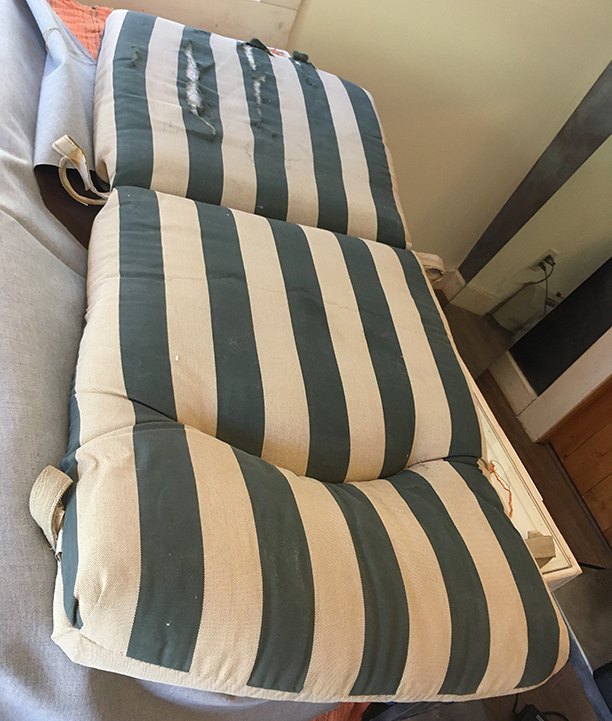
Here's one of two large cushions needing new covers.
This past weekend my daughter and I did a hammock project that we finished with several envelope pillowcases. See post on Hometalk.
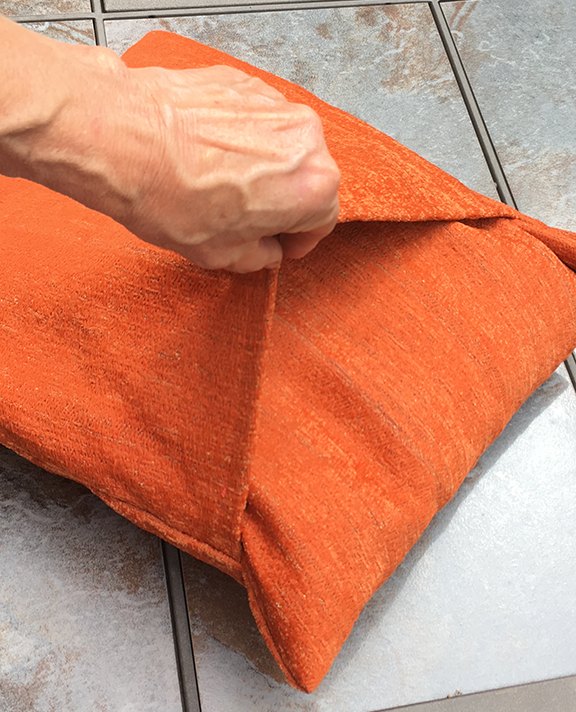
You can see that this tucks into itself for a custom look, and can be removed for winter storage.
I store my deck furniture and cushions under my deck and a tarp. Now I will be able to pop off these slip covers, store them inside, and get a fresh clean look next spring and summer!
I found brown leatherette outdoor fabric. Contrasts beautifully with the orange pillows and hammock we made earlier.
It took about an hour to sew both.
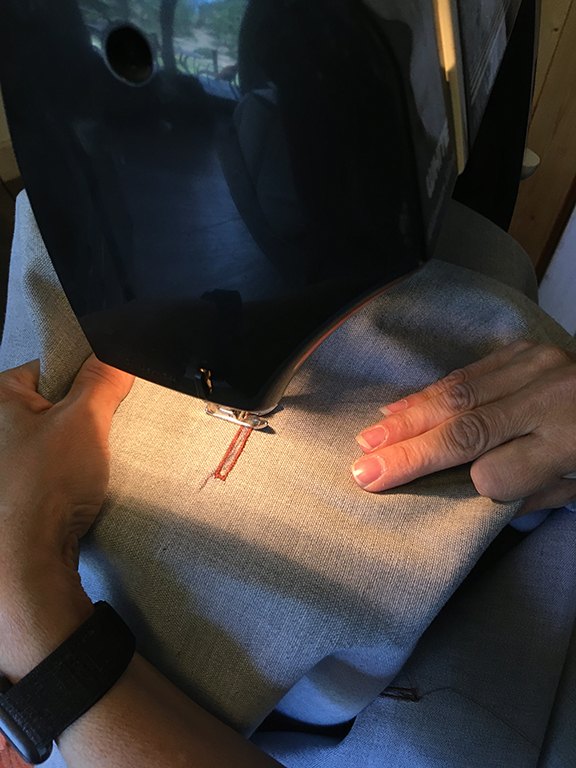
For the first one Cindy put in buttonholes to pull the velcro strips through. Then stitched the top and sides.
After testing it, we decided we could do without the velcro strips. I'll show you both later.
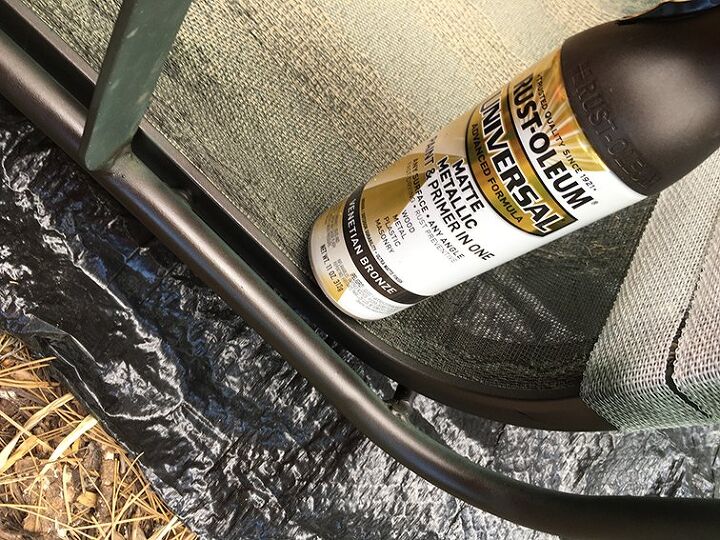
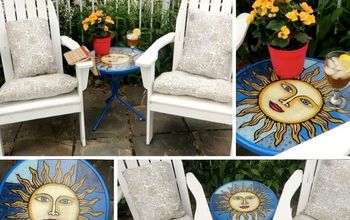
While Cindy sewed, I cleaned and painted three chairs.
I love the look of matte metallic Venetian Bronze. I don't even mind the old green ghosting through, giving an aged antique emerald glow.
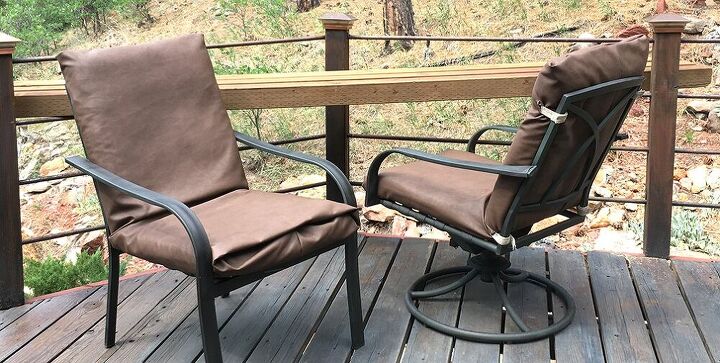
Here's how they look with slip covers on -- one with velcro strips.
I could replace the velcro straps with black ones if I want to.
We'll wait & see...
I rather like the more casual look of the leathery slipcovers instead of the striped upholstered look.
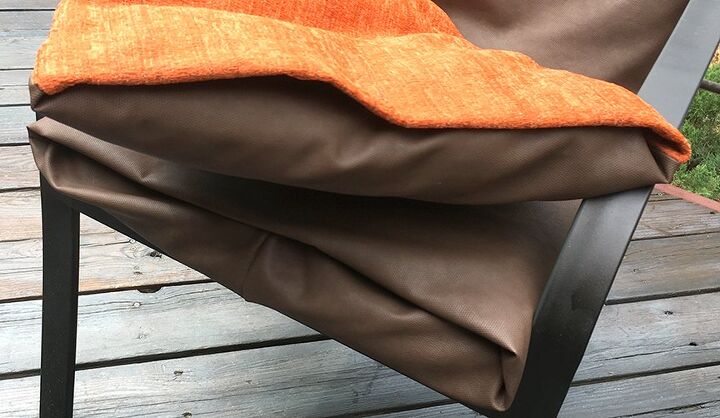
We also made extra cushions in reversible orange and brown. I love the contrast between the two colors.
See how neat the fold and tuck works?
Just leave an extra 4-6 inches of fabric on the open side, fold in and shove under the cushion.
You can add a hand stitch or two to hold the fold shut, if you like, for the season, if you use your chairs a lot.
I'm trying it both ways to see if it's necessary.
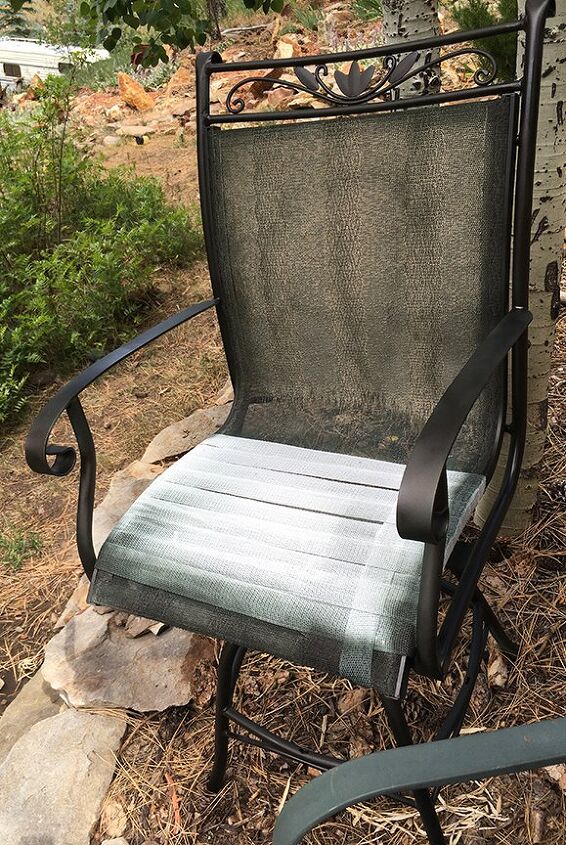
The third chair was split in the seat. I repaired it using 2" wire reinforced poly webbing, the kind used for horse fencing. It is rated for up to 500 pounds! (1" will work as well) I simply wrapped it around the frame and tied it taut underneath. When I plop onto it I feel fully supported.
Truthfully, it kinda looks like someone's underwear to me, so it needs to be covered.
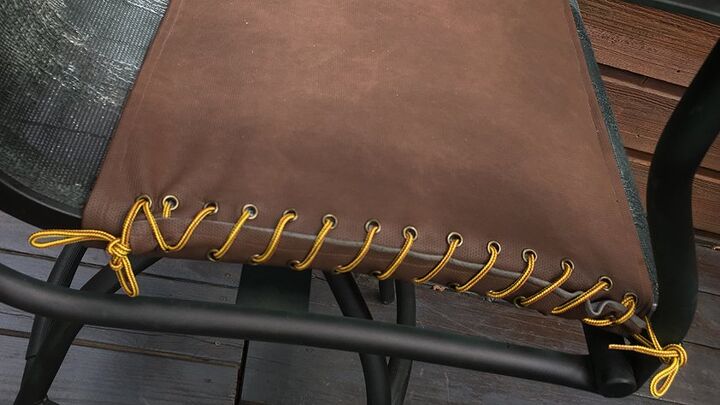
Speaking of lingerie... how about a corset?
Here's what I came up with using available materials. I hemmed a long strip of the outdoor leatherette to cover the seat top and bottom. I hammered 2 rows of metal grommets an inch apart, thinking of high boots... or a corset. (This was my first time making grommets, using a kit I bought on Amazon. Easier than you might think. But I was nervous and didn't take pics in process.)
A 72" shoelace held it all in place nicely.
I thought it looked cool to attach it from the side, although it might look neater underneath. Either way...
I could have made the cover sleeve large enough to go over the whole chair if desired. It is not difficult to remove the seat, which is attached with hex bolts.
WARNING: Do NOT cut the old fabric off! The tension is required to keep it together. I had a matching chair that fell into pieces when I cut it and I didn't have enough arms to hold it together while working.
So now there's only one, which makes it even more unique. I might add a back corset sleeve later using the same concept.

All the assemblage of past years patio furniture are finally coming together -- inviting us all to relax in comfort and style.


Frequently asked questions
Have a question about this project?