


Super Cute DIY Dog Leash Holder
Just say walk and my three little dog's ears perk up and they bounce around on all fours. It seems lately we have been walking our little buddies a lot. So as part of a challenge to only build from scrap wood I built this dog leash holder. I thought it fitting to make it in the shape of a bone.
For this project, I doubled up my layers. I used 3/4" plywood for the bottom and then added various 3/4 inch thick boards (1 x 2s, 1 x 3s, 1 x 4, etc.). You can opt for one layer if you have less wood or if you prefer a thinner look.
Just for reference my DIY dog leash holder measured 15 1/4 inches x 8 inches at its longest length and width.
To get started arrange your top layer 3/4 inch thick pieces, over the bottom plywood piece. Once you are satisfied with the layout then glue the top layer pieces to the bottom layer. Clamp in place and allow to dry.
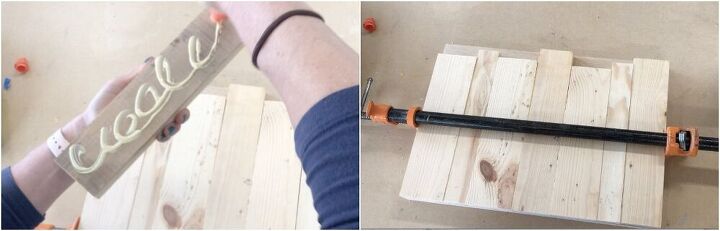
Create your image. I chose to create a bone shape. If you would like access to this bone image please visit my post and sign up for my Resource Library.
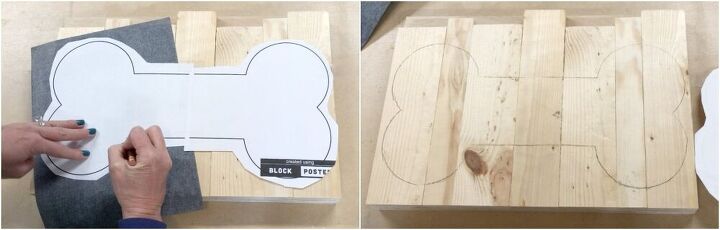
Print out your image, cut it out, tape the pieces of paper together and then trace it on to the wood. I used carbon copy paper and a pencil to trace the image.
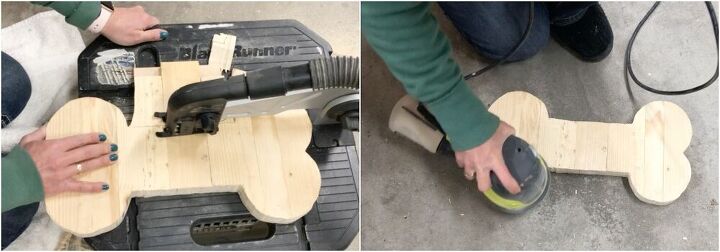
Cut out your image using a jigsaw. I used my Rockwell Bladerunner. Fill in any gaps with wood filler and sand your piece.
Stain or paint in your desired color. I applied Varathane Kona, sanded it, and then applied Varathane Sunbleached and sanded it again for a rustic look.
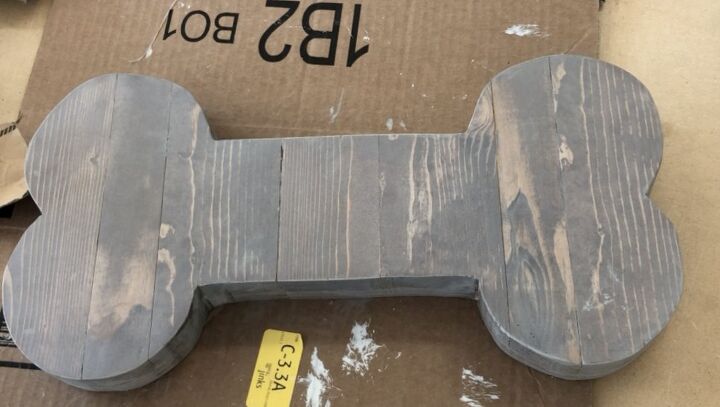
Apply a sealer if desired. I applied Rust-oleum Triple Thick sealer.
Add hanging hardware and hooks. I attached two sawtooth hangers to the back then I inserted two wall anchors and screws to hang it on the wall. I used hooks that I already had at home.
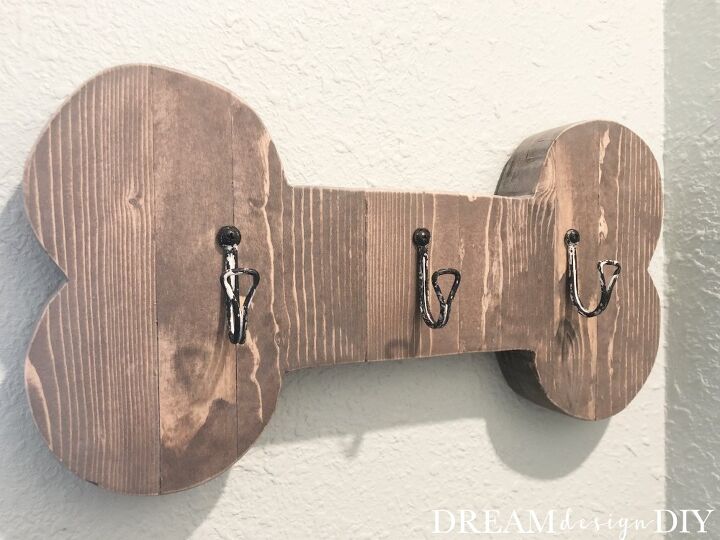
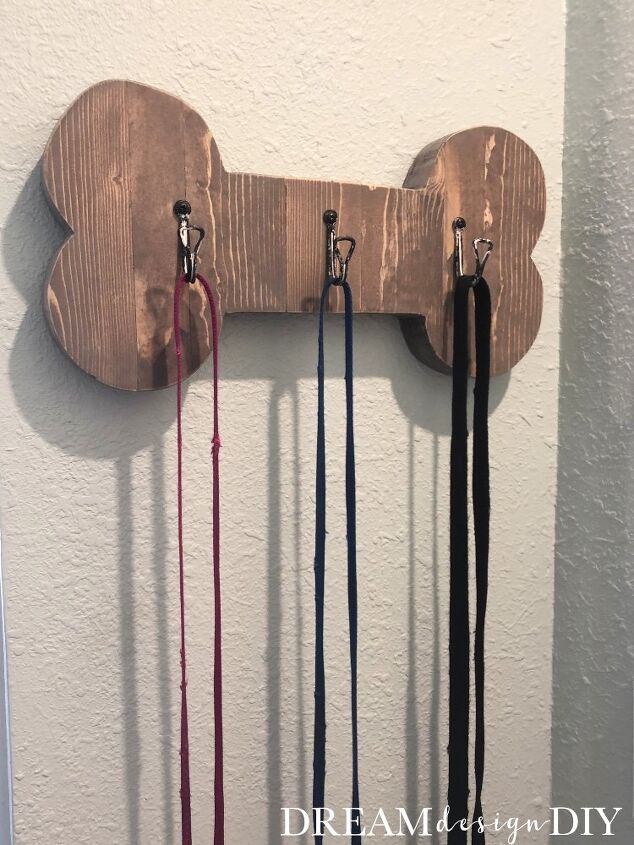
I love how it turned out! Now I don't have to go searching for dog leashes as they have a home of their own.
Hey anyone want to go on a walk?
If you like this DIY dog leash holder then check out these other scrap wood projects you can make.
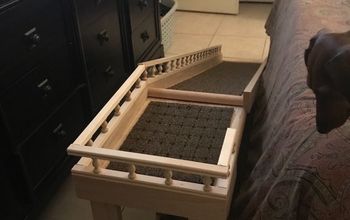
Here is another project to keep you organized a DIY Iron and Ironing Board Holder.
Thanks for checking out this post!
Happy Building,
Tiffany

Comments
Join the conversation
-
So cute, love it.


Frequently asked questions
Have a question about this project?