


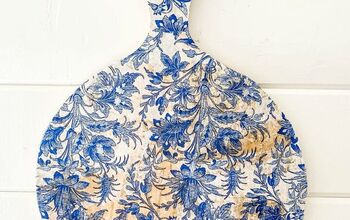
Repurposed Cutting Board Sign
I'm a great lover and believer of having words and phrases in my home's decor. When we're having a bad day, or facing challenges that seem difficult, signs with words that mean something to us can give us strength, and remind us of the things that are really important.
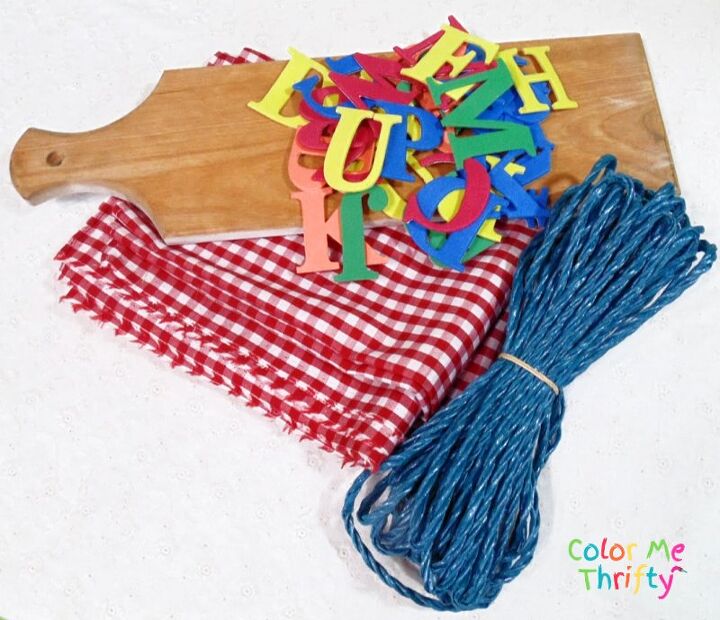
For my repurposed cutting board sign I'm using a bunch of thrifted things that I already have here at the house: a long wooden cutting board, a red and white gingham fabric tablecloth, some blue plastic rope, and some sticky back letters.
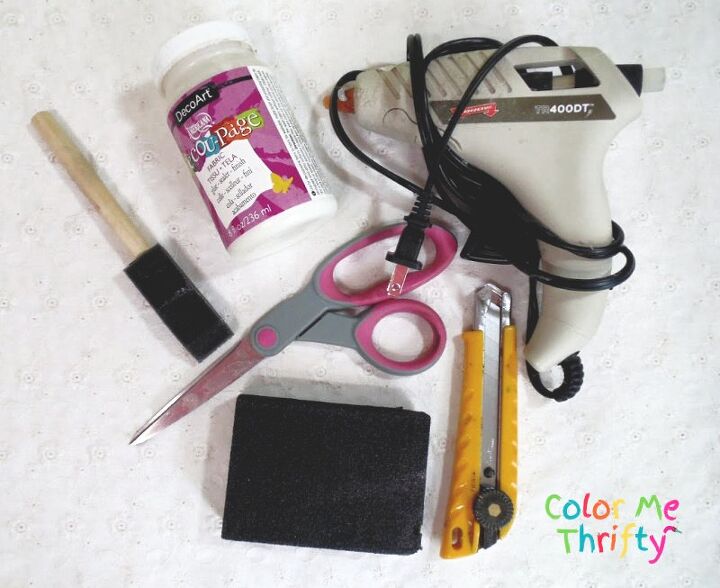
Here are the tools I needed to create my project.
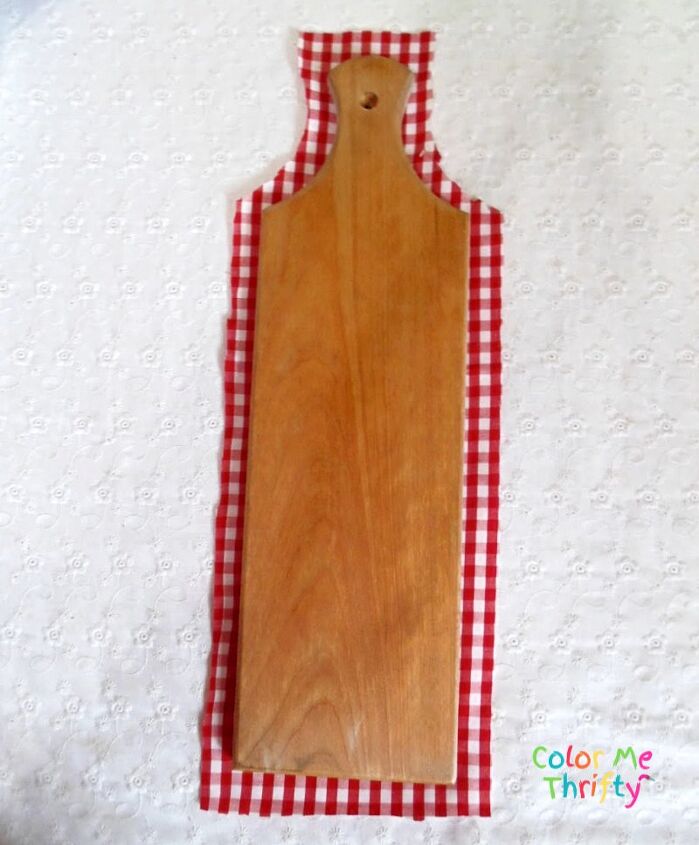
I cut out my fabric, leaving about an inch all around, which will be trimmed after the fabric is decoupaged in place.
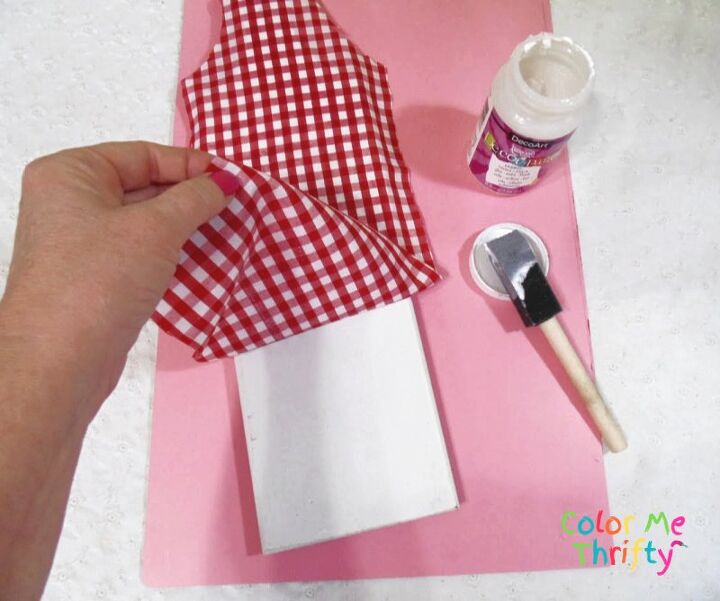
I brushed some of the decoupage medium onto the cutting board after I spray painted it white.
Then I lay the fabric down on top and smoothed it in place.
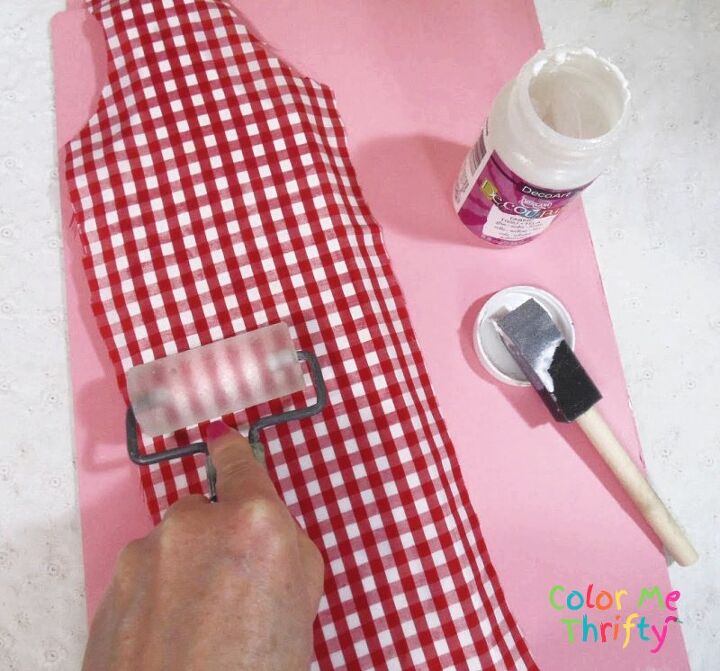
My breyer helps to smooth the fabric down even more, making sure there aren't any bubbles.

After the fabric dried in place I applied two coats of the decoupage medium on top, letting it dry completely in between.
I also sanded lightly with a fine grit sanding block between coats.
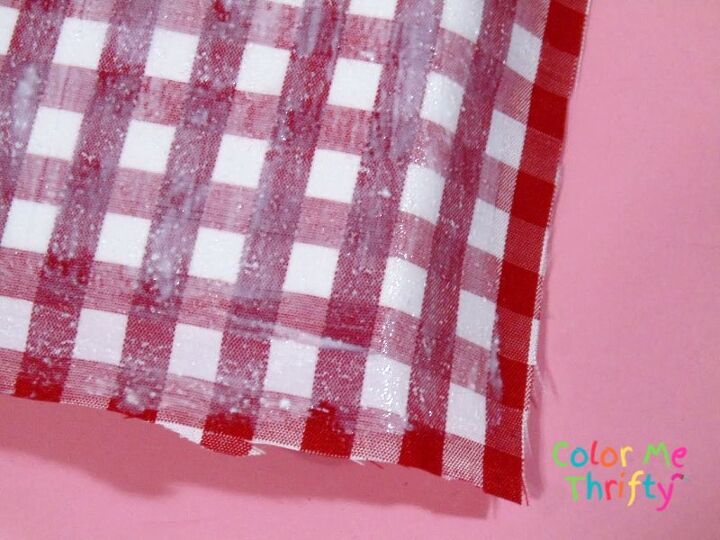
It's important to apply the decoupage medium over the excess fabric too, but you just let it hang there like this.
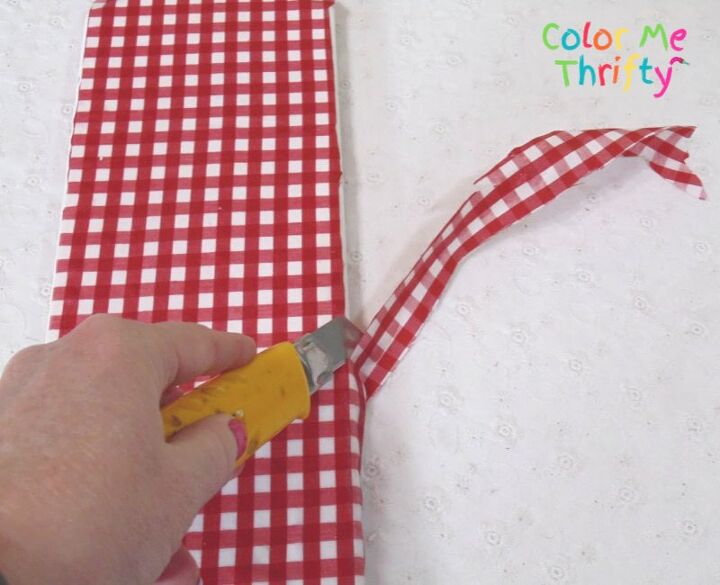
Doing that causes the excess fabric to harden and makes it very easy to trim it away with an xacto knife.
The trick is not to use any pressure, but to just let the knife run along the edge of the cutting board to trim the fabric away.
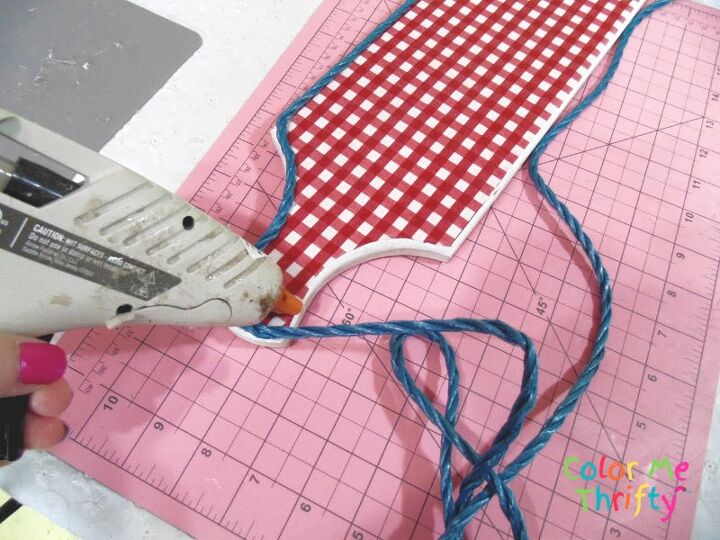
After giving the whole thing a light sanding with a sanding block I used my glue gun to frame the edge of the cutting board with the blue rope.
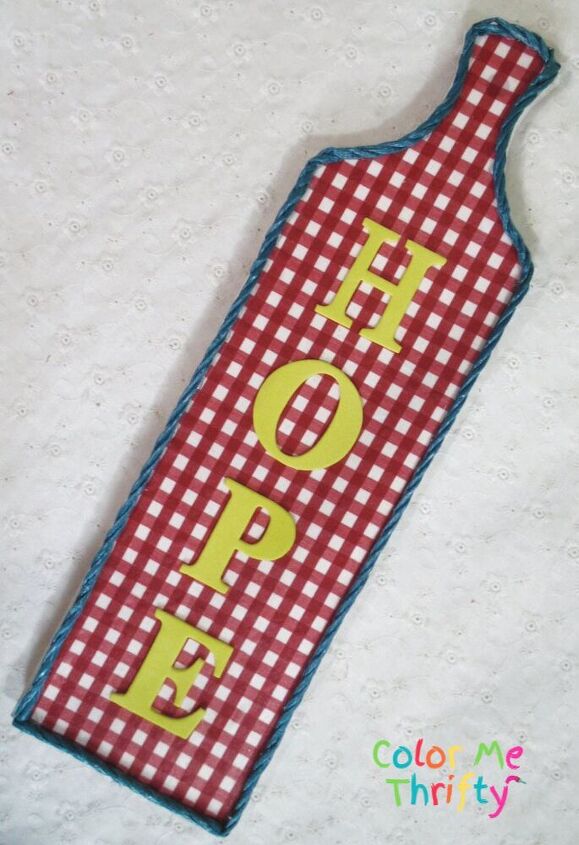
I just removed the paper backing and put the letters in place.
Hope is one of my favorite words, and something that I think we need to hang onto right now.
The fun thing about using these sticky letters, rather than something more permanent, is that they can be changed at any time.
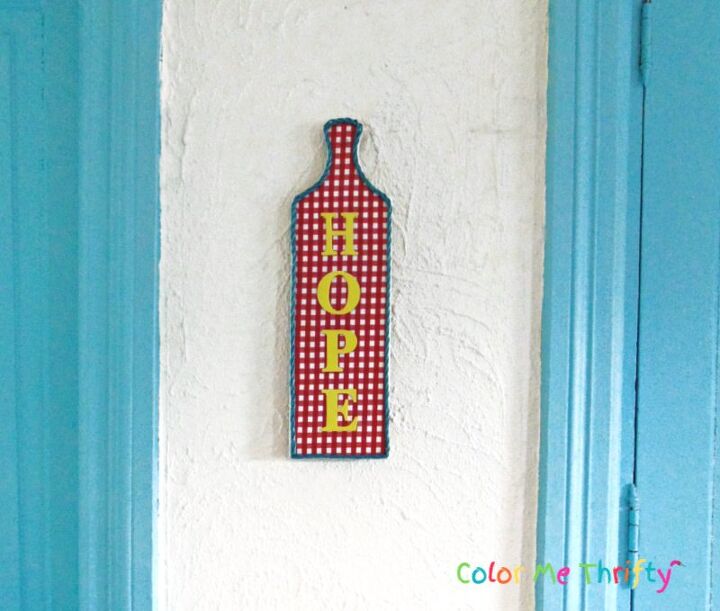
This is a quick and easy sign project that can easily be customized to go with any decor style... depending on the sign, fabric, and rope that you use.
The time of one hour does not include the drying time of the decoupage medium in between coats.
I used these colors because they go perfectly in my aqua and red kitchen, which has accents of yellow.
If you enjoyed this project you can find more decoupage project on my blog here.
Resources for this project:
See all materials


Frequently asked questions
Have a question about this project?
What is dimension of cutting board?
thanks, Jan