


5-Minute No Sew Roller Shades

When nothing seems to be fine enough, pretty enough or cost effective for your windows, the only option might be a diy one. Test this 5-minute no sew roller shade to see if it suits your needs.
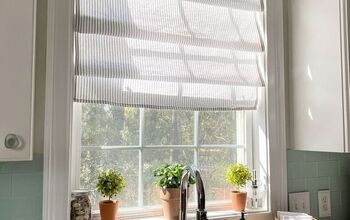
You might be surprised how easy and cost effective this is. And you can even work on the couple of variations, as you see HERE.
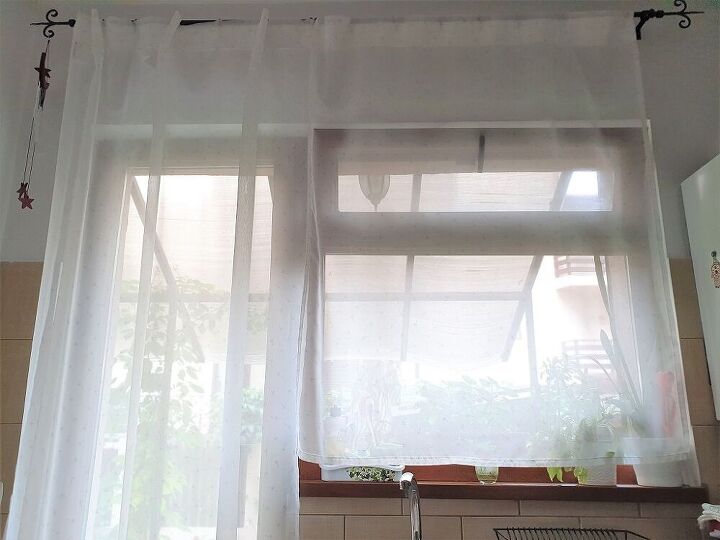
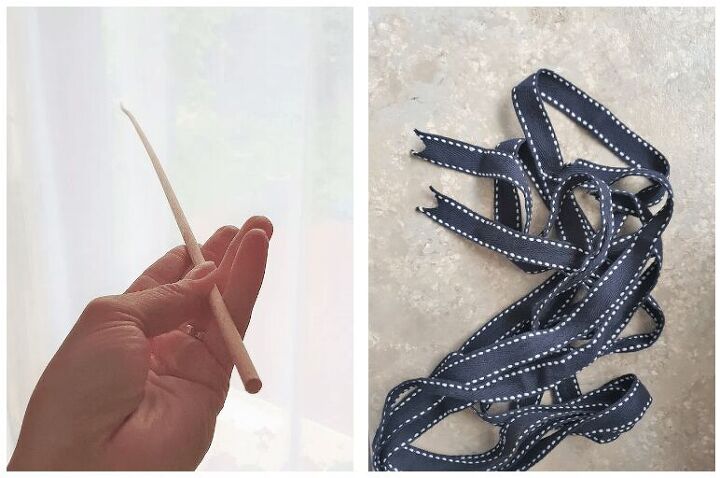
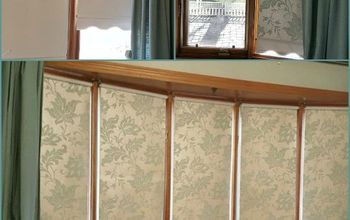
You only need a curtain that fits your window exactly, two pieces of ribbon (twice the length of the window) and a thin stick (5-6 mm width) that is firm enough to remain straight when suspended horizontally. Both the stick and the curtain should have the same width as the window so they could cover it properly and look neat.
It’s easier to work with a wall mounted rod, because you will use it to hang your roller shade too. For ceiling mounted rail, you will need one more stick and a couple of rings to fix it.
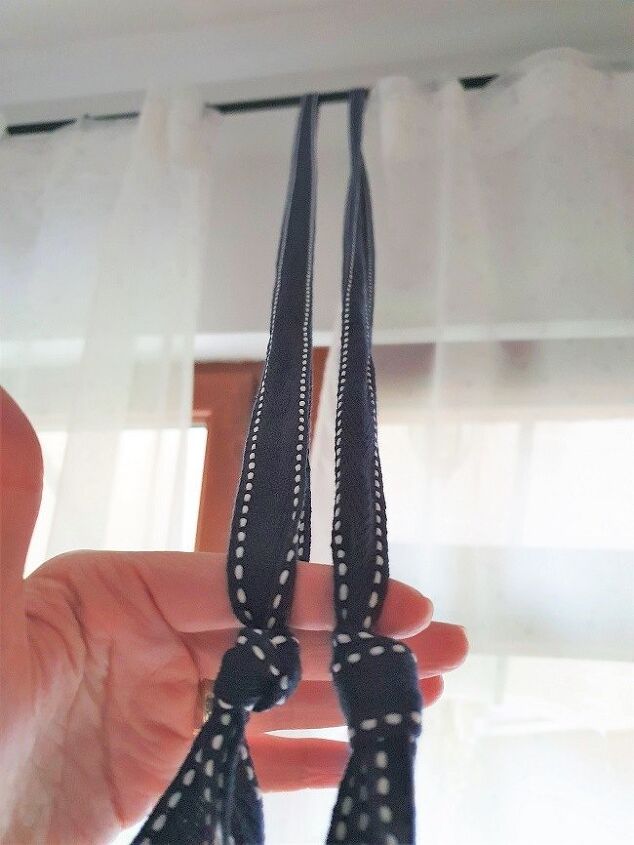
Hang the ribbons to the rod and make a knot or a bow on each of them, at the same height. That would be the height where your rolled shade will be uplifted.
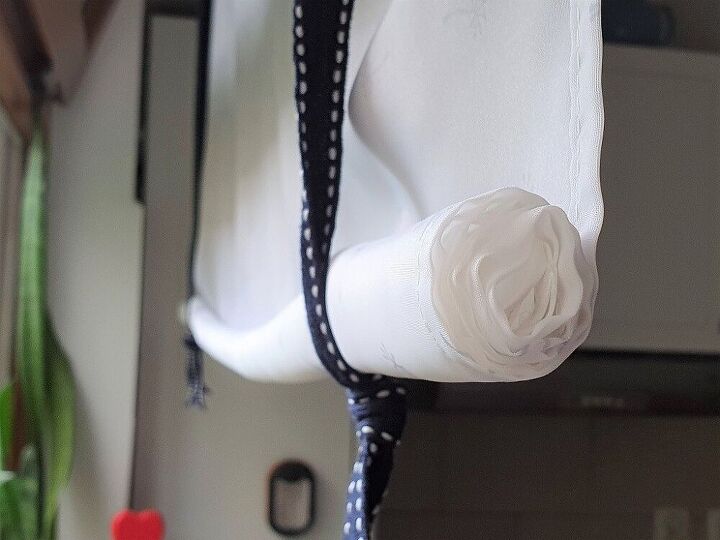
Look for the seam at the lower end of the curtain and push the stick inside until it’s completely inserted. Gently roll the stick along with the curtain until you reach the desired height. Use the knotted ribbons to hang / fix the rolled curtain and acquire the look you see below.
(For ceiling mounted rail, you should hang another stick to the rail first, with a few rings, then use it as a rod for hanging the ribbons. )
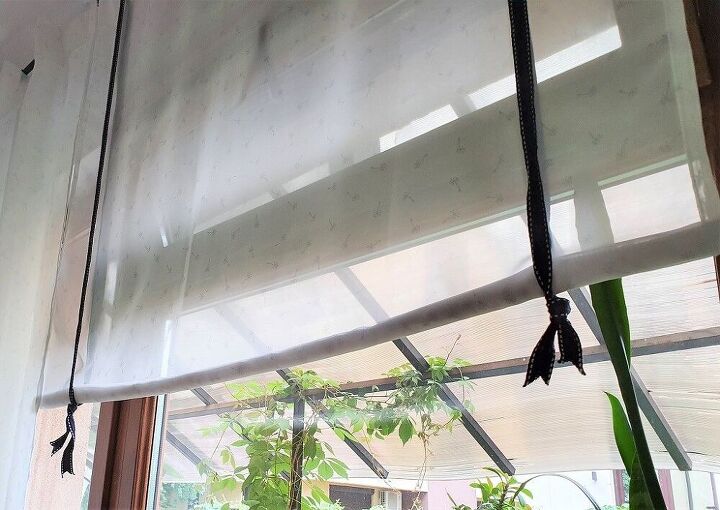
If the stick is firm enough, you won’t see much difference from the roller shades that are sold in the stores, beside the cords that are usually hanging on the side.
I hope this project will inspire you, and provide an easy solution for your windows for the cost of a few bucks. If so, feel free to share it with your friends or in social media.
And if you are eager to discover more tips on this project and other two ways to create a no sew shade, take a look at the original article on my blog HERE.


Comments
Join the conversation
-
This is how I've done my curtains for years. I use cup hooks to hang them. I also put a dowel glued to the bottom. It makes it easier to roll and weights the blind down when in the down most position.
-
Very nice


Frequently asked questions
Have a question about this project?