


Coffee Table Makeover
I have wanted to makeover our coffee table for the longest time! It wasn't in terrible shape, but I didn't love the finish. Here's what I did to fix it up!
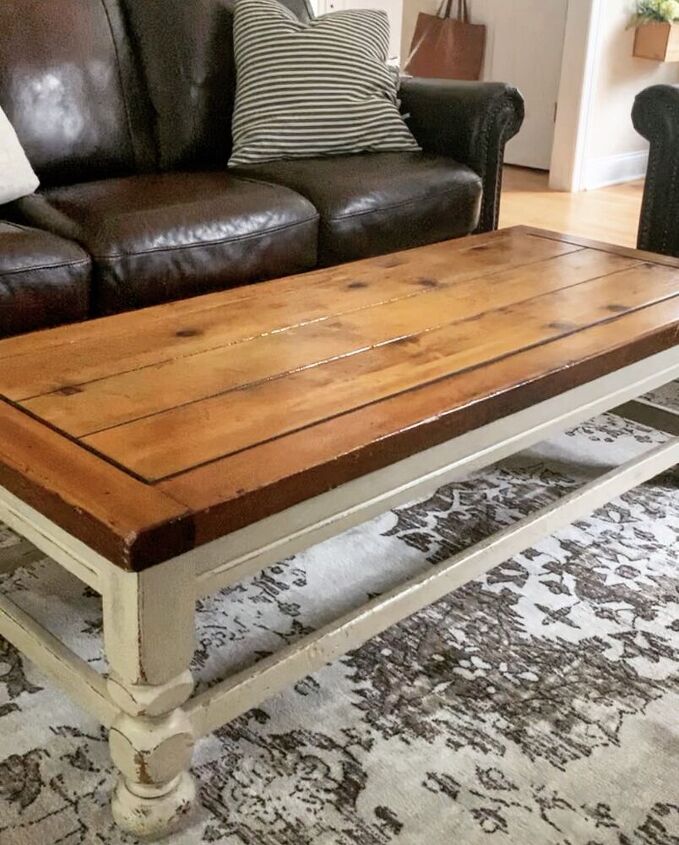
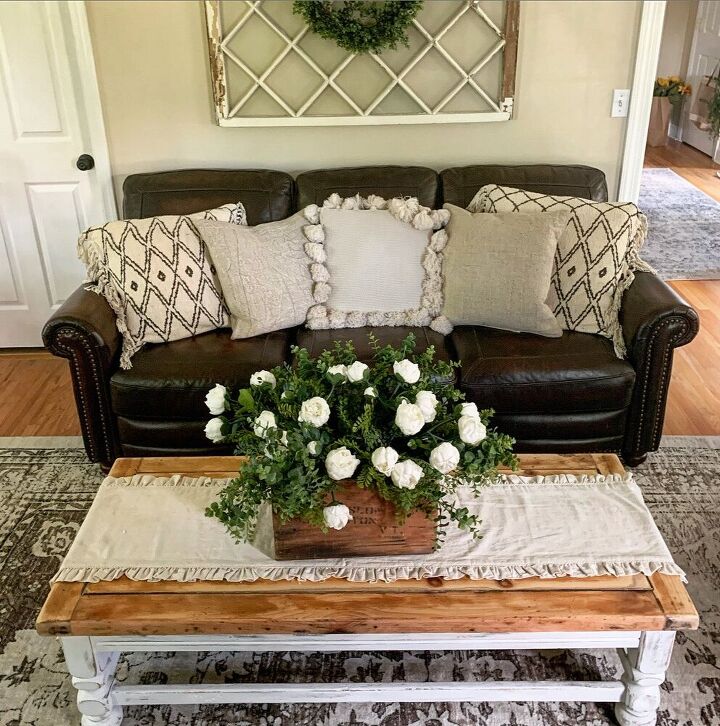
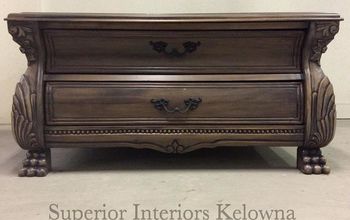
This coffee table was a garage sale find that my in-laws used at their shorehouse. I think they bought it for $10! My mother-in-law gave it a makeover shellacking the top so the grandkids wouldn't damage it with their juiceboxes. I don't have photos of what it looked like back then, but the whole piece is made of wood and had a shellacked orange glow.
When my in-laws sold their beach house, my husband and I took some of the furniture for our home. At the time, the coffee table was perfect for our living room. It fit into our decor style and there was no chance my young kids could damage it. And even if they did, it was a $10 garage sale find so who cares!
After having it a few years, I refinished the bottom of the piece so it didn't look as orange. I left the top intact so my kids couldn't wreck it with their drinks. Yes - it was that well shellacked! I'm telling you - my mother-in-law wasn't messing around!
When I refinished the bottom, I had very little experience working with furniture so this was a great opportunity to get my feet wet. I spent an afternoon sanding, painting and distressing the bottom. For a few years, it looked pretty good. But as time went on, the shiny orange finish really bothered me.
How to Makeover a Coffee Table
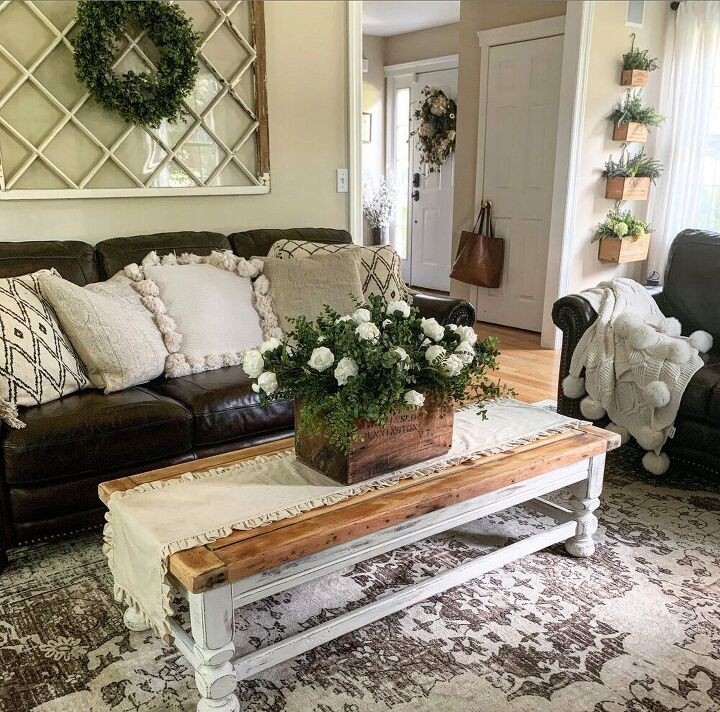
Since updating my home to a more neutral style, I covered up the coffee table with decor to tone down the finish. Because the table wasn't working for me anymore, it was time to update it.
I wasn't sure how I wanted to do it, but I knew that I wanted to strip the top of the piece to get rid of that orange shellac. Because I have dark leather sofas, I wanted to lighten the piece overall and give the wood top a lighter, more natural look.
So here's what I did...
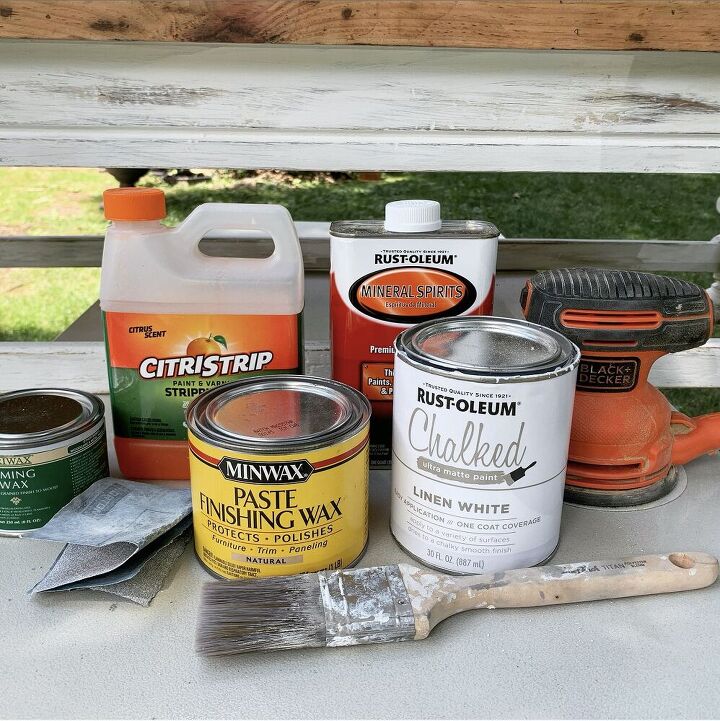
Supplies Needed
- citrus strip
- disposable container
- disposable paint brush
- scraping tool
- mineral spirits
- hand sander with 60 grit sandpaper disks
- sandpaper (various grits)
- chalkpaint
- paint brush
- finishing paste wax
- paper towels or rag to apply the wax
- plastic drop cloth
Directions for the Coffee Table Makeover
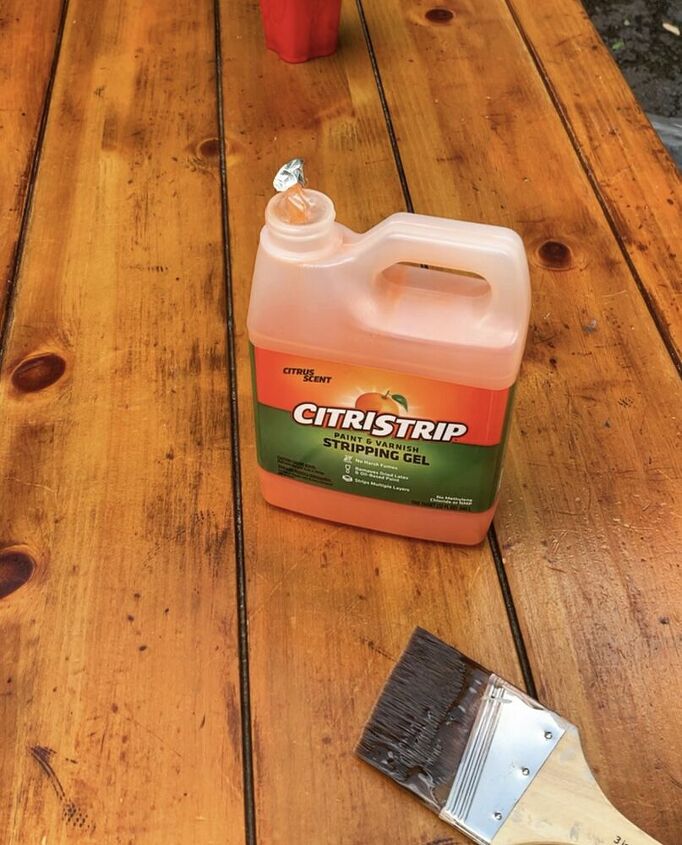
- Since there is a thick shellac finish, the piece needed to be stripped.
- Place the coffee table on plastic or disposable drop cloth so clean-up is a breeze.
- Using a disposable container, pour stripper in and follow the manufacturer's directions for application.
- Apply stripper to the piece using a disposable or inexpensive paint brush. Allow the stripper to sit on the piece for at least thirty minutes. Because there were so many layers of shellac, I left it on for a few hours.
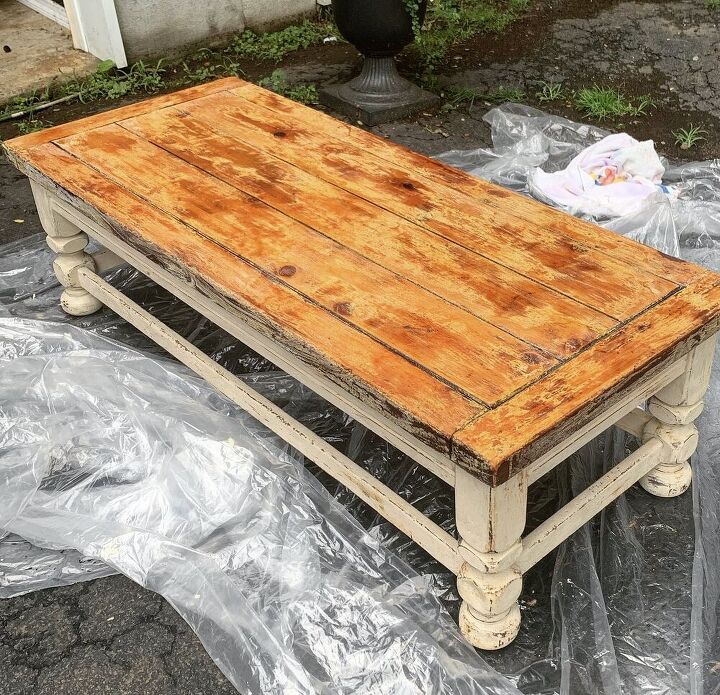
- Test an area with a scraping tool to see how well the finish strips off the piece. If it's coming off easily, scrape the rest off. (This part is very messy).
- When the stripper is scraped off, wipe the piece down with mineral spirits to remove the stripping residue.
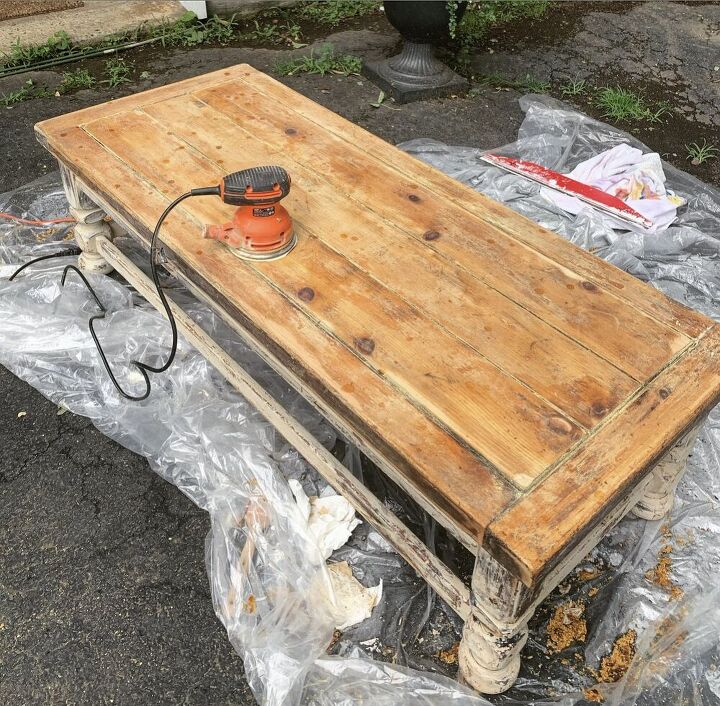
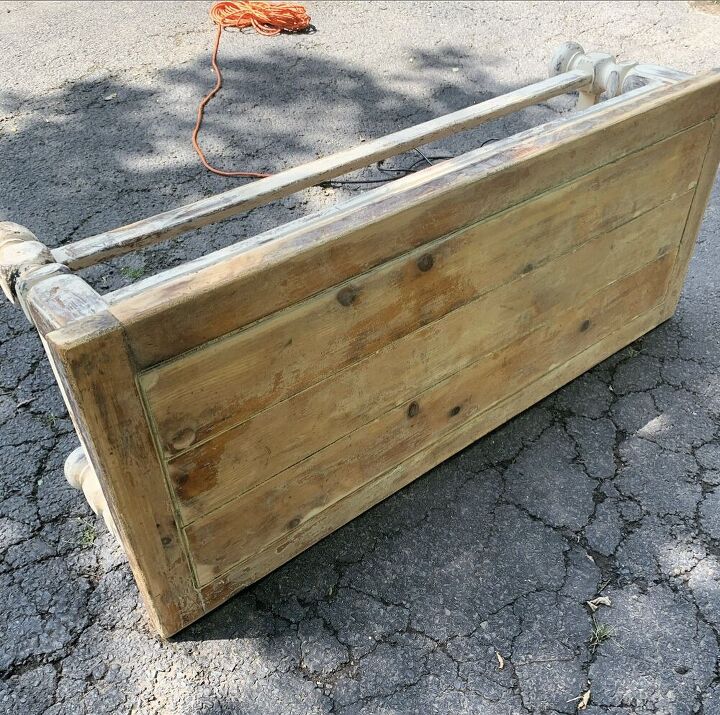
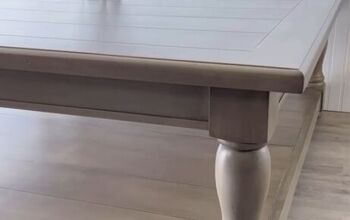
- For my piece, there were still some spots with shellac. Instead of going through the stripping process again, I used my hand sander to sand the piece down and get the rest of the finish off.
- Once the piece is sanded down, wipe off the sawdust with a cloth.
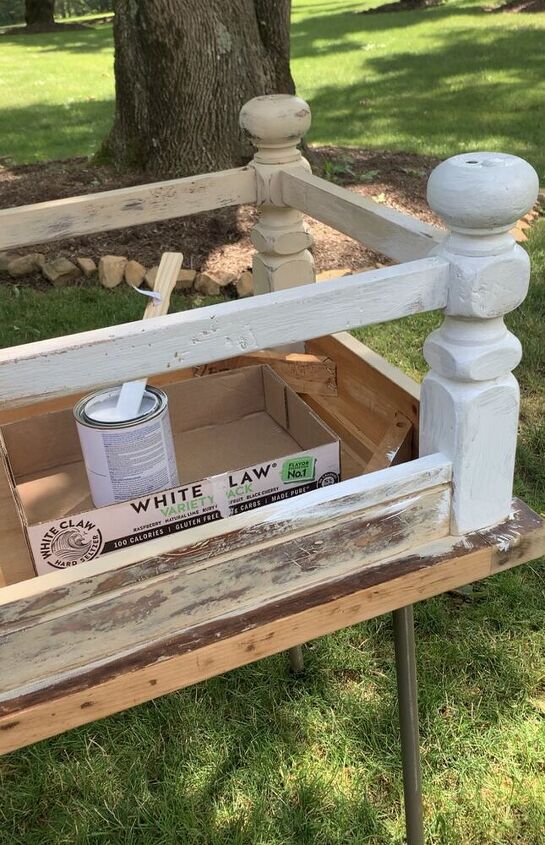
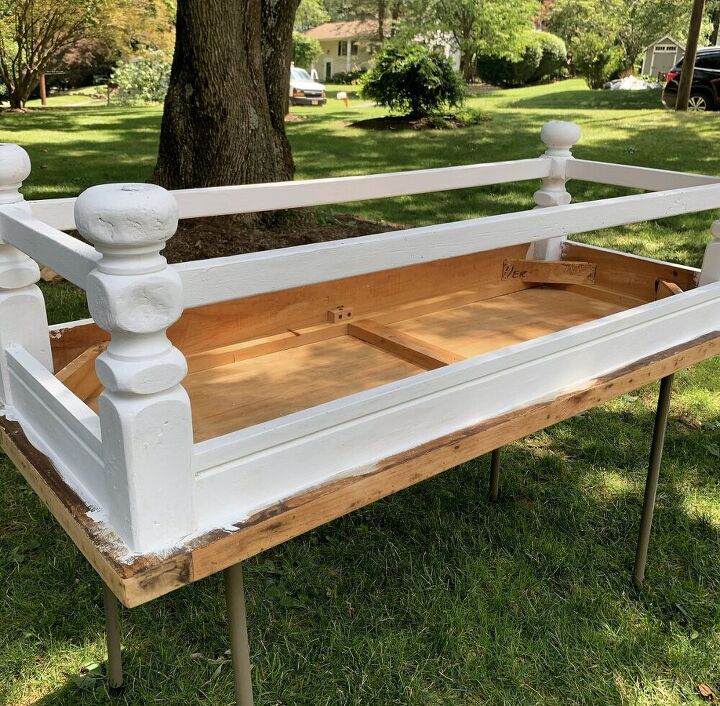
- I wanted to paint the bottom of the coffee table white and distress it. So I flipped the piece over onto a folding table to lift it up off the ground. I lightly sanded the bottom to rough up the finish and applied two coats of chalk paint.
- When the chalk paint was dry, I distressed the piece using sandpaper. I recommend starting with a light hand when distressing. It's easier to distress more than it is to repaint it.
- After distressing the piece, I flipped it back over to wax the entire piece.
- I applied two coats of wax with a cloth and buffed it out while working.
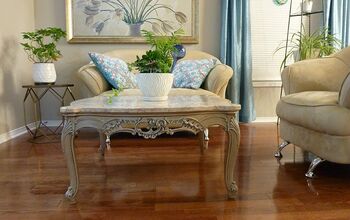
After the Makeover
While it doesn't look dramatically different, it is lighter, brighter and doesn't look as orange. To be honest, I'm not sure if I'm sticking with the finish of the coffee table top yet.
I love that it's lighter and less orange, but it's pulling a little too much yellow for me. I'm going to live with it for a little while and see how I like it. Don't be surprised if I decide to either bleach and lime wax it, stain with a walnut finish or completely paint it all together. So stay tuned!

As an aside, I want to address the stripping process because I've never done it before. I thought the process would be so much easier than it was. In fact, removing that shellac took a lot more time and effort than I anticipated. It was no joke! I mistakenly believed that the stripper would get the finish right off. Nope - I had to apply the stripper, scrape it, then clean it off then sand it anyway and there were still spots of shellac left!
Certainly, I could have re-applied the stripper and done the process over, but I chose to move on to sanding instead. If I were to do it again, I'd apply the stripper with a heavier hand, cover it with plastic wrap and let it sit overnight to really penetrate the finish.
Since it took so long to strip and sand that shellac finish, I'm OK with letting the piece be for now and living with the look for a little while. I can always change it down the road.
For more DIY tips, tricks and cool project ideas, click here.
Resources for this project:
See all materials


Comments
Join the conversation
-
Hi may I know where the large wall decor is from? It’s gorgeous
-
I love the big flower arrangement. Where did that come from?


Frequently asked questions
Have a question about this project?