


Herringbone Accents

After painting and updating the exterior of our house we were looking for a way to add some more modern accents. Here is what I did.
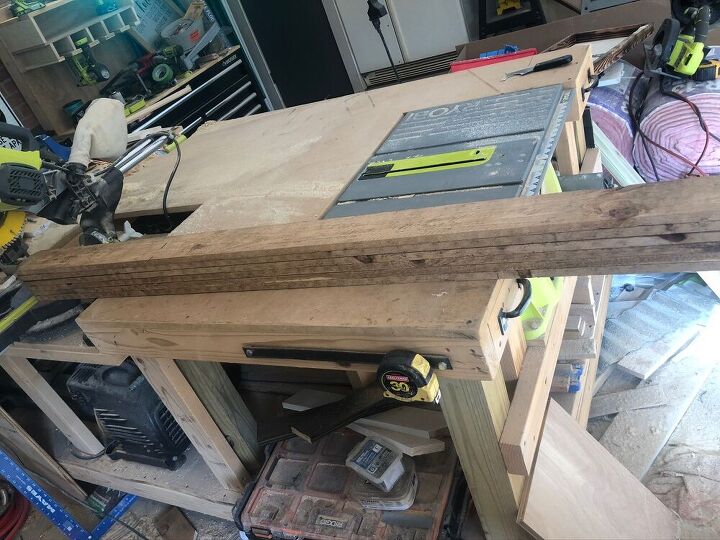
After measuring the area where these would be installed I determined the measurements around 52 inches long and between 18-20 inches wide. Using 1x4 Cedar fence picket board I cut to length at 52inches. 6 boards side by side made up 22inches I decided to go with the for width.
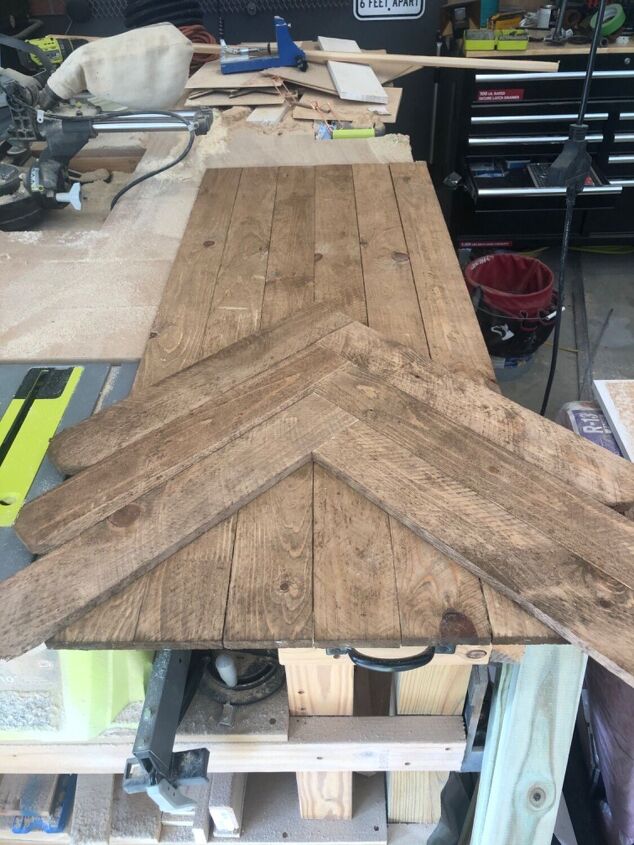
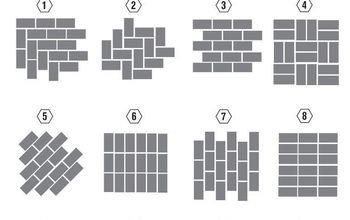
After cutting each piece down to length and laying out on work bench I then used the cutoff pieces to start my design. 6 boards made it pretty simple to find my center point. I aligned each piece starting at bottom corners to the center. Staggering for the herringbone pattern.
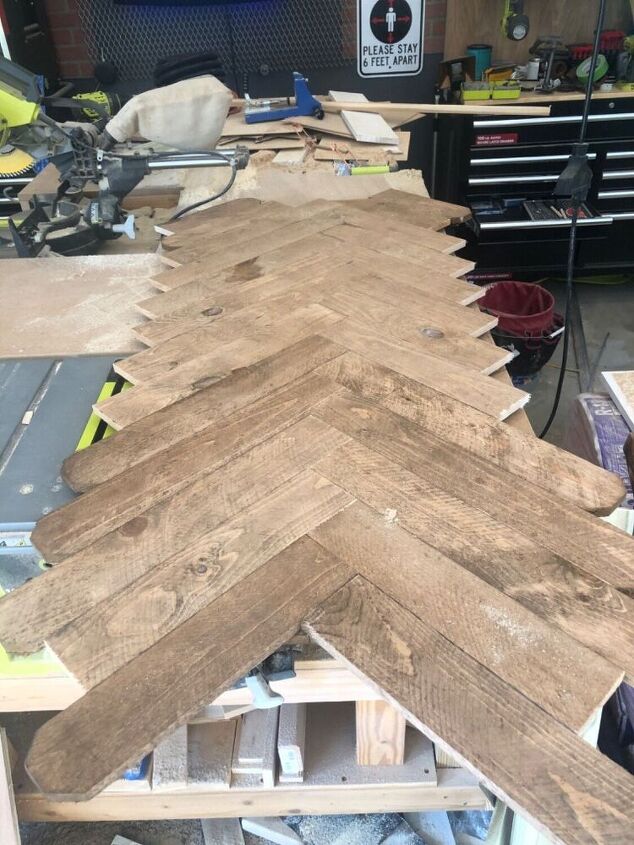
I then cut pieces to size and continued my pattern I had started securing each piece using a brad nailer and finishing nails. Continue this for the entire length of your boards.
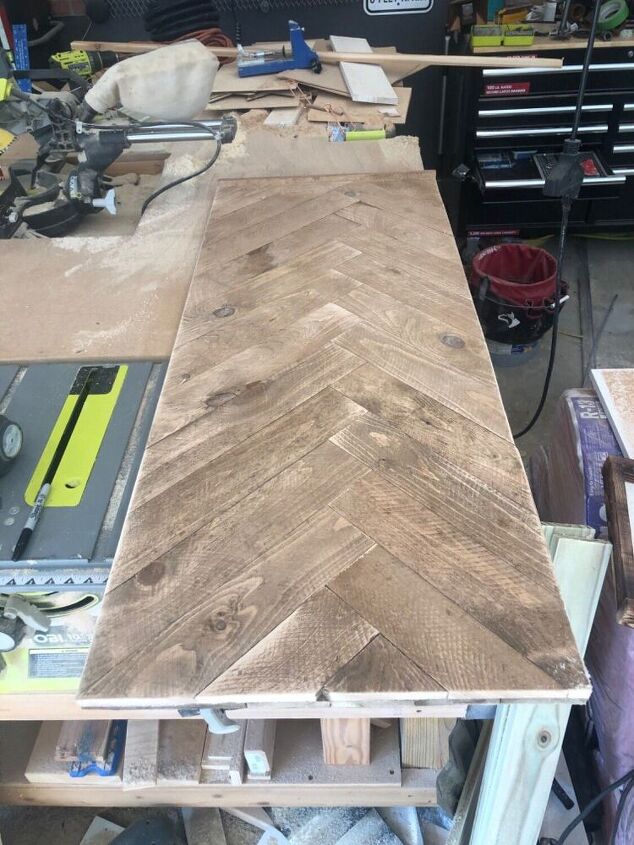
Once entire pattern has been complete I then turned the project over and cut all of the edges off flush using a circular saw. This keeps the time and guess work out of determining all of the angles in the beginning.
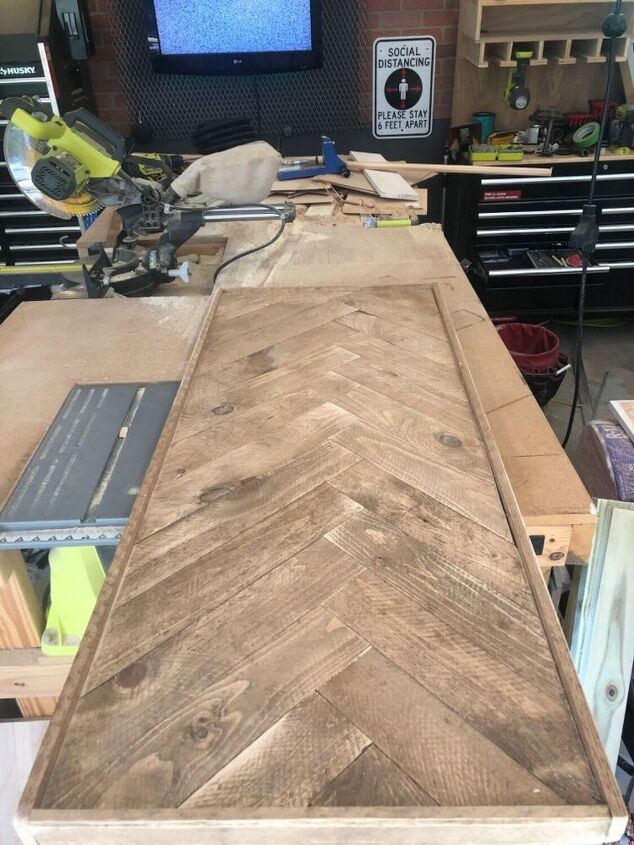
Using a table saw I ripped a few of the fence boards right down the middle. I used these pieces to make a frame/boarder around the edges. This section was also secured using brad nailed with slightly longer nails for a better hold.
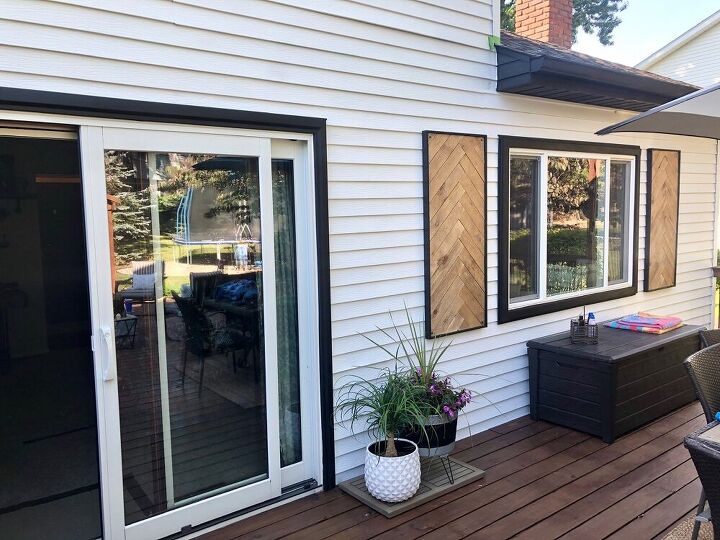
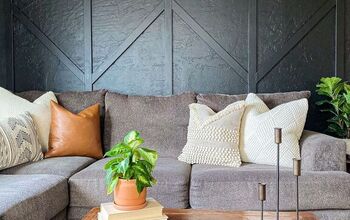
At this point I lightly sanded all edges and entire front using an orbital sander and 180 grit paper. I then painted my from using an exterior black paint that was used on trim for the house. These are now mounted next to windows on the deck for a shutter look. May add some pots and flowers to these at a later date but definitely a nice touch all alone.
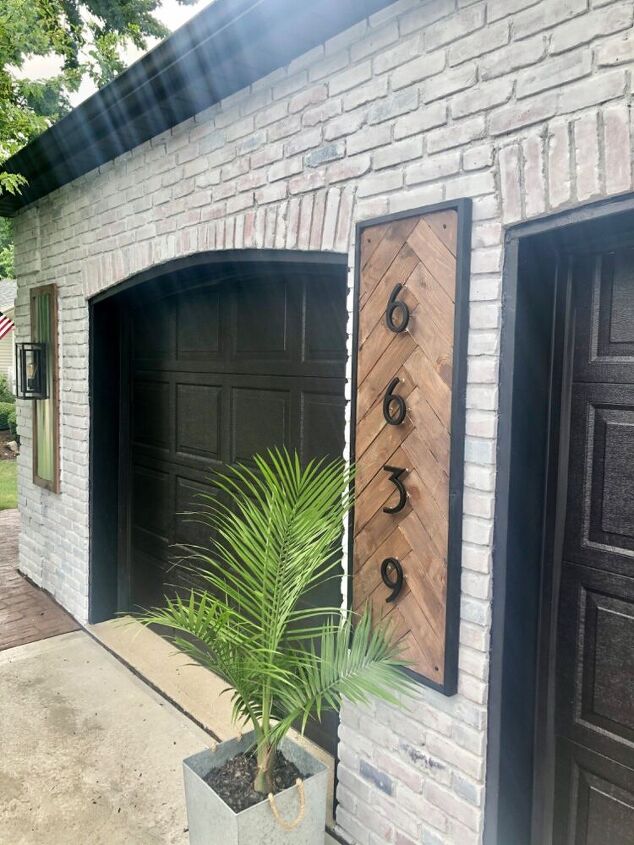
Using slightly different measurements I made another one for the front of the house and attached our house numbers and mounted for a beautifully updated accent. Sky’s the limit with DIY
Resources for this project:
See all materials


Comments
Join the conversation
-
I'm impressed, no matter what you call it. I think it's stunning and adds elegance and a pop of creativity. Just perfect! Thanks for sharing.
-
Great look. Thank you for sharing. Adds so much to your home. My brain being what it is thought, Geeee those beautiful half moon planters would look lovely at the top with Ivy or some kind of trailing vine planted in them. Just a thought.
https://www.amazon.com/MyGift-12-Inch-Ceramic-Half-Moon-Mounted/dp/B076124XFX
Something like this ^


Frequently asked questions
Have a question about this project?
Why didn't you place these next to the windows? They are obviously shutters (there is no such thing as a "shutter look"; they are either shutters or they're not), so why the gap between them and the window?
I love the slightly weather wood contrasting with black trim.
Did you seal it to preserve the color or are you letting it weather?
Either will fit your B&W scheme but I like the warmer wood tones which makes the house numbers read better.
I’m asking the same question as Scott, I don’t understand what you nailed the herringbone pieces to? I see you have 6 pickets lined up vertically underneath, but I thought you just used that as a guide to find your center. Did you nail the herringbone pattern on top of the vertical pickets, doubling the thickness and weight? I love the look, and would like to duplicate in my cabin build. Thanks.