


Fireplace Refresh 🔥🖌️

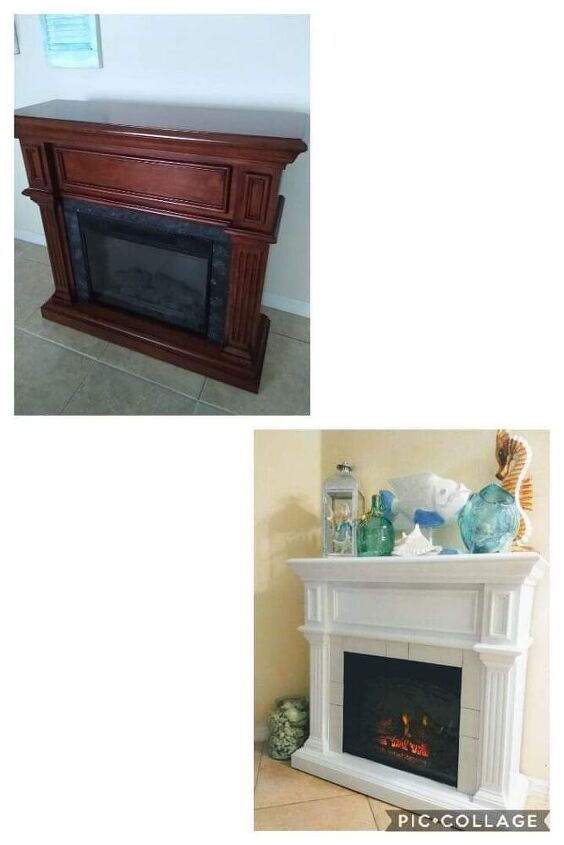
I've seen plenty of white fireplaces to match my decor but most of them were way out of my budget. One day while strolling through the thrift store I came upon a very well-made electric fireplace. I had a lightbulb moment.
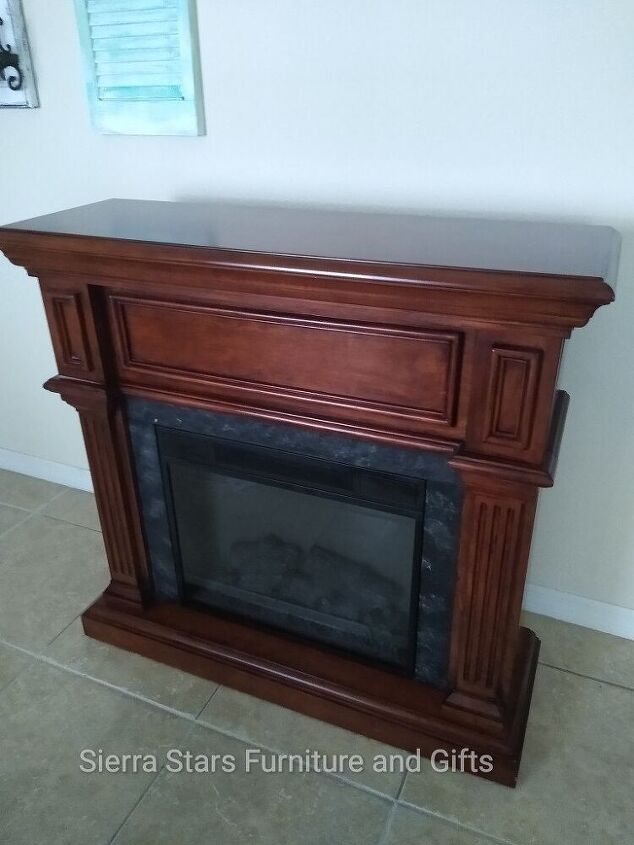
I ended up getting it for 20% off that day and scored this beautiful piece for $80!
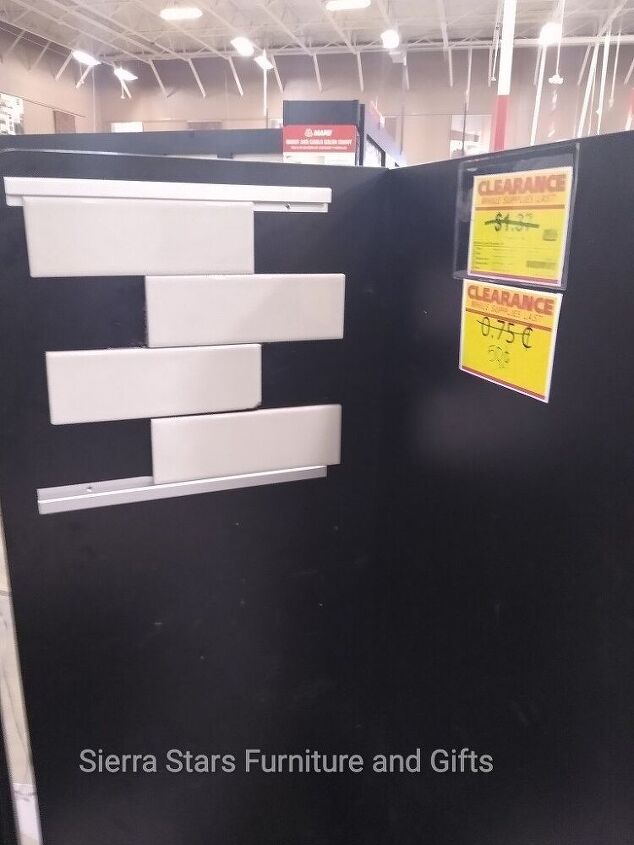
My husband and I first picked up some clearance tile at the local title place. These specific tiles were $0.50 each!! Don't worry you'll see later on what we did with these.
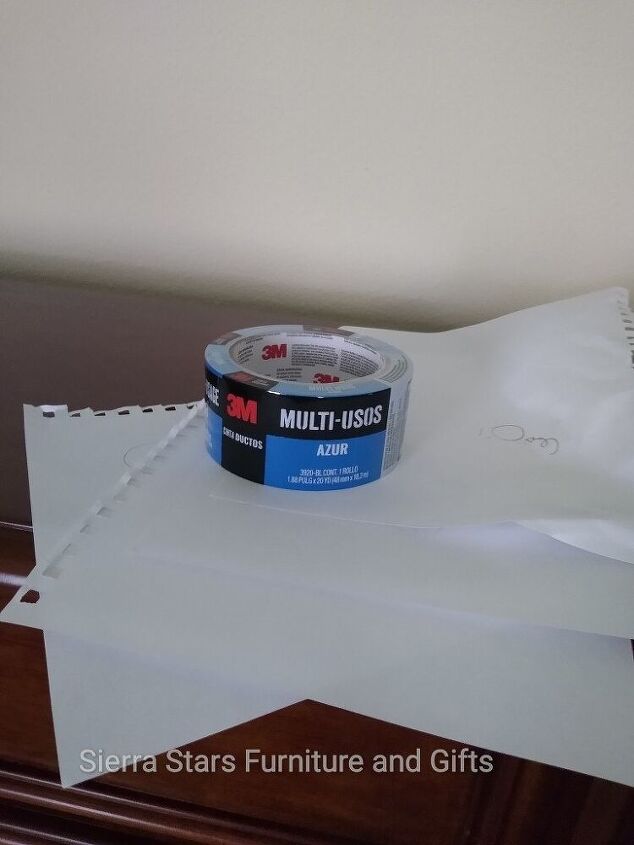
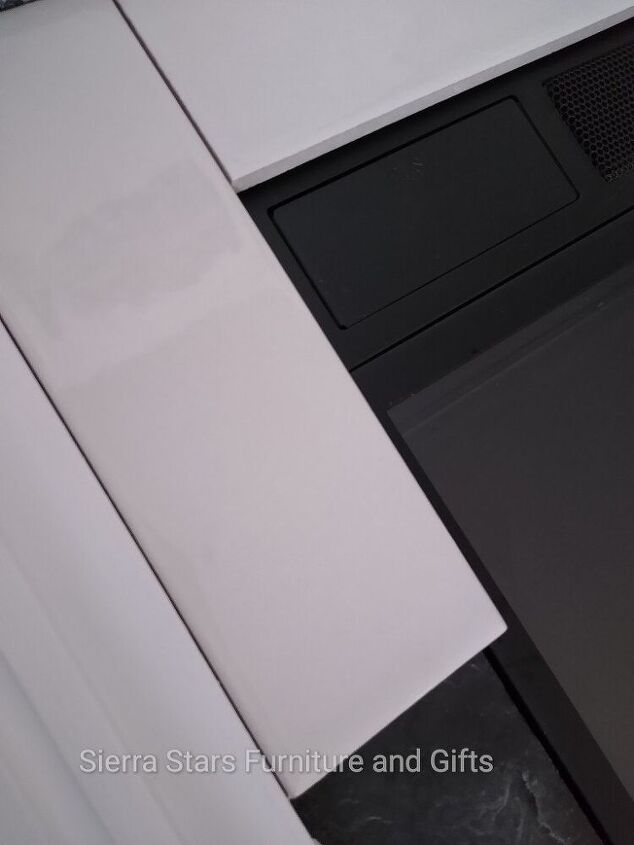
I first started off by using this multi use painters tape to tape off the glass part of the fireplace.
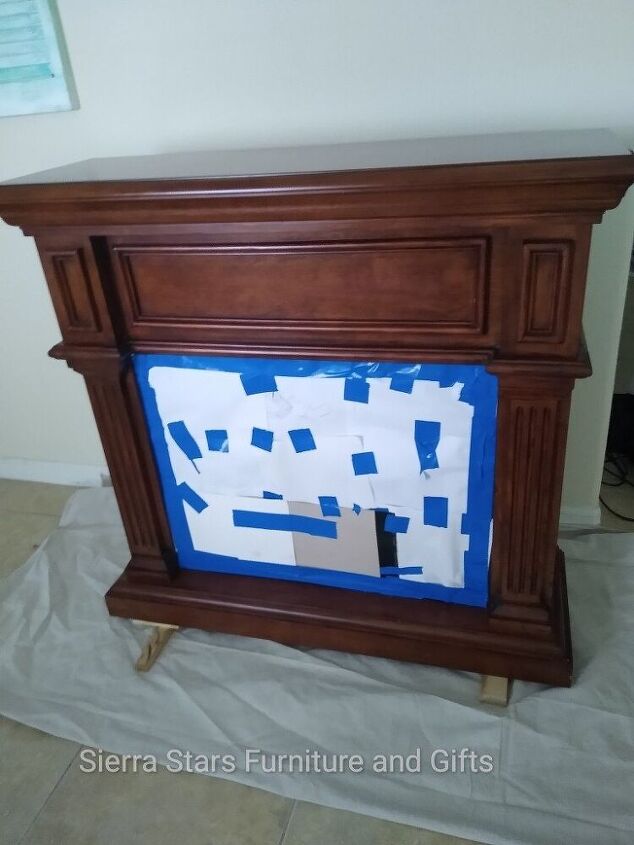
My daughter had a bunch of scrap paper laying around so it was perfect to protect the glass.
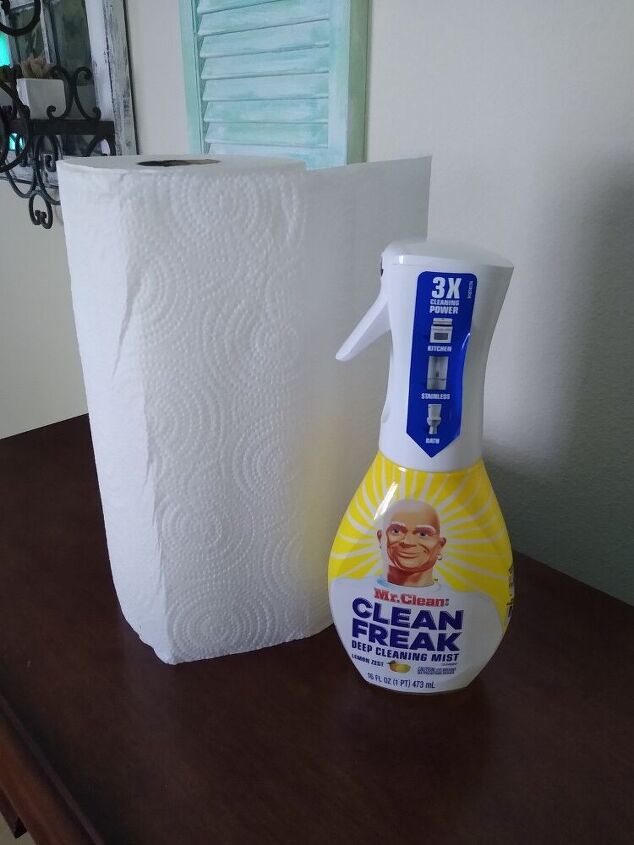
I then cleaned the entire fireplace to get any extra Gunk off of it. This is a very important step when you're prepping furniture or any piece that you were going to paint.fireplace to get any extra Gunk off of it. This is a very important step when you're prepping furniture or any piece that you were going to paint.
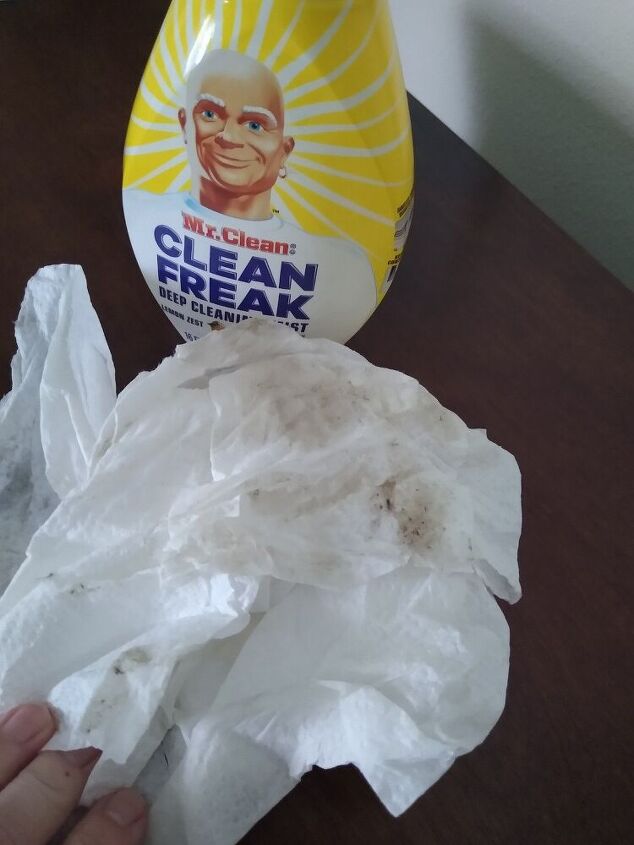
As you can see plenty came off. It also gives a nice clean surface to work with.
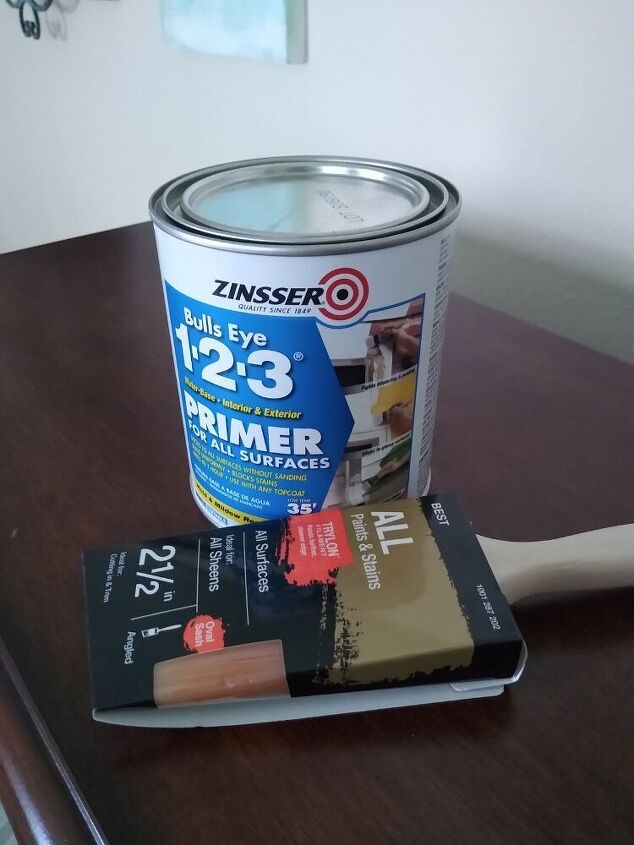
My next step is priming the entire fireplace.bullseye 123 is fantastic. It dries very quickly it goes on smooth and it gives you a great base. It also blocks any smells that are lingering on the furniture. You also want to make sure that you use a high quality paint brush.
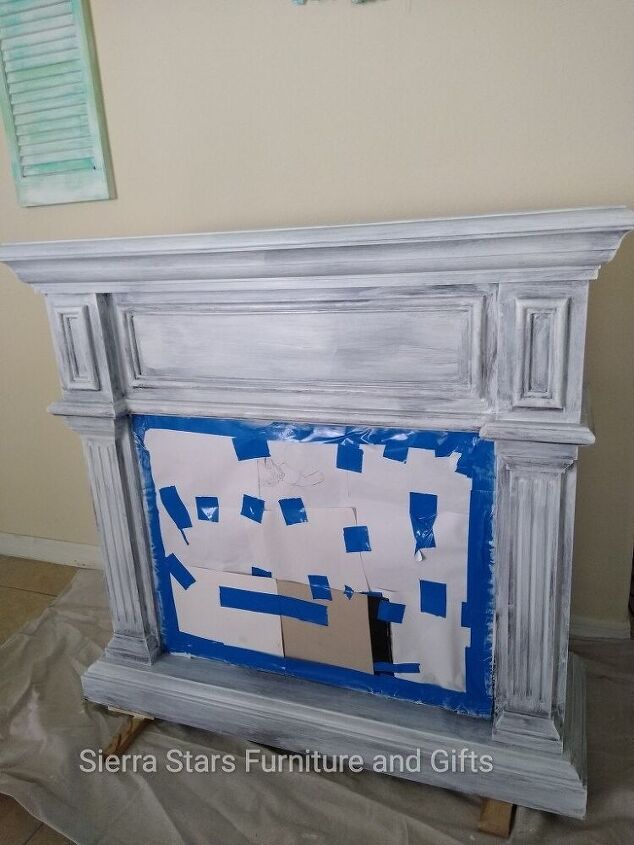
I did two coats of bullseye on this particular piece because I didn't want any of the brown coming through when I finished. Now it's time for the paint!
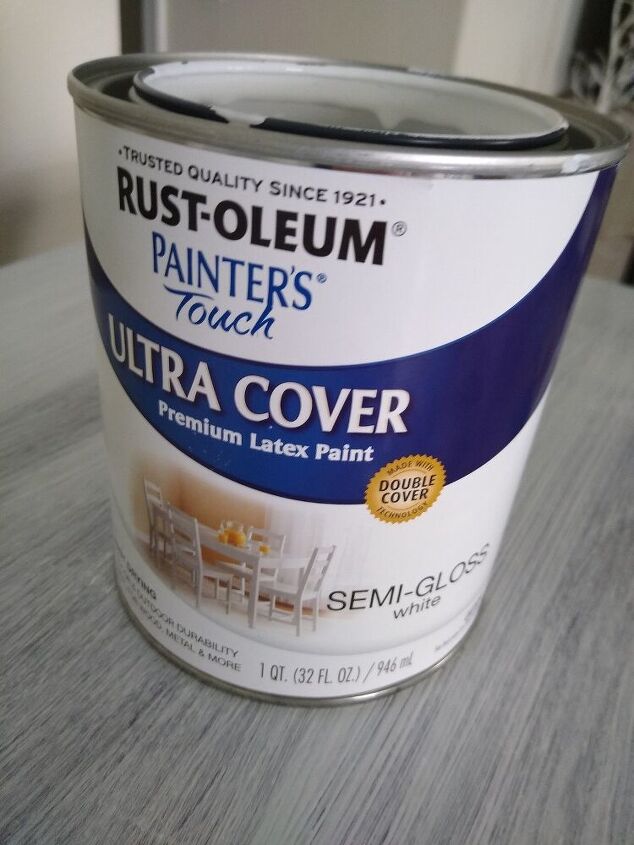
For this piece I chose Rust-Oleum ultra cover semi-gloss White. It gives a beautiful professional-looking finish. It has wonderful coverage.
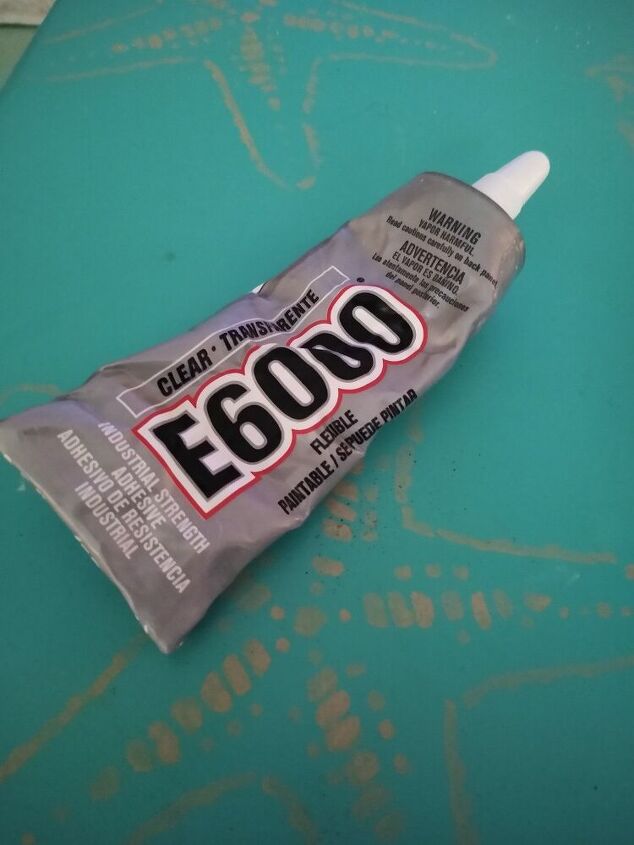
Next part is gluing on the tile that went around the plastic/faux stone. we laid the fireplace on its back so we could glue the pieces of tile until that it would dry properly.
We used the E600 on the back of the tile gently placed them around the plastic part on the fireplace and let dry overnight.
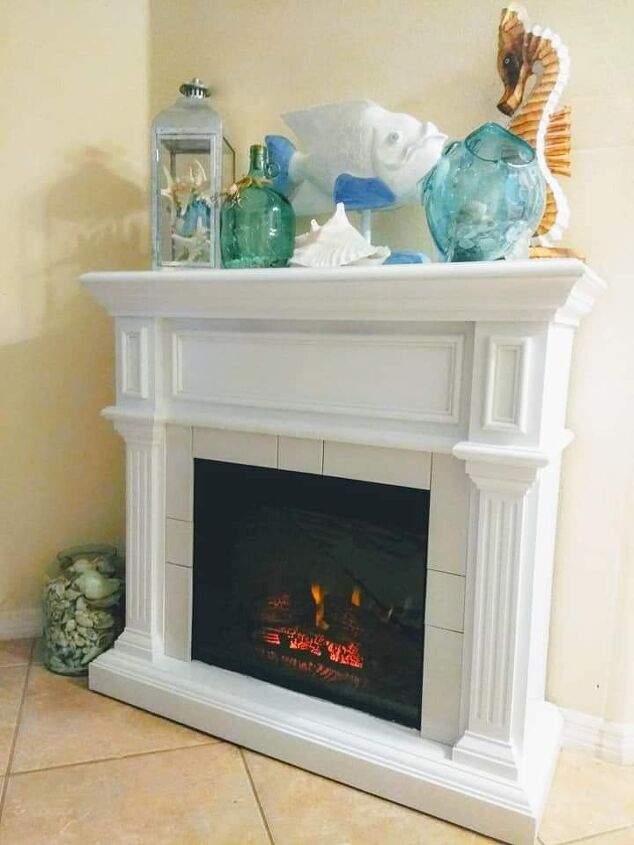
Here is the final look of the fireplace!
I hope you enjoyed our before and after! Please check us out on Facebook on Sierra Stars furniture and gifts four more DIYs.
Resources for this project:
See all materials


Comments
Join the conversation
-
It does here :) 🔥
-
I picked up a fireplace almost exactly like that on FB Marketplace. I was happy with the dark cherry finish but now I'm thinking painting it might not be such a bad idea!


Frequently asked questions
Have a question about this project?
Why didn't you sand first? Thanks
Beautiful job! 👏🏻👏🏻👏🏻👏🏻👏🏻👏🏻❤️
What kind of pain was used for the dark fireplace