


Create a Hanging Swing Chair for Hours of Family Fun
Spend the summer swinging in style with this DIY hanging swing chair. This chair is so easy to put together that you can make one for each member of your family, preventing the dreaded fights over who gets to sit in the swing. You only need a few basic tools and easy to find materials to create one today. I’ve used a plain blue fabric for the one I’m making today, but duck cloth comes in a variety of colors and patterns so you can match yours to your decor. Follow my step-by-step tutorial to get started making one today!

Tools and Materials:
- 2 yards of duck cloth (this is basically the same as drop cloth)
- 16 feet of rope
- 2”x2”x36” piece of pine (you can use a dowel but make sure it’s strong enough to hold your weight)
- Yardstick
- Chalk
- Scissors
- Iron
- Sewing machine
- Thread
- Electric drill
- ⅜” drill bit
- Sandpaper
- Spring clip

I folded the fabric in half and lay it down on the ground. Now I had one side that was 36 inches long and one that was 54 inches long. Make sure to cut your fabric to this size if it’s different.
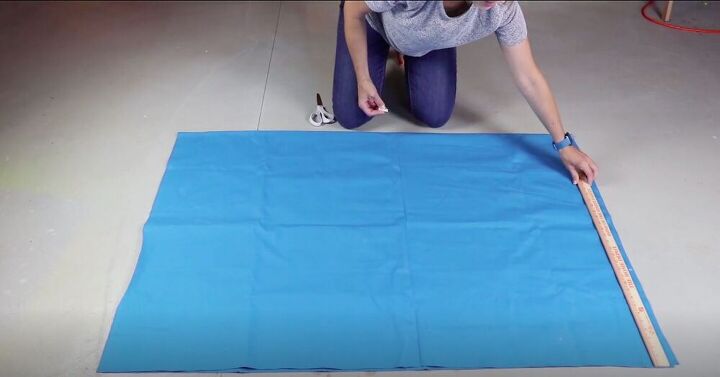
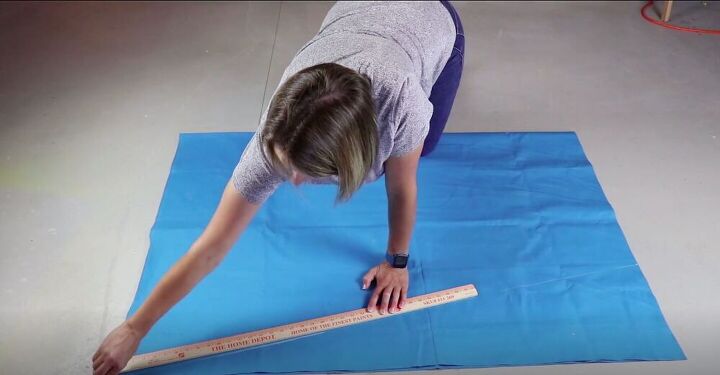
I measured 12 inches down from the top of my fabric and marked it with a piece of chalk.

Then I drew a line from the chalk mark to the opposite corner of the fabric and cut along it. Make sure to cut both layers of fabric.
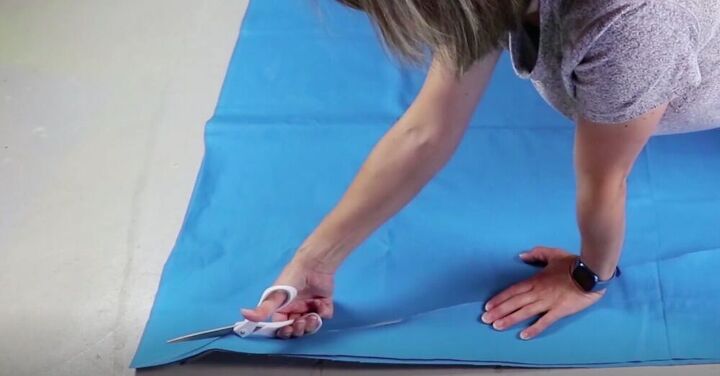
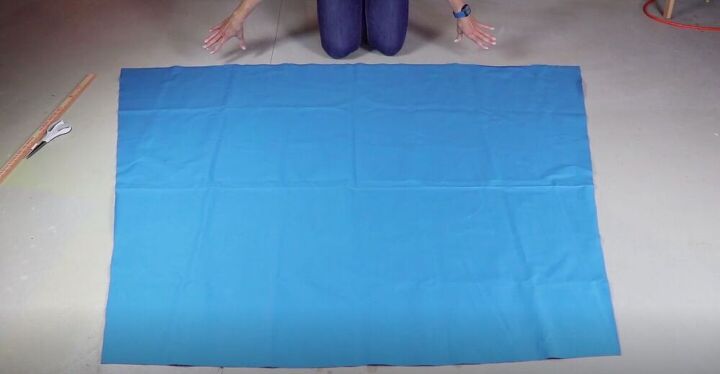
I opened the fabric and, as you can see, I now had a narrower edge and a wider edge.
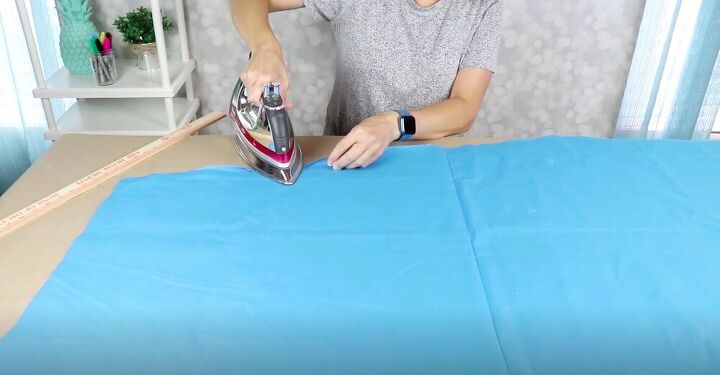
I folded about a quarter of an inch in from the edges I just cut and pressed it with my iron. This doesn’t need to be exact, just to help you get it to fold over.
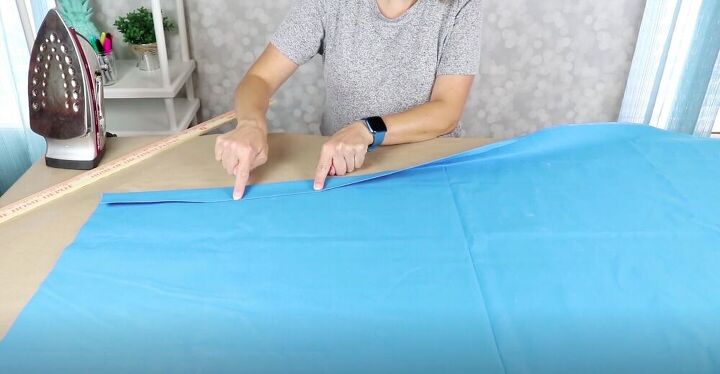
Then I measured 1 ½” in from the edge and folded the fabric over again.
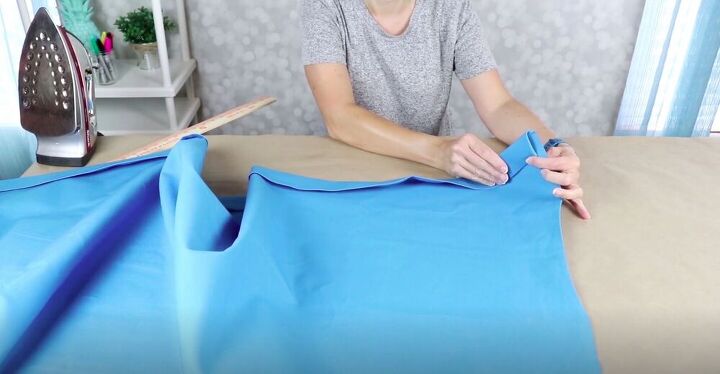
On the wider end you’ll end up with a bit of overhang. Just fold that in and press it with an iron before you sew and it will create a nice finished edge.
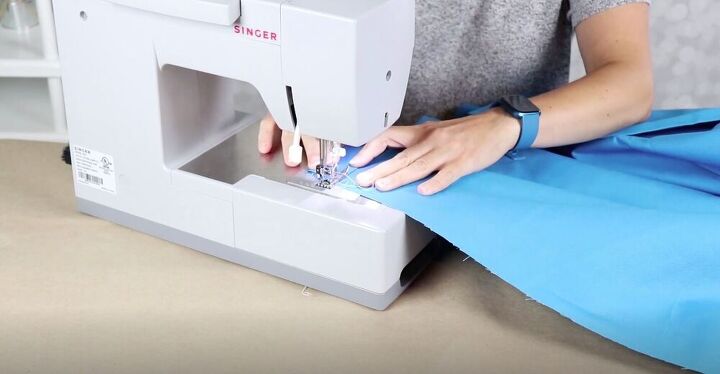
I did two rows of stitches along the inner edge of the fabric. I used white thread for a nice contrast to the blue fabric. I started with a backstitch to make sure that it was nice and secure at the edge, and then did a straight line all the way down to the end. At the end I backstitched again to secure it.
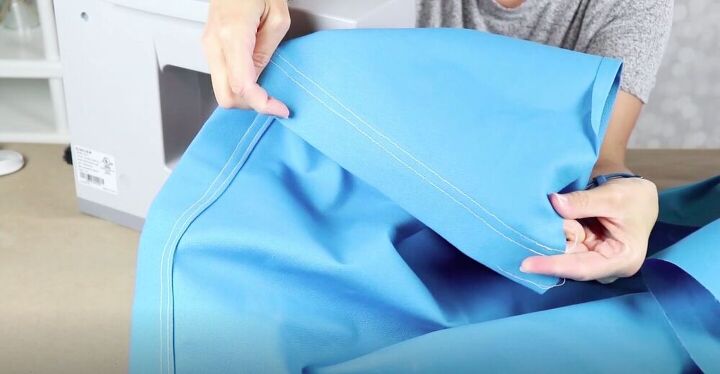
I added a second straight stitch below this for even more added security. Then I repeated the process on the other side of the fabric.
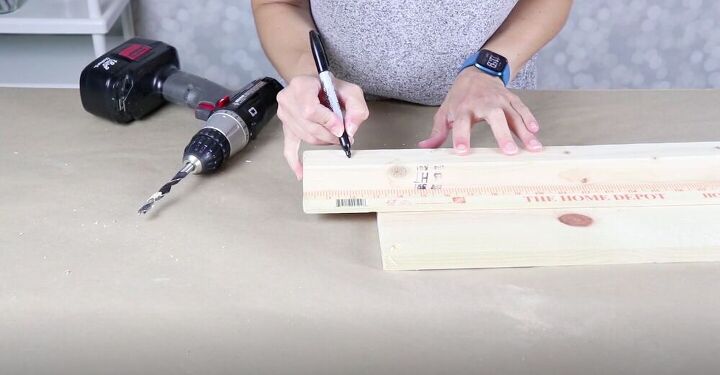
I took my 2”x2”x36” piece of pine and marked two inches and four inches from the edges with a marker.
Tip:
When drilling into wood, prop the piece of wood up on something else to make sure you don’t accidentally drill right into your table! I’m just using a piece of scrap wood here.
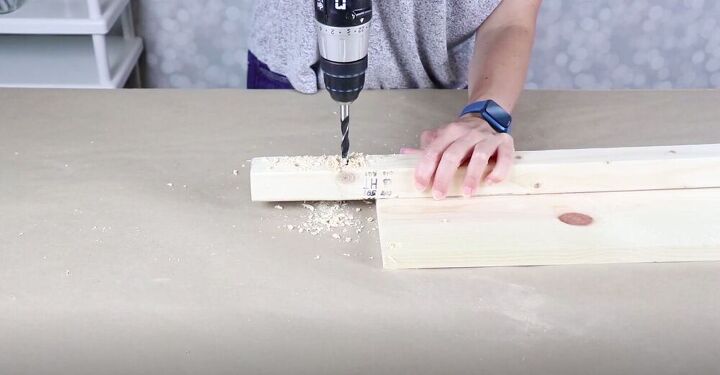
Then I drilled a hole at each of the places I had marked. I used a ⅜” drillbit to make sure that the hole was large enough for my rope to go through.
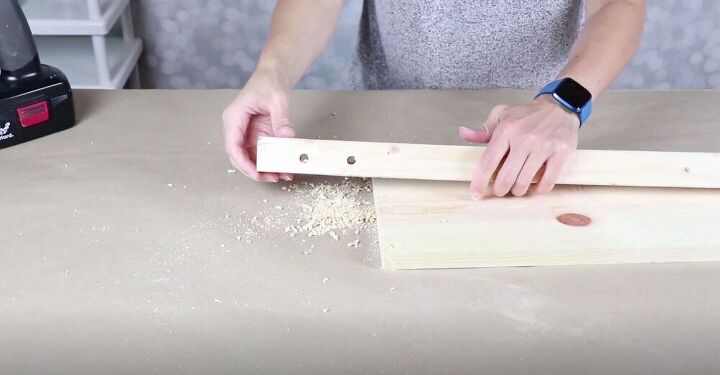
Next I lightly sanded the holes and the edges of the wood to make sure that I didn’t have any rough bits. If you want to paint or stain your wood you can do that now as well.
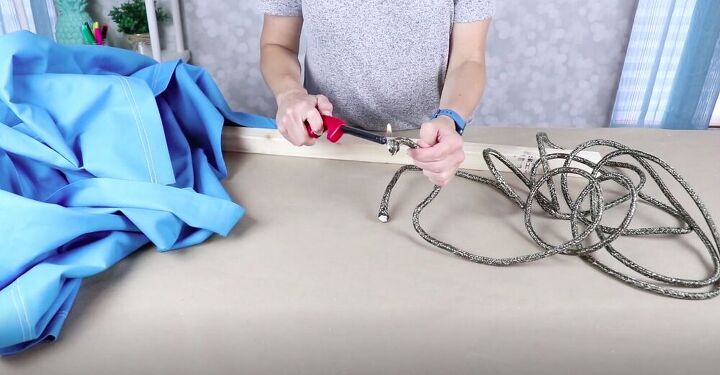
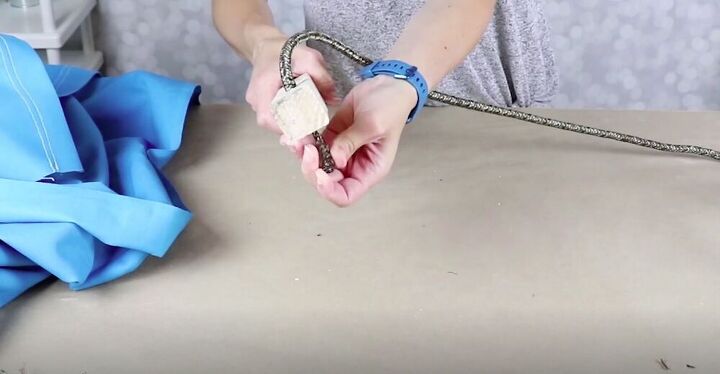
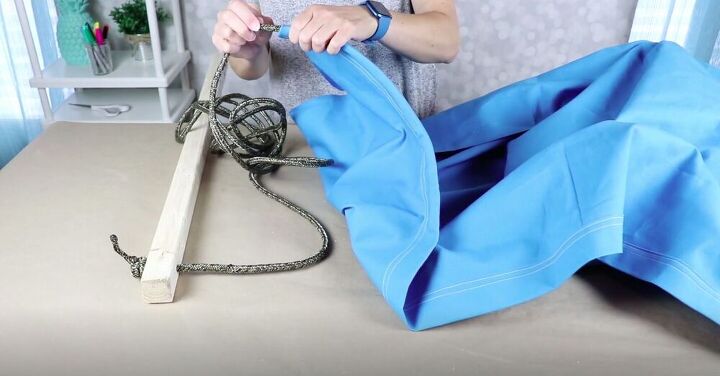
Before I got started I used a lighter to melt the end of the rope. This will prevent it from fraying and make it much easier to thread it through the wood and pockets in the fabric.
I threaded one end of the rop and threaded it through the outside hole on the wood. Twisting it may help it go through, or use the end of a pencil to help it along.
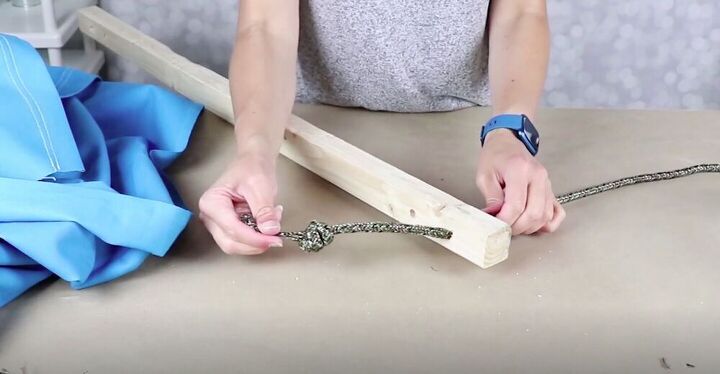
Then I tied a double knot on the end of the rope. Make sure to pull it tight.
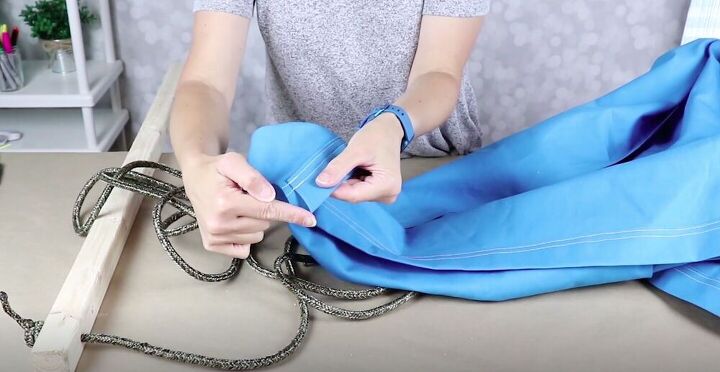
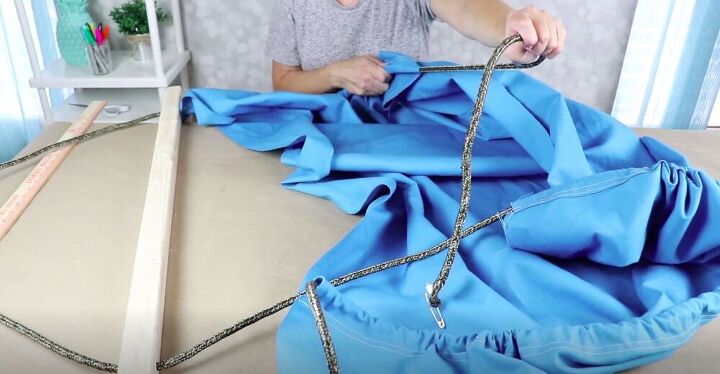
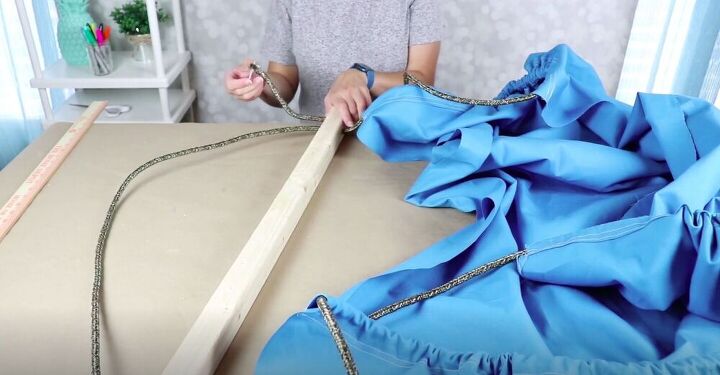
Next I took the other end of the rope and threaded it through the canvas. I started at the corner with the wide end. It will be easy to recognize this end as it’s the part with the corner that we folded over earlier.
Tip:
If you have a sewing tool that helps you thread elastic or cords go ahead and use that here. If not just work slowly, twisting the rope as you go. You could also attach the end of the cord to a safety pin to help you push it through.
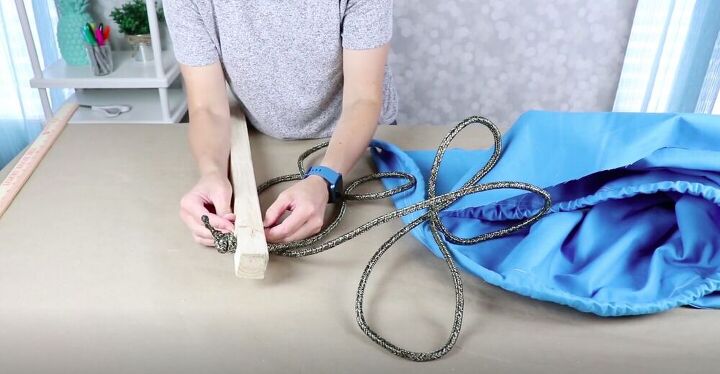
Once I had pushed the rope all the way through the fabric I threaded the end of the rope up through the second hole on the wood and pulled it through.
Then I threaded the rope down through the inner hole on the other side of the wood. This method means that you will only have 2 sides that are knotted, leaving less possibilities for it to untie and collapse.
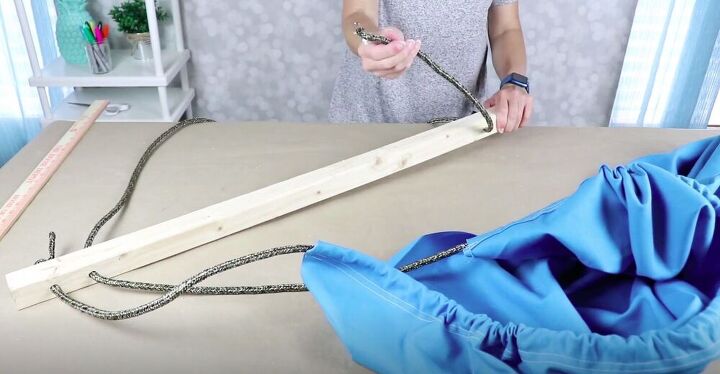
I threaded the rope through the wide end of the canvas and pulled it all the way through.
Then I pushed it up through the last hole in my wood and tied it off with two knots.
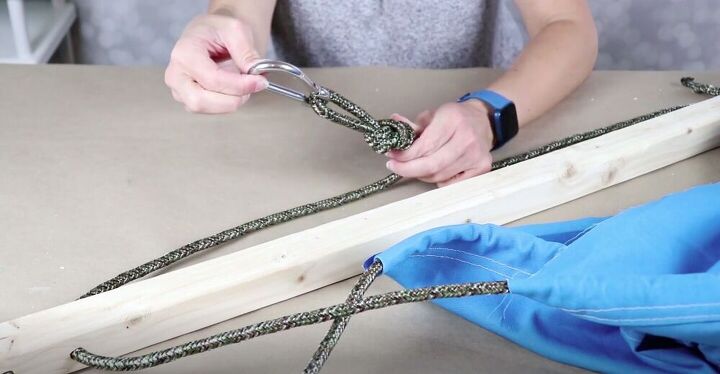
I’ll be hanging my chair from the rope that is threaded over the middle of the wood. I made sure that it was even on either side and then tied a knot in the middle of the rope. I attached a spring clip to this loop and I was ready to put my hanging swing chair to use!

As you can see my daughter absolutely loves this chair! It’s a cheap way to create hours of summer fun! Who in your family would benefit the most from this DIY hanging swing chair? Let me know in the comments below!
Resources for this project:
See all materials


Comments
Join the conversation
-
I love this. GR8 JOB!!!
-
Cute


Frequently asked questions
Have a question about this project?
The first measurement "from the top". Is that down from the 36" side or the 54" side? The fabric in the photo looks perfectly square to me. Thanks