


DIY Outdoor LED Landscape Lighting
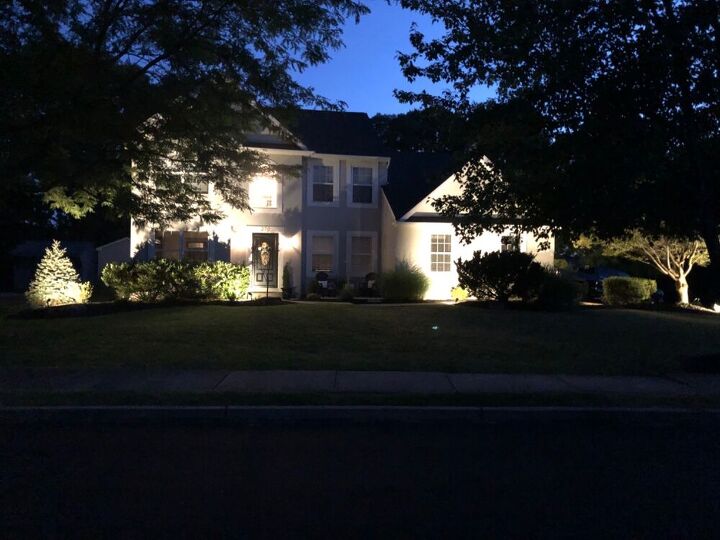
Give your home the added curb appeal and security it deserves. This project makes a huge impact at a relatively low cost. Light up the night and be the envy of the neighborhood with this DIY lighting project. Adding lighting to your landscape is one of those forgotten projects — but, once it is complete, it’s definitely one that you won’t forget, or regret! This project doesn’t take long but always consult an electrician if this isn’t something you can complete the DIY route.
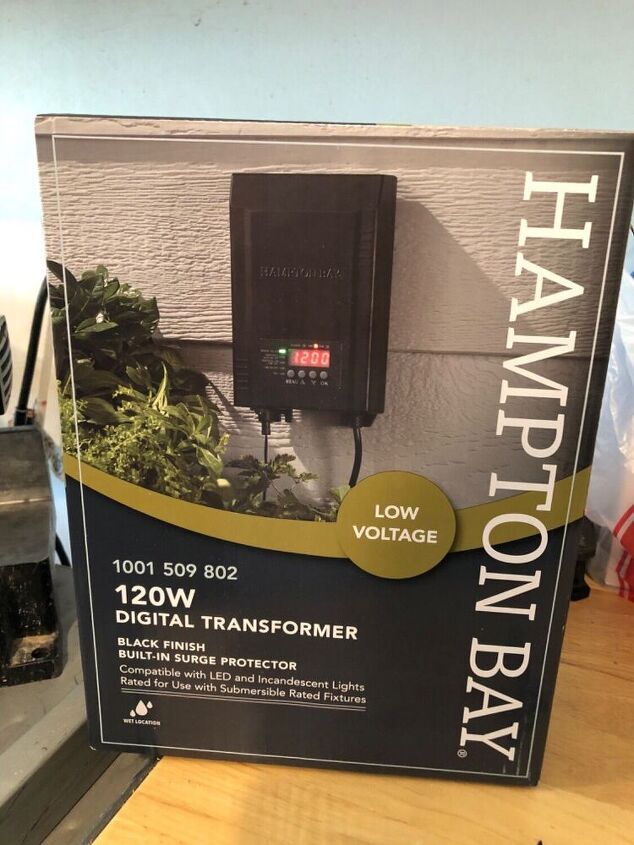
Depending on the size of your project, you may need a different transformer. This is what we used for a project containing 6 total lights.
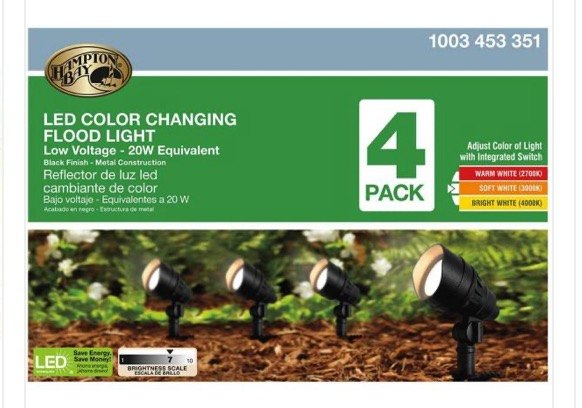
Depending on the amount of lights you are placing in your landscaping — you can buy a bigger pack of lights. They are sold in packs on 8 or 12 as well. The lights can also be adjusted to warm white, soft white, and bright white depending on your preference.

Depending on the size of your project and spacing of lights, you may need a longer length of wire.
The landscape wire can be laid out prior to connecting the lights. Once the lights are snapped and connected you can dig a shallow trench to bury the wire.
Once you decide where you want the light, you can connect the light to the wire. Each light has a connector that you can pierce into the wire. You will open the prong, place the wire inside and close it to “pierce” the wire. Continue this process for each light.

Consult an electrician for this part of you do not feel comfortable. You will take the landscape
wire, cut it back a bit
to expose the copper and attach each wire to the transformer according to packaging directions. Make sure the transformer isn’t plugging into an outlet yet.
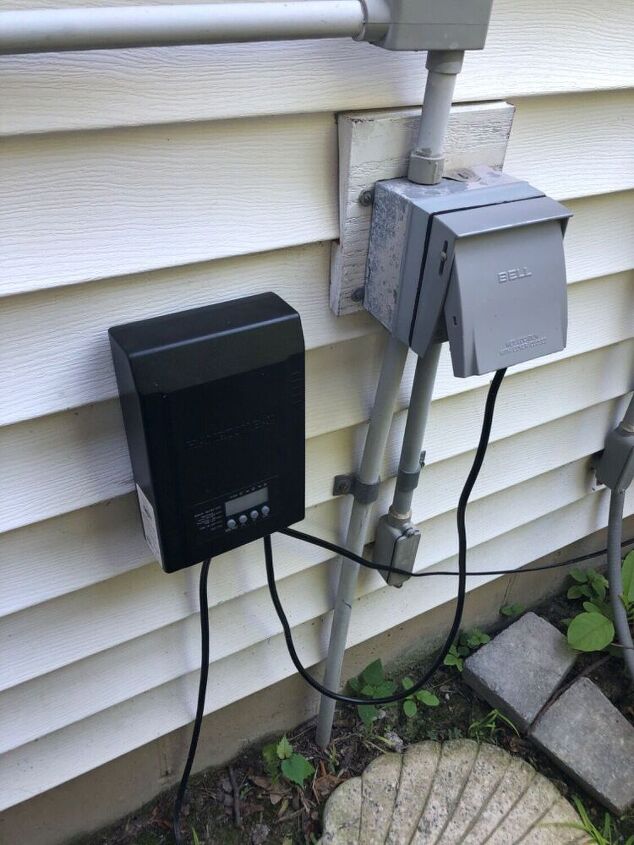
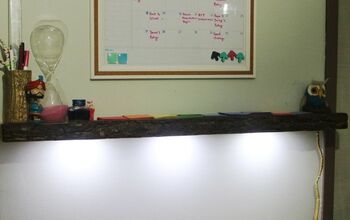
This is the set up of our transformer next to an outlet. We attached the landscape wire to the back, placed the transformer on the wall and plugged it into a nearby outlet.
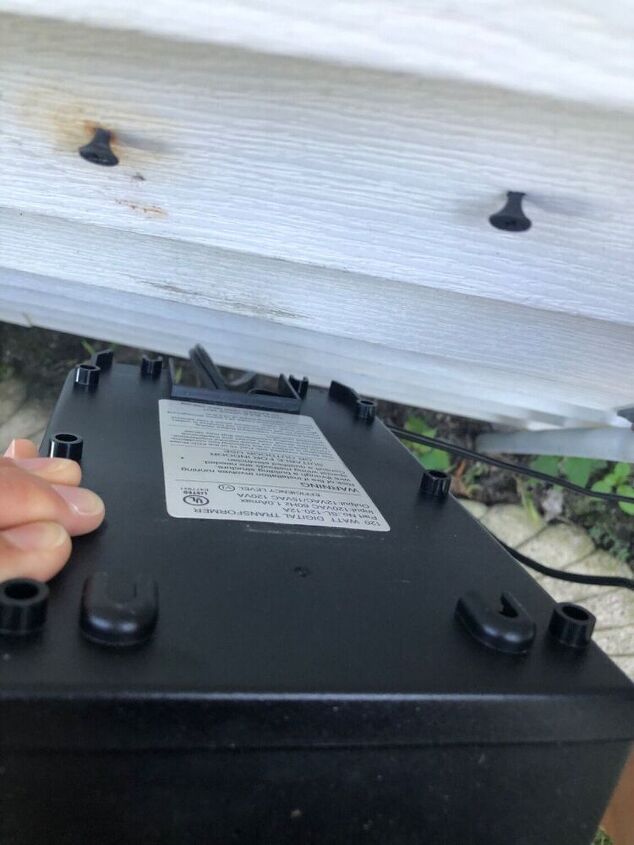
The back of the transformer has a spot to hang onto the wall. Screw two nails in the wall and attach accordingly.

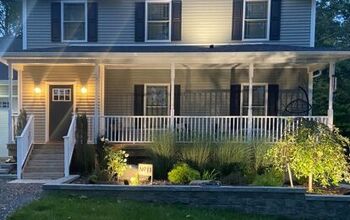
The fun thing about the lighting is the ability to adjust or move the spotlights.
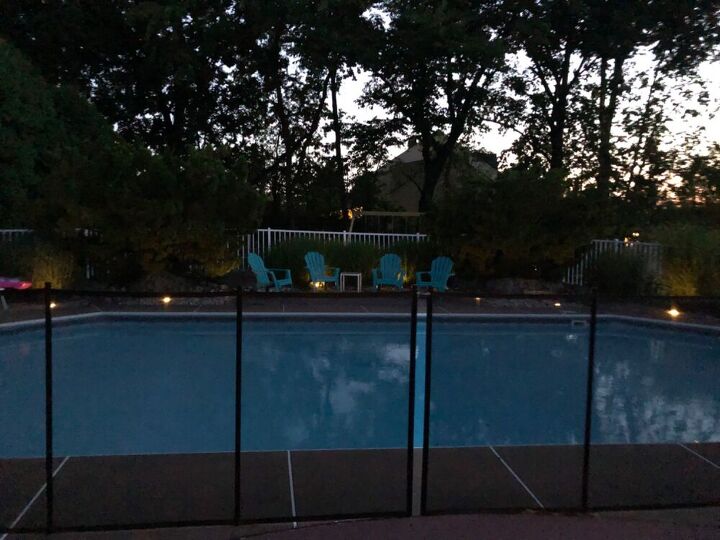
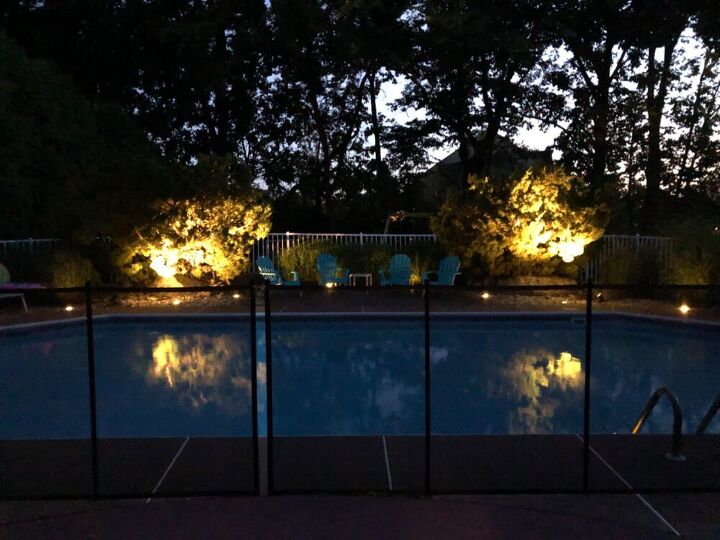
Two spotlights that make such an impact on the landscaping. It also provides a sense of security.
Comments
Join the conversation
-
Thanks for the wonderful tutorial! I think I can pull this one off!
-
Way to go! This is a project all homeowners need! Just Walpole so easy, until I actually tackle it. Lol


Frequently asked questions
Have a question about this project?