


Custom Butcher Block Tray (to Protect an Induction or Glass Top Stove)

We have a two-burner induction stove in our camper. We also have limited space, and more often than not, it functions as a counter instead of a stove. Here's my solution to protect it from potential damage, while still maintaining a functional space!
(Click the link at the bottom of this article to see the full video!)
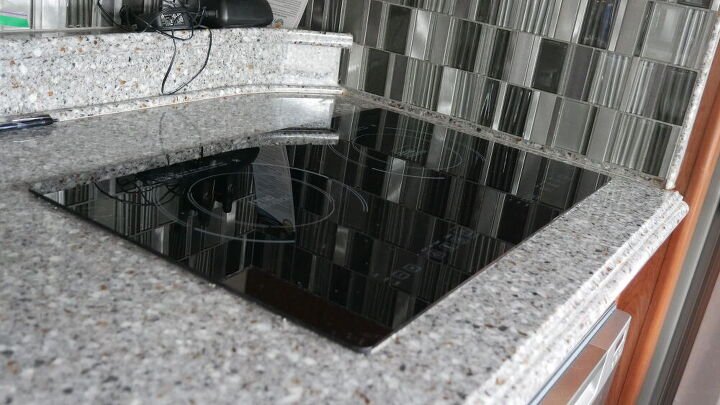

I started off by measuring the top of the stove. The plan was to make the tray slightly larger than the stove top itself, so that the bumpers could sit directly on the counter instead of the stove.
I chose 1" x 3" poplar for this project, even though it's really not the best for a butcher block, because (a) it's stronger than pine, but still affordable, and (b) I can buy it in my local Home Depot. Poplar is considered a "hard wood" because it's an angiosperm, but it's still fairly soft and will show the cut marks, similar to pine.
If you can find them, the better options for a true butcher block are maple, walnut, or cherry.
Additionally, I purchased some rubber bumpers that are taller than the raised glass top, so that the tray would sit above and astride the stove top. I chose handles in a finish and style to match (roughly) the hardware in the camper.
After some light sanding, I cut the poplar planks to 26" to make the tray slightly longer than the stove top. I'm lucky enough to have a Dewalt miter saw, which was the perfect tool to get perfectly straight and even cuts. (You could also use a circular saw or table saw for this step.)
NOTE: When purchasing wood for a project, it's important to remember that the width posted on the wood is typically larger than the actual measurement of the wood. For instance, this wood was labeled as 3" wide, but it was in fact only 2.5" wide. Thickness of a plank can also be misleading: in this case, it was labeled as 1", but was only actually 3/4 of an inch. When you're purchasing wood as well as screws/nails, make sure you are aware of the true measurements to not only ensure that you have enough wood for your project, but also that your screws are the appropriate length.
Once all of the the planks were cut to an even length, I used Gorilla Wood Glue and a foam brush to spread an even layer of glue to the side of each plank. Then I pressed them all together using two large clamps, along with some additional unglued planks at the top and bottom for additional stability. They were left overnight to dry.
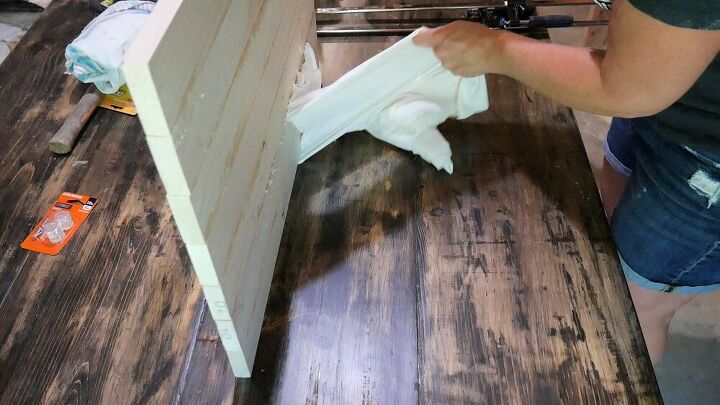
NOTE: Learn from my mistake and don't put a towel or paper directly underneath the tray while it dries, or it will stick (see image). Instead, try propping the tray up onto two perpendicular pieces of scrap wood placed underneath it.
I'm not gonna lie...I spent a LOT of time sanding this once it was dry; at least a good hour, with 80 grit sandpaper at first, and then 150 to smooth it out. Good woodworking is largely in the sanding, so don't rush through this step.
Since this is very likely to be used as a cutting board from time to time, I treated both sides with mineral oil. Mineral oil is non-toxic and entirely consumable, so it's safe to use on a cutting board.
I then pre-drilled holes for the bumpers at each corner, and drilled them in.
Watch the video for a great tip on creating an easy to use and flawless template for screwing in the handles!
And voila! The finished product!
Watch the full video on YouTube!
Resources for this project:
See all materials


Comments
Join the conversation
-
I have a gas stove with a glass top, I made a end cut cutting board. to go the width of one side of the burners. It adds prep space and protects the glass. I like your idea with the handles and the entire stove top.
-
Yes


Frequently asked questions
Have a question about this project?